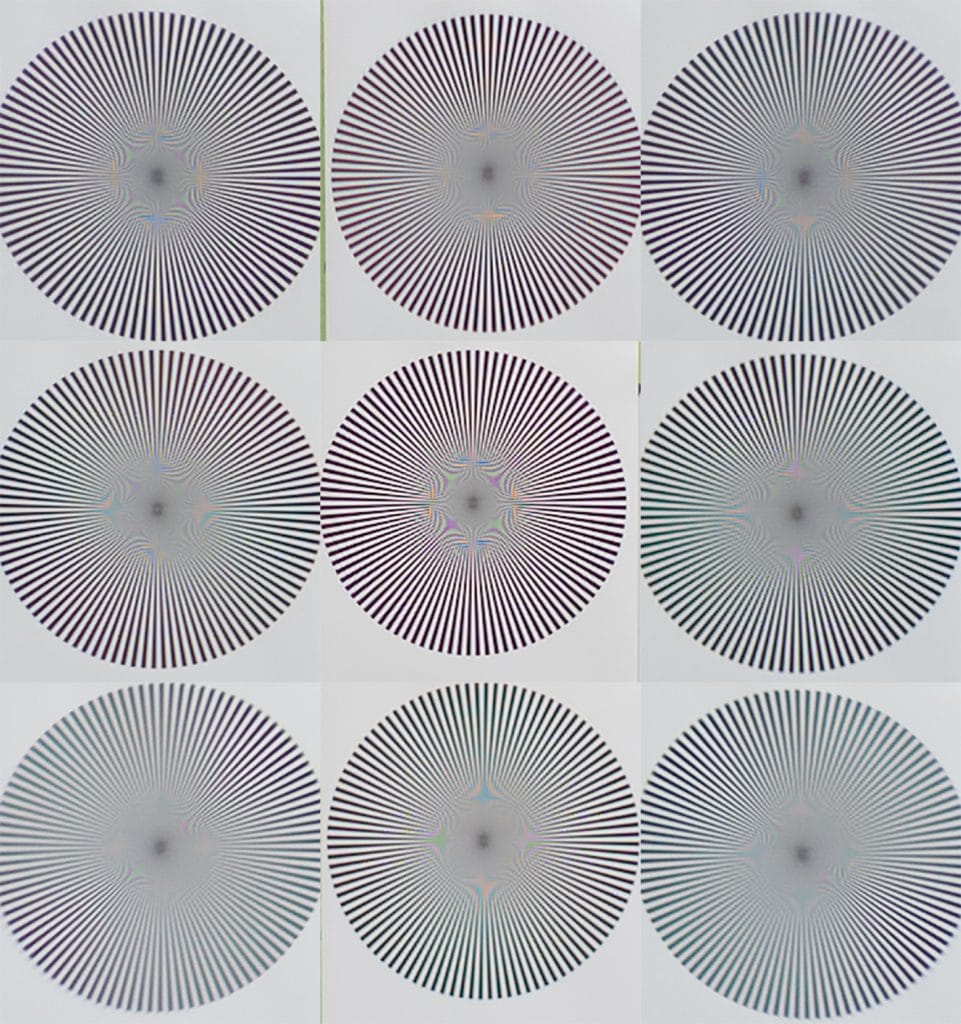
In this post, I’m assuming that you have made your captures, and you[‘re ready to process and evaluate them. I’ll give instructions for Lightroom. If you’re using some other raw processor, I hope you can adapt the general idea to your preferred workflow.
- Transfer the raw files to your computer. Import the images into Lightroom.
- Import the images into Lightroom.
- Find the center image and set exposure and white balance.
- Copy those settings to all the other images.
- Using whatever method you favor, examine the center image of each set closely.to make sure that it’s properly focused. For good lenses, you should see pronounced aliasing and false color.
- Select the set with the sharpest center image. For good lenses, you should see pronounced aliasing and false color.
- Crop one of the images so that only the target shows. If you pick the image with the target centered and you’re using a short lens, leave a little room because the target will be bigger in the corners.
- Copy that crop to all the other images.
- In each image, move the crop area to cover the target. Do not change the size or shape of the crop area.
- Compare crops of opposite sides: Upper right against lower left, top center against bottom center, upper left against lower right, and far right center against far left center.
You can make the comparisons easy if you export all nine image to layers ito Photoshop, make the canvas 300% in both directions, and move the layers so that they reflect the orientation of the target, like this:
