While not directly about the camera, this is one in a series of posts that relates to the Nikon Z6. You should be able to find all the posts about that camera in the Category List on the right sidebar, below the Articles widget. There’s a drop-down menu there that you can use to get to all the posts in this series; just look for “Nikon Z6/7”. This is also relevant to the Fuji GFX 100; for other posts about that camera, look at Category “GFX 100”. This is also a continuation of testing that I’ve been doing on the Epson P800 printer. I’ve created a category called “Printers”, and put this post in that category. If you go to the Category List (on the right in the desktop formatting), find “Printers” and click on it, you’ll see all the posts in that series.
In the previous post, we looked at the results of resizing files from three different camera/lens combinations:
- Fujifilm GFX 100, Fuji 110 mm f/2 lens, set to f/5.6. That’s not the sharpest aperture for that lens, but the sharpness is not far down from its best there. Lightroom sharpening amount = 20, radius = 1, detail = 0. Image height is 8776 pixels and image area is 101 megapixels.
- Nikon Z6, FX mode, Zeiss Otus 85 mm f/1.4 lens, set to f/4. That’s not the sharpest aperture for that lens, but the sharpness is not far down from its best there. Lightroom sharpening amount = 30, radius = 1, detail = 0. The increase sharpening is to compensate for the (weak) AA filter on the Z6. Image height is 4000 pixels and image area is 24 megapixels.
- Nikon Z6, DX mode, Zeiss Otus 55 mm f/1.4 lens, set to f/2.8. That’s pretty close to the sharpest aperture for that lens. Lightroom sharpening amount = 30, radius = 1, detail = 0. The increase sharpening is to compensate for the (weak) AA filter on the Z6. Image height is 2780 pixels and image area is a bit less than 12 megapixels.
If you haven’t already done so, please at least skim the earlier post.
Now I’ll look at resizing the full frame and APS-C images to the size of the GFX 100 one using a smarter resizing program: On1 Resize, which has roots in the Genuine Fractals resizing program of yore.
First, the Siemens Star:
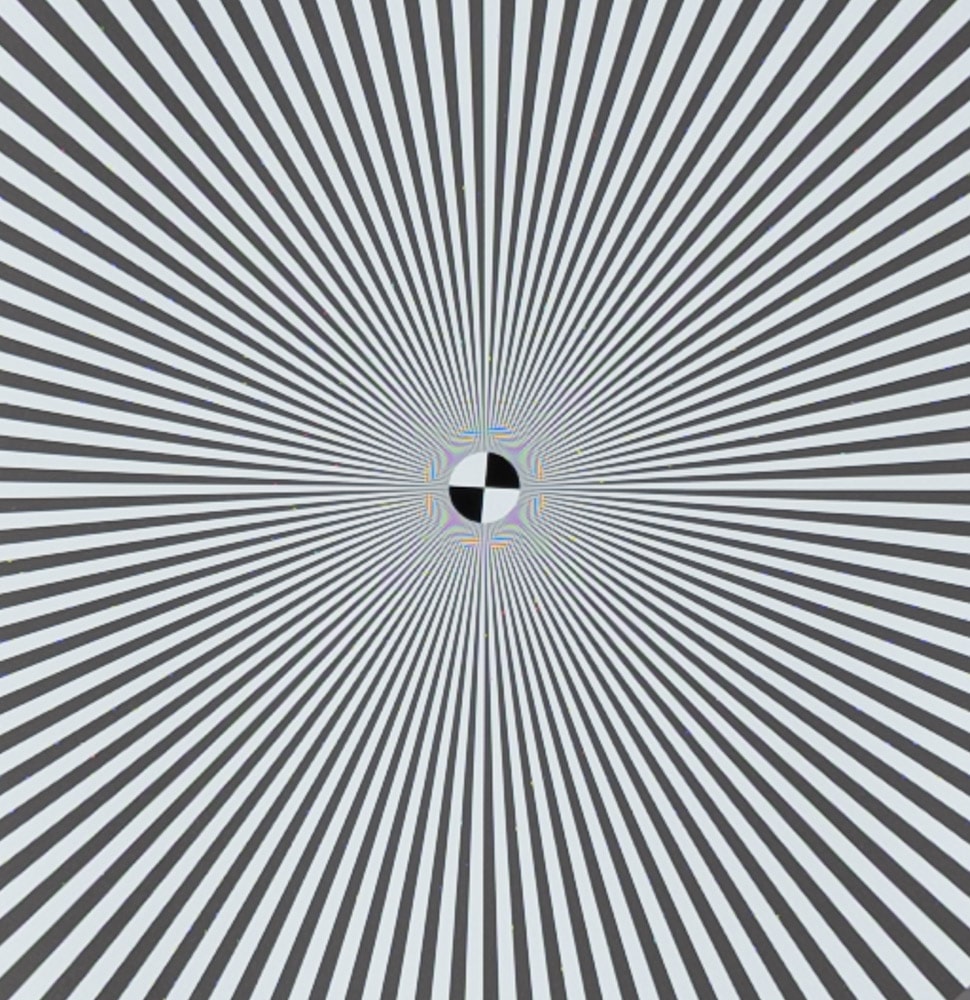
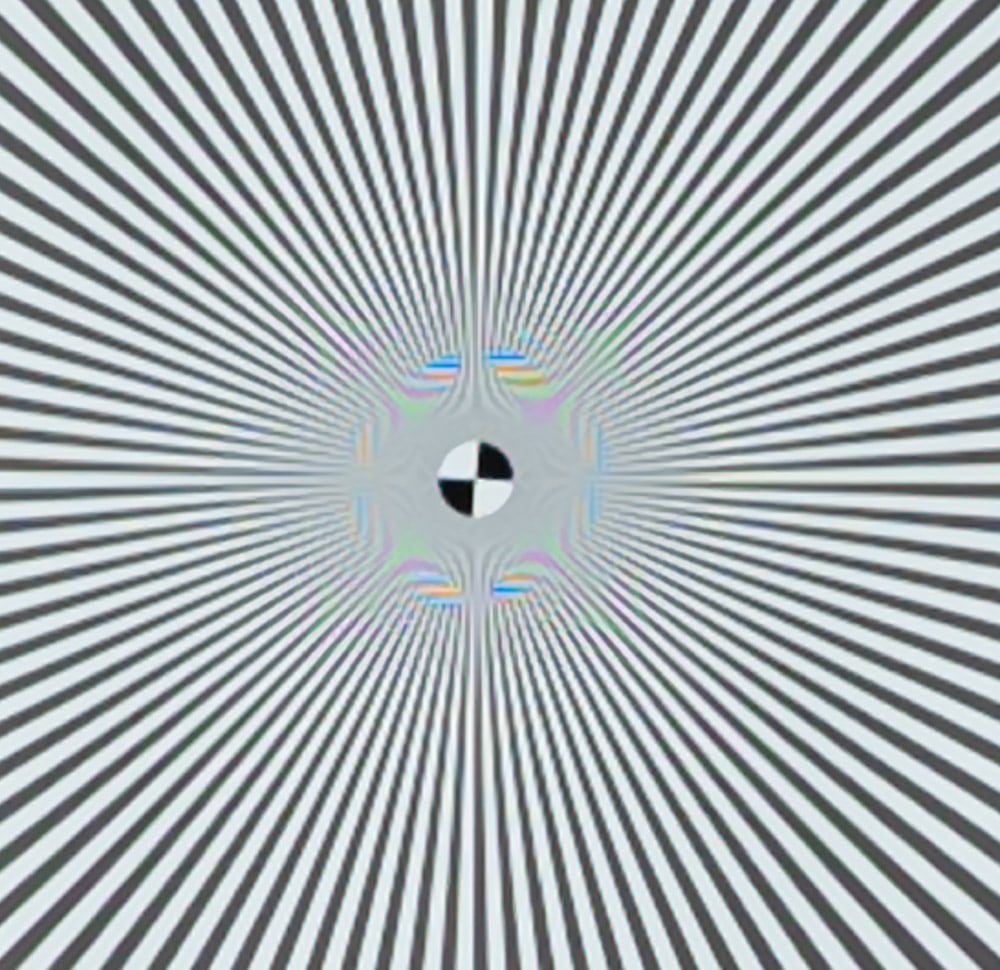
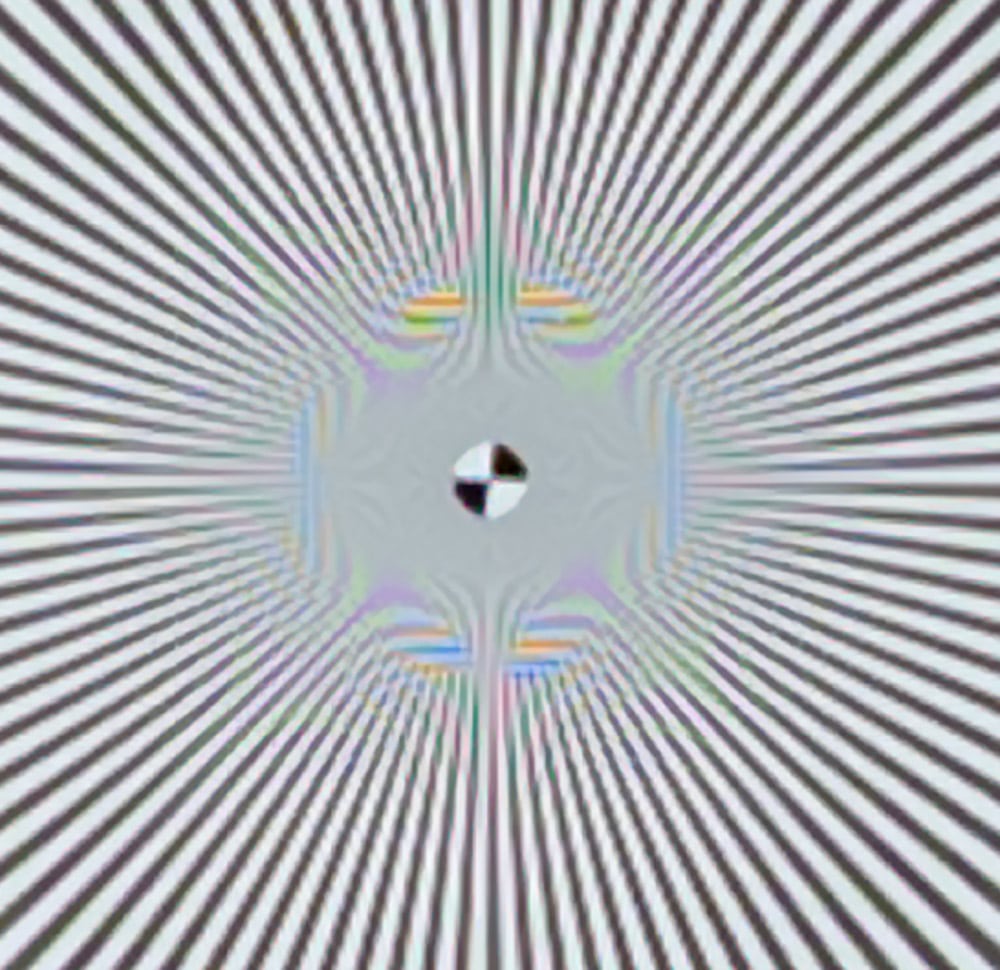
On1 is definitely crisper than the Lightroom export resizing, but it can’t come up with the detail that’s missing in the two Z6 shots.
Now with a natural subject:
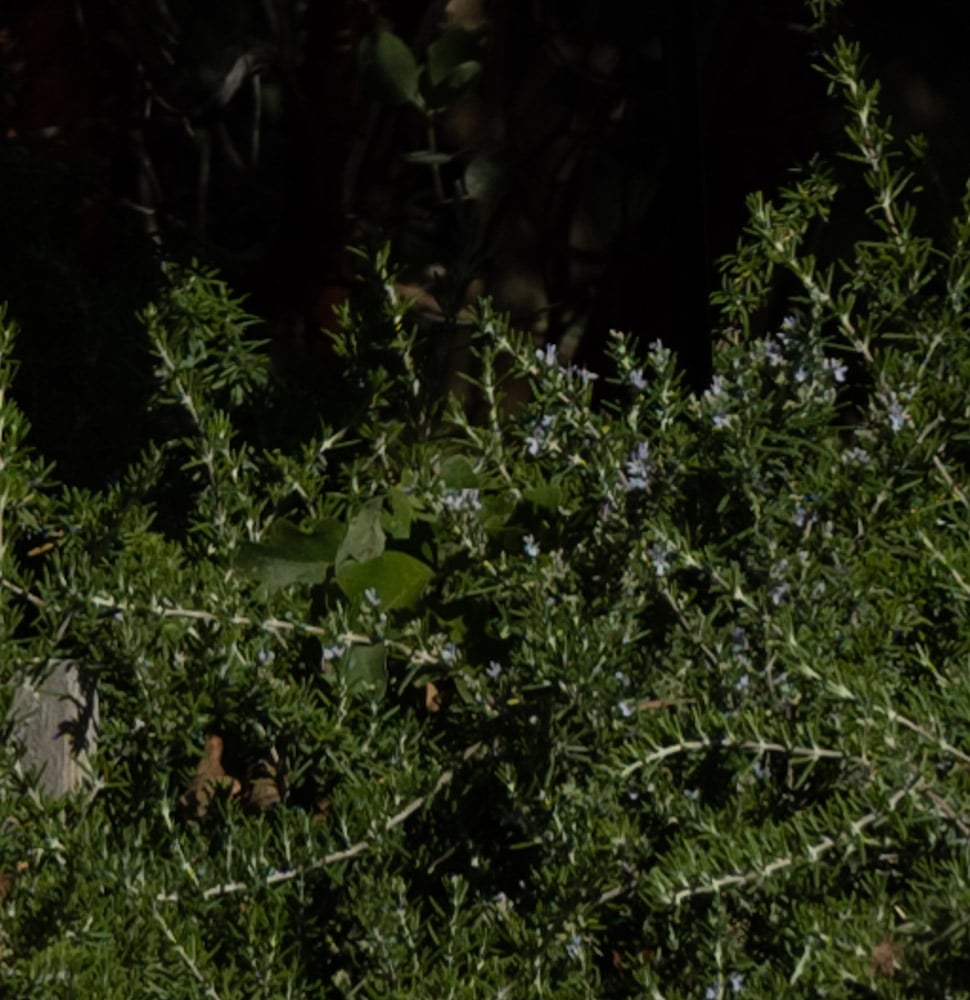
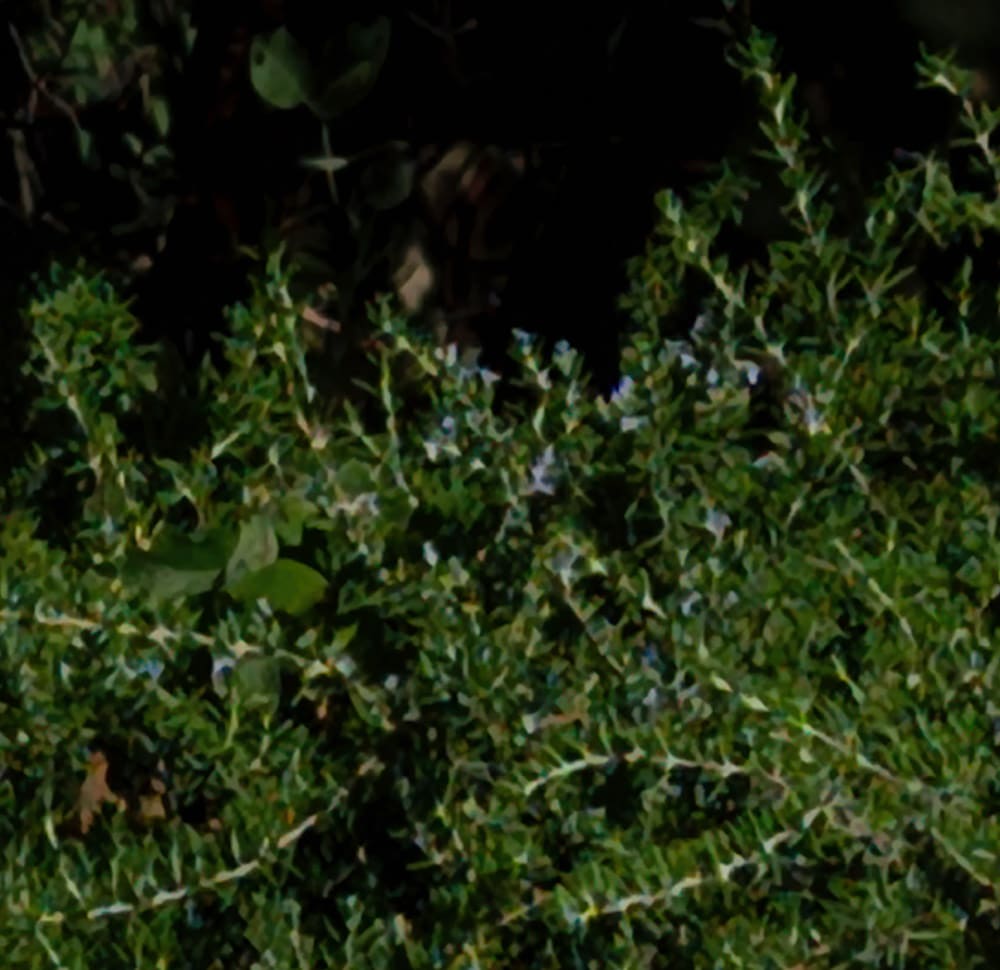
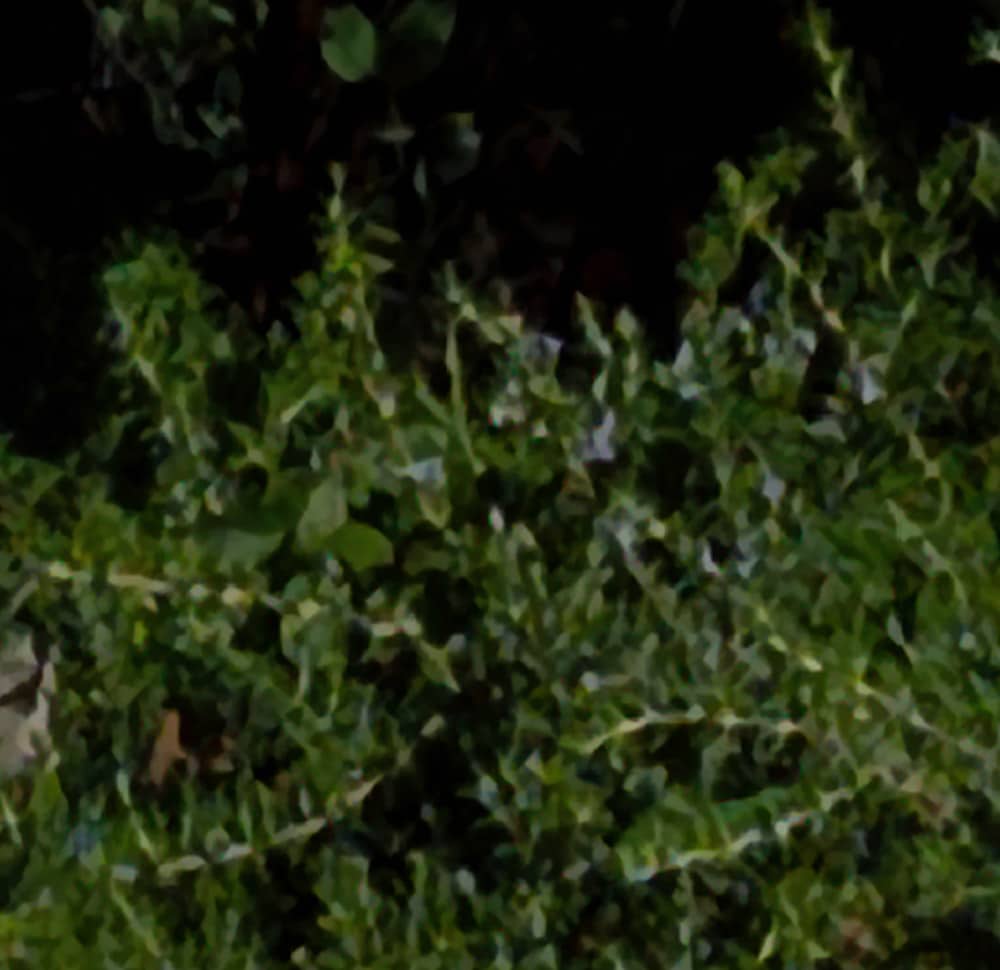
The ON1 details look fake from up close, but from a distance, they don’t look half bad.
Now with another part of the image:
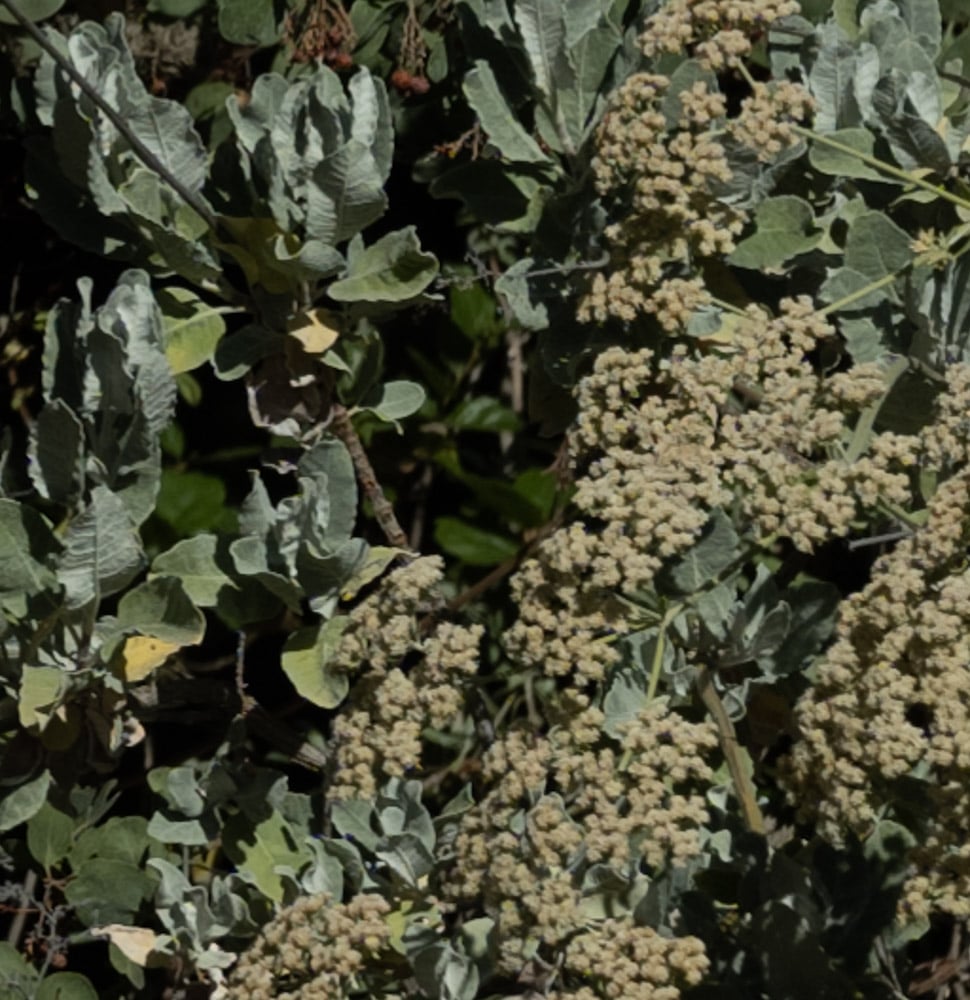
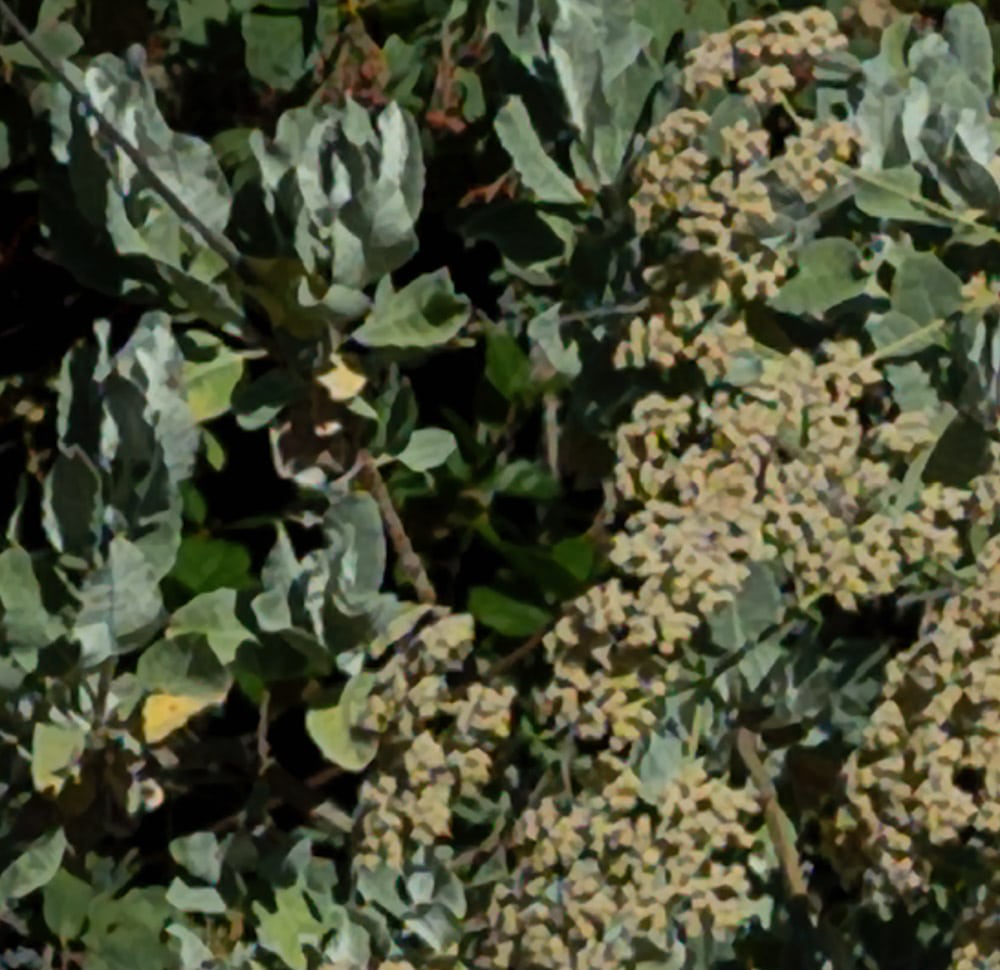

Testing note. ON1 resize is terribly slow on my 256 GB, 16-core workstation, sometimes locking up the Win 10 GUI for minutes at a time, while throwing up random reports in the progress bar that are as likely to indicate less progress than the update before as they are to indicate that we’re getting somewhere:
In the next post, I’ll look at another resizing tool.

[…] If you haven’t already done so, please at least skim the earlier posts. Here’s the first one. Here’s the second one. […]