This is the sixth in a series of posts about the Nikon 70-200 mm f/2.8 S lens for Nikon Z cameras. The series starts here.
Earlier, I tested the 70-200 mm f/2.8S lens against the E version using a foliage for a subject. Yesterday, morning I made a series of shots intended to test the two lenses against each other with a more demanding target, a Siemens Star. Unfortunately, the test proved to be more about comparing the way the camera auto-focuses with the lens, rather than a test of the lens itself. Or so I thought. I couldn’t believe the S lens was that much worse than the E lens.
Today I made a series of tests using phase-detect autofocus on the Z7 with both lenses. I figured the CDAf I used yesterday was a problem with the Siemens Star target. When I looked at the results, the E lens was still the big winner. I didn’t think there was that much difference, so I ran another series of tests on the S lens using manual focusing, which is a huge PITA with some combination of the lousy focus-by-wire on the Z7 and the super fast focusing ring on the lens.
Usually I save my summary for the end, but since there are so many images for you al to wade through in this post, here it is. The E lens is just a sharper lens at 200mm. It is sharper on axis, and it is sharper in the corners. And it’s not because I have a bad copy of the S lens. I checked out my sample, and it is well constructed. I don’t think the differences are anything you’d notice in most real-world photography — they didn’t show up on the foliage test — but they are there and they are repeatable. This is the first S lens I’ve tested that wasn’t a big step up from the equivalent F-mount lens.
Here’s the test protocol:
- Focal length 200 mm
- Subject distance: 41 meters
- ISO 64
- Manual exposure, ETTR in live histogram.
- Subject in the center and the upper right corner.
- AF-S small-square focusing, and, in the case of the S lens, manual focusing with peaking on at maximum magnification.
- Three shots at each setting, focusing anew for each shot, picking the best. This method calibrates out focus curvature.
- Developed in Lightroom
- Sharpening set to amount 20, radius 1, detail 0, which is quite a bit less than Lr’s default sharpening.
- Daylight white balance
- Adobe Color Profile
- Minor exposure adjustments, with same adjustment applied to all images from both lenses, so corner darkening is unaffected.
- Chromatic aberration correction turned off.
- Everything else at default settings
We’ll look at some tight crops.
If you’ve seen these here before, just jump to the images. If not, I need to spend some time telling you how to interpret them. They’re at roughly 250% magnification, enlarged to 700 pixels high on export from Lightroom. If you just want a rough idea of the differences, just look at the images as displayed in-line in the posts. However, if you wish to compare these images in detail, you should view these images by clicking on them to see the source files, then set your browser for 100% zooming. Even better, download them and make Photoshop stacks.
No matter what you do, these crops are all going to look horrible. I’m blowing them up so much so that they will represent the original file after JPEG’s discrete cosine transform has had its way with them. If you want to get a good idea of what the images would look like printed, get far away from your monitor. No, farther than that. Put a bunch of the images up on the screen and back up until the best one starts to look good. Then look at the others. There’s another reason why these images won’t look like the best thing the camera/lens combination can deliver. They’re demosaiced with Lightroom. Lightroom is not awful, but for a particular image, there are usually better raw processors. I use Lr because it’s a de facto standard, because I know it well, and because it’s got good tools for dealing with groups of images.
Here’s how to use these highly-magnified crops. The dimensions of the Z7 sensor is 8256×5504 pixels. If we make a full-frame print from the Z7 on a printer with 360 pixels per inch native driver-level resolution, like the Epson inkjet printers, we’ll end up with a 26.4×17.6 inch print. The 317×246 pixel crop you’re looking at will end up 0.8×0.68 inches. Let’s imagine that you or your viewers are critical, and will look at the 27×18 inch print from about 18 inches (conventional wisdom is that the distance would be a little greater than that, or 28 inches (the diagonal), but you did buy a high-resolution camera for a reason, didn’t you?).
The next step is dependent on your monitor pitch, which you may or may not know. Turns out, you don’t have to know it. Just take the 250% crops and view then at 1:1. How high are they? Get out your ruler and measure, or just guess. Let’s say they are 6 inches high. 6 inches is about 7 times 0.8, so in order to view the crops the way they’d look from 18 inches on the print is to view them from 7 times as far away, or 10.5 feet.
Everything here scales proportionately. If the image on your screen is bigger than 6 inches, increase your viewing distance by the ratio of your image height to 6 inches. If you think your viewers are going to almost get their nose to that print and look at it from six inches, divide that 10.5 feet by 3, and look at the image on the monitor from three and a half feet away.
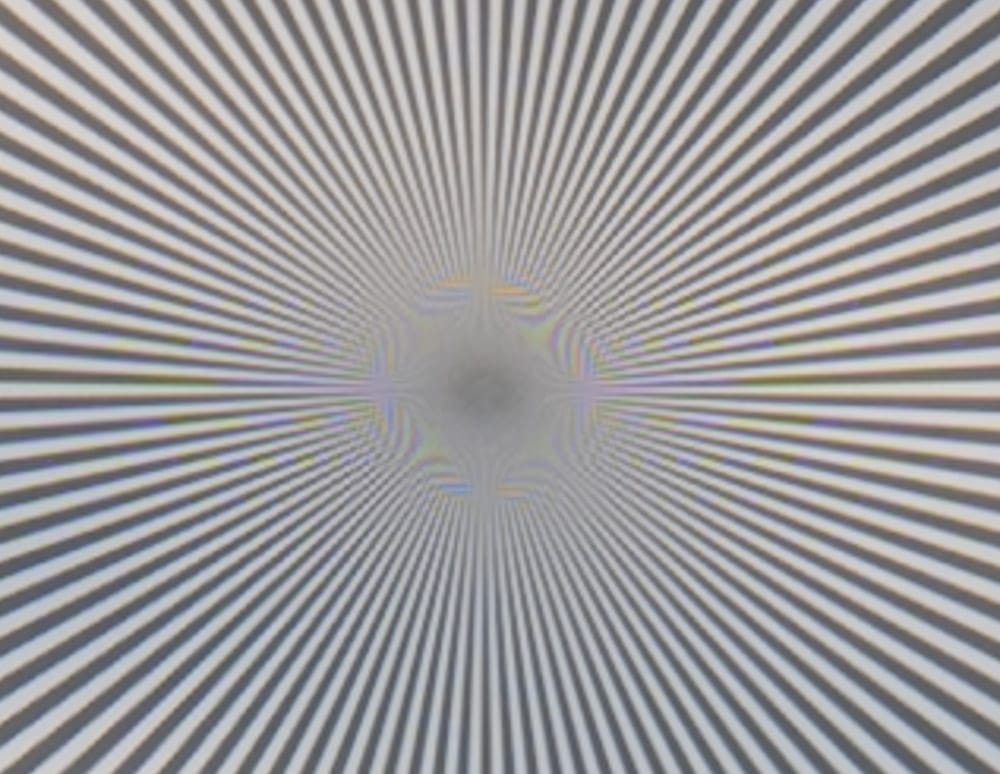
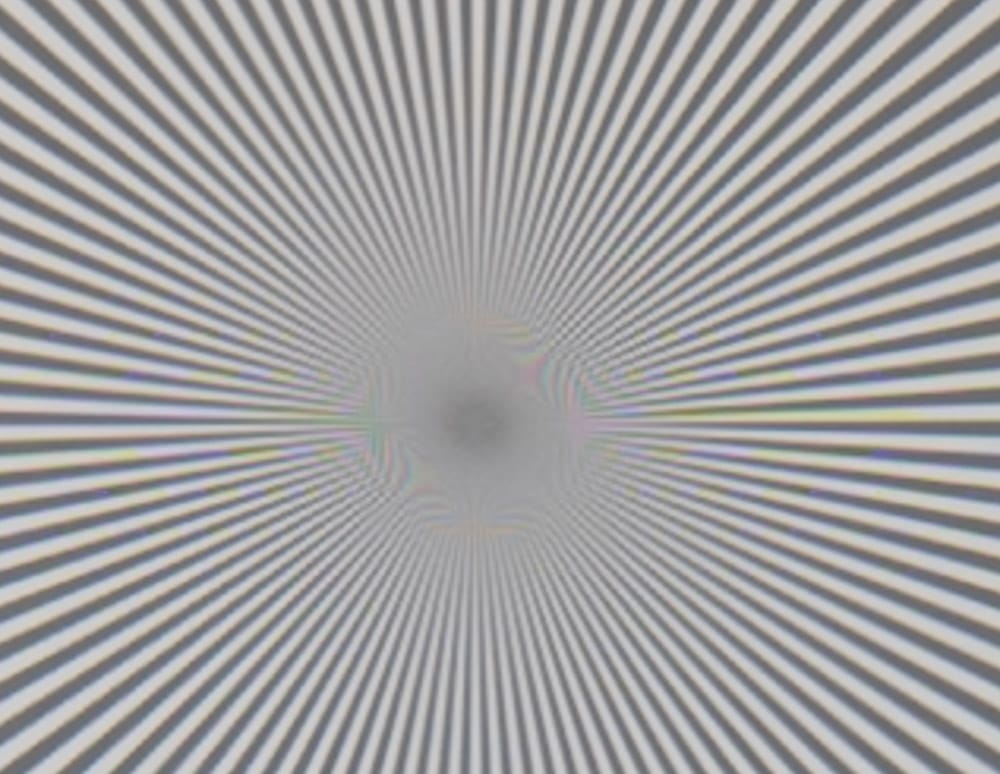
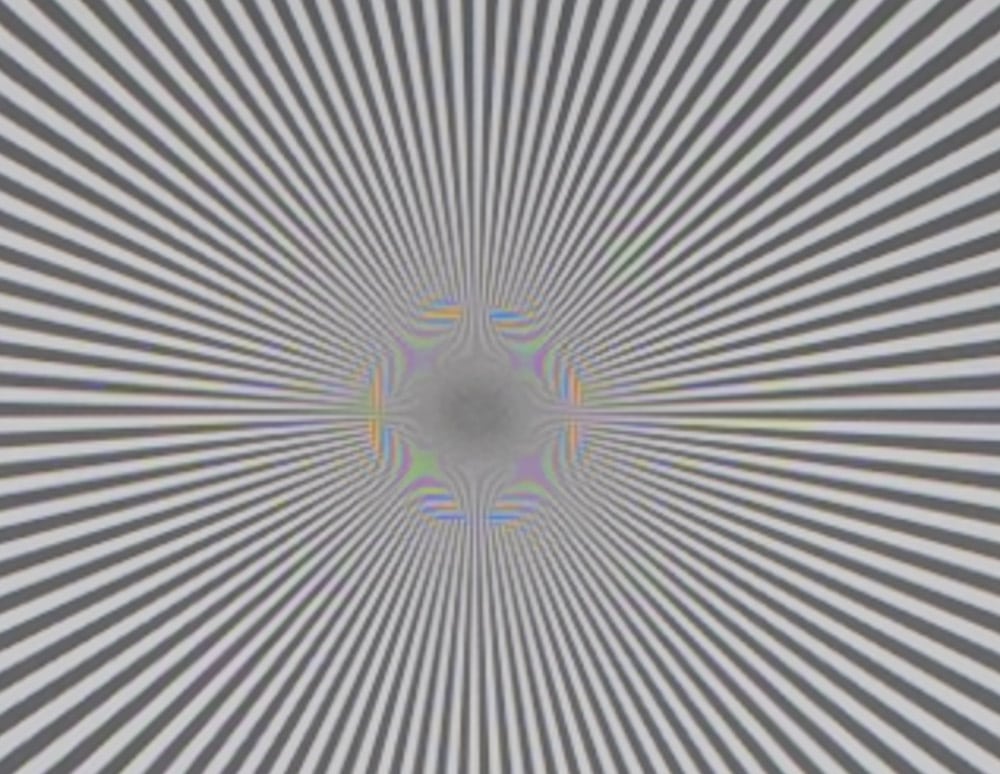
The E lens is more contrasty. The manually focused image is slightly out of focus.
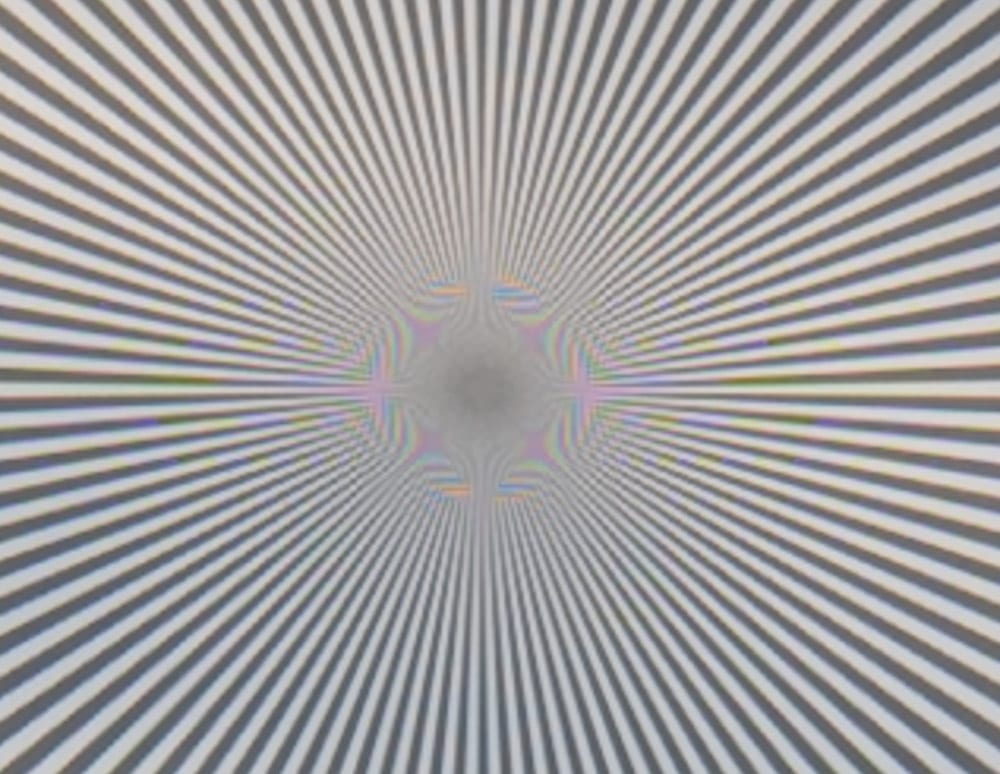
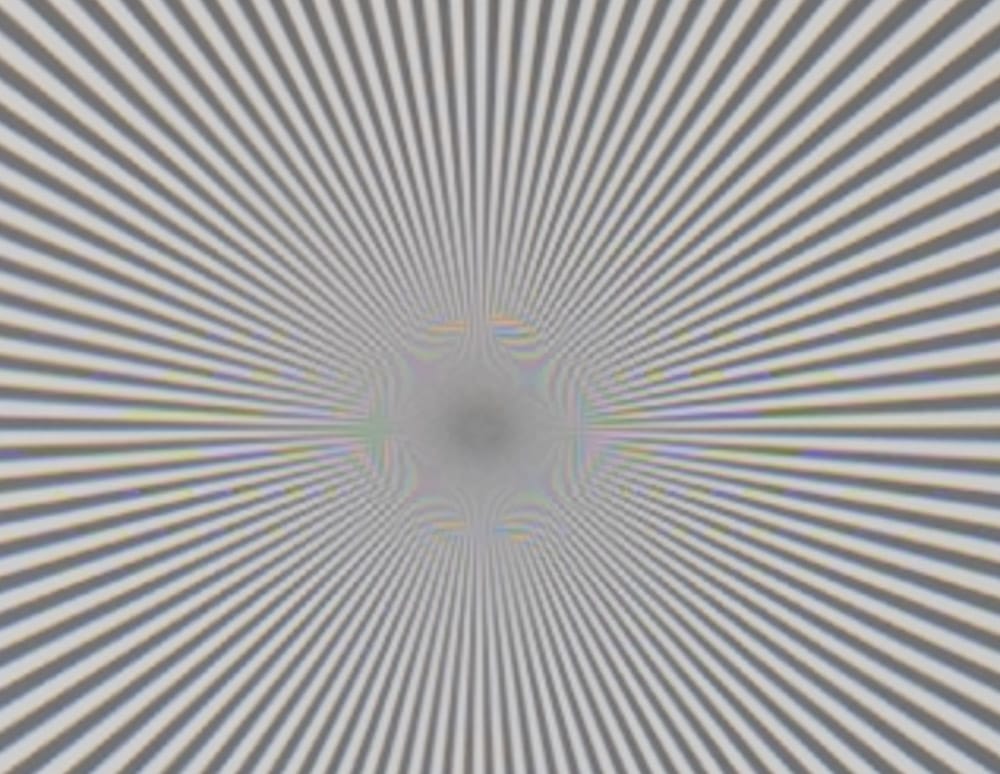
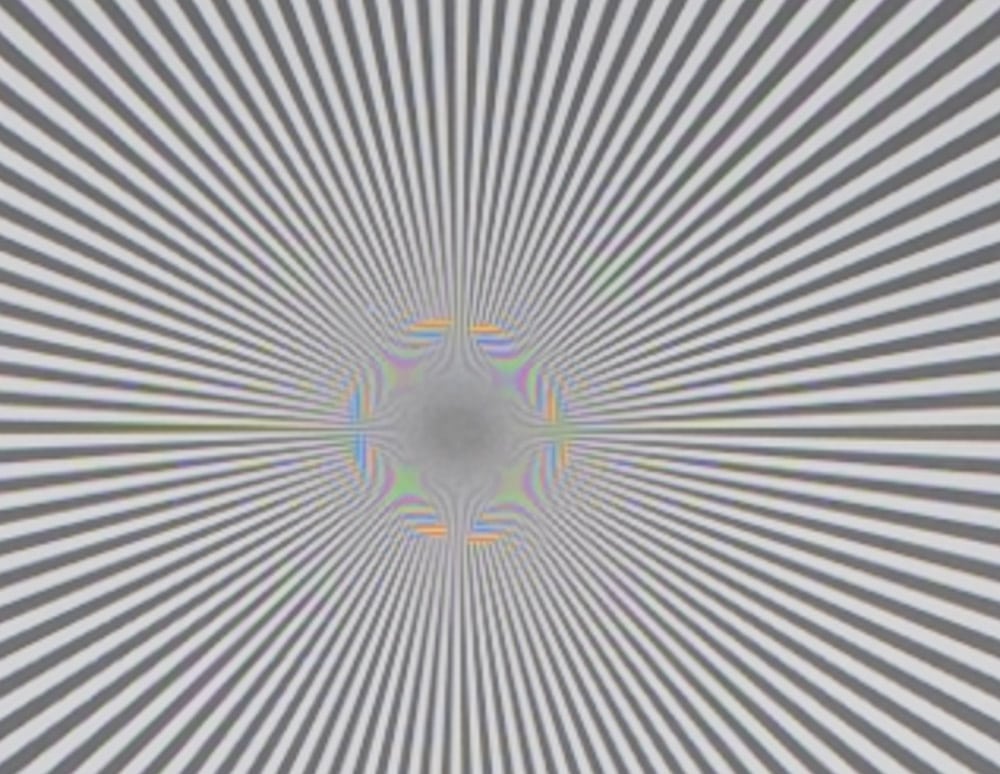
The two S images have similar sharpness. The E lens has more high-spatial frequency contrast than the S one.
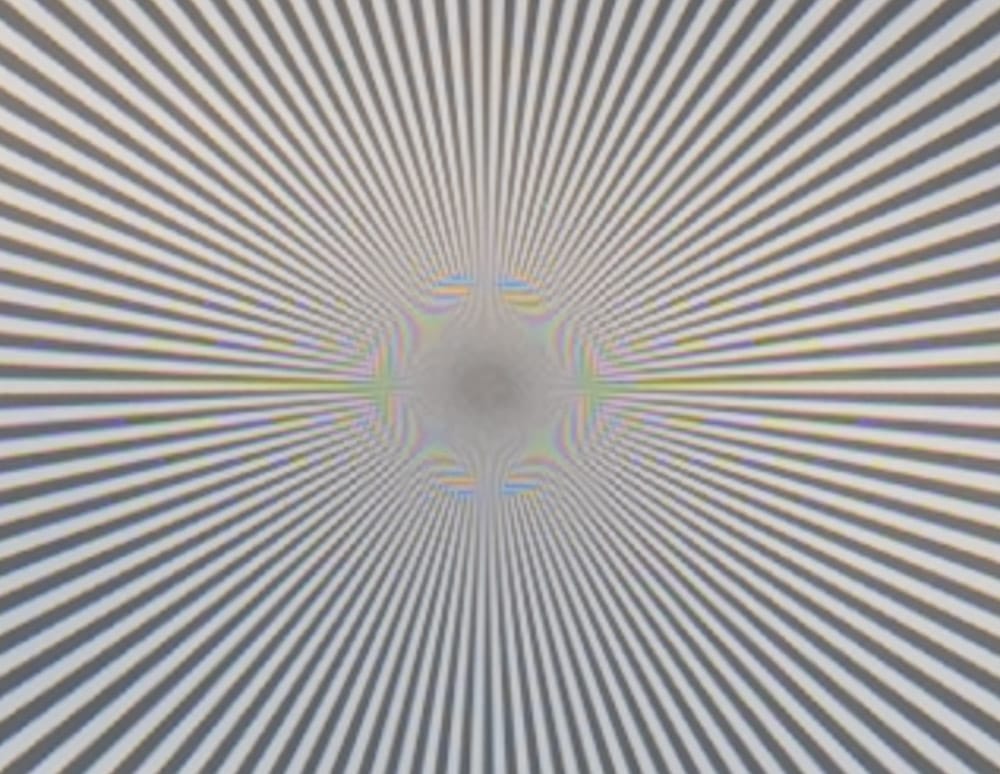
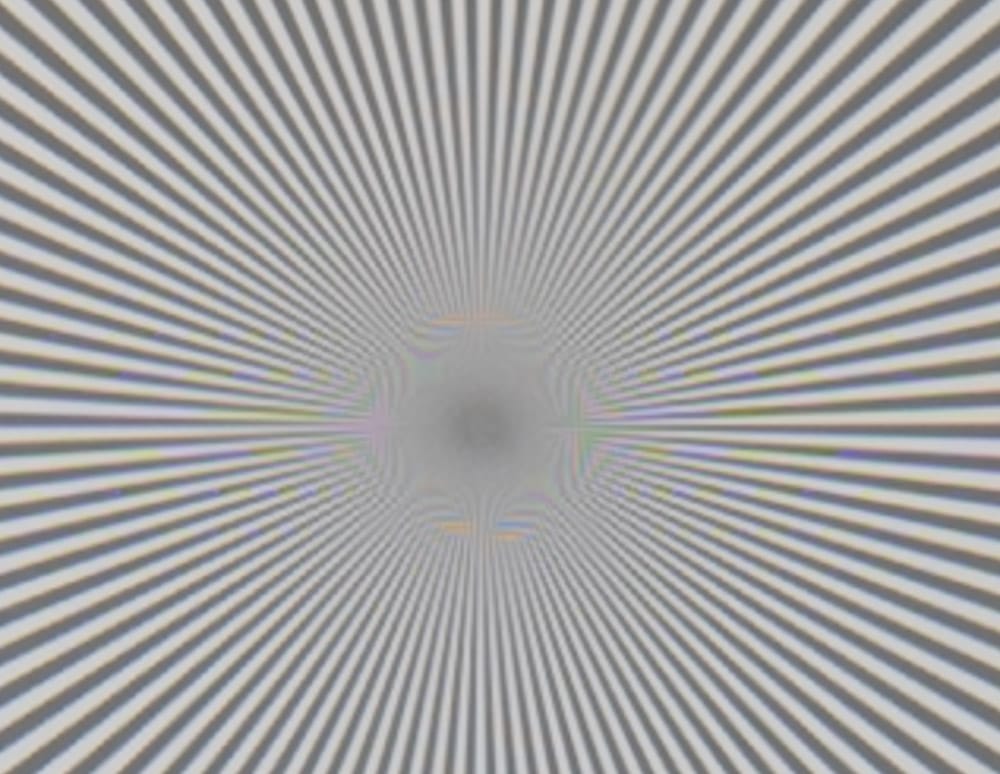
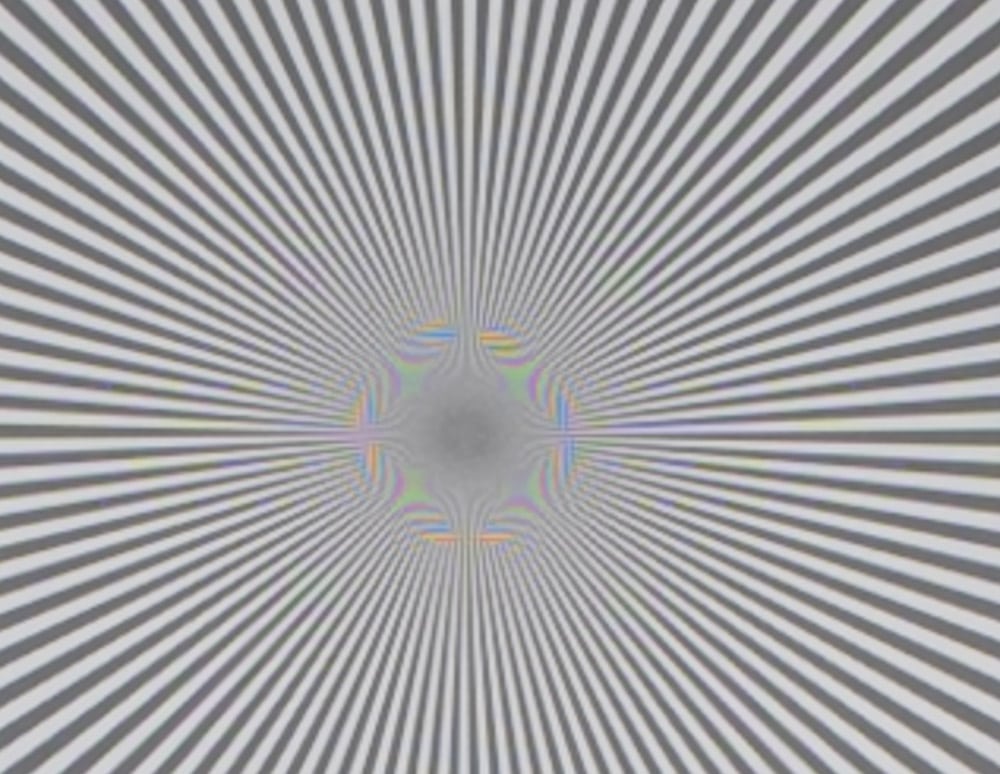
The S AF image is sharper than the MF one. It’s very close, but the E lens is slightly sharper here than the S lens.
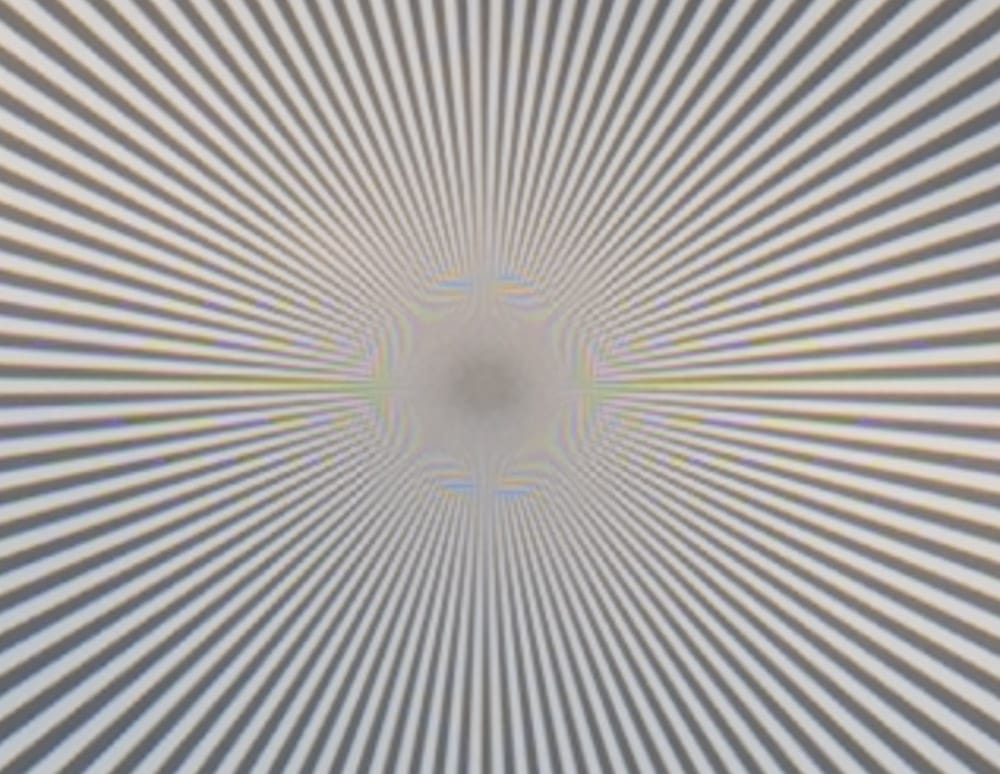
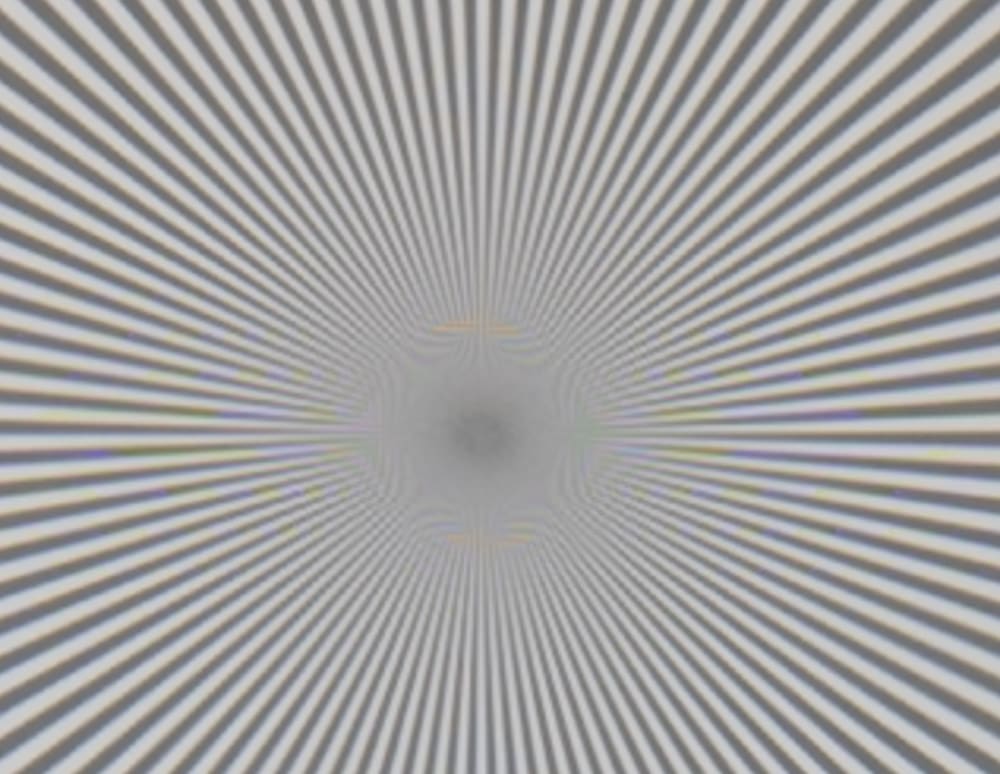
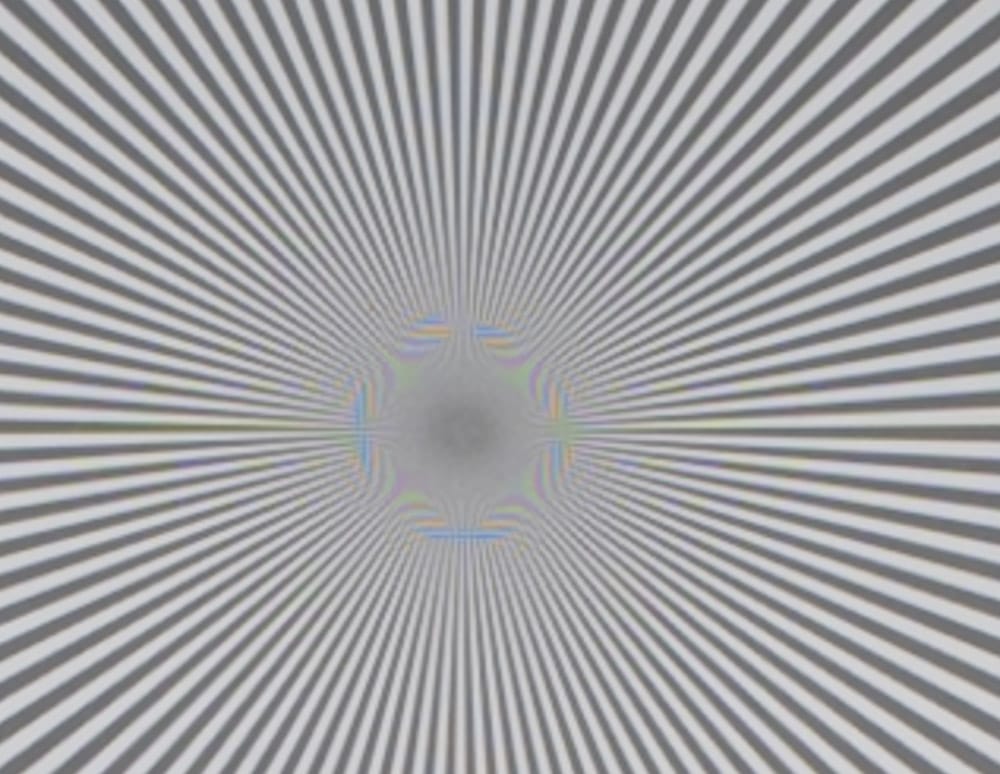
The E lens is sharper.
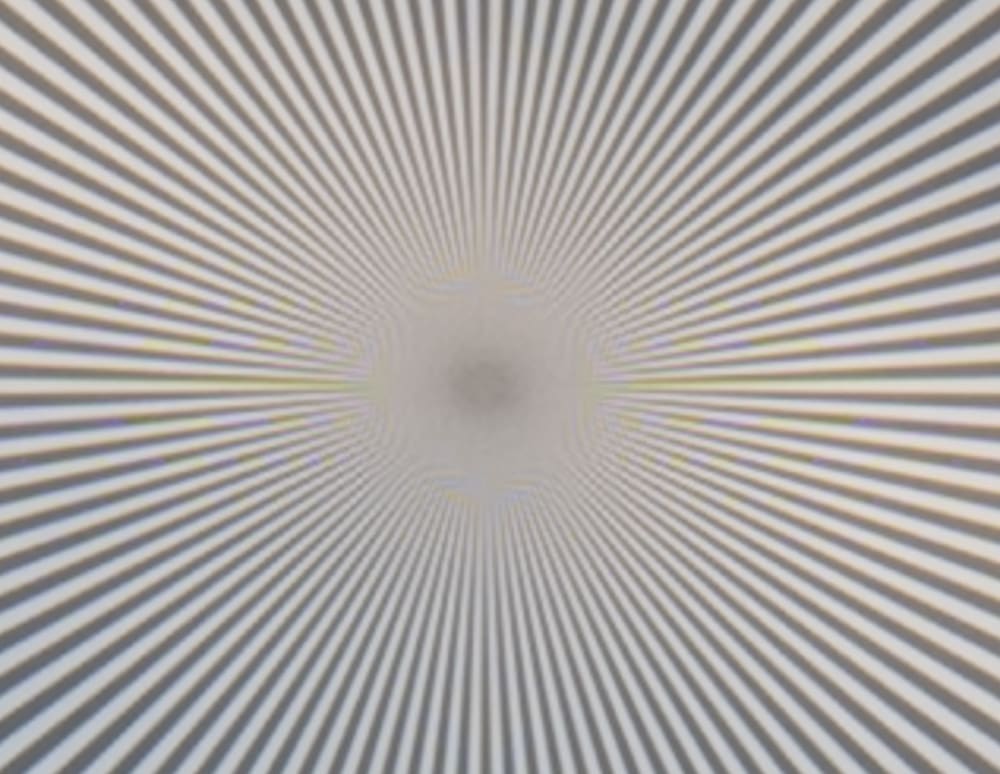
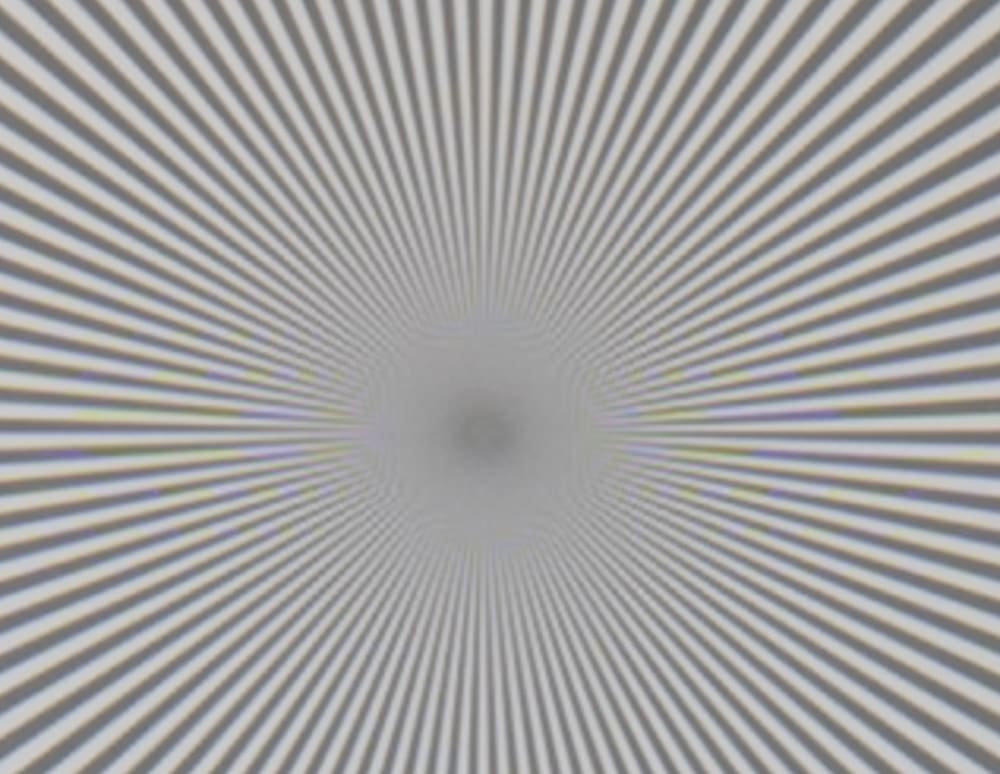
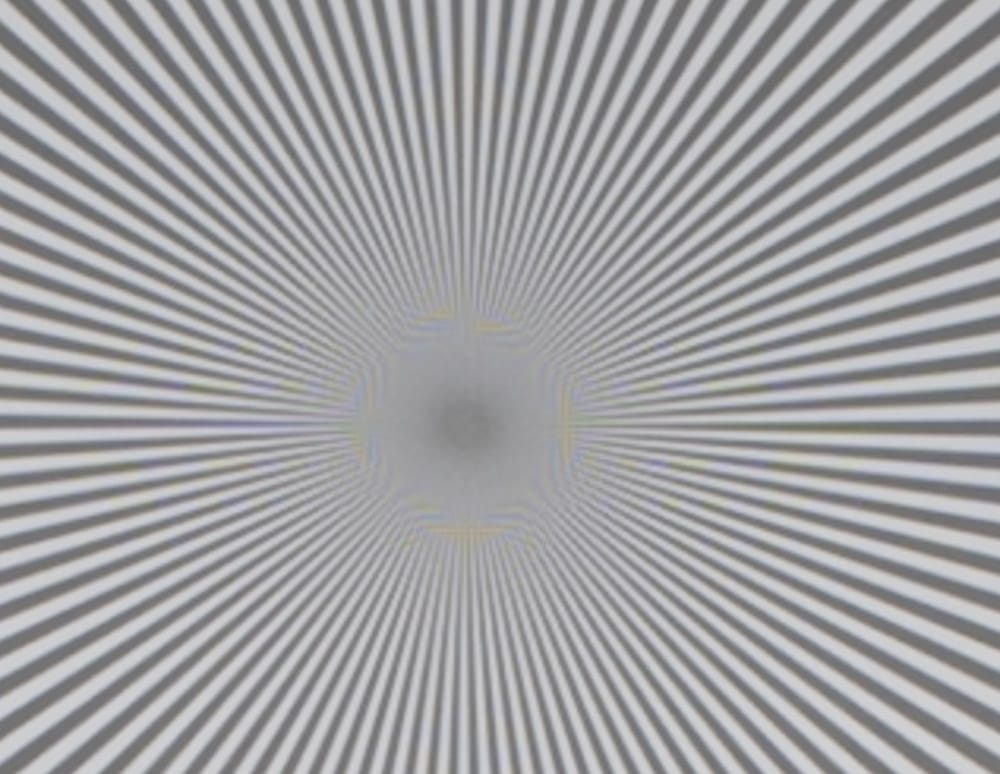
Those are all about the same. Diffraction is the great equalizer.
In the upper right corner:
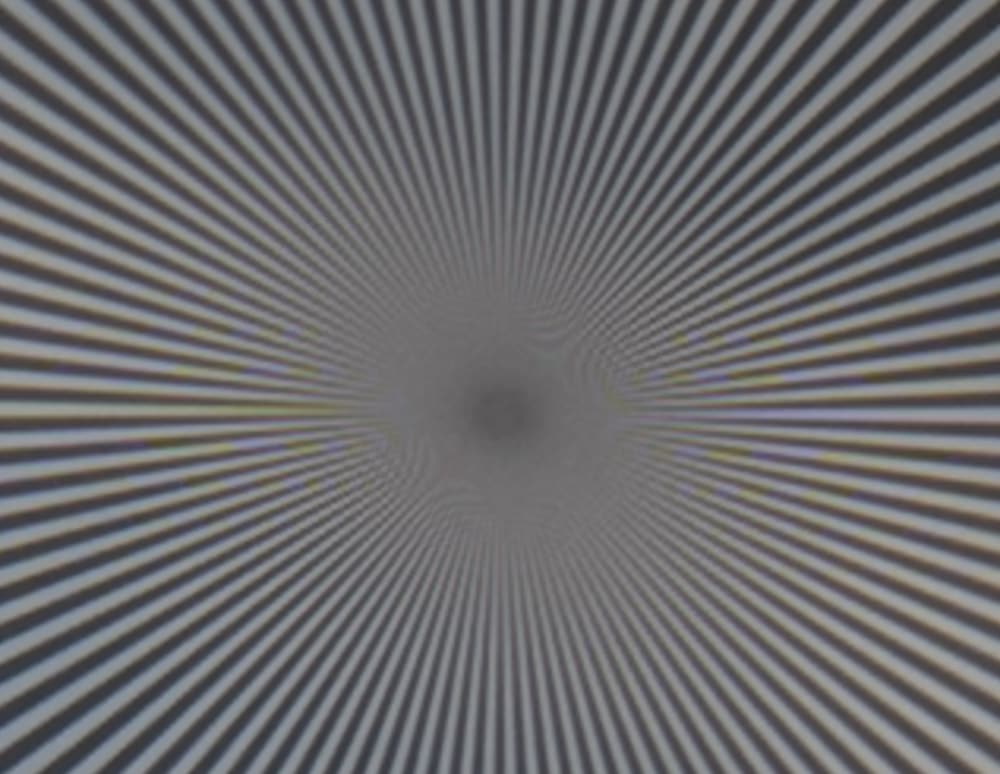
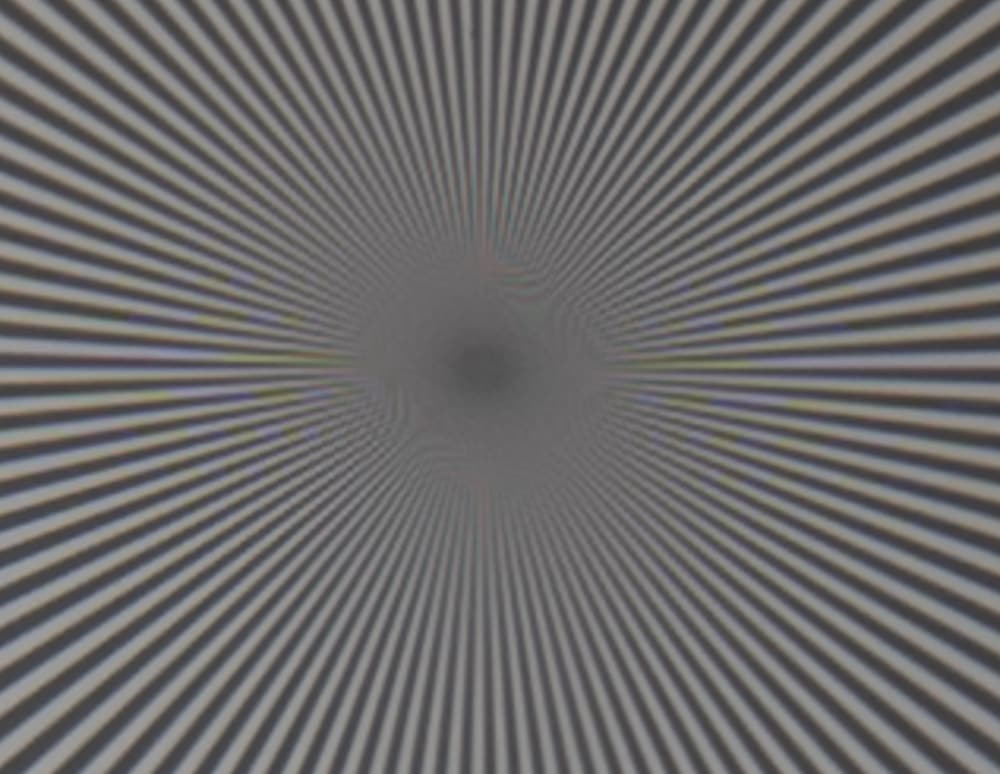
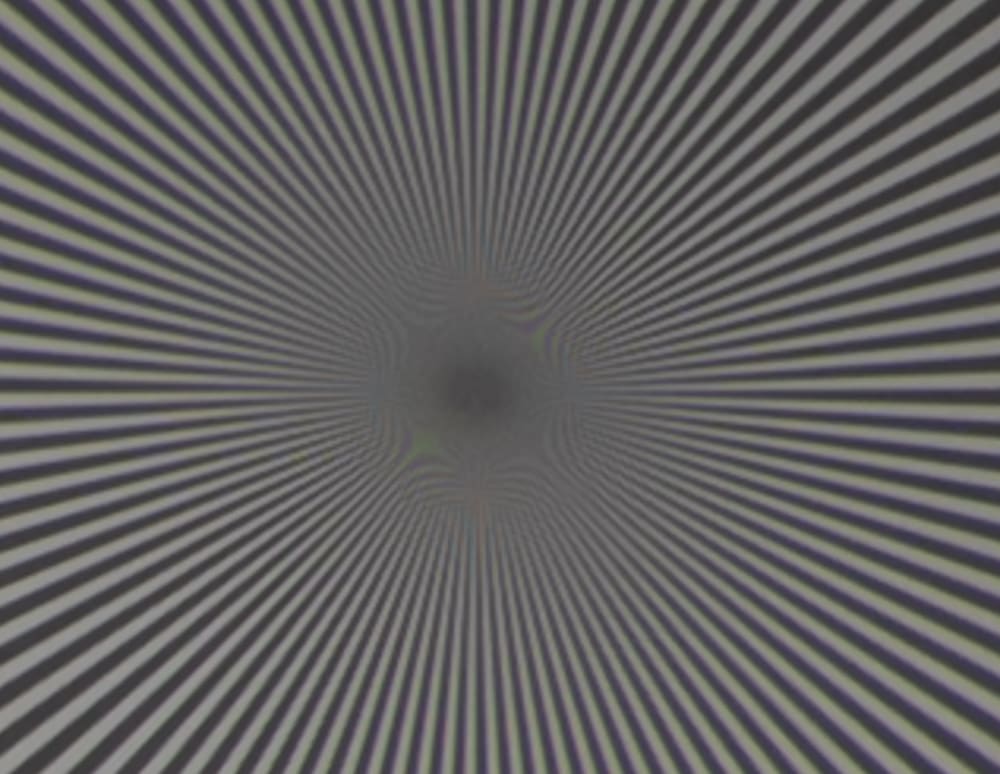
The E lens is sharper, and the sagittial and radial blurs are more nearly alike. Lens light falloff is noticeable.
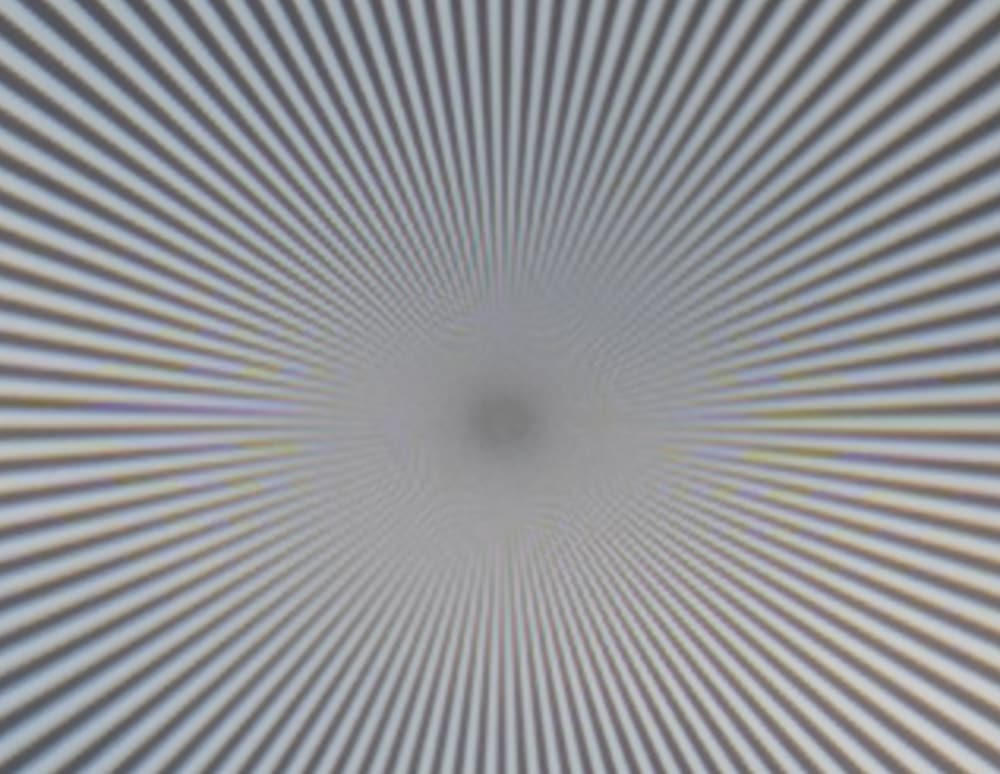

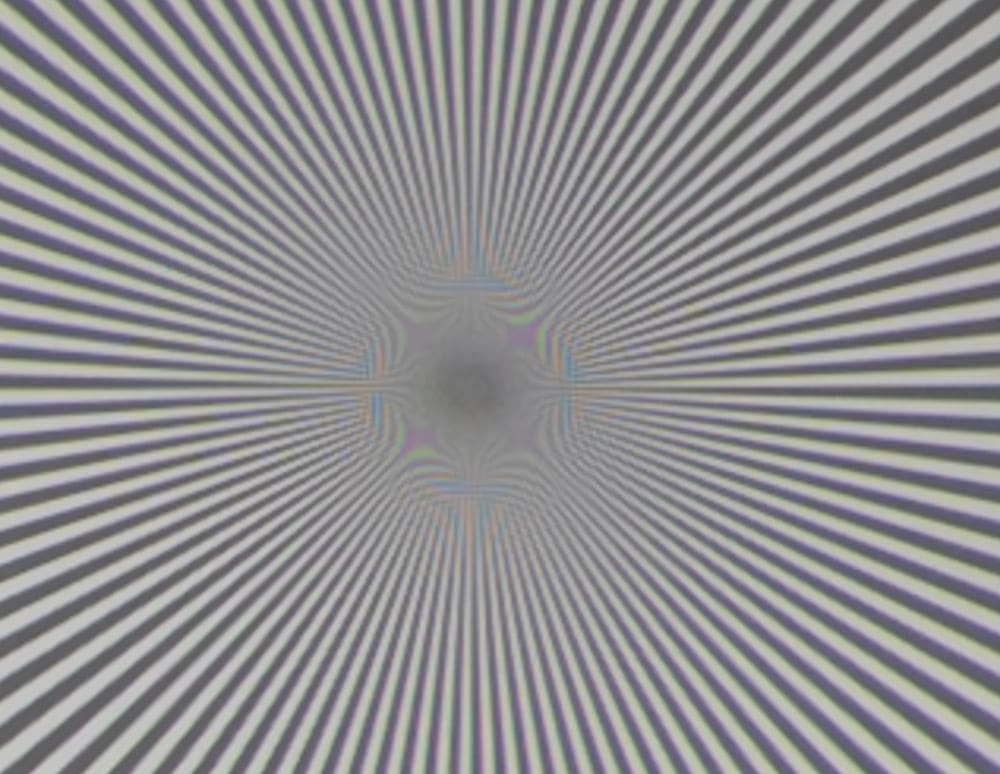
Then manually focussed S lens shot is much sharper than the PDAF one, but neither is up to the standard set by the E lens.
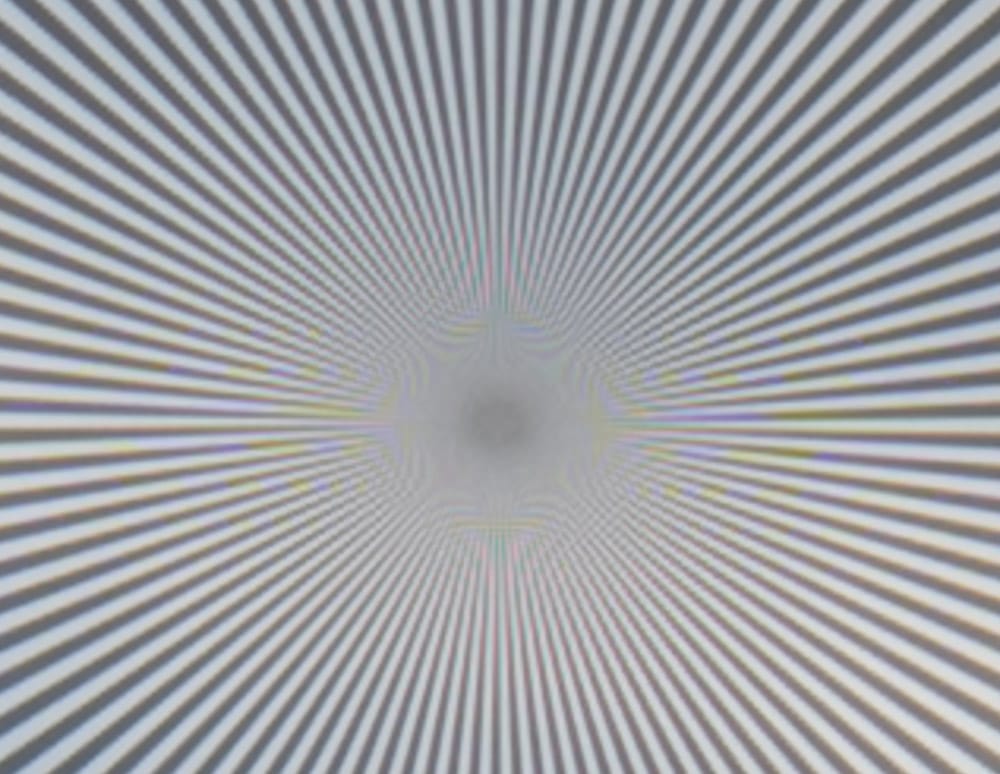
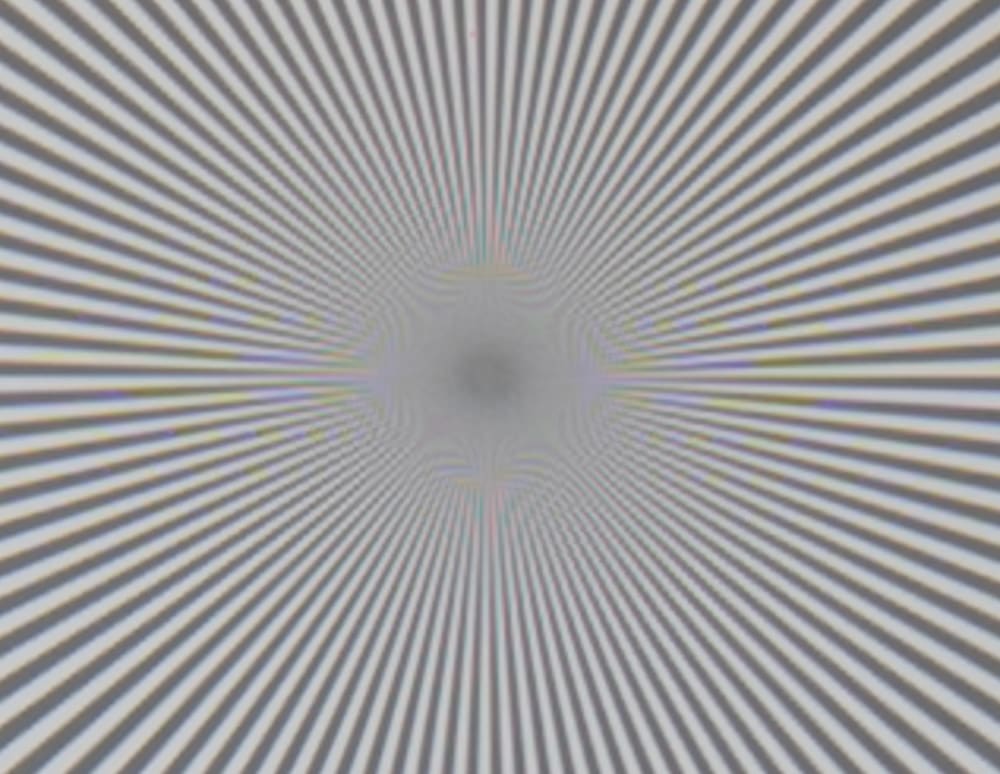
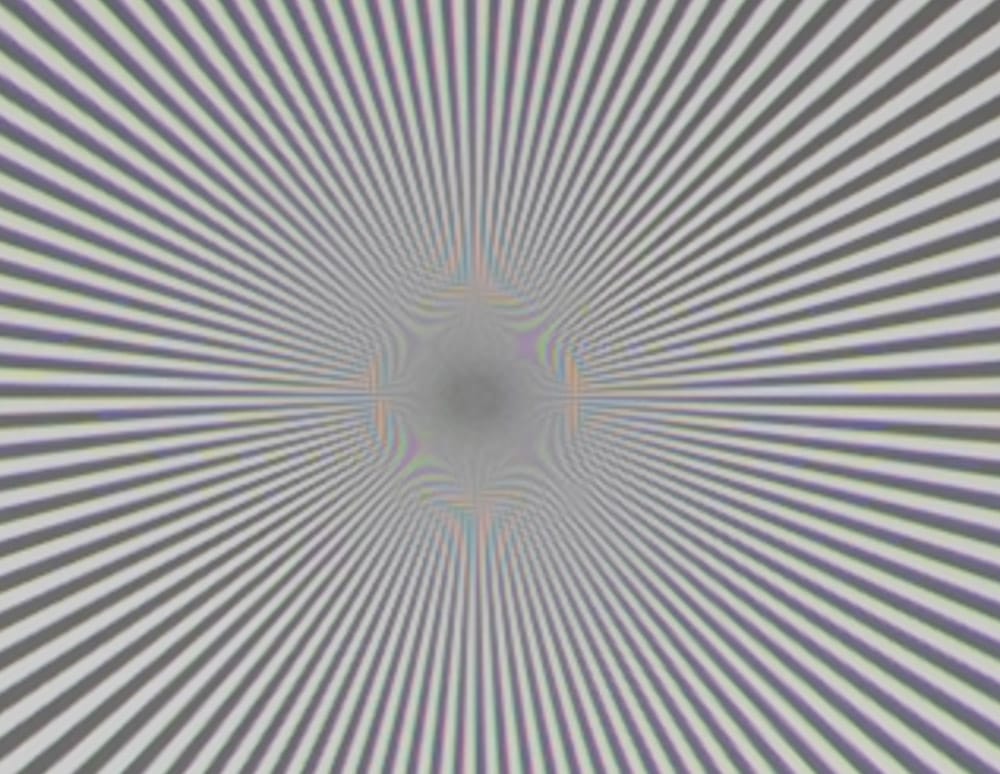
The E lens shot is sharper, but not by much.
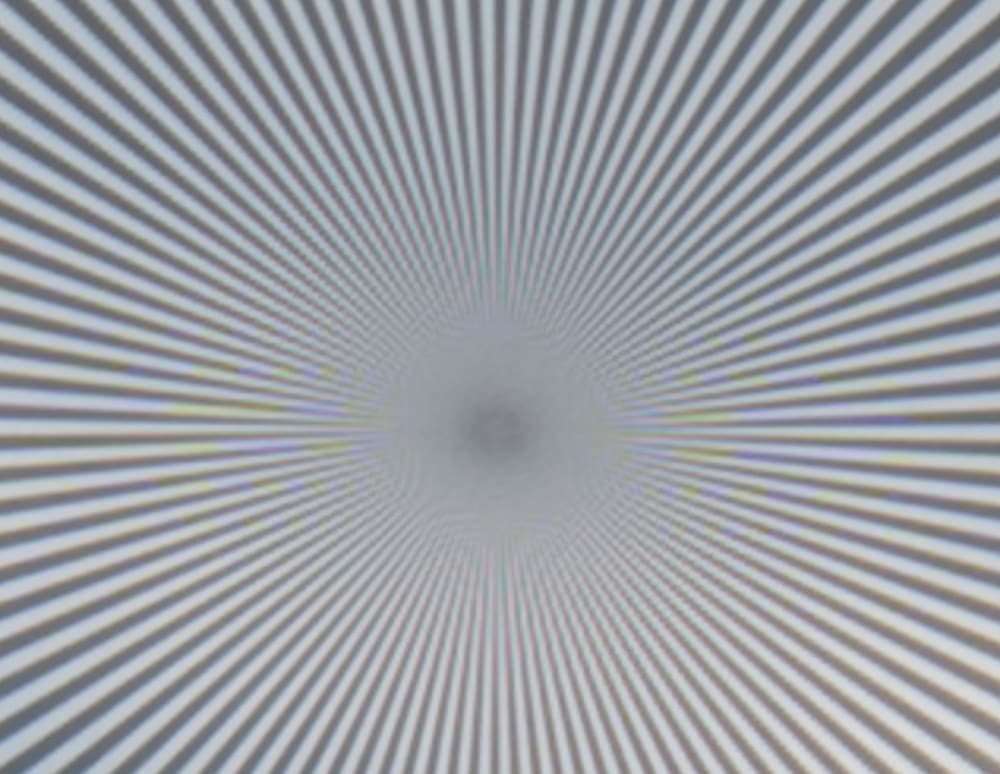
I goofed and didn’t shoot a manually focused corner shot at f/11.
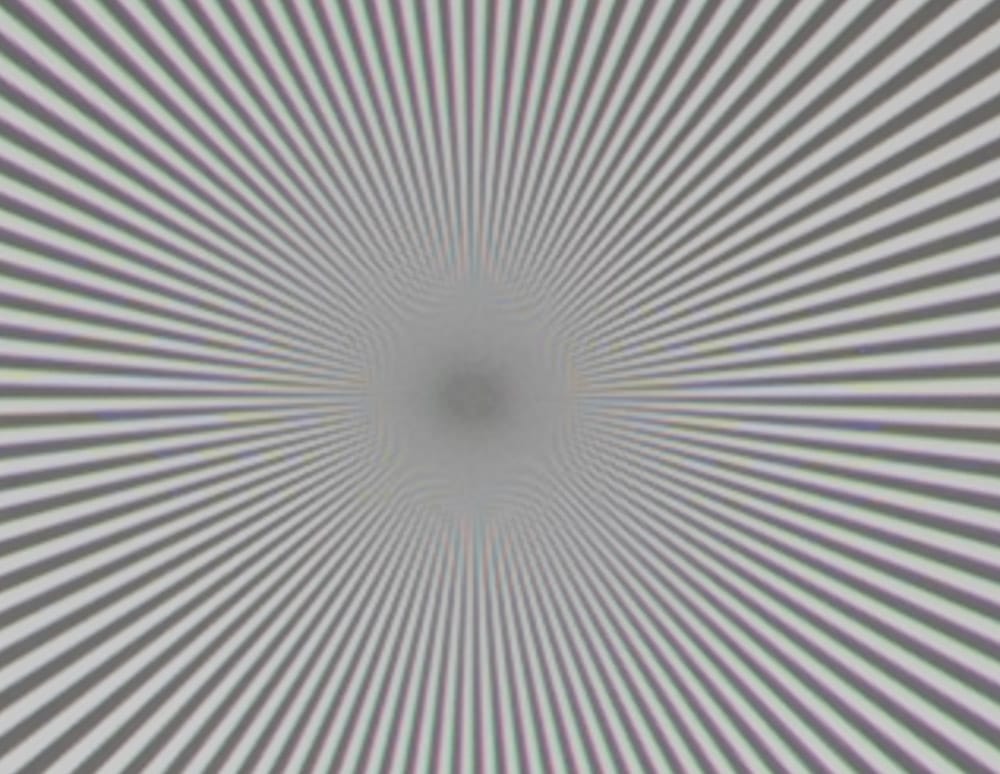
The E is sharper. That’s probably misfocusing with the S lens.
Erik Kaffehr says
I looked a bit at the LensRentals blog,
It seems that the Nikon 70-200/2.8 E lens is very sharp at the long end, which is quite unusual.
https://www.lensrentals.com/blog/media/2019/07/AF-S-Nikkor-70-200mm-f2.8E-FL-ED-VR-@-200mm_MTF_Average.png
On the other hand, it may seem that is weaker in the midrange:
https://www.lensrentals.com/blog/media/2019/07/AF-S-Nikkor-70-200mm-f2.8E-FL-ED-VR-@-135mm_MTF_Average.png
I would guess that we see a bit of field curvature here, as tan and sag are pretty close.
So, looking at 200 mm could be comparing the strong end of the ‘E’ lens with what may not be the strong point of the ‘S’ lens.
Also, the E-lens is a recent design, it is not obvious that the ‘S’ would be better.
Also, LoCA and LaCA may be better on the S, but LaCA would of course show up on the Siemens star.