Much has been made of the absolute brightness of the display used for image editing. A common cause of having your prints come out too dark is having your display too bright. This is now fairly well understood by many, but new people entering the digital photography arena often encounter it, especially now that average monitor brightness is much higher than it was in the CRT, or even the florescent-backlit LCD, days.
The issue of the surround gets relatively less press, but is at least as important. What’s the surround? It’s the border around the image, which plays a large role in the state of adaptation of your eye, and the appearance of colors. Let’s look at the same image with three surrounds (to get the full effect, enlarge the images below so that they fill up the whole screen of your display):
The image with the light surround looks darker, doesn’t it? And the changes in lightness aren’t the same all across the tone curve.
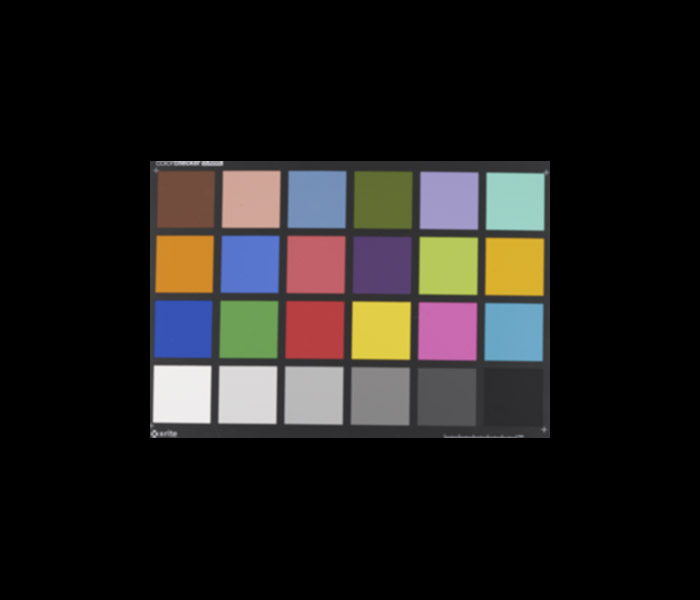
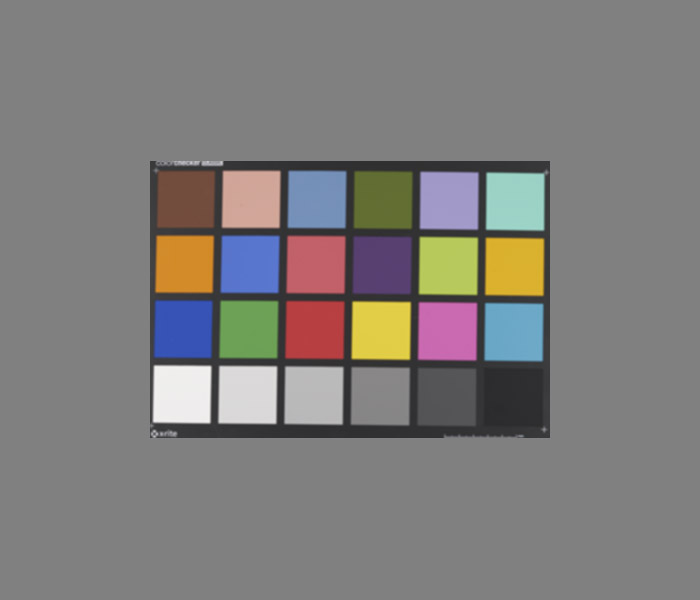
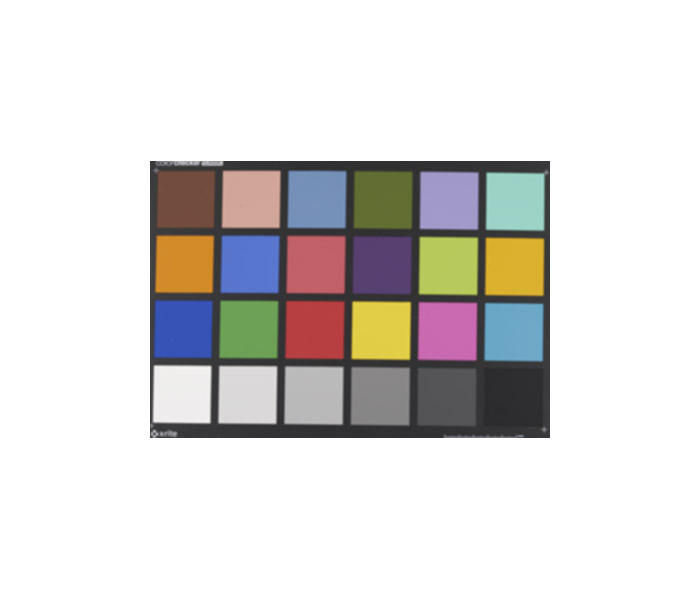
It’s easier to see with a Macbeth chart:
The greatest differences are seen in the darkest parts of the image.
In the film world, the expectation was that prints would be viewed with a white surround, and slides with a dark surround. The designers of the films dealt with this by raising the gamma of transparency film so that it was about 1.5, as opposed to the gamma of approximately unity for the negative/print system. That ssemed to help, until you wanted to make a print from a slide, and then the added contrast in the slide was a problem.
There are differences in the highlights, too. With a black surround, you can read the white point of the image as the brightest near-neutral tone in the image. But if you take that image and show it with a white surround, it’ll be pretty obvious if a tone in the image that is meant to read as white isn’t really as bright as the image white point. You can see that clearly in the Macbeth chart images, where the lower left square looks white in the image with the black surround, but light gray in the image with the gray surround.
Changing the color of the surround creates similar effects. You want the surround neutral. If the editing color space is and RGB space, that means R=G=B.
Assuming that you’re going to view your prints with a white surround, editing them with a dark surround can make them look too dark when you print them.
Up next: room lighting levels.


Interesting. Thanks.
When I print, it is usually smaller … 4×6″ and 8.5×11″ as give-away event-mementos. Essentially none are border-less … but rather have a moderate white border.
My calibrated monitor is in a dim room, so it would in effect have a “dark surround”.
I haven’t had that much confidence that I get the relative darkness/lightness of people prints right, so I’ll use the 4×6″ prints as “proofs” before printing larger 8.5×11″ prints.
I also find that the ACR/LR histogram is helpful to see whether the print has good dynamic range from deep blacks to nearly blown highlights … and some blown highlights are allowed depending on the content.
I should use “soft-proofing” more often … mea culpa.
And hope your recovery is going well … from medical problems and nearby fires.
Actually, no, I don’t notice any difference in the photo. But maybe I’m persuaded not to notice the difference because you’ve told me I should? perception is a funny beast.
For the MacBeth chart, I see a difference in the lower left square between white and grey backgrounds, but not between grey and black. For the lower-right, it’s the opposite.
What I have noticed as a near universal effect is that some sort of border makes almost any photo look better. It seems that for me 25-30mm is enough on A3+, and 15-18mm on A4… beyond that the marginal improvement is very slight, but the difference between borderless and a 25mm border is huge.