This is the tenth in a series of posts on the Fujifilm GFX-50S. The series starts here.
Warning: this post will descend into the depths of nerd-dom. Unless you like that kind of thing, it’s best to move on. Also, this post yields almost no information useful to anyone trying to decide between an a7RII and a GFX.
OK, is anybody left? Jack, I knew I could count on you. Read on for an attempt to take demosaicing out of the picture when visually comparing different senors and lenses. And, for a bonus for those of you willing to scroll down to the bottom of this post, a discussion of how I compare sensors and lenses on cameras of differing aspect ratio and resolution.
One way to take demosaicing out of the picture is to look at raw color planes. Unfortunately, for subjects other than monochromatic ones, that means that we have to look at the planes one at a time. I brought the images for the last two posts into RawDigger, and exported the first green raw plane. Then I made my crops. Since the exported images have half as many pixels in each direction at the complete raw image, the field of view of each of the crops is doubled, and the image cast by the lens is sampled more coarsely by a factor of two.
These are approximately 200% crops of the GFX images, with the a7RII images normalized to the same print size. More on just how I did that at the bottom of this page.
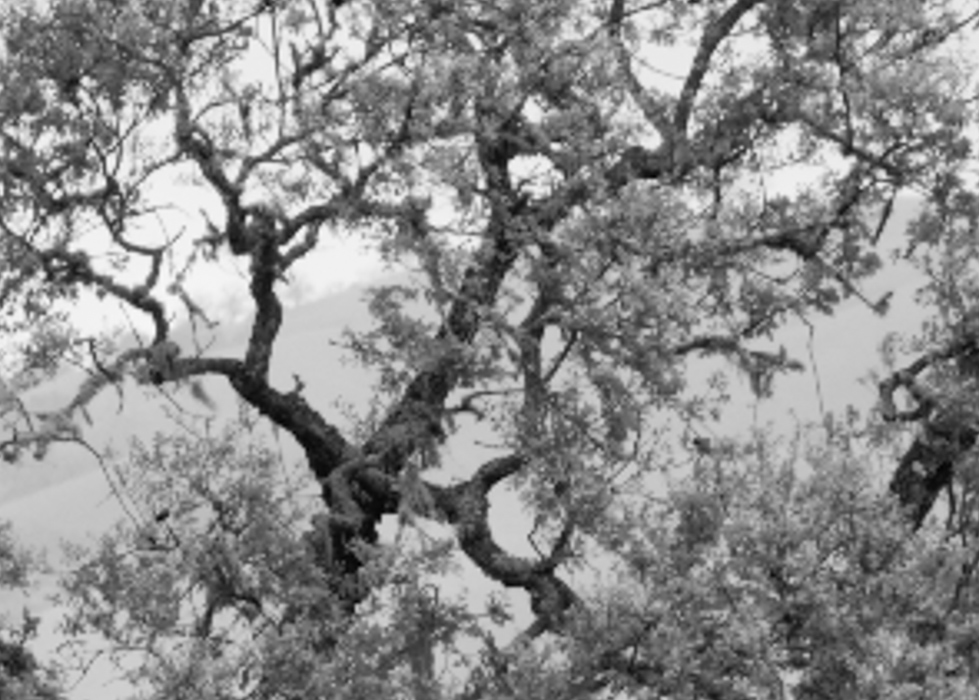
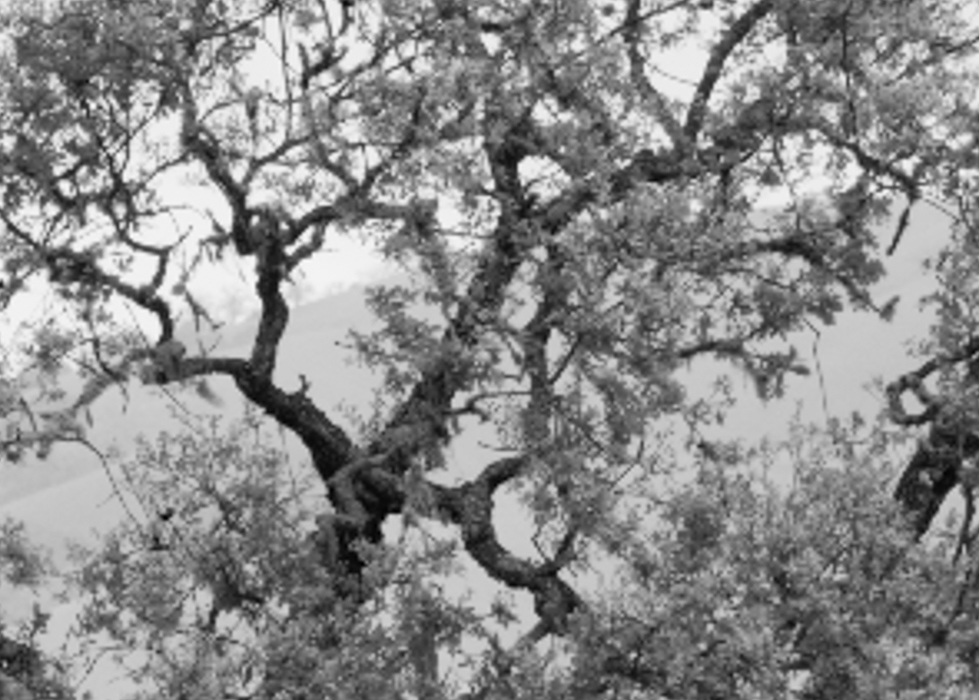
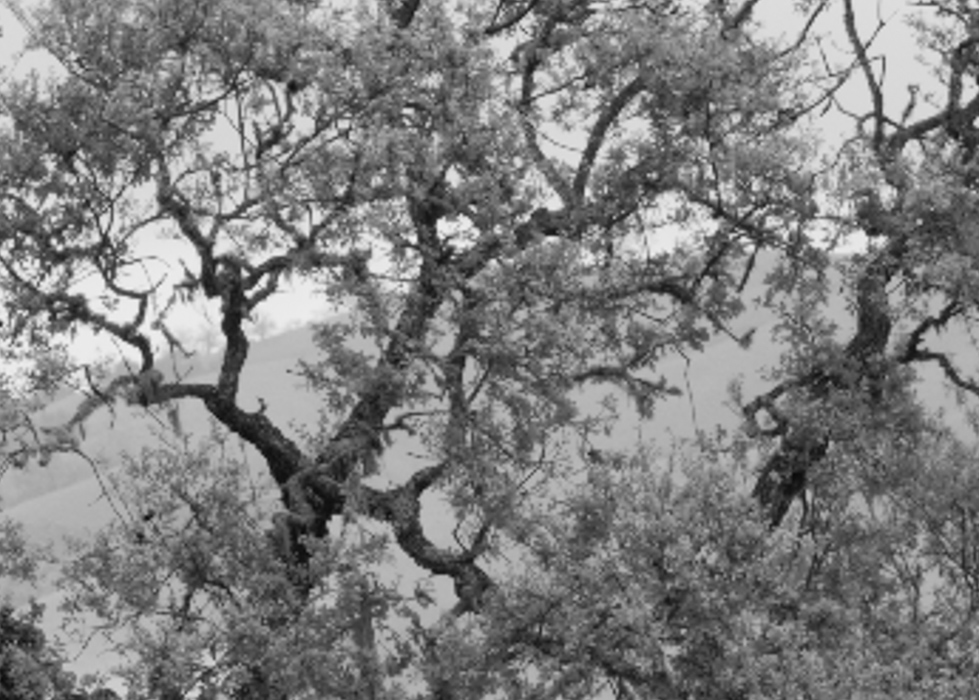
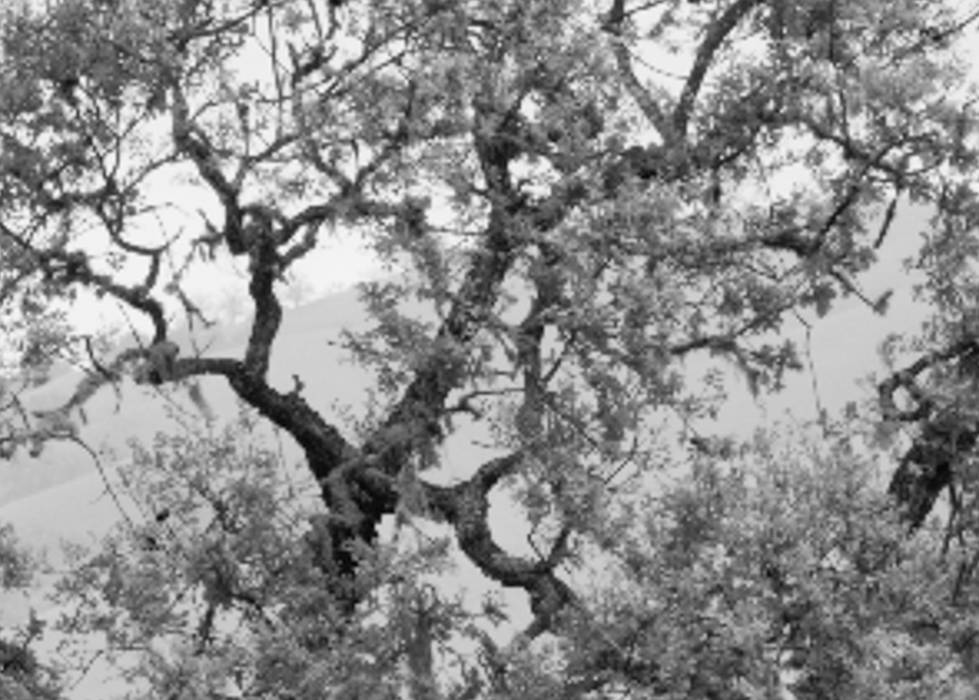
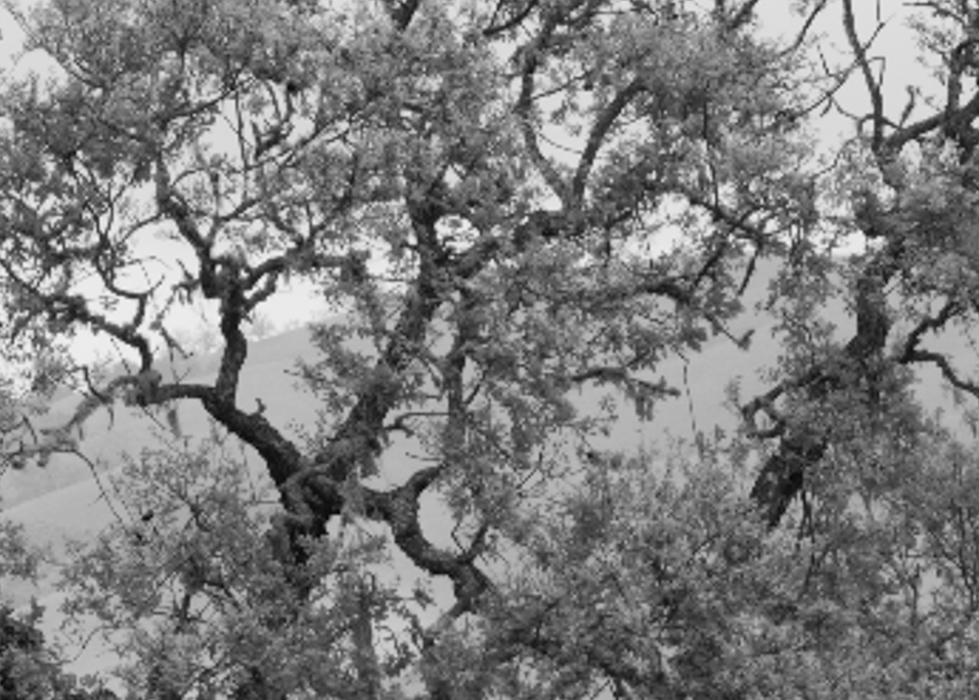
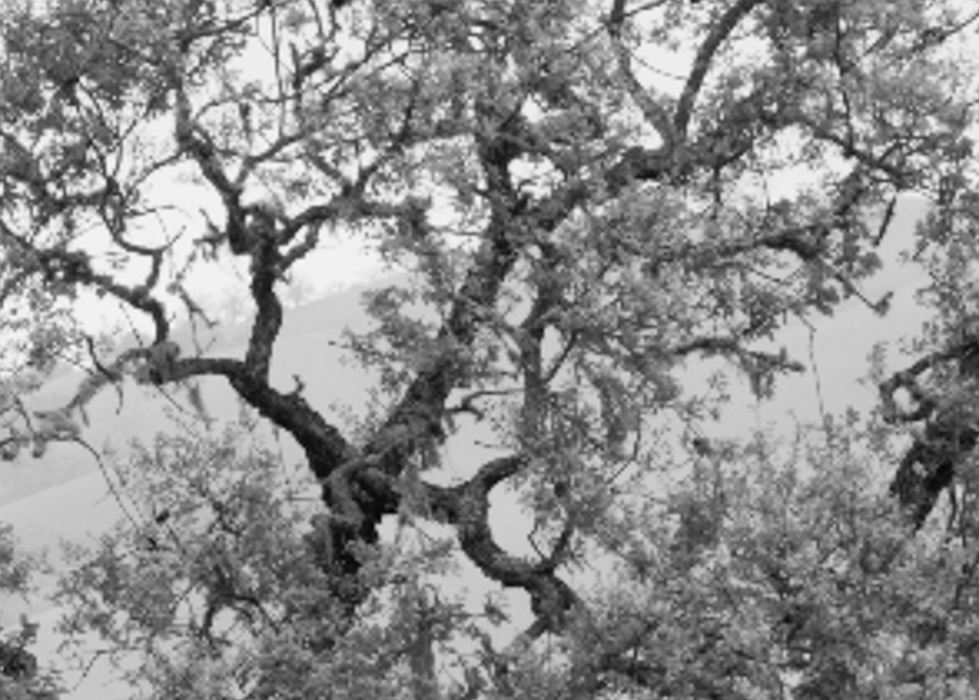
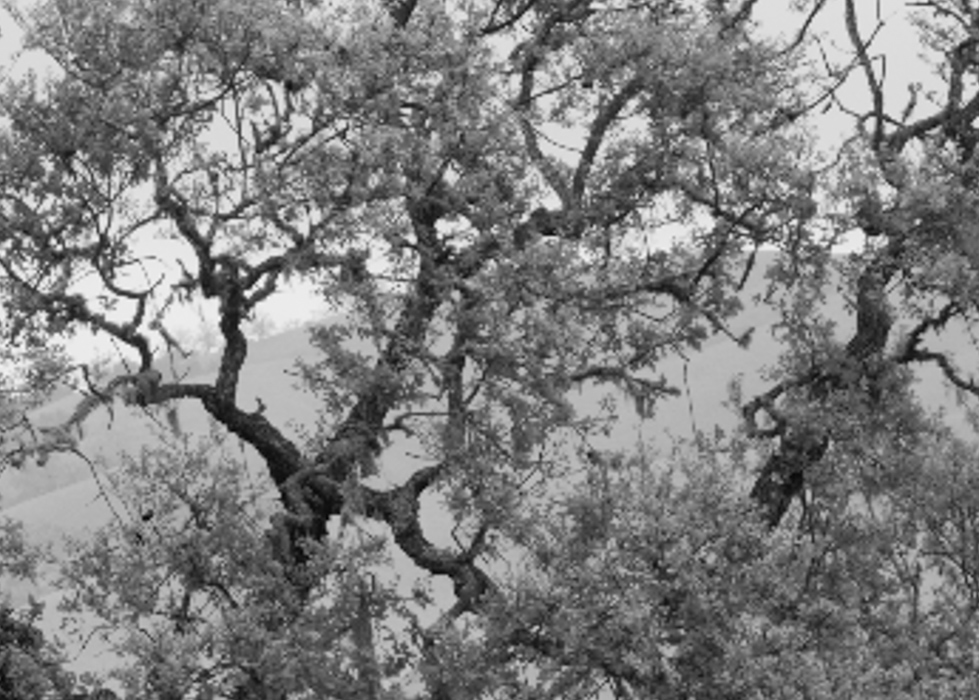
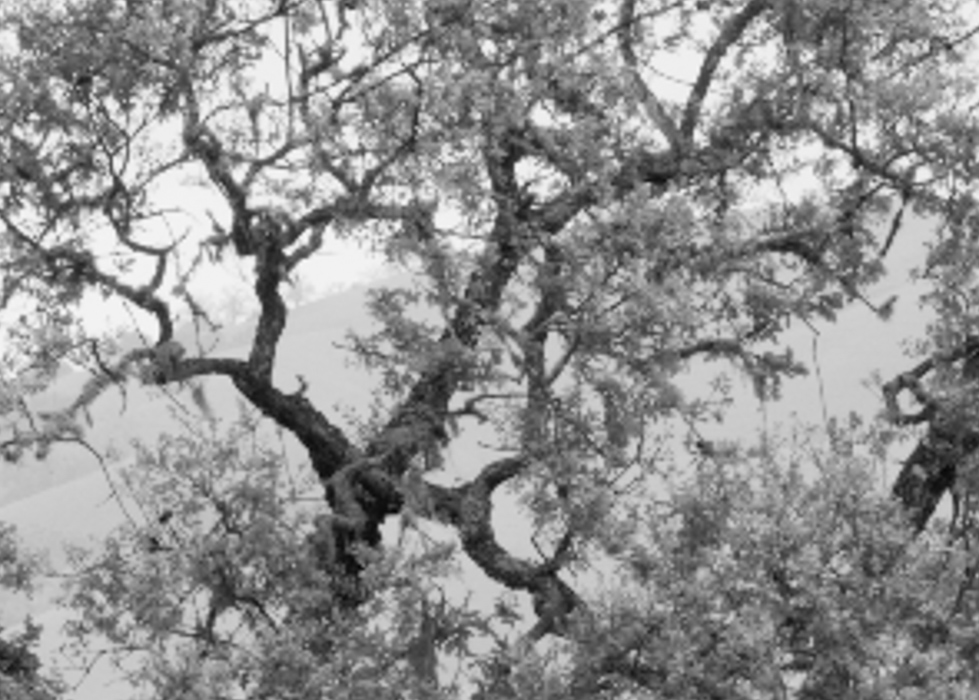
I don’t know about you, but I didn’t learn much from that. The sampling pitch is so coarse that we’re not really getting to what the lens can or can’t do. I guess it shows that the GFX has a bit better contrast.
The lens performance is weaker in the corners. Maybe we can learn something there.
The a7RII f/2 shot shows the lens substantially worse than the sensor, but in both f/2.8 shots the sensor is not really keeping up with the lens.
I’m going to stop here. It’s plain that we can’t learn much from this exercise. Too bad, because it’s “pure” from an absence-of-processing point of view.
OK. Now, as promised, a description of how I normalize images of dissimilar aspect ratios and resolutions.
I used to do it all in Photoshop, using layers, image size changes, and Excel spreadsheets for the calculations. Then I discovered that, if you copy a crop setting in Lightroom and paste it into an image with the same aspect ratio but dissimilar resolution, Lightroom scales the crop so that its extent, as measured in percent of picture height and percent of picture width, is the same in both images. That’s perfect. Now, when you compare such images, you don’t want to do it at the native resolution of either camera, so I select a crop extent of the higher-resolution image of around 240 pixels talland export the images as 700 pixel-high JPEGs. Thus the higher-resolution image is about, but not exactly, a 250% magnification, and the lower resolution image is a greater magnification.
What if the images have different aspect ratios? I didn’t know this until yesterday, because I’d never used this trick on such images. I’m smarter today, and I’ll share with you that Lightroom uses the image height when it does its calculations. In this case, that favors the GFX over using the image width or the image diagonal. That’s fine with me, because I like square, 4:5, and 4:3 images. If you like 3:2 or 16:9 images, you’d prefer another scaling. It turns out in the example that I worked on yesterday and earlier today, that the differences between the two camera/lens systems was sufficiently large that it didn’t make much difference which of the three possible scalings Lightroom picked.
[…] The Last Word – a7RII/GFX comparisons with no demosacing […]