I’ve been following an email thread by some sophisticated and accomplished photographers that has touched on making stitched panos with (mostly) medium format technical cameras. The discussion has been almost entirely about lenses and backs/bodies that are appropriate to sliding panos. Since that’s not the way I make panos, I started wondering what I’m missing.
Let me back up a bit. There are two ways to collect the exposures that you can stitch together to create a panorama.
The most common way is to make a series of exposures with the camera pointed in different directions, arranged so that there’s some overlap between any two adjacent pairs of images. If there’s a foreground, the best results are achieved if the camera and lens are rotated about an axis (or axes, in the case of two or more rows) that passes through the nodal point on the lens. You can buy equipment to facilitate precise location of the rotation axis. You can even get motorized gear to automate the moving and exposing process.
The second way is to keep the lens pointed in one direction, and shift its position relative to the image sensor between exposures. The optically correct way to do this is to leave the lens in a fixed position, and move the sensor. There are some technical cameras that are set up to make this fairly easy. An approximation to the “right” way is to leave the camera body in one place, and move the lens. If you use a tilt/shift lens, you can do this easily with the shift function.
The advantage of shifting:
- It makes the job of the stitching software easier, and might therefore produce better results.
- For a rectilinear projection, the lens will expand the corners if you shift; if you slide, the stitching software will do that after sampling by the sensor, and will have to interpolate data.
The advantages of spinning:
- You can get wider panos, because you’re not limited by the lens coverage.
- You should be able to get sharper corners, since you don’t need to include information from the periphery of the lens coverage in your image.
- You can get higher resolution by doing two or more rows.
- For 35mm-sized DSLRs, you have a much greater lens selection available to you.
- You can do it with cameras that don’t have interchangeable lenses.
At least, that’s the way I see it. However, I’ve never tried to make slid panos. Maybe the advantage of easy stitching produces better image quality.
Only one way to find out. I took a Nikon D800E and the 24 mm f/3.5 ED PC-E Nikkor for a test drive. For the spinning exposures, I used a collection of Really Right Stuff hardware to give me control of the axis:
Manual exposure, f8@1/50, ISO 100, camera oriented vertically, shifted/spun horizontally. I focused with live view, and used the tilt feature of the lens to get the foreground and background close to in focus wide open, although there isn’t a really good plane in the image to fully exploit the Scheimpflug principle. I made no lens corrections in Lightroom. I stitched all the images in Autopano Giga 2.6.4, using the planar projection option, which should be the closest to the natural geometry of the slid panos.
The first set was three exposures using shifting: far left, center, and far right. The resultant image is 9279 pixels wide and 7390 pixels high. Autopano gives you a score – rms error — that defines the errors it sees in generating the stitched result. Lower is better. This set got 2.75. Here’s what it looks like, uncropped:
Then I did a five exposure shifted set: far left, middle left, center, middle right, and far right. The resultant image is 9442×7388, and has an rms error of 3.3.
I did a 7-image spun pano wider than the shift panos, intending to crop it to the same view. Autopano created a 11681×7811 pixel image and reported an rms error of 2.14. And finally, I made a 5-image spun pano wider than the shift panos. Autopano created a 11262×7825 pixel image and reported an rms error of 2.27.
My first surprise was than Autopano reported lower errors for the two spun images than the two shifted images.
My next surprise was that the corner sharpness wasn’t all that different, with the spun pano getting the nod. The spun pano also suffered from less corner brightness falloff and less chromatic aberration.
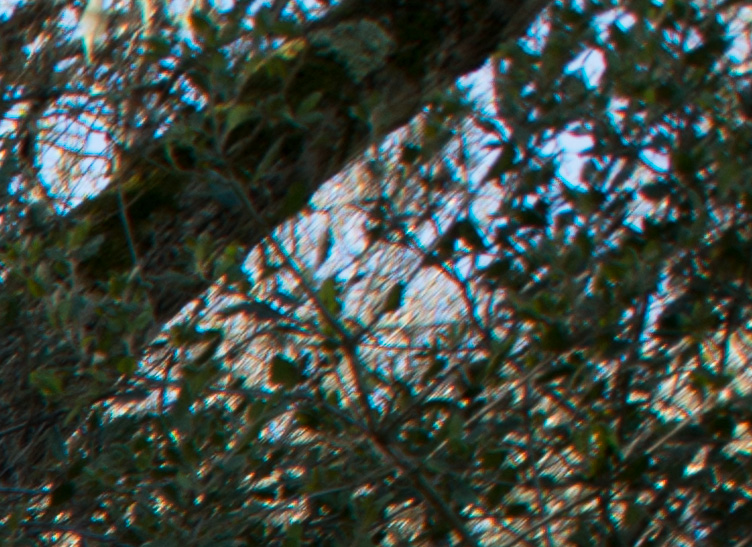
The upper right corner of the slid pano at 1:1:
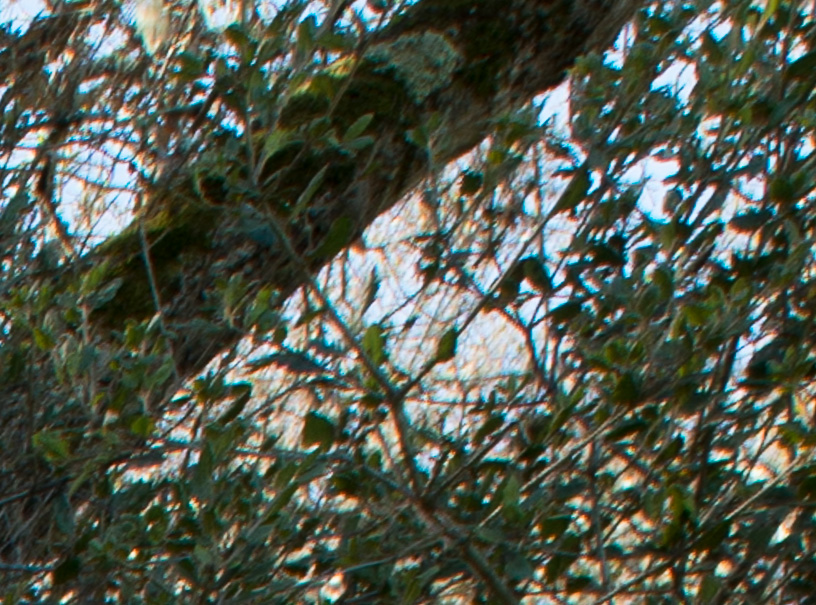
The same part of the spun pano image cropped to the same dimensions as the slid pano image, also at 1:1:
My conclusions are that the vast majority of people who are doing spun panos aren’t suffering any important loss in image quality, and are probably gaining some. There’s one caveat, though. The stitching program I used for the comparison was designed to make panos from spun images. It’s possible that a program written to work especially well with slid images could do a better job.


Leave a Reply