Yesterday, I reported on using pixel shift on the GFX 100S to scan negatives. There is another way to increase resolution, and that’s stitching. I turned the camera into portrait orientation and performed a two-view set of captures for stitching. This meant that the 4 inch dimension of the negative was imaged to about 40 mm on the sensor, for a reproduction ratio of 1:2.5.
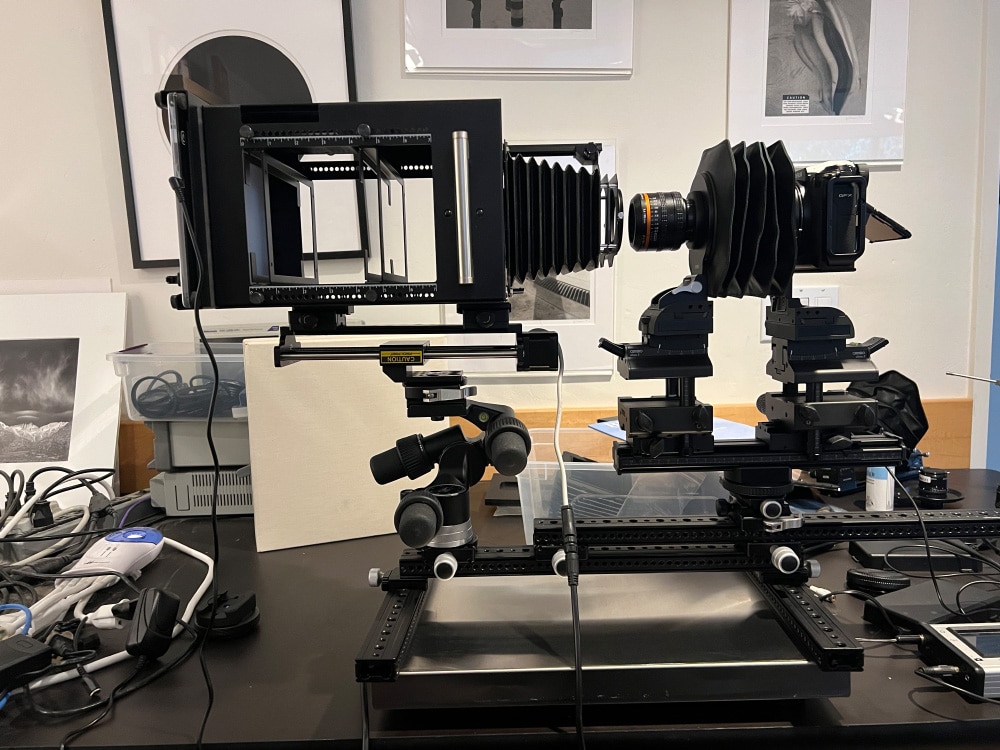
Here’s the DIY “scanner”, with the camera in landscape orientation:
From left to right: light source, negative carrier on Cognisys rail, lens shade, Rodenstock HR Digarono 105 mm f/5.6 macro lens, Cambo Ultima II, GFX 100S.
Here’s the whole scan:
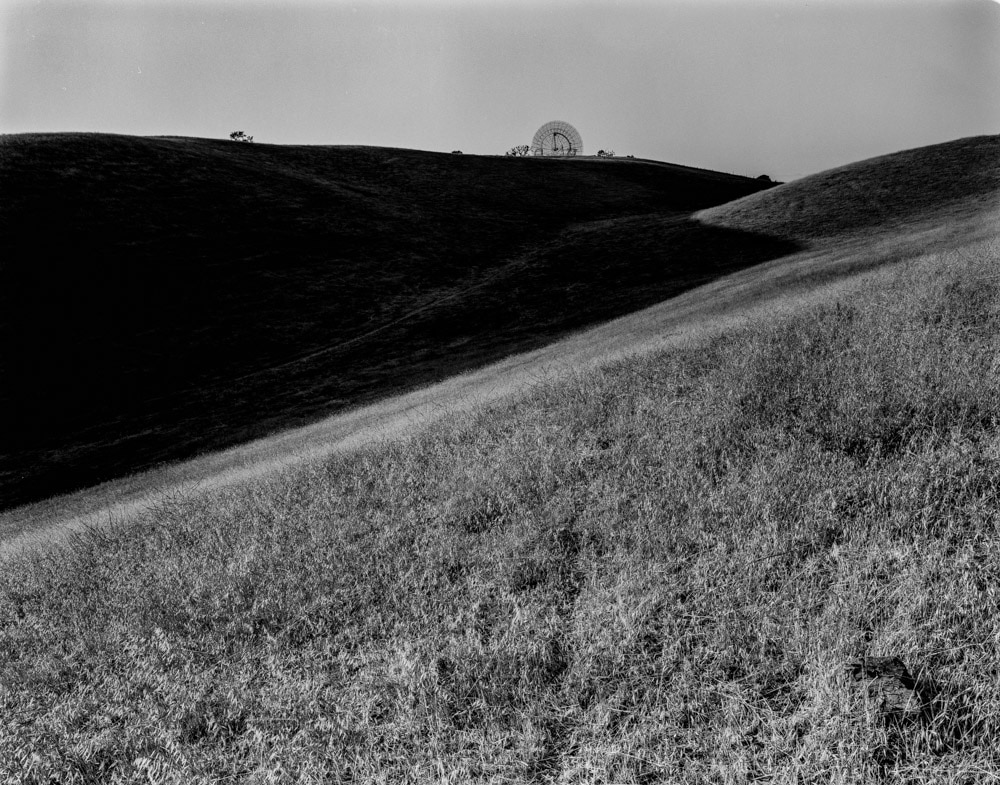
I made three sets of images:
- Single stack
- Slid-shifted double stack
- Pixel shifted stack
I took great pains to make the processing of the pixel shifted and unshifted series as close as possible. I stacked each series with the same settings in Helicon Focus. I converted them to positives with the same settings and sharpening turned off. I used Lightroom’s panorama tool to stitch the two-view stacked images. I exported all three to Photoshop, where I doubled the size of the unshifted image in both directions using bilinear interpolation and scaled the stitched image to the same dimensions using the same interpolation algorithm. I brought them back into Lightroom as developed one of the images, then pasted those setting onto the other image.
Her are some crops at about 140% magnification:
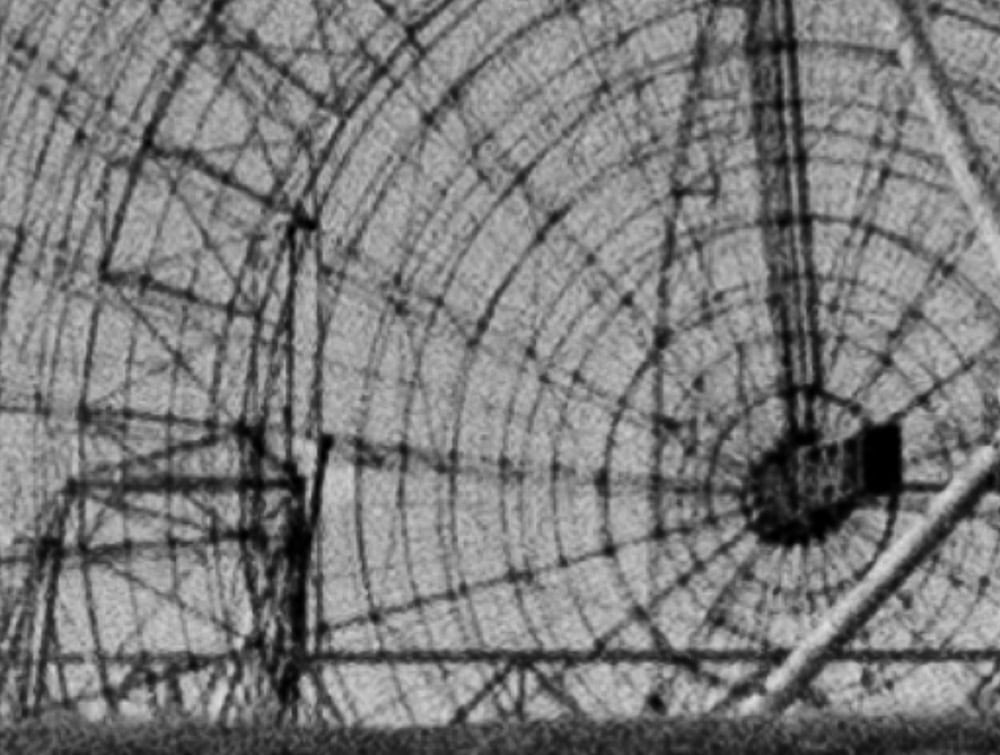
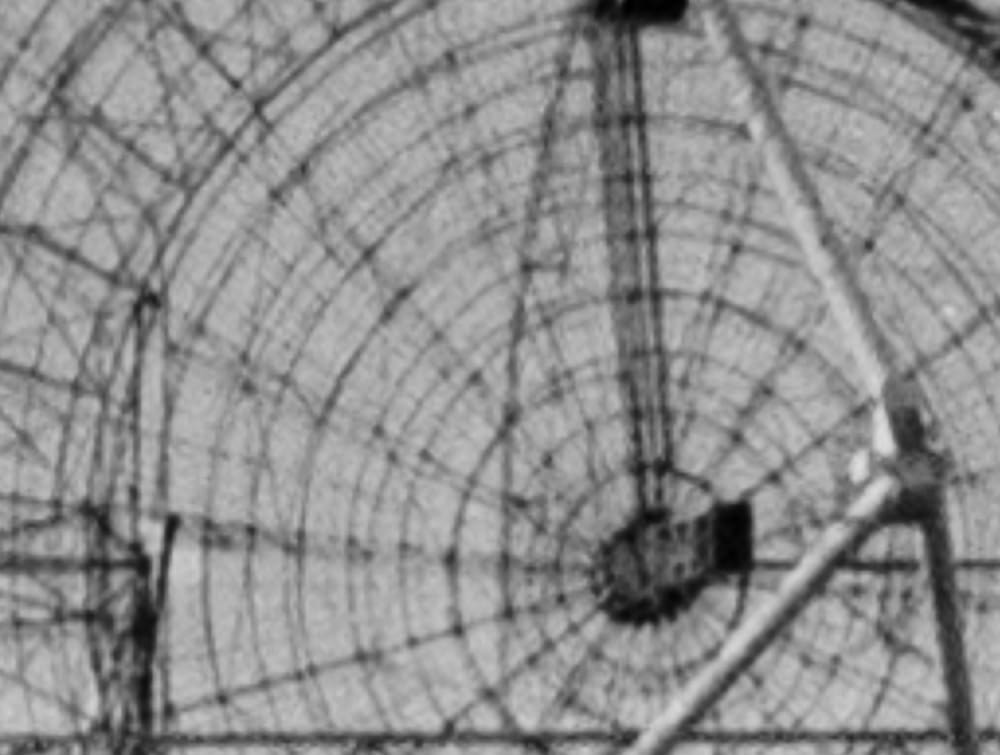
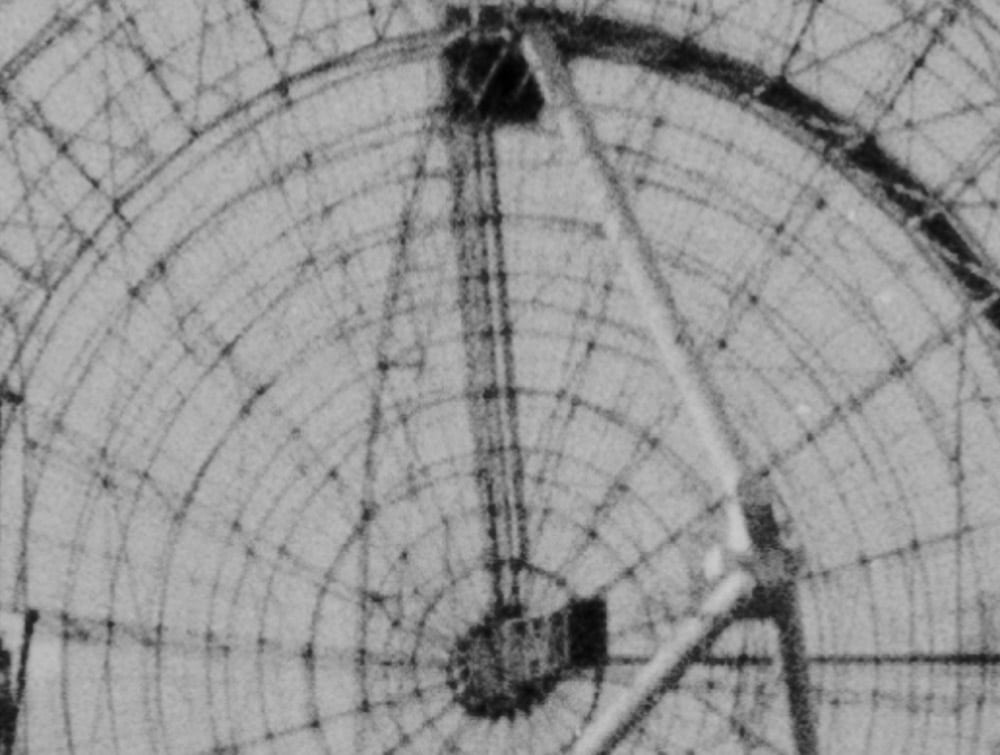
You ca see that this is not apples to apples. The Lightroom panorama program looks like it sharpened the image a lot.
Here’s another section of the image, at 100% magnification:
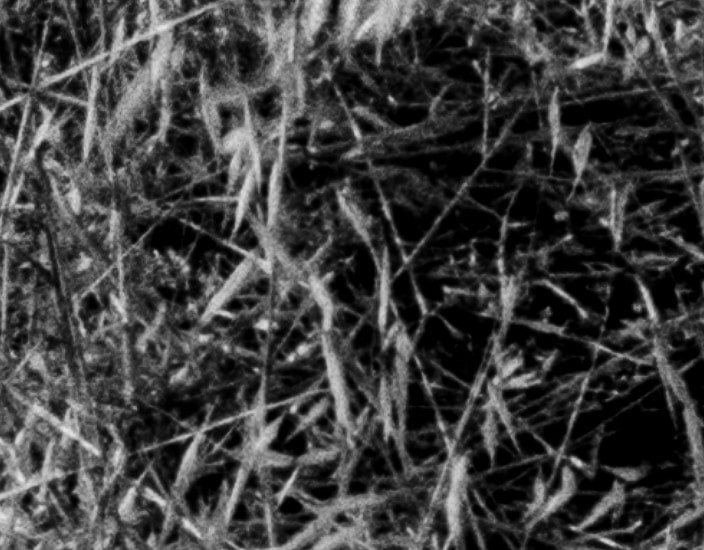
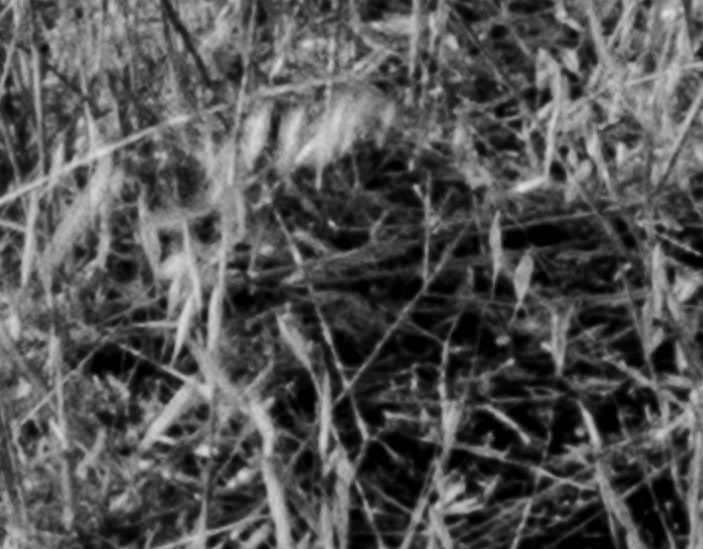
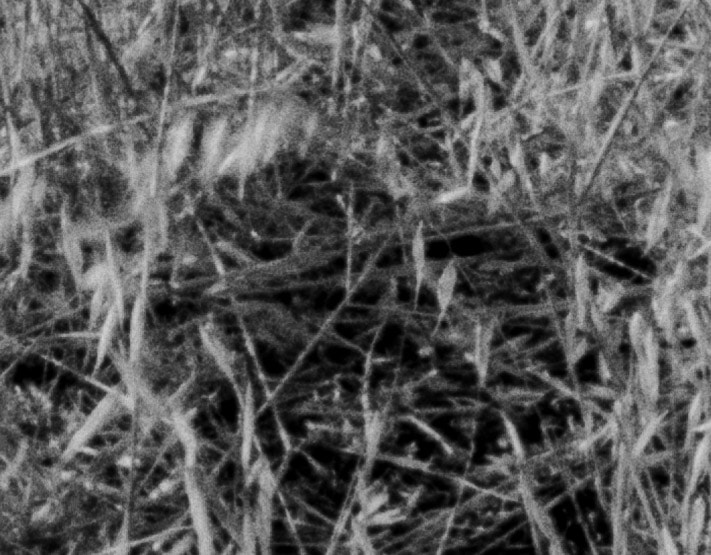
Hard to say what to make of this. I’ll try again with different stitching software.
Leave a Reply