In the last post I showed you what happens when you use Lightroom to stitch two vertical orientation scans into one horizontal orientation one. Lightroom amps up the contrast and or the sharpening. In an attempt to get around that, I stitched the stacked images from the last post using PTGui 11.7 and 12.8.
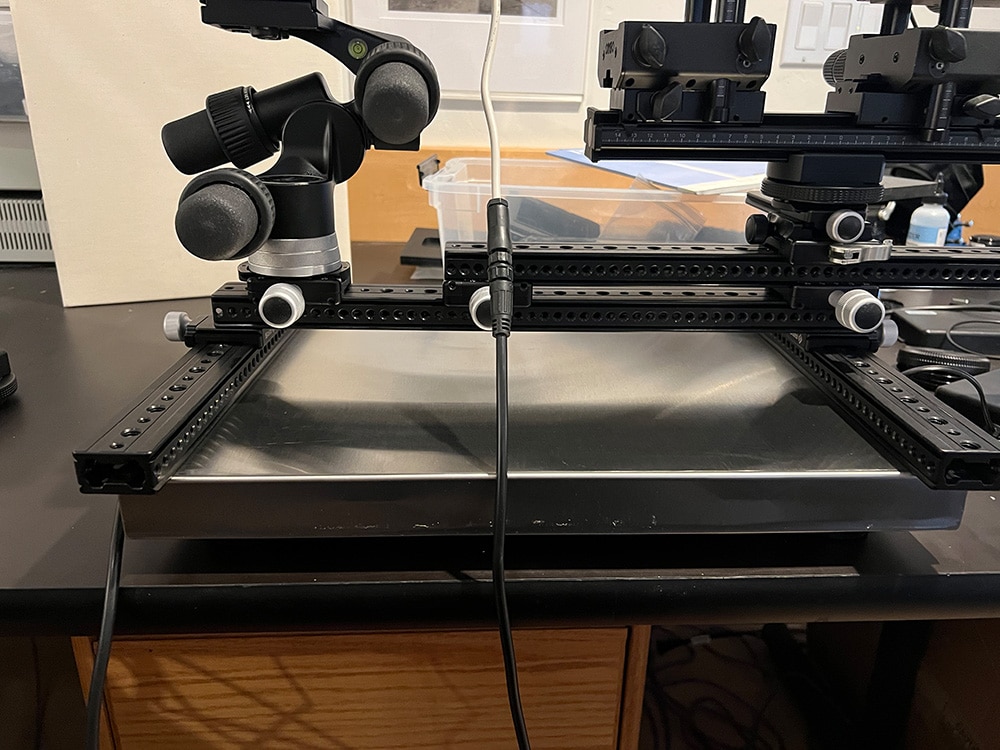
The scanner:
As, before, I made three sets of images:
- Single stack
- Slid-shifted double stack
- Pixel shifted stack
I took great pains to make the processing of the pixel shifted and unshifted series as close as possible. I stacked each series with the same settings in Helicon Focus. I converted them to positives with the same settings and sharpening turned off. I used Lightroom’s panorama tool to stitch the two-view stacked images. I exported all three to Photoshop, where I doubled the size of the unshifted image in both directions using bilinear interpolation and scaled the stitched image to the same dimensions using the same interpolation algorithm. I brought them back into Lightroom as developed one of the images, then pasted those setting onto the other image.
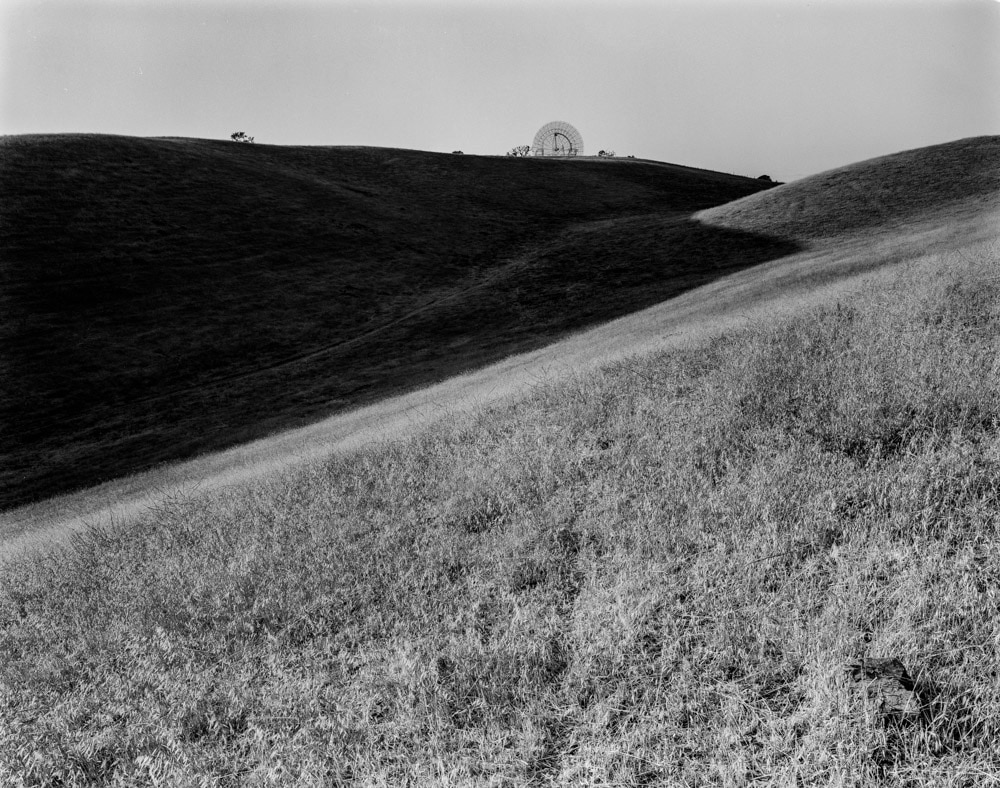
Some crops:
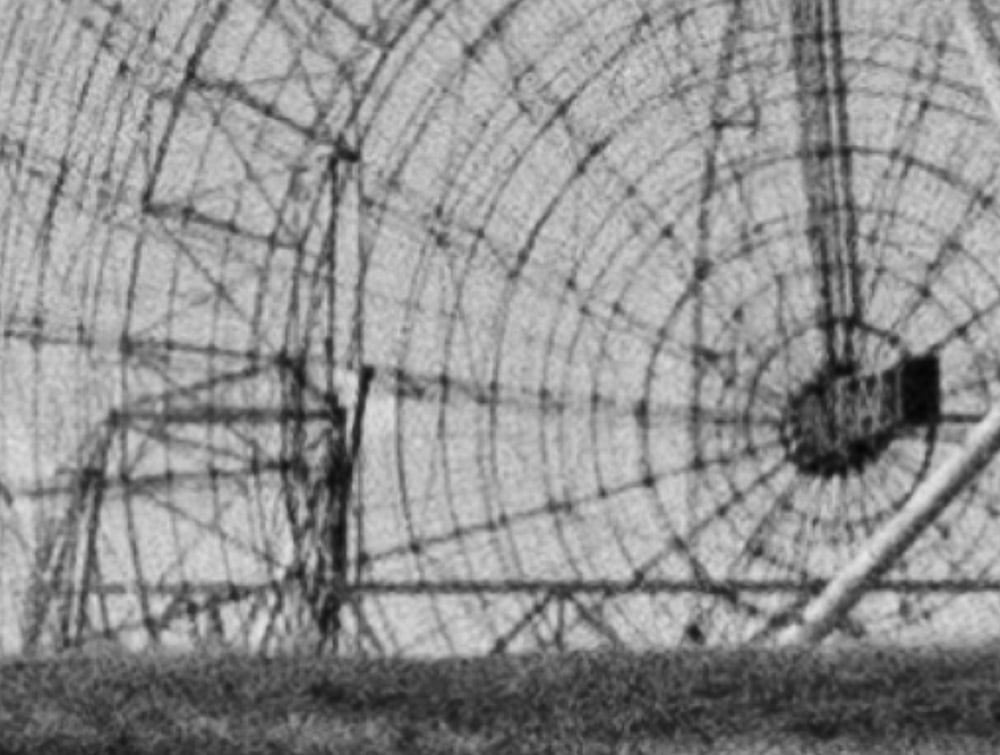
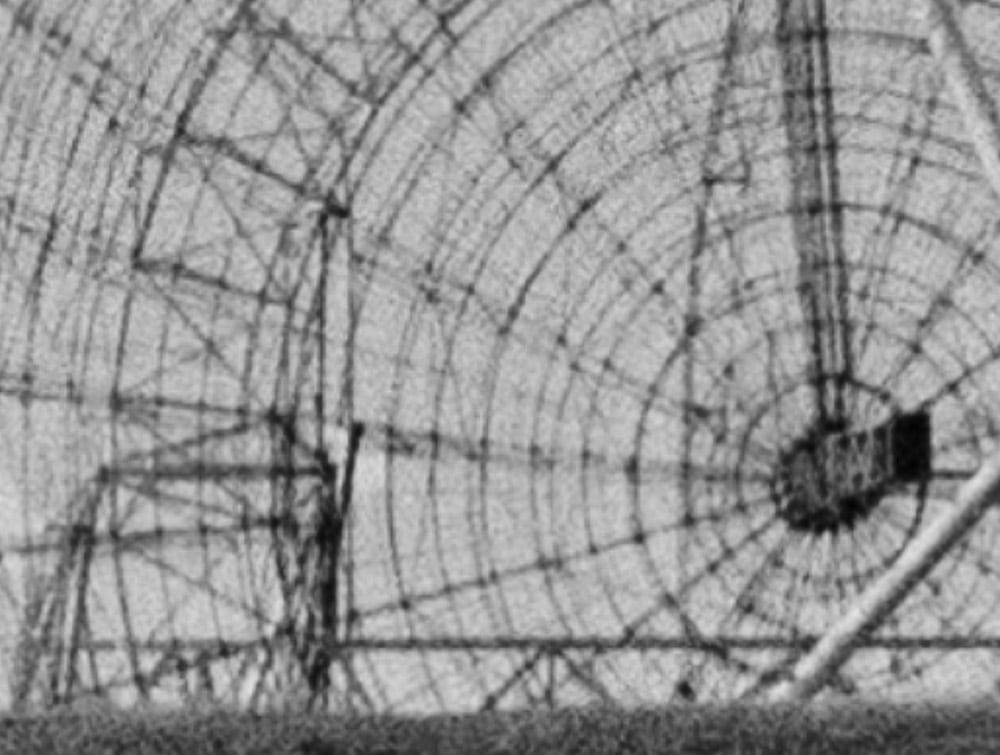
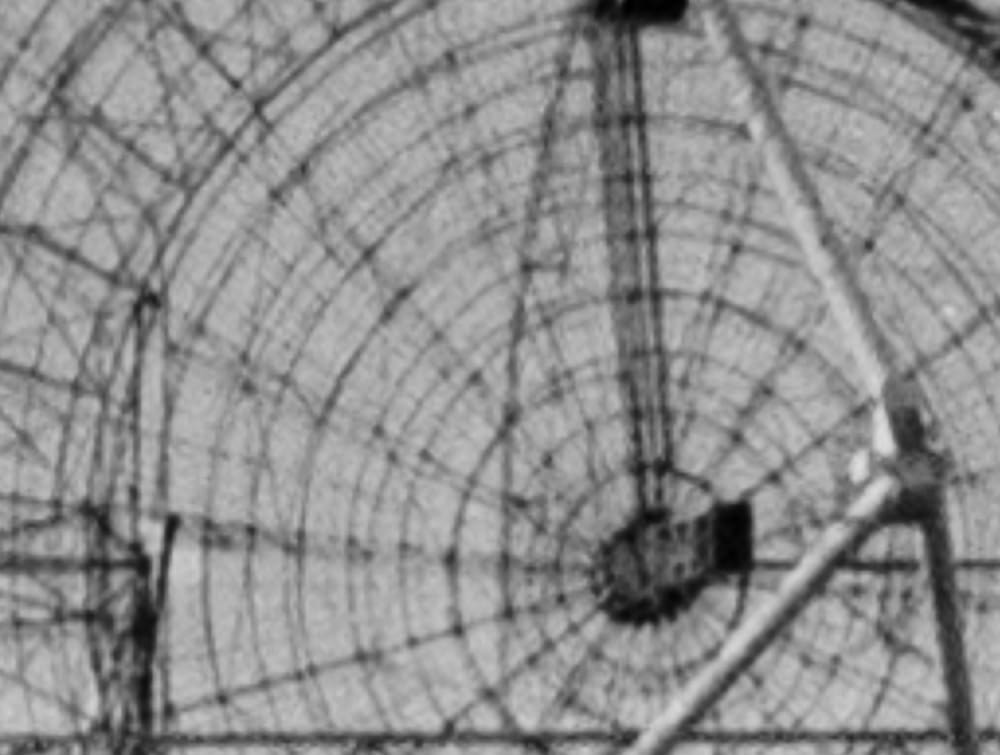
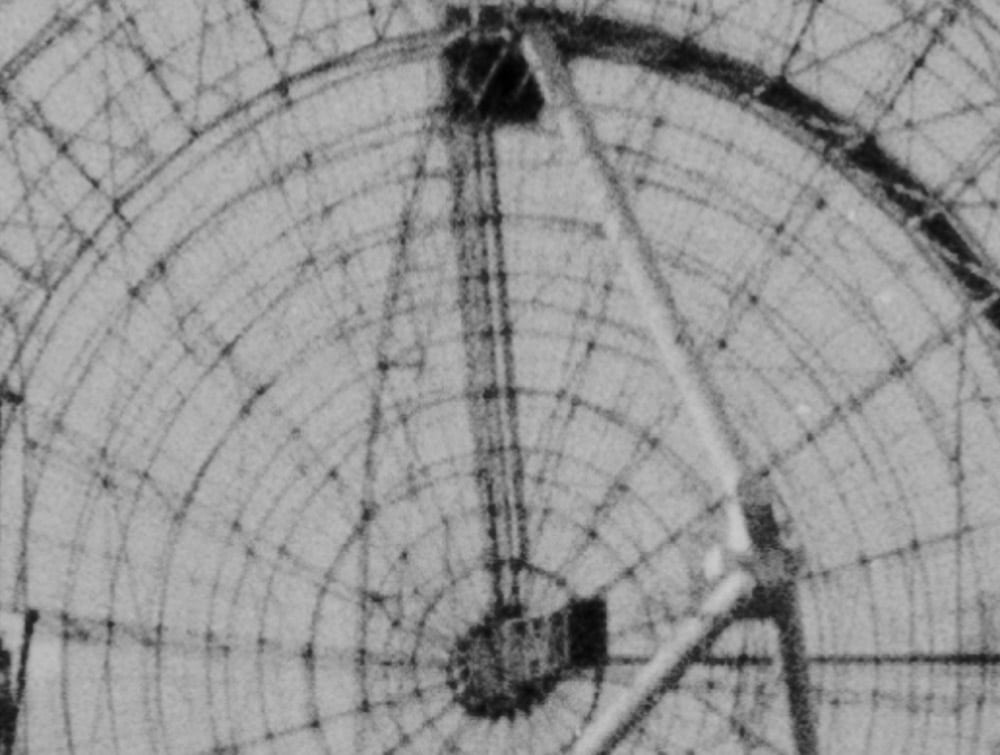
It looks like we picked up a bit of sharpening or contrast with PTGui, but it’s a heck of a lot better than what Lightroom did:
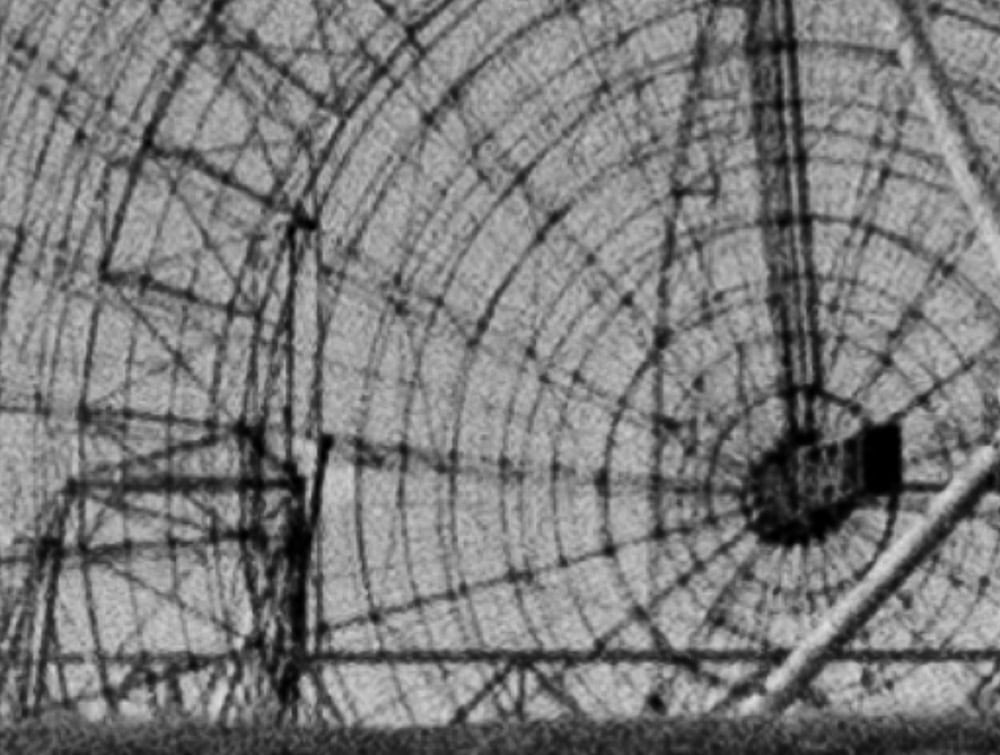
Here’s another crop, this time at 100% magnification from the 20,000 pixel wide images.
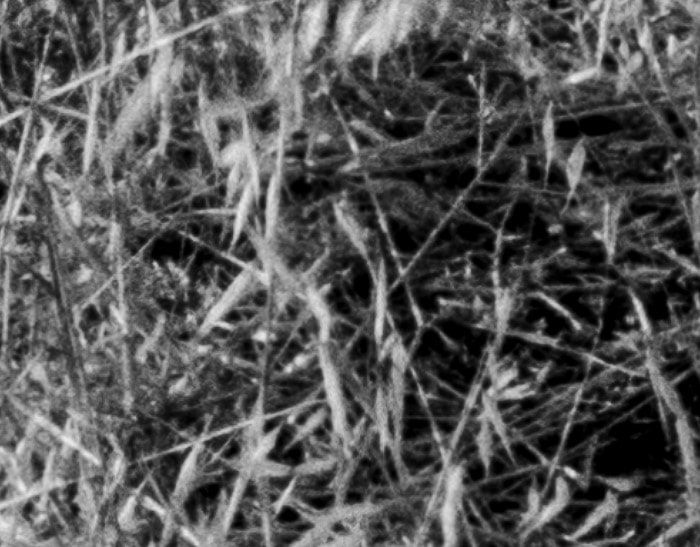
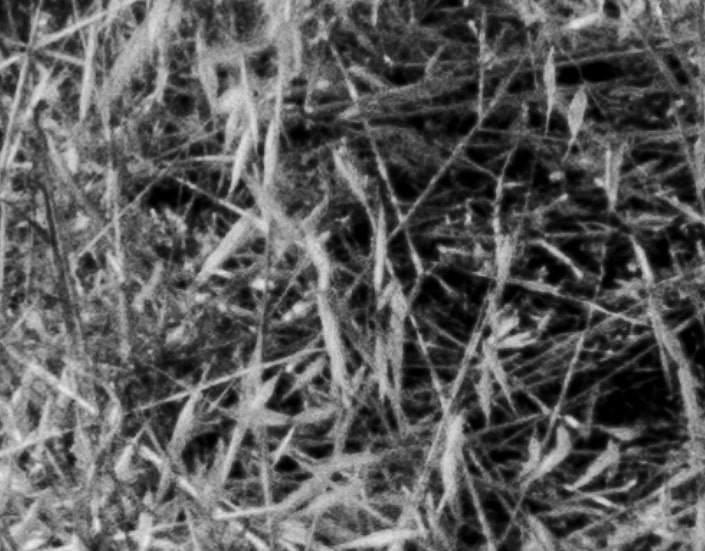
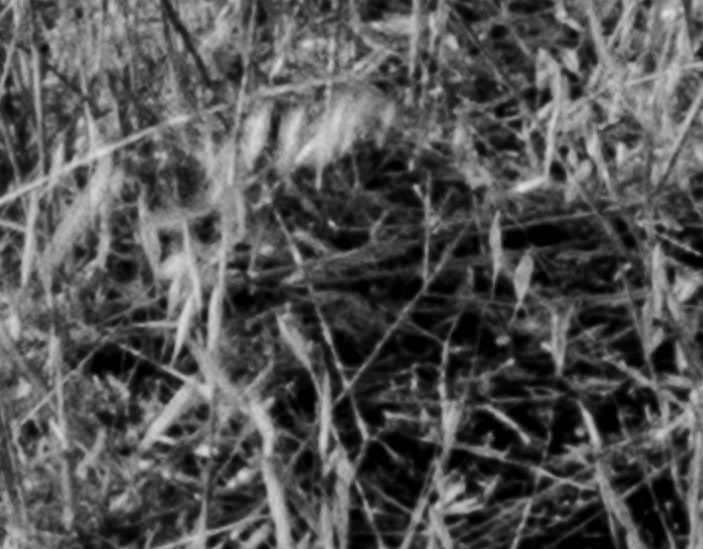
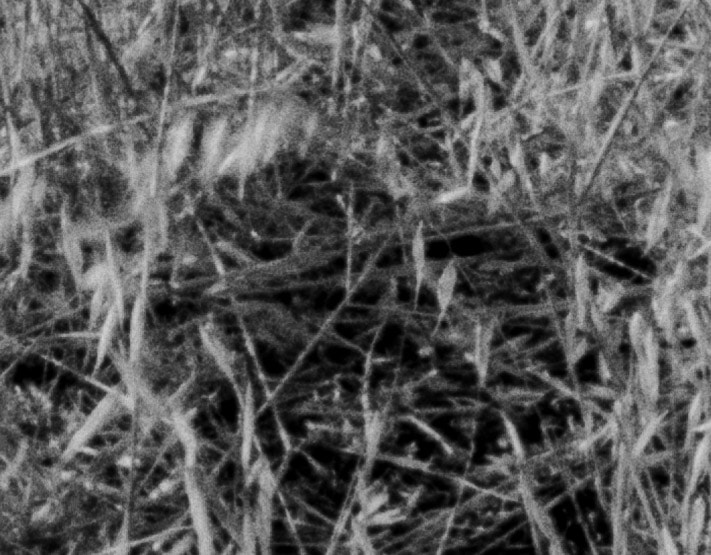
It looks like the 2-stack PTGui-assembled images might be a reasonable way to go for 4×5. It does complicate the workflow a bit, but not nearly as much as pixel shifting.
I will make prints to see how big they have to be before these differences matter.
Leave a Reply