This is a continuation of a series of posts on the Sony a7RIII. You should be able to find all the posts about that camera in the Category List on the right sidebar, below the Articles widget. There’s a drop-down menu there that you can use to get to all the posts in this series. You can also click on the “a7RIII” link in the “You are here” line at the top of this page.
I’ve been reporting on the effects of Sony’s pixel shift feature in the a7RIII with highly non-real-world targets: Siemens Stars. While such tests have their merits, for some folks there is nothing like taking pictures that look like something you might do if not testing the camera. If you’re one of those people, this post is for you. No numbers. No graphs. Just some images to look at.
I started with this scene:
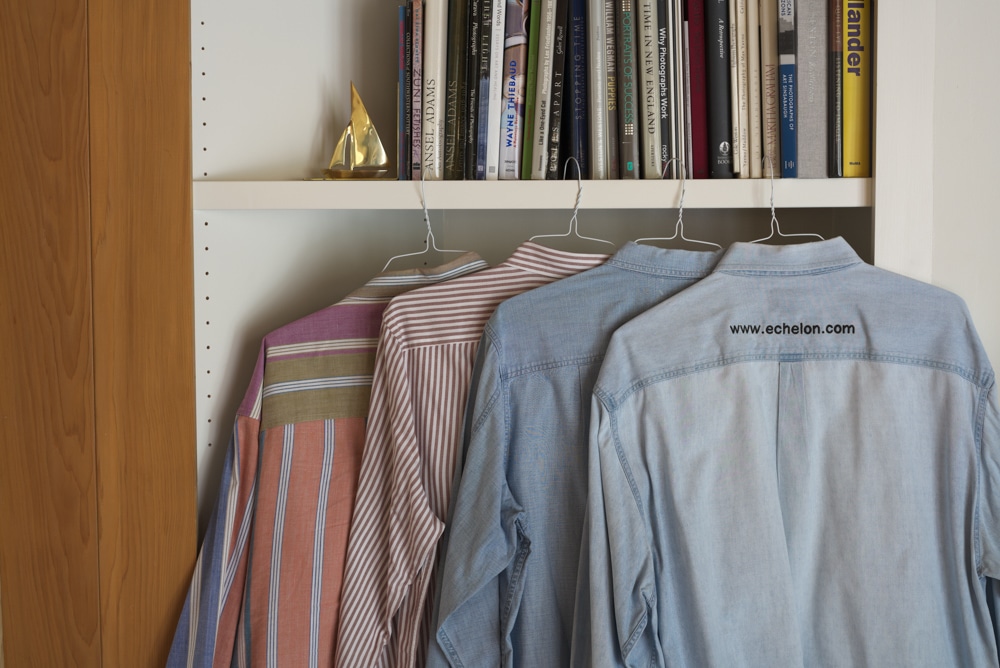
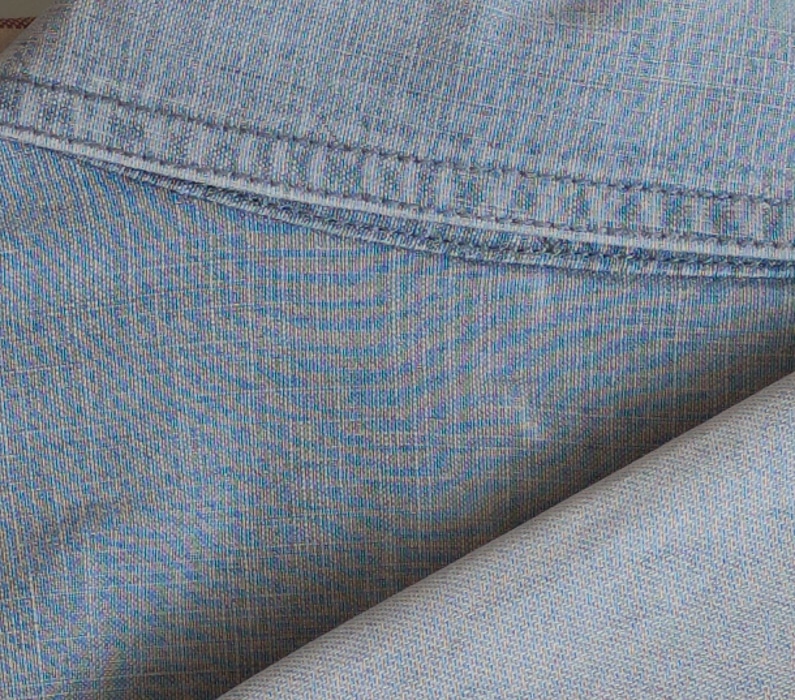
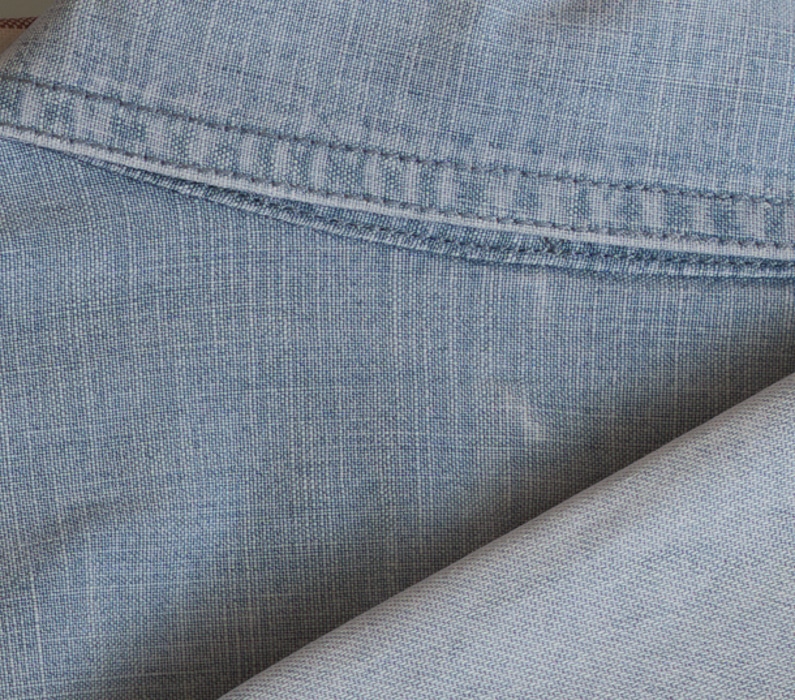
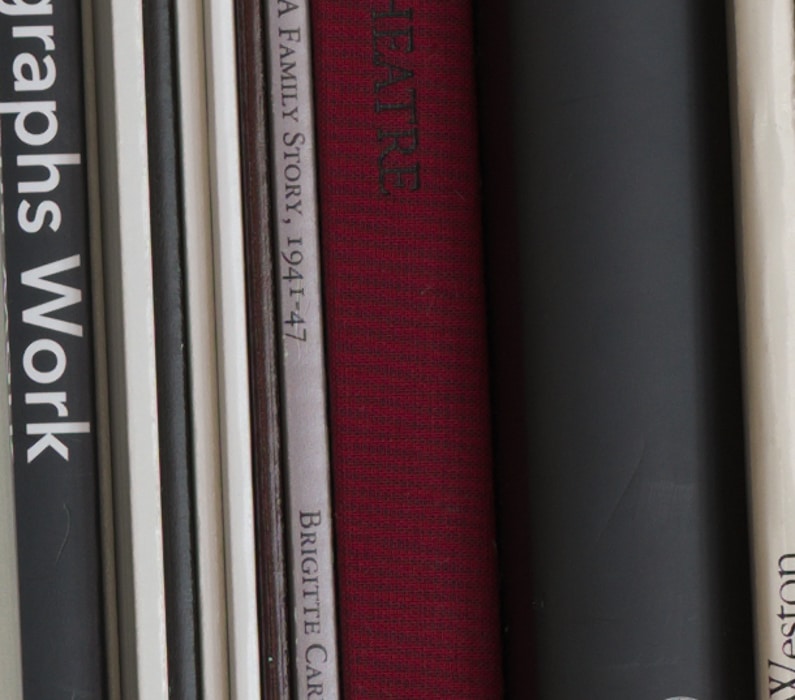
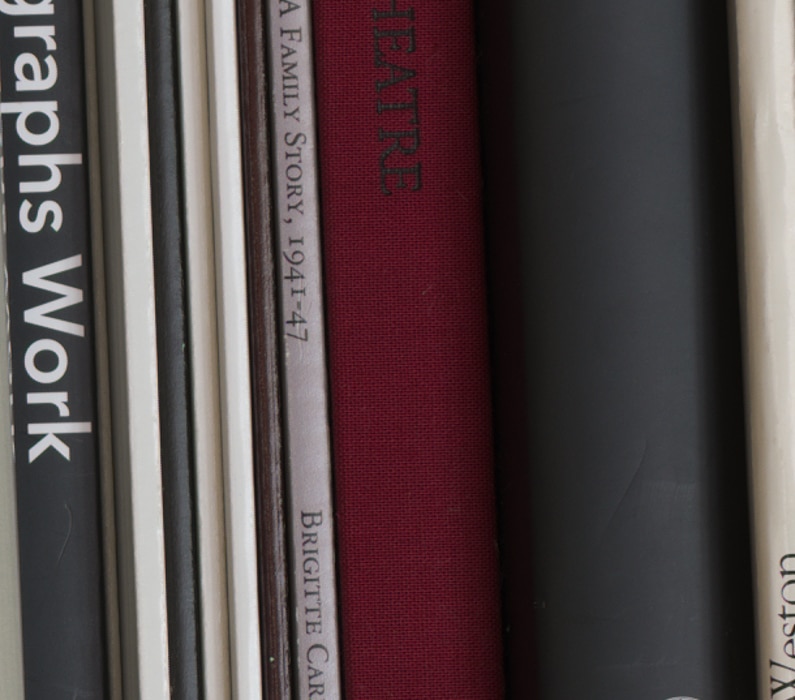
The fabrics are for false-color comparisons, and the books are useful for noise, and possibly for sharpness, comparisons. I used the Sony Imaging Edge to make ARQ files from each set of four captures and used Raw Therepee to make TIFFs from the ARQs and one ARW (single image) file from each set of four captures. I used AMaZE demosaicing for the single shots, and pixel-shift demosaicing with motion compensation turned off for the ARQs. Then I brought the TIFFs into Lightroom (Lr), and made crops. If it matters, I used an Otus 55 mm f/1.4 lens set to f/5.6, RRS legs, and an Arca Swiss P0 Hybrid head.
Before I could do all that, I had to fight with the Imaging Edge Viewer program, which is what you use to make the ARQ files:
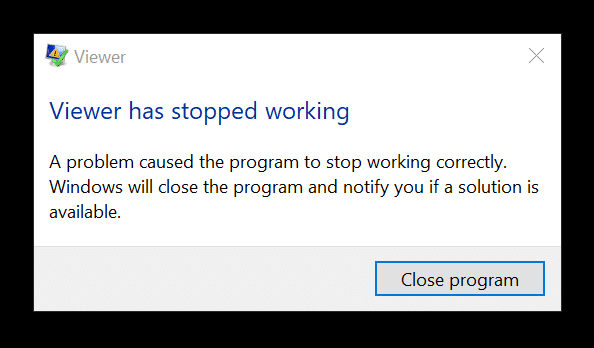
I tried and tried to get Viewer to start. I changed a bunch of Window compatibility settings. This was odd, because it had worked yesterday. Then I renamed the directory that it had last used. When it came up, it couldn’t find that directory, and the errors stopped. probably there is some file in what had been the last-used directory that was causing Viewer to choke. Not very defensive programming on the part of Sony.
Here’s a falsely-colorful crop from one of the single shots:
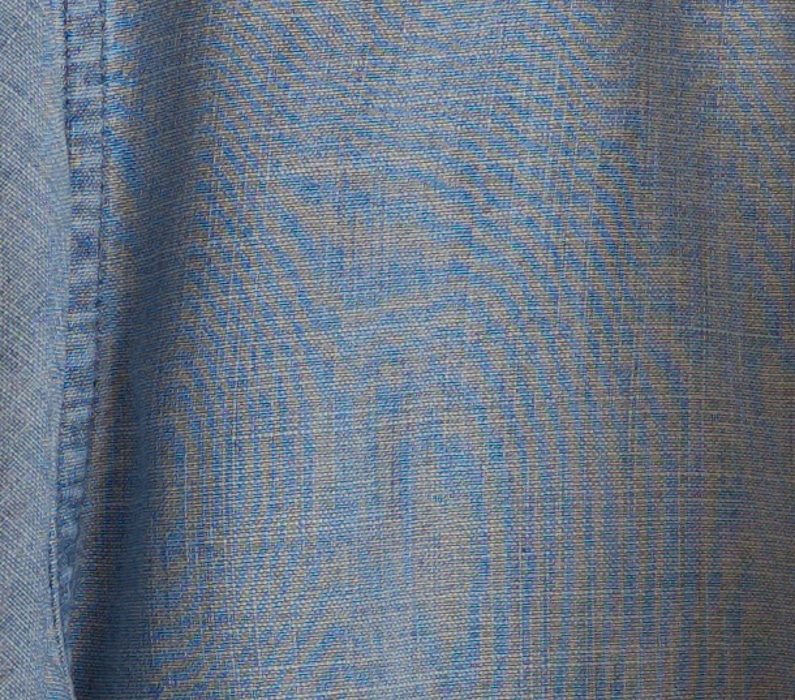
And the four-shot stack:
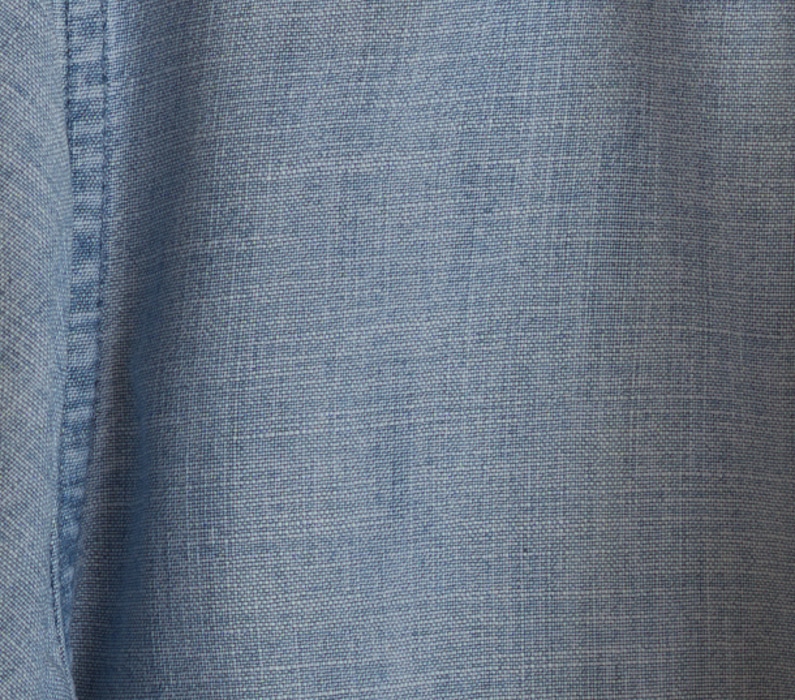
That looks really good.
Here’s another pair:
I’ll bet you don’t have any difficulty telling which is which.
Here’s a pair where I looked at a Fan Ho book that has a coarsely-woven binding.
Now I’m going to stay on that part of the scene and show you what happens when you underexpose and push in post.
First, a 3-stop underexposure:
Not only is the moire reduced by the stacking, the dynamic range is improved. This is not surprising given the fact that four times as many photons gave their lives making the four-shot stack than perished in any one shot.
Let’s look at a 7-stop underexposure:
The stacked image is a big improvement.
What if we average the 4 demosaiced images, with no pixel shifting. Turns out there’s an easy way to do that in Raw Therapee (Thanks, ogniw):
You can see that we get even more noise reduction, but we’ve lost sharpness.
This is a great comparison. I would love to see the dynamic range part of the test compared to the A7RII doing 8 shots via the smooth reflections app.
I don’t use the Sony in-camera apps. Too much time wasted a couple of years ago, and a bad taste in my mount from that. Sorry.
Have you done any tests with strobes? From my understanding the camera uses the electronic shutter and in the previous Sony models you can trigger a flash in the electronic shutter mode
You can trigger flash while using pixel-shift mode, but the sync time is 1/13. If you set shutter speed to 1/15, well, you get that good old black stripe. Let’s hope the a7r4 or a9r will use stack sensor similar to what we found in a9 which I believe the sync time is around 1/160.
Thanks for that.
I really hope that there will be support for the ARQ files in Adobe or C1 converter. Or even stitching options because the Sony software it as always – awful and almost useless.
If you want to process in Lr or C1, I suggest flattening the ARQ files in the free Raw Therapee, and exporting as TIFFs.
Thanks for this, Jim.
This bear of very little brain would love you to confirm that what is going on here is a shifting of the moire in each of the four pixel shift shots so that, when averaged out in the proprietary four shot Sony stack, it will essentially eliminate the moire you might get in a regular single shot exposure. Is it really that simple, or am I missing something ?
Cheers
Ross
If by moire, you mean the false colors, they are not shifted using pixel shift, they never occur. The false colors are caused by the Bayer color filter array (CFA) not being able to look at the same place on the image in all three colors, and having to fake it (that’s a technical term) during demosaicing. With pixel shift, each pixel in the final image is the result of four exposures in (hopefully) the exact same place through four different filters (two of which happen to be green). Thus, no false color. There can still be moire because of the sensor aliasing some of the fine detail, but it won’t have that ugly rainbow stuff going on.
Great thanks, and I get it now. I was envisaging those false colours being averaged out over 4 shots, but your explanation that they never occur as a result of this process makes much more sense. I can see pixel shift being a very useful tool (or work-around) for some photographic applications.