This is one in a series of posts on the Sony alpha 7 R Mark IV (aka a7RIV). You should be able to find all the posts about that camera in the Category List on the right sidebar, below the Articles widget. There’s a drop-down menu there that you can use to get to all the posts in this series; just look for “A7RIV”.
I got an email today from a photographer who was seeing better resolution and contrast on a7RIII images than on a7RIV ones. I didn’t understand his methodology well, but that seemed surprising enough to me that I conducted my own test.
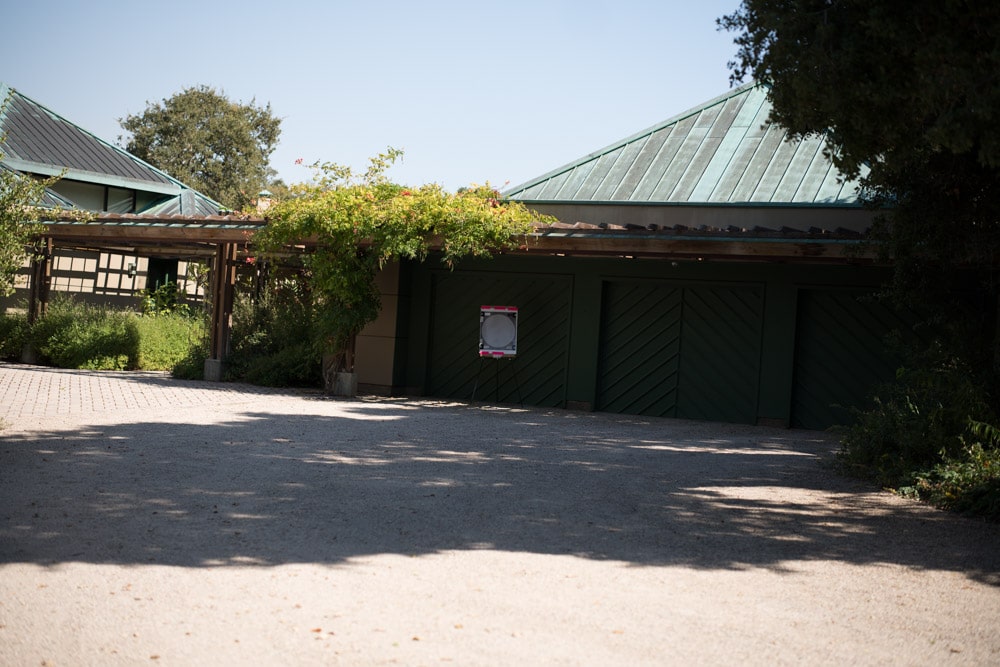
I used a Zeiss Otus 55 mm f/1.4 lens on both cameras, and set up a low-contrast Siemens Star for a target:
Manual exposure, electronic shutter, 2-second self timer, ISO 100, RRS legs, Arca Swiss C1 head with the geared pan option — love that head: it’s not perfect, but overall, it’s a pleasure to use. I made three images with each camera at each f-stop, focusing each time at maximum magnification and minimum peaking. As an aside, I got less peaking in the a7RIV than the a7RIII. I attribute that to the fine pitch rather than a change in the peaking algorithm, but I really don’t know.
I developed the images in Lightroom (I hear that the final version of the a7RIV profiles are supposed to be out, but I don’t see them when I tell the Adobe syncher to check for updates), with the following options:
- Exposure + 1.75
- WB to corner of chart
- Sharpening amount 20, radius 1, detail 0.
I picked the sharpest image from each set of three, but all three in a set were about the same; the Siemens Star is an easy target to focus on.
Here are some same-FOV magnifications, uprezzed by the Lr export module by about 250% in the case of the a7RICV, and a bit more with the a7RIII.
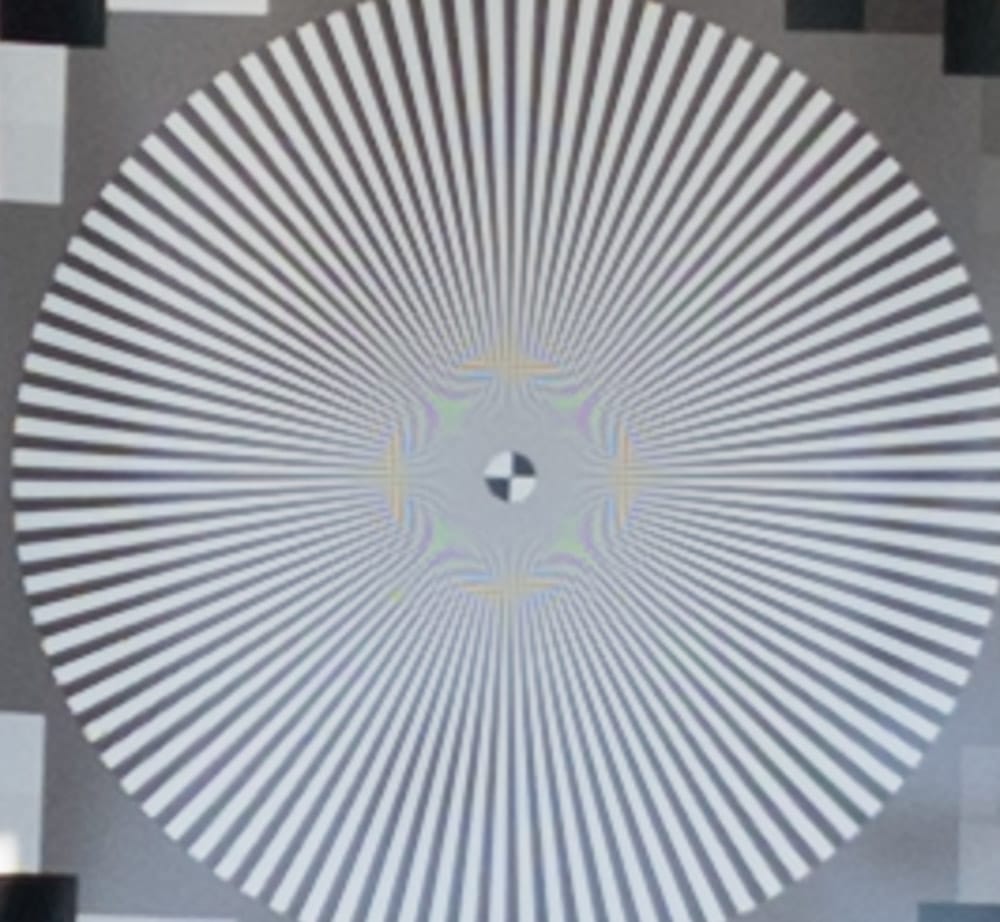
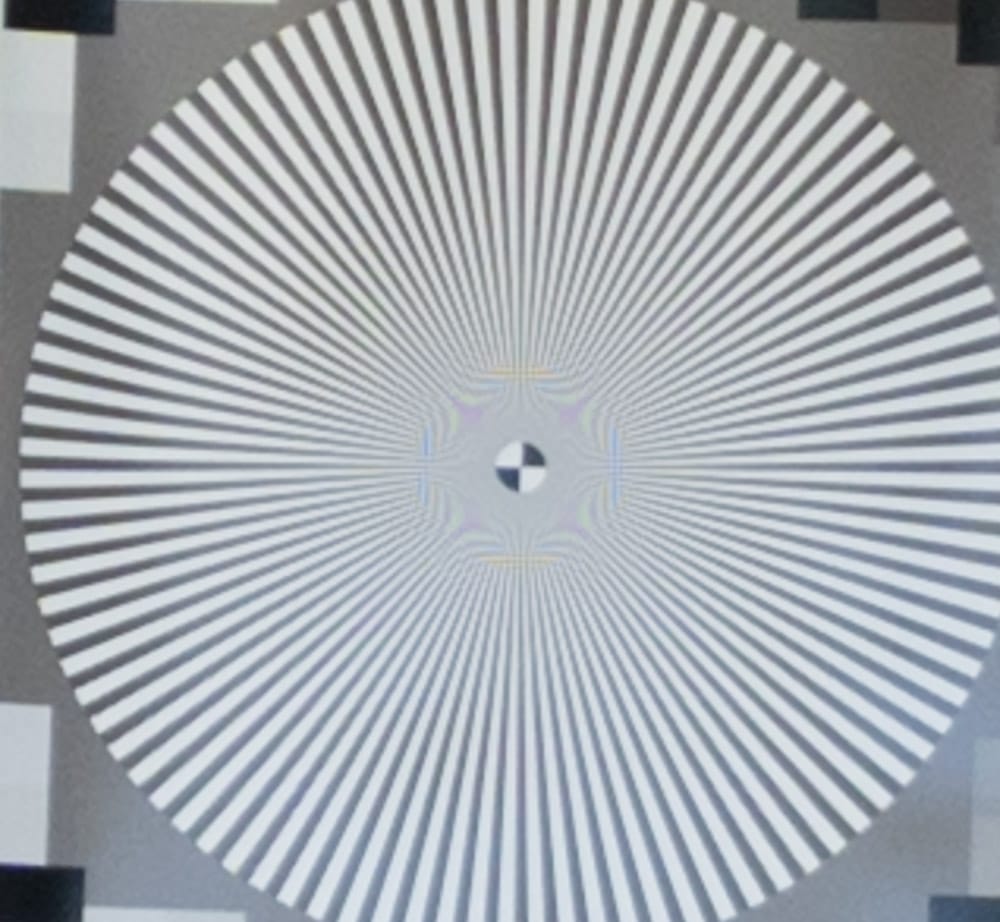
There’s only about a 20% difference in resolution between the two cameras, and the a7RIV appears to be taking advantage of that. Aliasing starts later, and details in the middle of the star are better resolved.
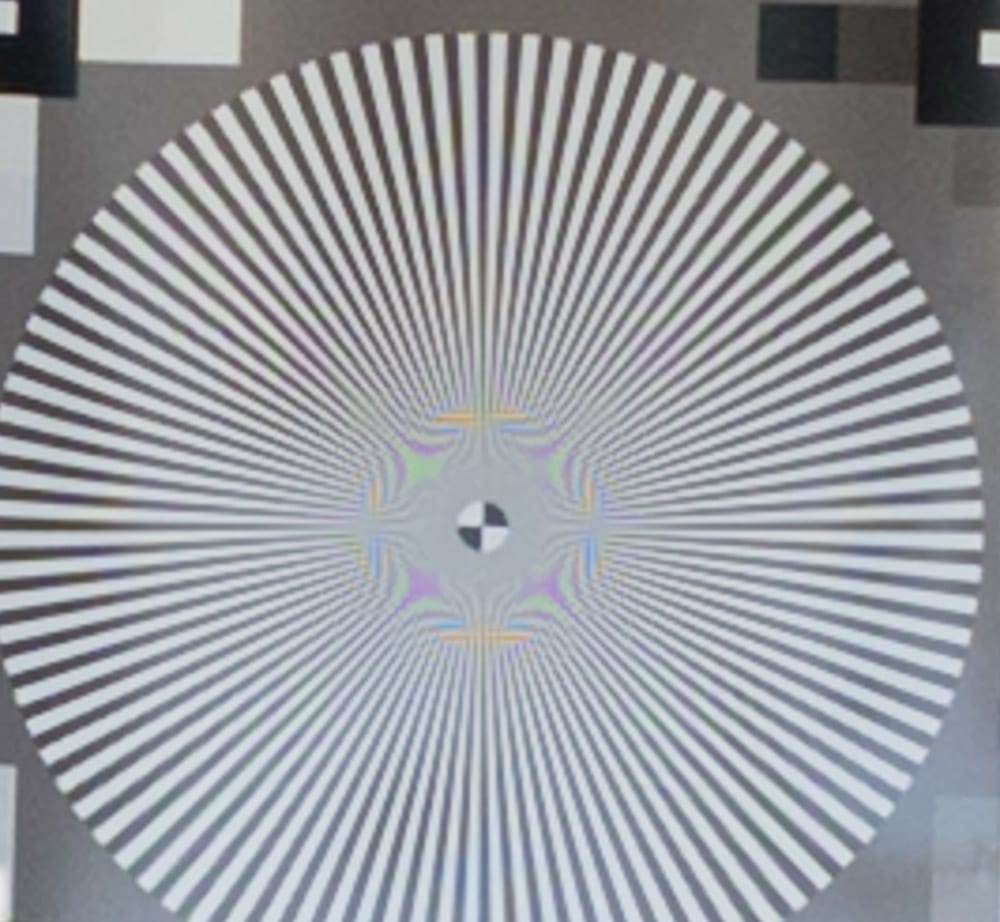
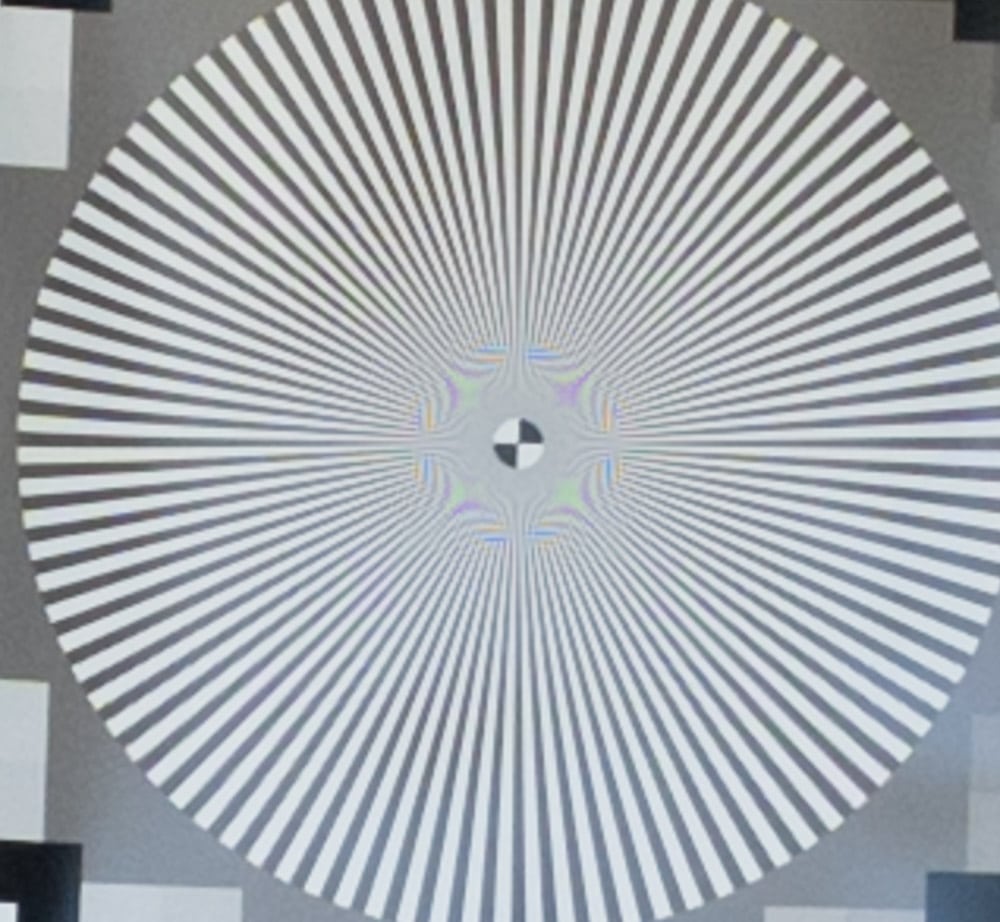
There’s more contrast at this aperture, but the a7RIV continues to do better.
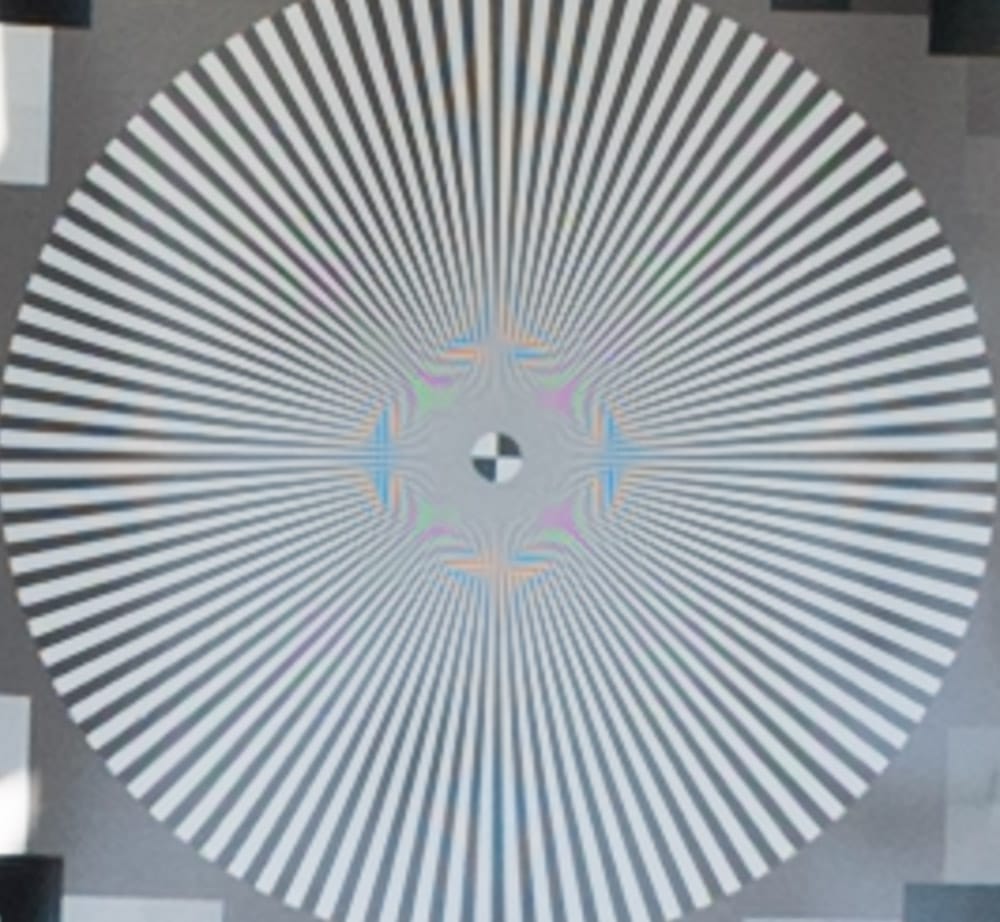
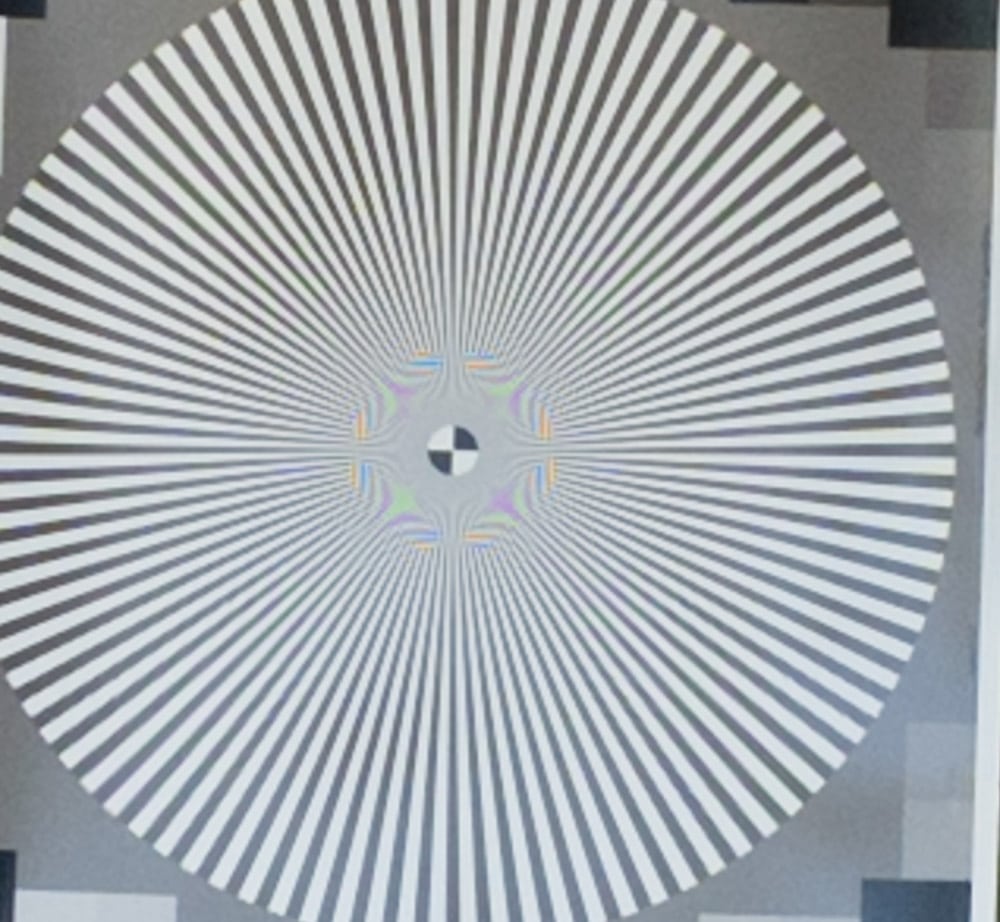
There is definitely a pattern here.
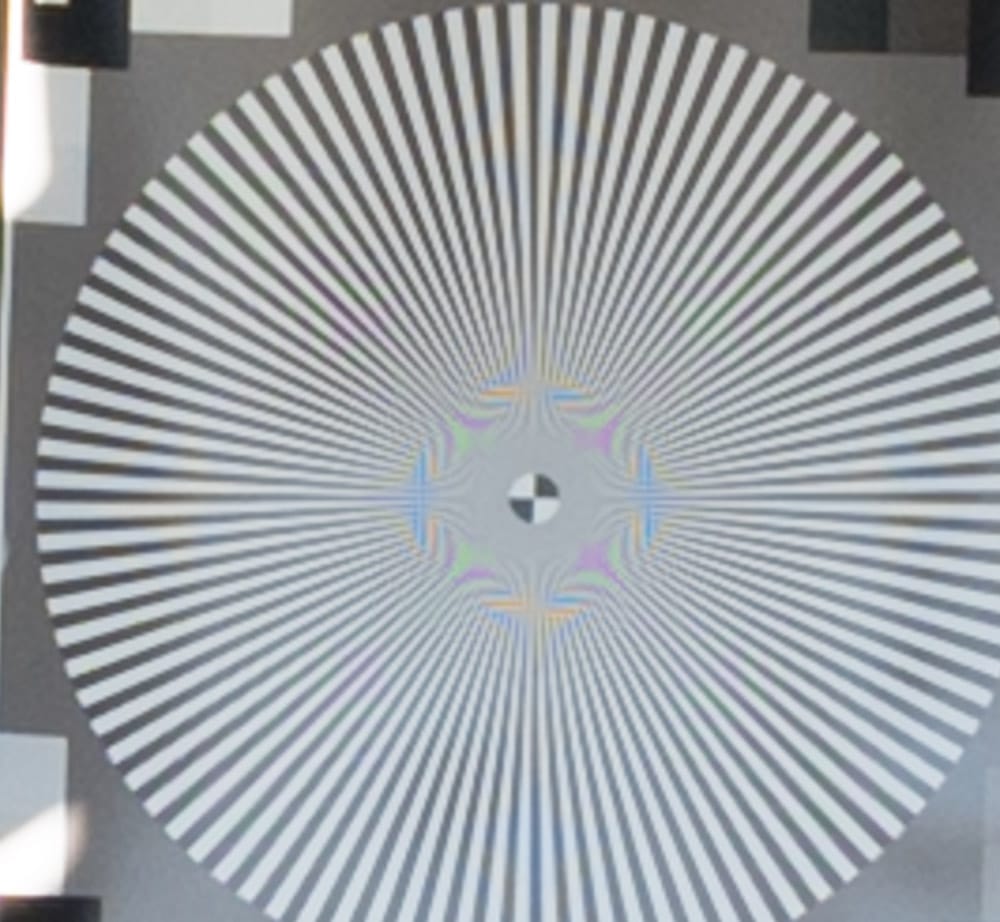
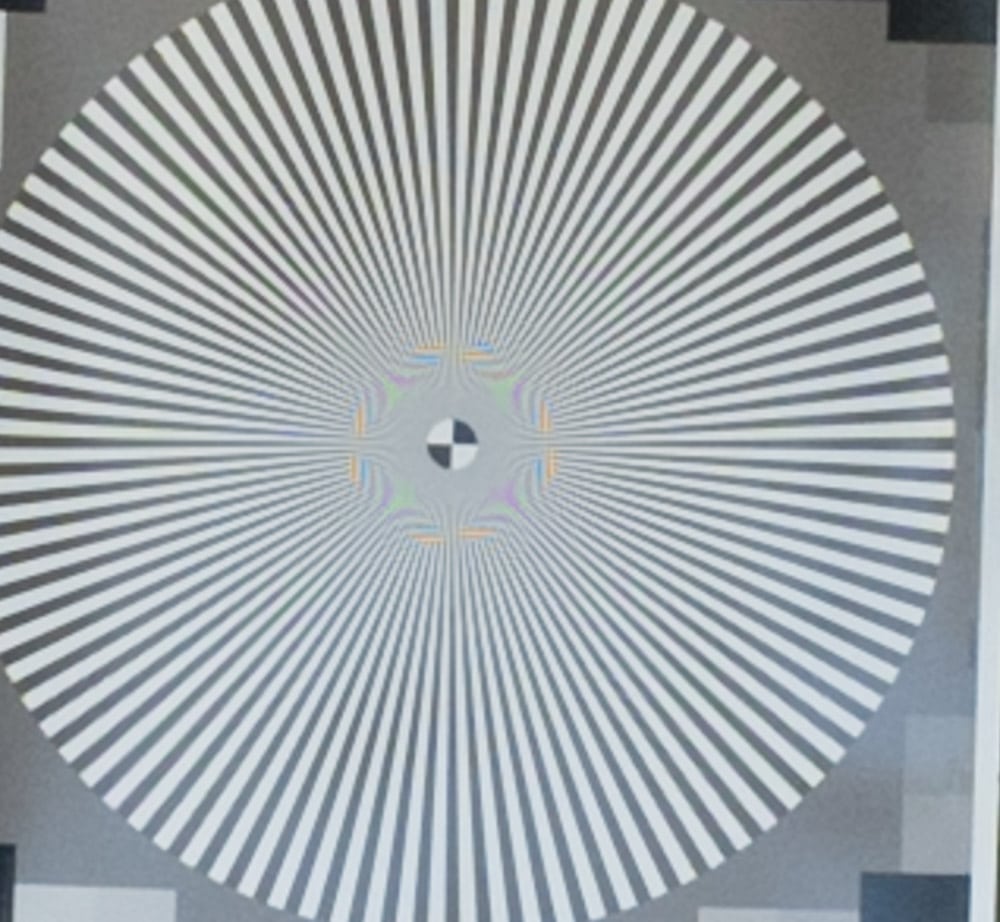
No question about it.
Here’s the rest of the f-stop series for the a7RIV, so you can see how diffraction blows the whistle on the resolution game, but really helps with the aliasing.
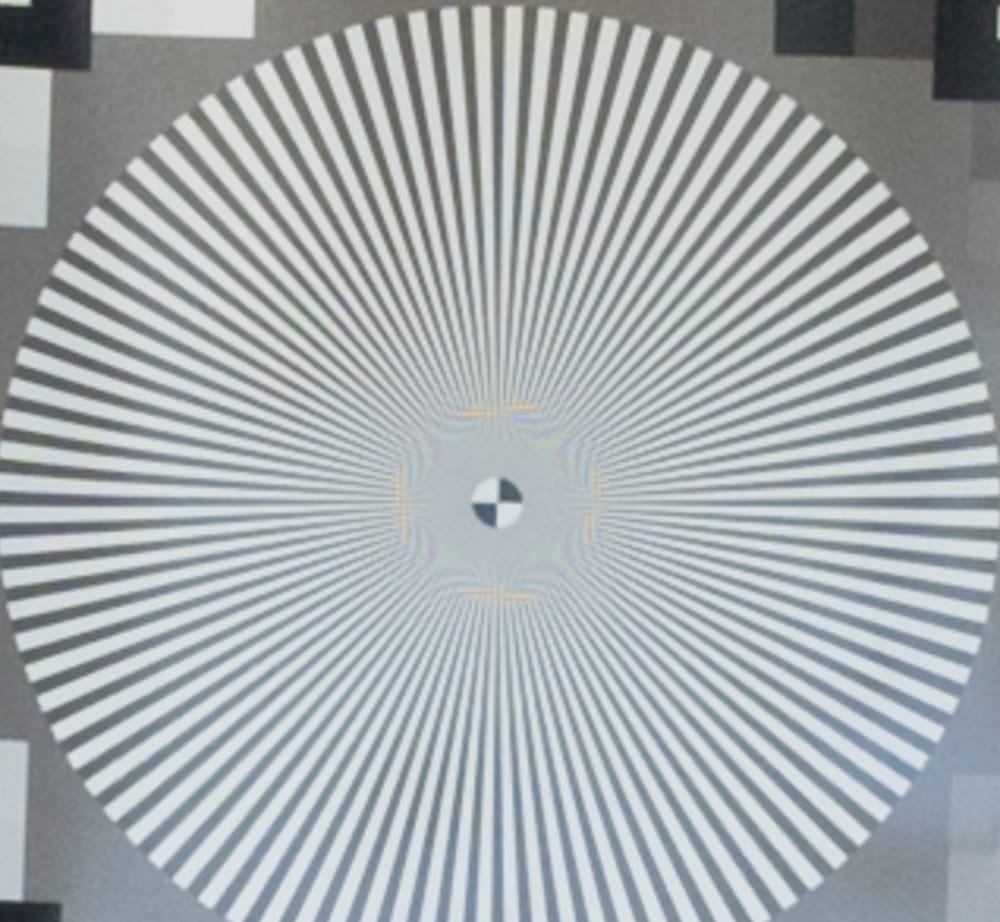
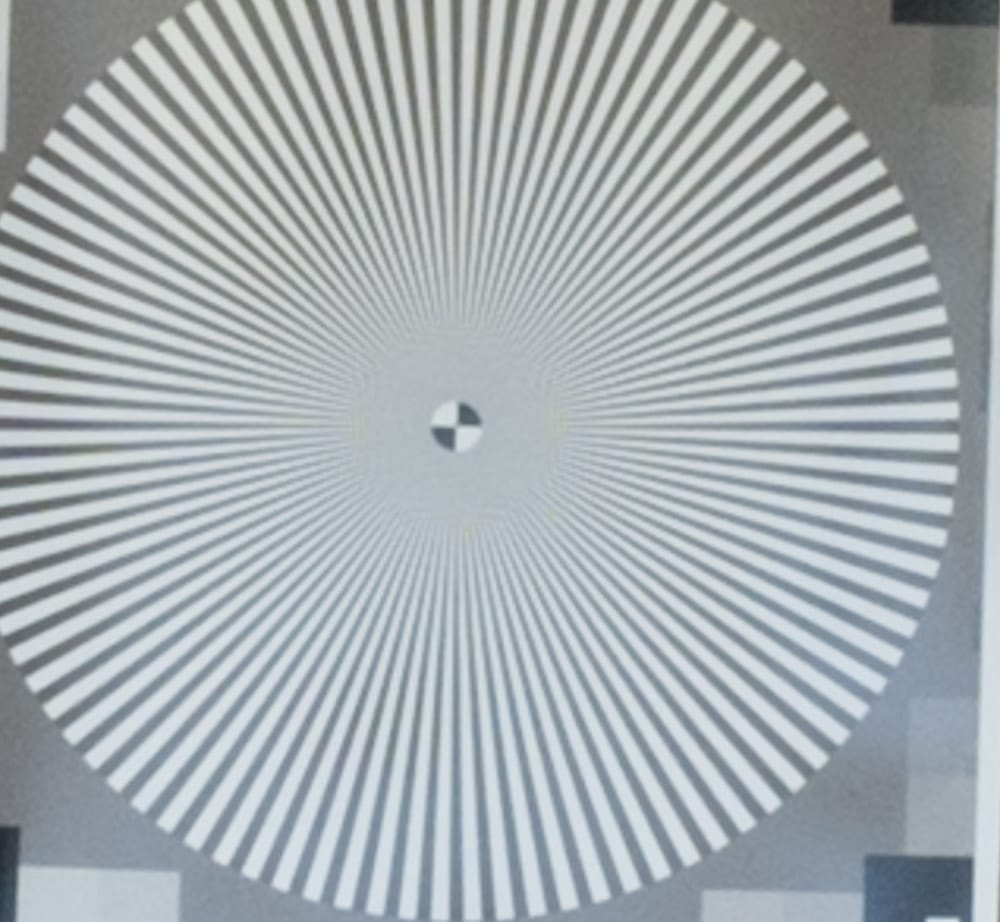
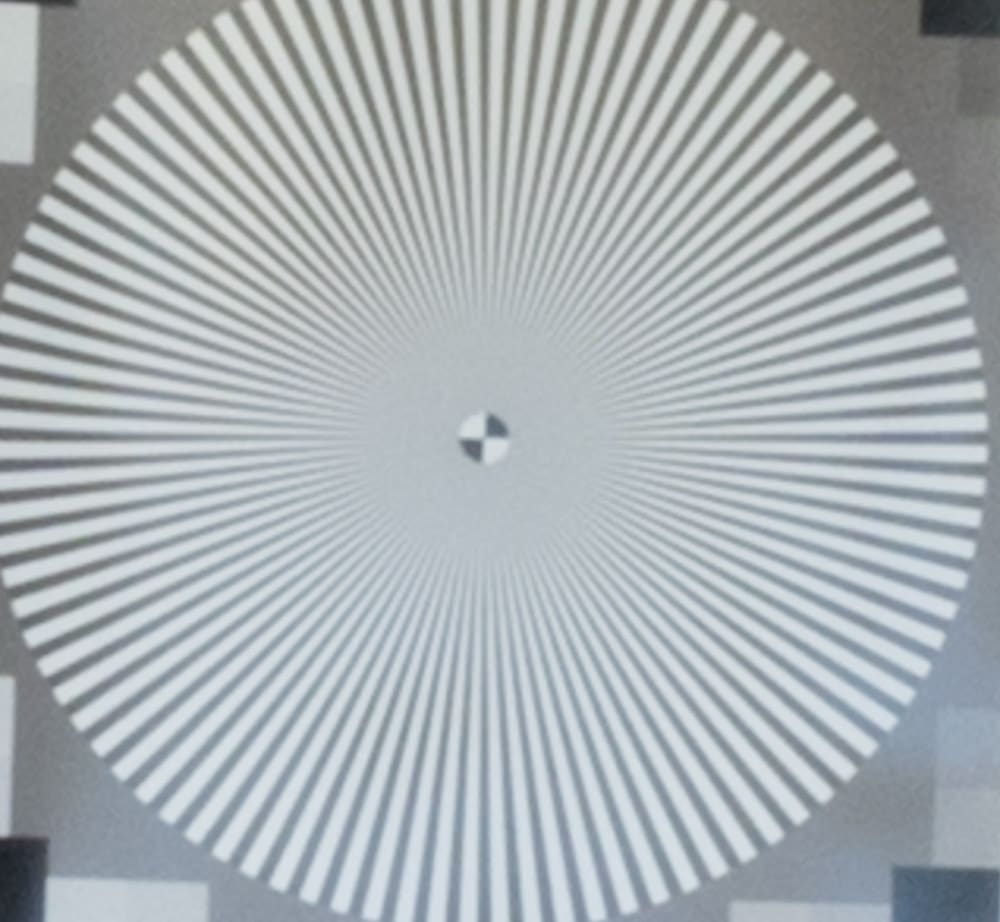
I’ll take a look at the raw planes to make sure Lightroom isn’t stacking the deck.
Mark Woods says
Hi Jim Kasson.
Thanks for conducting this test!
What was the distance between the Siemens star target and the a7Riv? And how large was the target?
I ask because I want to test my version of that same setup: My lens is a used Otus 55mm (Nikon mount) that I bought just a few days ago from KEH, who rated it as “Bargain”. It shows many signs of wear and I got it for $1828 before tax with free shipping, so it feels especially important for me to test it out. My camera is a just-arrived A7Riv.
Because your online lens screening testing instructions do not yet include information for 60-MP full-frame sensors regarding minimum target distances and target size on sensor, I went ahead and did my best to extrapolate from the information you do provide. Because I need to test only one lens on only one camera body, I thought it might be worth a try. And I figured I might as well ask you whether my extrapolations make sense. But I would understand, of course, if you don’t have time to reply.
Here’s how I extrapolated:
Because a 24-MP FF sensor is roughly 6000 px long, I divided 36 meters (roughly the minimum target distance for f/2 on your chart) by 6000 and got 0.006. Because a 42-MP FF sensor is roughly 7952 px long, I divided 48 meters (roughly the minimum target distance for f/2 on your chart) by 7952 and got 0.00603etc. Hmm. Too close for mere coincidence, I thought. So I multiplied 0.006 by 9504 (the pixel length of the A7Riv sensor) and I came up with roughly 57 meters. Am I right in thinking that this is roughly the minimum target distance for this lens on this camera?
I notice that a 16-inch Siemens star target is roughly 110 px long at the minimum target distances appropriate for f/2 of a given lens-sensor system. And that 16 * (150/110) = almost 22 inches. So am I right in thinking that I’ll be good with a roughly 22-inch (at minimum) printout of this image you provide?:
http://www.kasson.com/ll/PrintStar12000-200Block.png
Maybe I’ll print it out at 30 inches, just to allow me to get a bit of extra distance.
Kind regards,
Mark
JimK says
About 25 meters.
About 22 inches in diameter.
Mark Woods says
Hi Jim. Thank you for this information!
JimK says
Sounds about right.
That also sounds good.
Mark Woods says
Hi Jim. Thank you so very much for these confirmations! I did some testing of my Otus 55 on my a7Riv yesterday and am working on the post-production now. I’d love to share my results with you. I’ll send you a message via your contact information with a link to the 3×3 grids—unless you tell me of some other, better way to share.
Mark Woods says
Hi Jim (and anyone else who wants to inspect my files!).
Here’s the link to the results of the tests I did of my Otus 55 on my a7Riv yesterday, following Jim’s instructions:
https://www.dropbox.com/sh/qdtwmxidgt4j50t/AABzcn-cGfsMtD9rl9mybrjia?dl=0
I arranged them in 3×3 grids for easy comparison. I see problems, but I don’t know how severe they are because this is my first time ever doing this test. I would be so very grateful for your opinions. As I mentioned earlier, the lens is a used one (Nikon mount) that I bought just a week ago from KEH, who rated it as “Bargain”. It shows many signs of wear and I got it for $1828 before tax with free shipping, so it feels especially important for me to decide whether it’s worth keeping. Does it perform as well as your Otus 55? I doubt it, but I don’t know because I don’t see any 3×3 grids of your Siemens star tests of that lens. Would I be better off just buying a new Voigtlander APO-Lanthar 65 for roughly half the price? I had been hoping to keep this lens in my bag with my a7Riv and a tripod for almost daily use while walking about. A huge heavy lens is worth its weight if it performs the way an Otus should. But I don’t know whether this one is performing the way an Otus should.
I shot the photos with EFCS on at speeds ranging from 1/320 to 1/50 (f/2 at 6 PM and f/4 at 6:20 PM). Novoflex adapter supported by Novoflex collar & foot on RRS ball head on Gitzo carbon fiber tripod shielded (by an umbrella and my body) from a light breeze coming from behind. Remote release with 2-second delay.
I shot three rounds at f/2, refocusing through the taking aperture before each round. I selected the set with the centered image of the target that was sharpest.
I shot one round at f/4, focused through the taking aperture.
Here’s how I processed the files:
—open .ARW files in latest up-to-date subscription version of Adobe Camera Raw: Version 11.4.1.291
—choose Process Version 2 (the most linear one, from what I hear)
—profile: Adobe Standard
—set white balance for each set of 9 by click-dragging on the white of the Siemens star target paper
—zero out all the other sliders in the Basic tab (literally make their values zero)
—set curve to linear
—set sharpening and NR to zero
—did NOT apply any lens profiles
—did NOT check CA box
—generated tiffs in ProPhoto RGB
—then in Photoshop:
—converted those tiffs into sRGB using Absolute rendering intent
—arranged into 3×3 grids
—flattened files
I made two versions of the f/2 set and two versions of the f/4 set: one version of each did NOT do anything to counteract the vignetting; one version of each counteracted the vignetting using the “Amount” slider in the “Vignetting” area of the “Manual” tab of the “Lens Corrections” tab. I did this because it seemed to help me see the false color and the divergences better. The file names indicate the distinctions between the files.
With gratitude to anyone who can give me their two cents,
Mark
JimK says
The edge and corner shots look terrible to me. That lens should be able to do a lot better than that. What was the target size and target distance?
Mark Woods says
I forgot to mention: All shots were taken at a distance of 60 meters (the minimum acceptable distance was 57 meters, if my calculations were good). The circumference of the Siemens star, as I had it printed, is 32.5 inches.
–Mark
JimK says
In that case, I would return the lens or have it repaired. Have you tried focusing on each of the nine frames? Just do that at f/2. If that makes things good, then the lens is tilted. A lot.
Mark Woods says
I did not try refocusing on the target in each of the nine frames. Thanks for suggesting that. I’ll try to do that when I get the chance.
I can tell you, also, that the three sets I shot at f2 are pretty consistent. There are one or two frames in there that seem like they might be wind-vibration anomalies. But in all sets, the asymmetries within some pairs get repeated from set to set. The asymmetry between the top center and the bottom center, for example.
It seems that this is a case of getting what one pays for. Or getting less than one pays for, since KEH assured me that they had tested the lens and that it had passed inspection and that none of the defects in the lens would affect lens performance. I guess I should have known that a half-price Otus was too good to be true.
Thank you very, very much for your attention and feedback, Jim. I really appreciate it. Thank you, also, for devising this (and other) tests. We are fortunate to be educated by you.
Kind regards,
Mark
Mark Woods says
Good news for now: KEH is handling this problem admirably so far. Yesterday afternoon I sent an email describing this problem directly to the KEH rep who sold me the lens. In it I mentioned that I saw another used Otus 55 listed on their site, this one rated “Excellent +” and listed at $2,199 but lacking a lens shade/hood. I proposed that we exchange one lens for the other, that I keep the lens shade/hood of the current lens, and that we call it even without more money changing hands. They agreed, and within ten minutes I had my prepaid FedEx shipping label (no cost to me). 30 minutes after that, I dropped the lens off at the shipping store. KEH will not cross-ship, which is understandable. Fingers crossed; trust but verify; I’ll keep you posted on the results of my tests on this next used lens. Thanks again for all your help, Mark
Jim P says
Maybe before blaming the lens, it’s worth questioning the adapter? I have found adapters that introduced upwards of 200um deviation from expected flange focal distance, as well as significant tilt. In my experience it’s actually quite hard to find a quality adapter, I’ve come across a LOT of bad ones. Mark, have you tried actually measuring/testing your adapter?
Mark Woods says
Hi Jim P.
Thanks for your comments and question. I noticed them only just now because I did not check this conversation for new entries during tbe past several days.
It did occur to me that the adapter might be the problem. Especially because I bought it used. (FWIW, I bought it from B&H. ).
One reason that I haven’t tested the adapter is that I wouldn’t know how to do so aside from very unscientifically by testing other lenses on it and on other adapters of the same function and comparing the results. I don’t have any other Nikon-mount lenses. And I don’t have other adapters of the same function. Of course, I could rent some of both but I haven’t had time to do that yet. I did, however, just receive from KEH the exchange lens to replace the one with the bad test results. Today I home to run Jim K.’s test on it.
One thing about the test results of the previous lens: none of the edge and corner images is very much worse than any other of the edge and corner images, yet ALL are very much worse than the center image. If the adapter were to blame, then I would have expected less uniform badness of the corner and edge images. But maybe there is no good basis for that expectation. I mean this sincerely! (Did you look at the 3×3 grid that I linked you to? I would be grateful to know your opinion of it.)
I have almost no experience testing lenses and none testing adapters. I speak from a place of deep ignorance on these matters. I don’t know how to use tools that measure flange focal distance, for example.
Anyway, I will report back soon with results from the next test.
Sincerely and humbly,
Mark
JimK says
So the diameter was about 10 inches? That’s awfully small.
Mark Woods says
Oops: I should have written “diameter”, not “circumference.” I’m sorry about that. The diameter is 32.5 inches.
JimK says
Gotcha. Send it back or get it repaired.
Mark Woods says
Hi Jim K. and Jim P.
New test results here (all in 3×3 grids):
https://www.dropbox.com/sh/us49dsp702o0idw/AAAD9_g88_49HBlkXi7iUmZSa?dl=0
The file names indicate what distinguishes the grids from one another. The first used Otus 55 is identified as “Otus_55-A”. The replacement used Otus 55 is identified as “Otus_55-B”.
I tested the replacement used Otus 55 lens using the same a7Riv and the same Novoflez NEX/NIK adapter and the same Novoflex adapter collar. The results are very similar to the results with the first used Otus 55. I also tested my Zony 55 f1.8 And my Zony 16-36 f4 at 20mm and at 35mm (all on the same a7Riv). Taken together, these results lead me to suspect that the problem is the adapter. Do you think so too? The shots taken with the Zony 55 lead me to suspect (though they do not prove) that the camera mount and sensor are probably not the problem.
Just how bad the tilt is with the Otus/Novoflex combination can be seen in the additional tests I did of the replacement used Otus 55 by focusing on the Siemens star when it was framed in the top left corner and then reframing so that the Siemens star appears in all the other standard center/corner/edge positions without refocusing. And then repeating after focusing on the Siemens star when it was framed in the top right corner (etc. and so on). And then repeating …bottom right. And then repeating…bottom left. As per Jim K’s excellent guidance in paragraph 7 of this page:
https://blog.kasson.com/lens-screening-testing/found-a-problem-now-what/
One thing I did that was not in Jim K’s instructions was to adjust the exposure slider in Adobe Camera Raw for each shot so that all views of the Siemens star always show the white of the paper with an L value of roughly 93 at the highest. So as to compensate for the dimming effects of falloff. I find it easier to compare the star from image to image when the exposure looks consistent. One consequence of this is that the corner and edge images all have more noise than the centers images do (especially in the case of the Zony lenses, which suffer more from falloff than the Otus lenses do).
Another thing I should note: In order to focus on the Siemens star when it was framed in a corner in magnified view, it was necessary for me to frame with the star less close to the corner of the image because magnified view does not allow scrolling out to the very corners of the image. Two of the files (and their file names) at the link above will help you to understand what I’m talking about.
I would be so very grateful for your thoughts on this.
Sincerely,
Mark
JimK says
I agree. Everything points to your adapter being tilted. Have you used that adapter with other lenses? My favorite adapter brand is Kipon. Your target is a bit small in the image. Next time, use a larger target if you can. Or, if you’re further away than the minimum target distance, move a bit closer. I don’t generally compensate for falloff except with short-focal length lenses, but if it makes it easier for you, keep on doing it.
Mark Woods says
Hi Jim K.
Thank you so very much for your help with this.
I don’t own any Nikon F-mount lenses anymore. No additional lenses with which to use the adapter. Thanks for telling me about Kipon adapters. I’ll look in to them at B&H today, which is where I’m headed right now in order to return the seemingly faulty Novoflex adapter, which I bought used from B&H (maybe the problem with it resulted from its being used—or misused, rather).
My reason for going with the Novoflex in the first place was that Lloyd Chambers recommended it and, more importantly, the rotatable collar / foot that Novoflex makes to go with it. He recommended both of them specifically for use together with one another and with the Otus line as combined with the a7R line as the best way he knew of avoiding the tilt problems that can result from those heavy lenses pulling at the lens mounts of those tiny cameras. (But of course faulty adapters introduce tilt problems of their own.) I bought the Novofllex collar/foot used for a good price from KEH and would like to avoid returning it. That biases me toward buying a new Novoflex adapter. But maybe the Novoflex collar/foot will work with the Kipon adapter. Or maybe Kipon makes a rotatable collar/foot to go with their adapter. The rotatability matters to me because I do a lot of shooting with the camera in vertical, a.k.a. “portrait” orientation. any thoughts you have on this matter would be appreciated but not expected!
Regarding the size of my target and the distance of my testing:
I can get those targets printed with a diameter of 36 inches for under $10 (black and white blueprints at Staples). That’s just a few inches more in diameter than the one I’ve been using. Larger than 36 inches seems to cost a great deal more because different printing methods would be necessary. I’ve been shooting at a distance of 60 meters just in case my extrapolation/calculation of 57 meters as the minimum acceptable distance was off a bit. But I’ll try shooting at 57.5 meters.
More soon,
Mark
Mark Woods says
Hi Jim.
I’ve been comparing my test results with yours for the only lens in your test-example section that you describe as excellent—this one:
https://blog.kasson.com/lens-screening-testing/examples/excellent-180-400-zoom/
Your praise for that lens’s performance on your test includes this: “This is a spectacular lens. It is good enough that I sold my Nikon 500 mm f/4E after I got it. There is high-contrast aliasing even in the corners….” Which leads me to wonder what settings you’re using in Lightroom that might affect apparent aliasing contrast.
For example: what Process Version are you using? What are your settings for things such as “Contrast”, “Blacks”, Curves, “Clarity”, and so on? When I compare my test results for my Otus 55, the aliasing of even the my center images always look much, much, much, much lower in contrast than does the aliasing of even your lens’s corner images. I’m using Process Version 2 with all of the curves and sliders zeroed out, which gives a very low-contrast appearance. Maybe I should give my files a much higher-contrast appearance in order to make the aliasing more legible? I would like to use the same settings as you do in order to compare my lens on an even playing field. It would help me to understand how to compare my lens test results with yours.
Many thanks,
Mark
JimK says
That lens was tested with PV 4, Adobe Standard Profile, Exposure, Contrast, Highlights, Shadows, Whites, Blacks, Texture, Clarity, Dehaze, Vibrance, and Saturation all zero. Sharpening amount was 14, Radius was 1.0, Detail was 25. Noise reduction turned off. Changing the PV to 5 makes virtually no difference in the star appearance.
The reason I was so blown away by the 180-400 was that it’s a zoom, not that it’s off-the-charts compared to a top prime.
Mark Woods says
Dear Jim,
Thanks for your previous replies here!
Since my last post, I replaced the previous, used Novoflex adapter with a new, unused one. My early results from running your test with the new adapter on the second Otus 55 were slightly better than with the used adapter on the same lens and with the used adapter on the previous Otus 55, but still much worse than with the adapter-free Zony 55 1.8. I might buy the appropriate Kipon adapter and see how it does.
But in the mean time I ran some new tests based on an observation: in all my tests of BOTH copies of the Otus 55 using BOTH copies of the Novoflex adapter (when focusing with the target at the center of the frame), the Siemens star looks softest when it is photographed at the center of the bottom edge of the frame (with camera in horizontal position). I started wondering if the lens was sagging. So I made a wooden wedge of the sort that Huntington Witherill described and depicted in this guest post of his on your blog:
https://blog.kasson.com/the-last-word/taming-the-sony-a7r-shutter/
To use my Witherill wedge, I used an RRS rail attached to a RRS L-bracket which was in turn attached to the a7Riv. I did NOT use a lens collar/foot. First, I inserted the wooden wedge while the camera and rail were right side up and I marked with pencil the position of the wedge where it came to rest with just the slightest of pressure. Then I removed the wedge, turned the entire camera/bracket/rail combination upside down, rested it on the table, and inserted the wooden wedge into the same place. I noticed that the wedge could be inserted MUCH FARTHER with the same (slightest) amount of pressure. So little pressure, in both cases, that the wedge did NOT pry open the gap, not even in the slightest amount.
So I ran your test multiple times in five different ways with the same A7riv, the same Zony 55m 1.8, the second copy of the Otus 55mm 1.4, and the second (new) copy of the Novoflex adapter, this time with the Siemens star printed a bit bigger (36 inches in diameter) and closer to the camera (57.5 meters) than it was in my earlier tests (60 meters):
—Zony 55mm 1.8 at f/2 (no adapter, no wedge)
—Otus 55mm 1.4 at f/2 (camera horizontal, wedge inserted with camera upside down while holding on to lens)
—Otus 55mm 1.4 at f/2 (camera horizontal, wedge inserted with camera upside down while holding on to camera)
—Otus 55mm 1.4 at f/2 (camera in “portrait” orientation, wedge inserted with rail upside down while holding on to lens)
—Otus 55mm 1.4 at f/2 (camera in “portrait” orientation, wedge inserted with rail upside down while holding on to camera)
The non-center Otus shots taken in “portrait” orientation seem just very slightly softer than the ones taken in horizontal or “landscape” orientation. But in all tests run with the Witherill wedge, the opposite pairs in the 3×3 grids seem much, much closer to symmetrical than they did without the Witherill wedge. Very very slightly better when the wedge is inserted while I hold on to the camera, letting the heavier lens be supported only by the mount. The exception seems to be the image of the Siemens star that was shot at the center of the bottom edge (center bottom as displayed in my 3×3 grids, though this edge was to the right when the camera was rotated counterclockwise into “portrait” orientation). The image of the Siemens star in THAT position seems, test after test after test, to be softer than in other positions, though the difference is slight when the Witherill wedge is used. It now seems unlikely to me that this is an adapter problem. Does it seem that way to you?
What bothers me most, still, is that the Zony 55mm 1.8 continues to outperform the Otus 55mm 1.4 even with the new adapter and the Witherill wedge. Not in the center, but in the corners and on the edges. Consistently through all the redundant control tests. The three examples that I add now to the dropbox folder I have linked you to before are representative, not anomalous. They’re the files that begin with the numbers 11,12, and 13. The file names identify them, too. Same folder as before, same link as before:
https://www.dropbox.com/sh/us49dsp702o0idw/AAAD9_g88_49HBlkXi7iUmZSa?dl=0
By the way, thank you for telling me about the Process Version and sharpening settings of one of your tests. I tried them and that didn’t make much difference so for the sake of consistency within MY history of testing I continue to use Process Version 2 with all sliders set to zero, curve linear, no NR and no sharpening whatsoever.
I know that this test of yours is not meant to help us evaluate all aspects of lens performance. Do you think that perhaps this copy of the Otus 55 could still outperform my Zony 55 in lots of important ways that this test does not evaluate? Or do you think I have a lemon Otus?
Does your Kipon adapter really not allow any lens sag when it connects your Otus 55 to your a7Riv? Did you run this lens test for that combination? If so, could you show us your 3×3 grid results?
With gratitude,
Mark