• site home
  • blog home
  • galleries
  • contact
  • underwater
  • the bleeding edge

the last word

Photography meets digital computer technology. Photography wins -- most of the time.

You are here: Home / a7RIV / Sigma 35 mm f/1.2 lens on Sony a7RIV

Sigma 35 mm f/1.2 lens on Sony a7RIV

November 20, 2019 JimK Leave a Comment

In this post, I compared the Sigma 35 mm f/1.2 lens on the Sony a7RIV with the Fujifilm 45 mm f/2.8 lens on the Fuji GFX 100, using a Siemens Star target. In this post, I’ll show you some images of foliage using the Sony/Sigma combination.

Here’s the scene:

I set up the camera as follows:

  • RRS 4-series Versa legs
  • Arca-Swiss C1
  • 2-second self timer
  • EFCS
  • ISO 100
  • AF-S for center-right shots, MF for corner shots (the camera won’t focus the Sigma accurately in the corners)
  • f/2, f/2.8, f/4, f/5.6
  • 1/3200, 1/1600, 1/800, 1/400 second shutter speed

I developed the images in Lightroom with

  • White balance set to Daylight
  • Adobe Color Profile
  • Sharpening: amount 20, radius 1, detail 0

I picked the sharpest of the three exposures. If you’ve seen these here before, just jump to the images. If not, I need to spend some time telling you how to interpret them. They’re at roughly  200% magnification, enlarged to 700 pixels high on export from Lightroom. If you just want a rough idea of the differences, just look at the images as displayed in-line in the posts. However, if you wish to compare these images in detail, you should view these images by clicking on them to see the source files, then set your browser for 100% zooming. Even better, download them and make Photoshop stacks.

No matter what you do, these crops are all going to look horrible. I’m blowing them up so much so that they will represent the original file after JPEG’s discrete cosine transform has had its way with them. If you want to get a good idea of what the images would look like printed, get far away from your monitor. No, farther than that. Put a bunch of the images up on the screen and back up until the best one starts to look good. Then look at the others. There’s another reason why these images won’t look like the best thing the camera/lens combination can deliver. They’re demosaiced with Lightroom. Lightroom is not awful, but for a particular image, there are usually better raw processors. I use Lr because it’s a de facto standard, because I know it well, and because it’s got good tools for dealing with groups of images.

Here’s how to use these highly-magnified crops. The dimensions of the a7RIV sensor is 9504×6336 pixels. If we make a full-frame print from the a7RIV on a printer with 360 pixels per inch native driver-level resolution, like the Epson inkjet printers, we’ll end up with a 26.4×17.6 inch print. The 365×283 pixel crop you’re looking at will end up 1×0.7 inches.  Let’s imagine that you or your viewers are critical, and will look at the 26.4×17.6 inch print from about 20 inches (conventional wisdom is that the distance would be a little greater than that, or 32 inches (the diagonal), but you did buy a high-resolution camera for a reason, didn’t you?).

The next step is dependent on your monitor pitch, which you may or may not know. Turns out, you don’t have to know it. Just take the crops and view then at 1:1. How high are they? Get out your ruler and measure, or just guess. Let’s say they are 6 inches high. 6 inches is about 5.5 times 0.7, so in order to view the crops the way they’d look from 20 inches on the print is to view them from 5.5 times as far away, or about 8 feet.

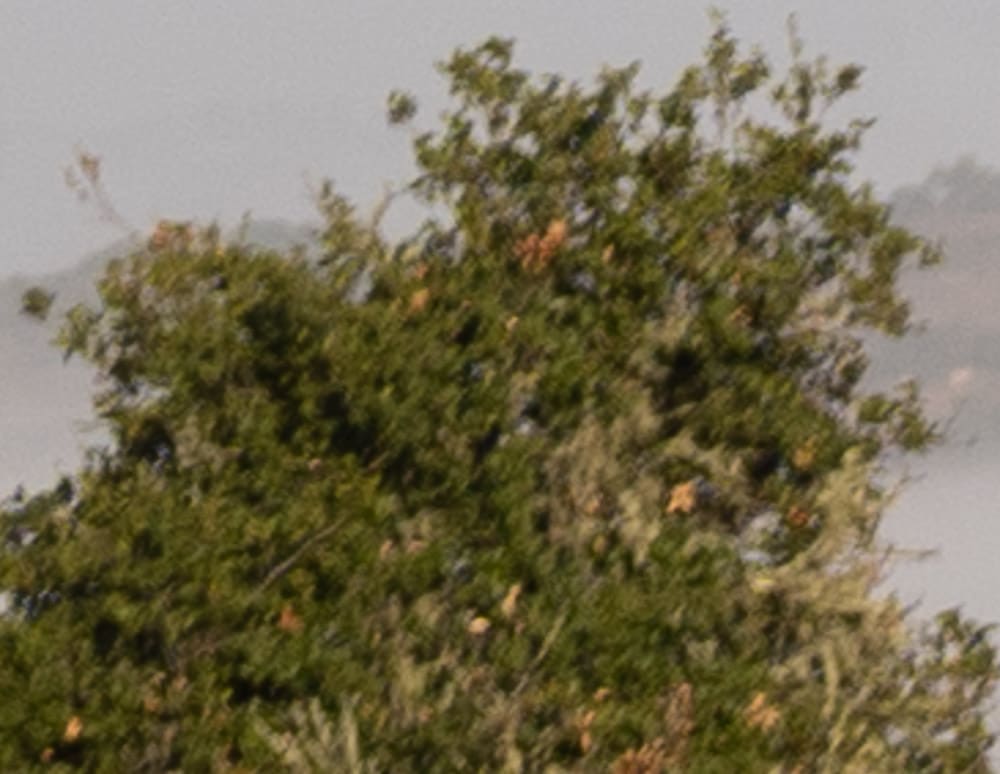
Somewhat right of center, at about 100 meters distance:

Sony a7RIV, Sigma 35/1.2, center-right, f/2

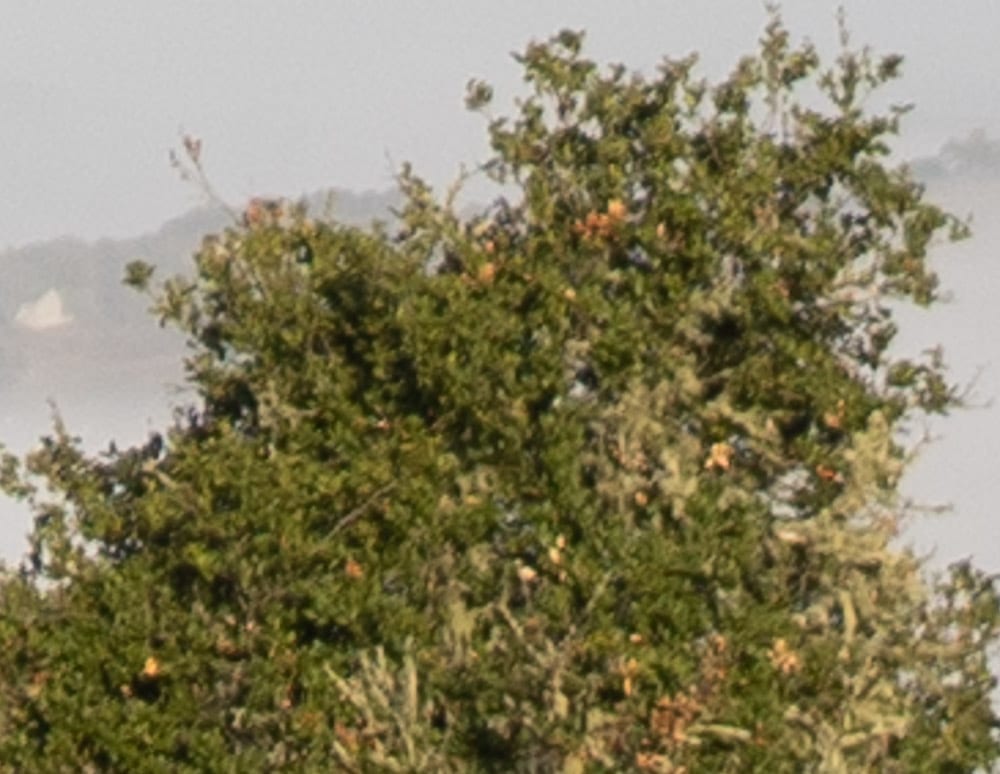
For f/2, this is excellent performance, though it is not quite what the lens is capable of if you stop it down a bit more.


Sony a7RIV, Sigma 35/1.2, center-right, f/2.8

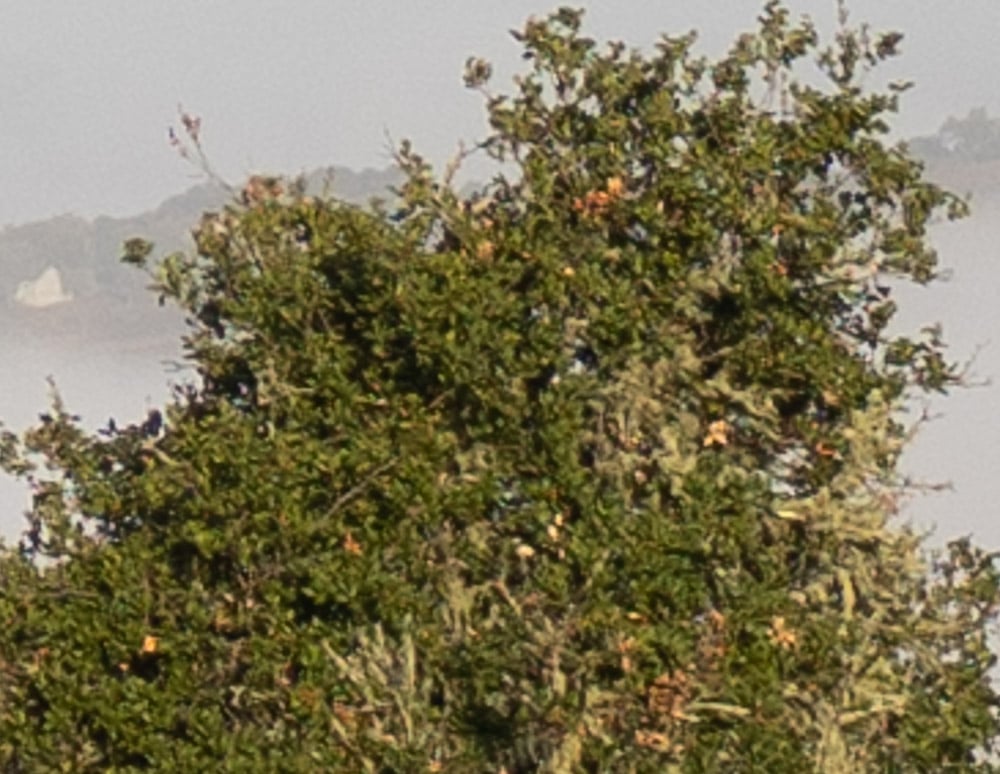
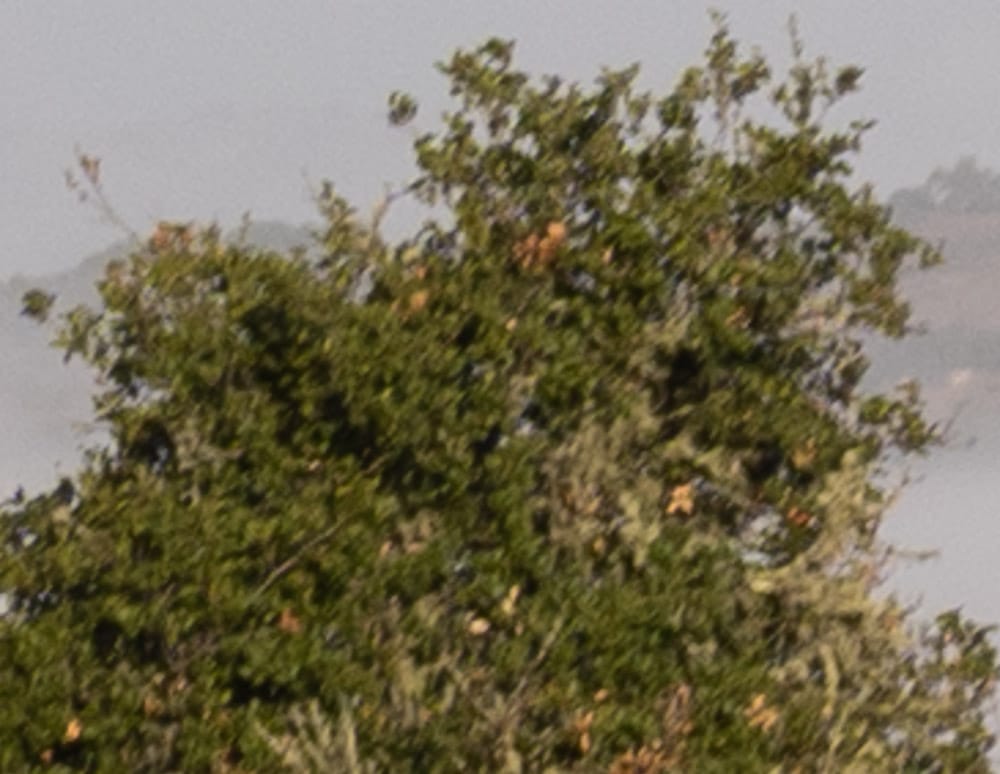
At F/2.8, the image is sharper, and there is less veiling flare.

Sony a7RIV, Sigma 35/1.2, center-right, f/4

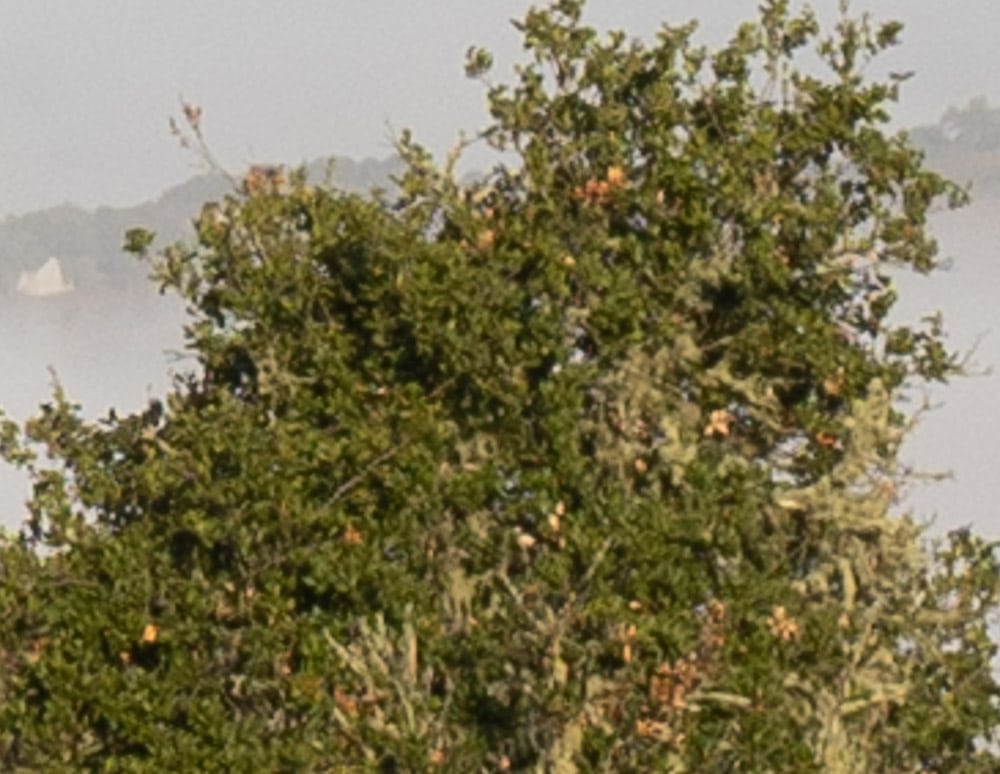
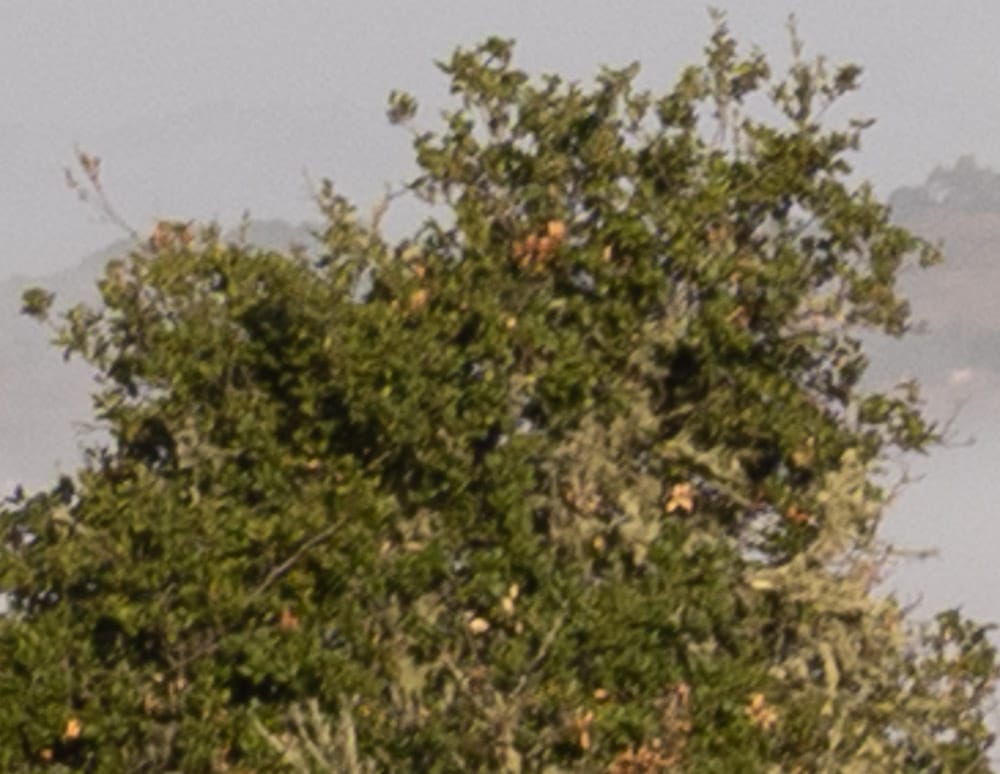
If anything, this is slightly worse than the f/2.8 shot, but they are very close.

Sony a7RIV, Sigma 35/1.2, center-right, f/5.6

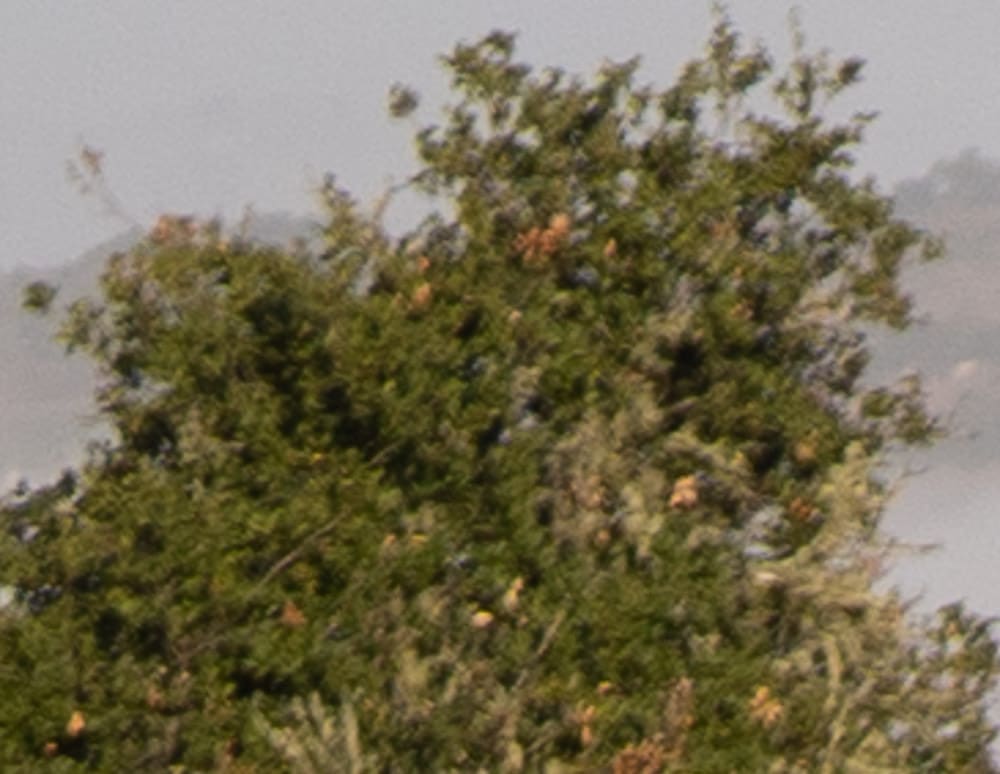
This is fine, but diffraction is visible even at f/5.6.

In the upper-left corner:

Sony a7RIV, Sigma 35/1.2, corner, f/2

If you’re shooting landscapes, it’s probably not a good idea to use this lens at f/2, but this level of corner sharpness would be perfectly acceptable in many other situations. Illumination falloff is minimal at this and narrower apertures.

Sony a7RIV, Sigma 35/1.2, corner, f/2.8

A bit better.

Sony a7RIV, Sigma 35/1.2, corner, f/4

Better yet.

Sony a7RIV, Sigma 35/1.2, corner, f/5.6

Still better.


a7RIV

← GFX 100 w/ Fuji 45/2.8 vs a7RIV w/ Sigma 35/1.2 Fuji 45 mm f/2.8 on GFX 100 →

Leave a Reply Cancel reply

Your email address will not be published. Required fields are marked *

May 2025
S M T W T F S
 123
45678910
11121314151617
18192021222324
25262728293031
« Apr    

Articles

  • About
    • Patents and papers about color
    • Who am I?
  • How to…
    • Backing up photographic images
    • How to change email providers
    • How to shoot slanted edge images for me
  • Lens screening testing
    • Equipment and Software
    • Examples
      • Bad and OK 200-600 at 600
      • Excellent 180-400 zoom
      • Fair 14-30mm zoom
      • Good 100-200 mm MF zoom
      • Good 100-400 zoom
      • Good 100mm lens on P1 P45+
      • Good 120mm MF lens
      • Good 18mm FF lens
      • Good 24-105 mm FF lens
      • Good 24-70 FF zoom
      • Good 35 mm FF lens
      • Good 35-70 MF lens
      • Good 60 mm lens on IQ3-100
      • Good 63 mm MF lens
      • Good 65 mm FF lens
      • Good 85 mm FF lens
      • Good and bad 25mm FF lenses
      • Good zoom at 24 mm
      • Marginal 18mm lens
      • Marginal 35mm FF lens
      • Mildly problematic 55 mm FF lens
      • OK 16-35mm zoom
      • OK 60mm lens on P1 P45+
      • OK Sony 600mm f/4
      • Pretty good 16-35 FF zoom
      • Pretty good 90mm FF lens
      • Problematic 400 mm FF lens
      • Tilted 20 mm f/1.8 FF lens
      • Tilted 30 mm MF lens
      • Tilted 50 mm FF lens
      • Two 15mm FF lenses
    • Found a problem – now what?
    • Goals for this test
    • Minimum target distances
      • MFT
      • APS-C
      • Full frame
      • Small medium format
    • Printable Siemens Star targets
    • Target size on sensor
      • MFT
      • APS-C
      • Full frame
      • Small medium format
    • Test instructions — postproduction
    • Test instructions — reading the images
    • Test instructions – capture
    • Theory of the test
    • What’s wrong with conventional lens screening?
  • Previsualization heresy
  • Privacy Policy
  • Recommended photographic web sites
  • Using in-camera histograms for ETTR
    • Acknowledgments
    • Why ETTR?
    • Normal in-camera histograms
    • Image processing for in-camera histograms
    • Making the in-camera histogram closely represent the raw histogram
    • Shortcuts to UniWB
    • Preparing for monitor-based UniWB
    • A one-step UniWB procedure
    • The math behind the one-step method
    • Iteration using Newton’s Method

Category List

Recent Comments

  • JimK on How Sensor Noise Scales with Exposure Time
  • Štěpán Kaňa on Calculating reach for wildlife photography
  • Štěpán Kaňa on How Sensor Noise Scales with Exposure Time
  • JimK on Calculating reach for wildlife photography
  • Geofrey on Calculating reach for wildlife photography
  • JimK on Calculating reach for wildlife photography
  • Geofrey on Calculating reach for wildlife photography
  • Javier Sanchez on The 16-Bit Fallacy: Why More Isn’t Always Better in Medium Format Cameras
  • Mike MacDonald on Your photograph looks like a painting?
  • Mike MacDonald on Your photograph looks like a painting?

Archives

Copyright © 2025 · Daily Dish Pro On Genesis Framework · WordPress · Log in

Unless otherwise noted, all images copyright Jim Kasson.