• site home
  • blog home
  • galleries
  • contact
  • underwater
  • the bleeding edge

the last word

Photography meets digital computer technology. Photography wins -- most of the time.

You are here: Home / a7RIV / Sony a7RIII, a7RIV visual shadow noise

Sony a7RIII, a7RIV visual shadow noise

September 19, 2019 JimK 6 Comments

This is one in a series of posts on the Sony alpha 7 R Mark IV (aka a7RIV). You should be able to find all the posts about that camera in the Category List on the right sidebar, below the Articles widget. There’s a drop-down menu there that you can use to get to all the posts in this series; just look for “A7RIV”.

I made a series of images of my bookcase. All were about 5 stops underexposed. I used a Zeiss Batis 135 f/2.8 lens on the Sony a7RIII and a7RIV bodies. I manually focused, and used a 2-second self timer setting. File format was uncompressed raw in both cases.

Here are the ISO settings and exposures:

  • ISO 100, f/5.6, 1/25 second
  • ISO 200, f/5.6, 1/50 second
  • ISO 400, f/5.6, 1/100 second
  • ISO 800, f/5.6, 1/200 second
  • ISO 1600, f/5.6, 1/400 second
  • ISO 3200, f/5.6, 1/800 second

Here’s a sample shot with a +5 EV push in post:

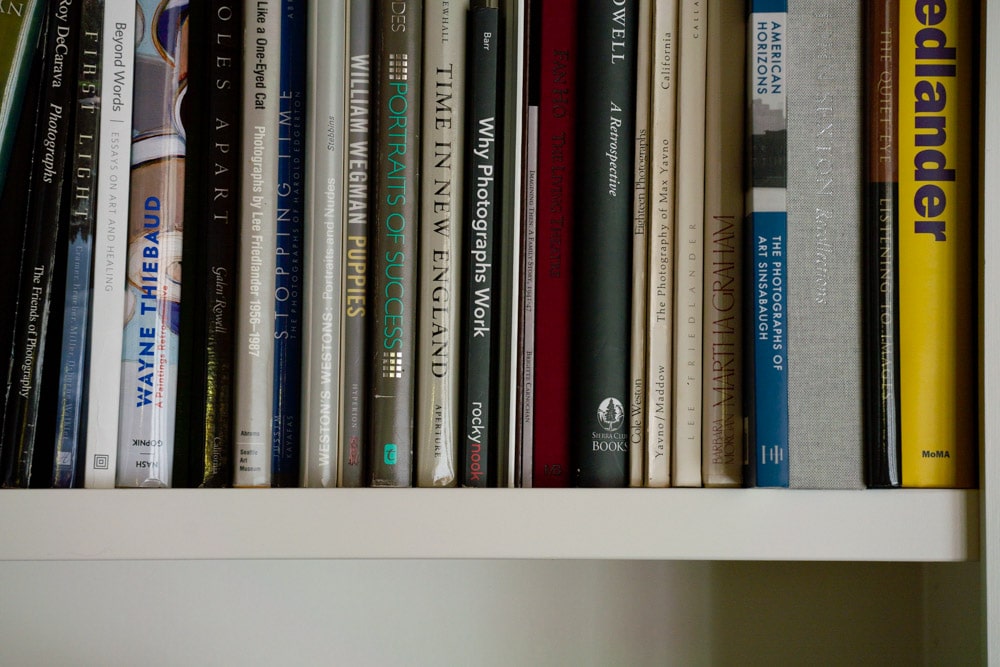
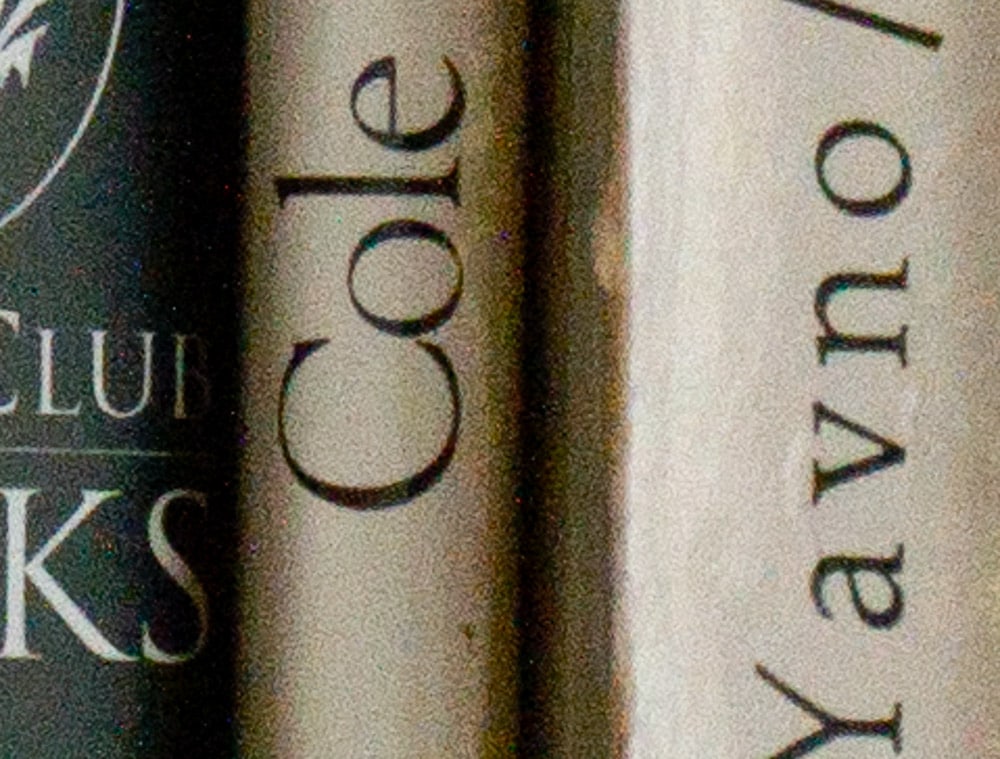
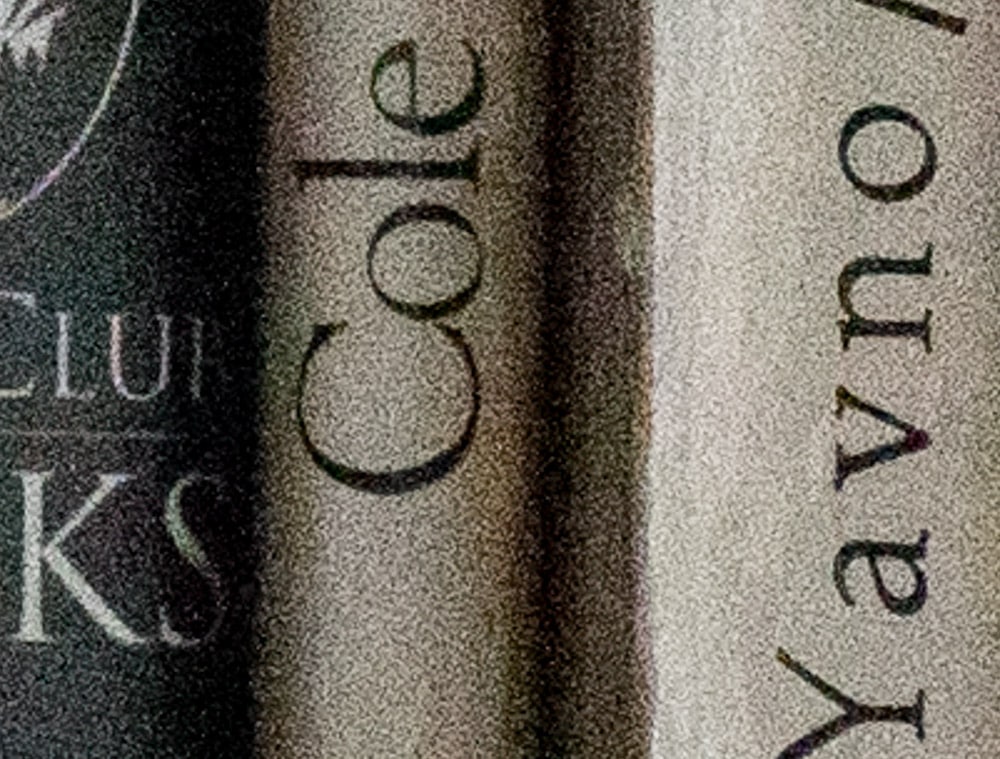
I developed the images in Lightroom, with Adobe Standard profile, white balance to the book spine to the left of the Wayne Thiebaud book, a + 5 stop push using the exposure slider, and the rest at default (I’ll post another set with the noise reduction turned off). Here are same field of view crops at about 200% — a bit more for the a7RIII images, which have lower resolution.

a7RIV, ISO 100


a7RIII, ISO 100

Color balance is a bit different; the Adobe Standard Profile I’m using is pre-release. I understand there’s a release candidate in beta now.

a7RIV, ISO 200


a7RIII, ISO 200


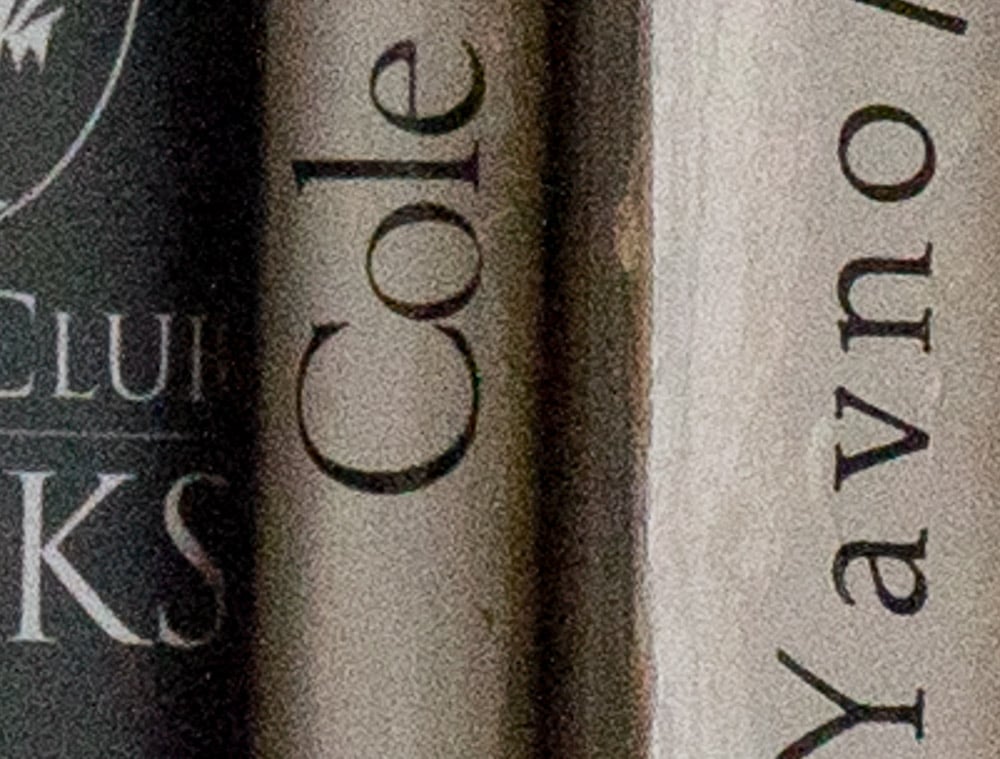
Now ISO 400, at which point the a7RIV is in high conversion gain mode, but the a7RIII is not:

a7RIV, ISO 400


a7RIII, ISO 400

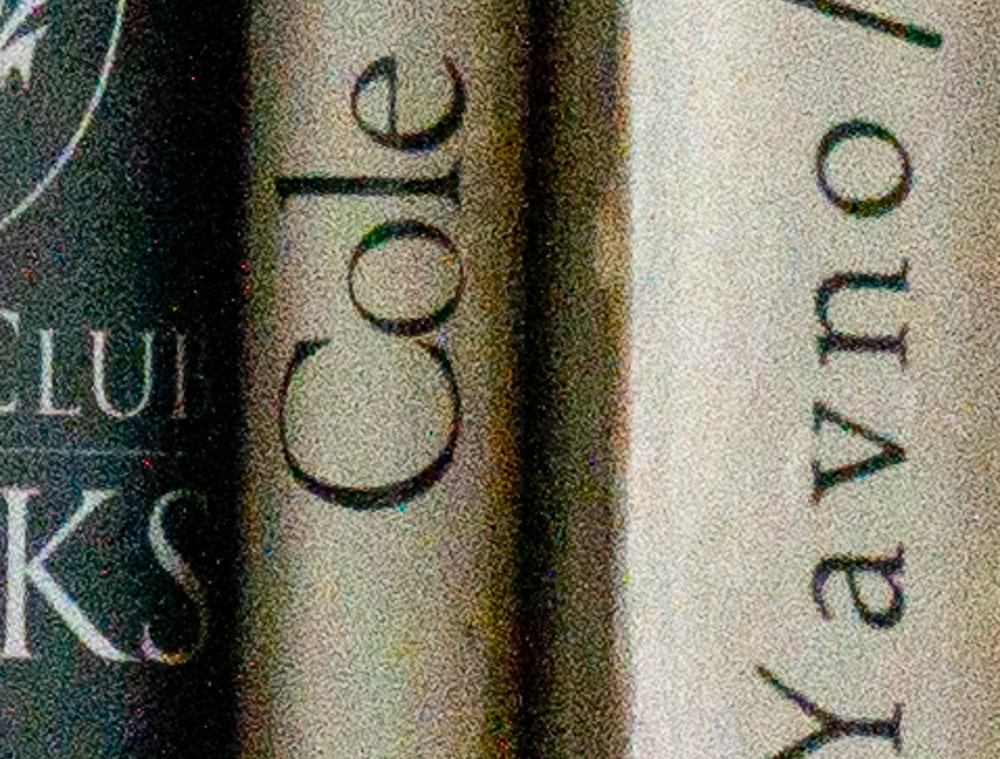
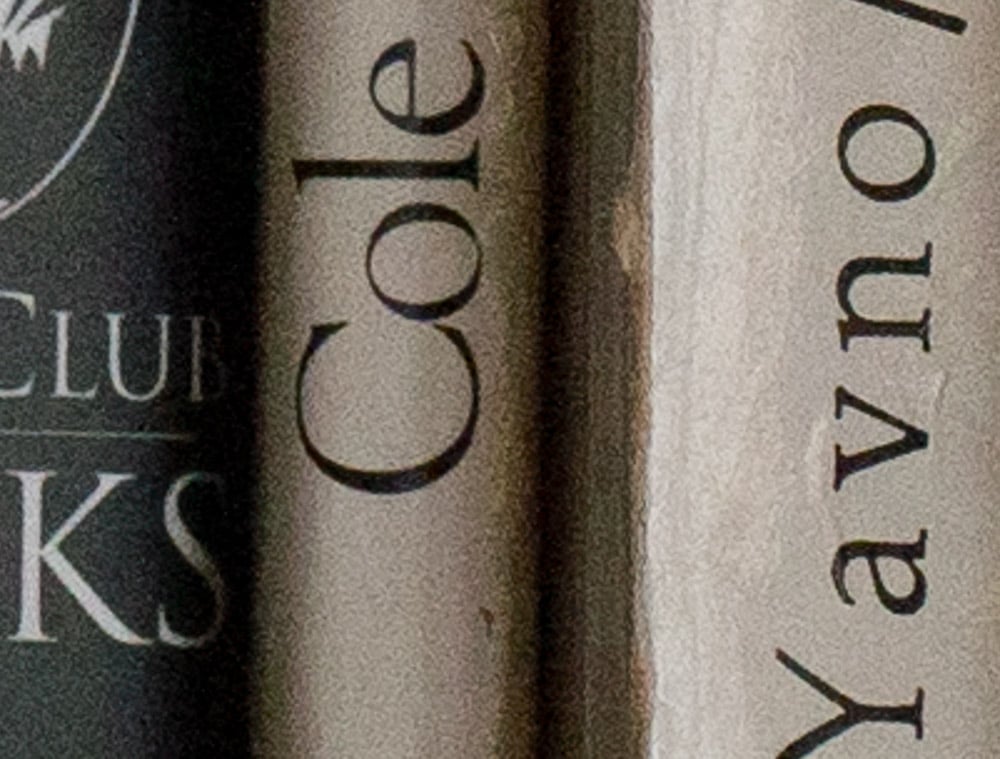
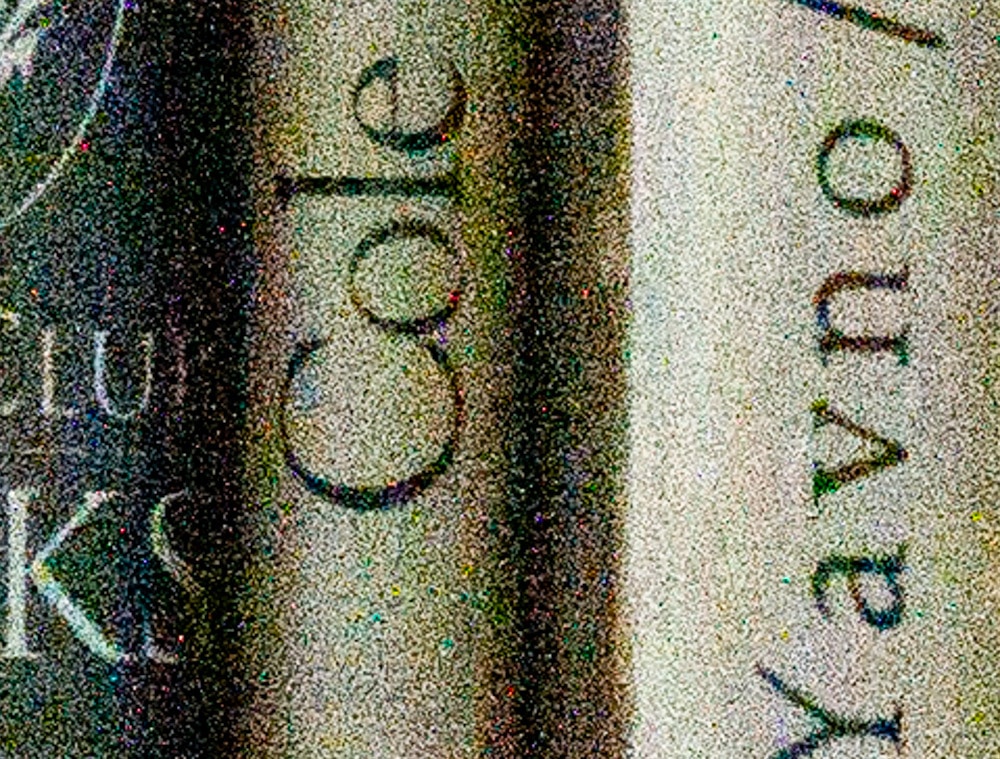
Now ISO 800, where both cameras are using the higher conversion gain:
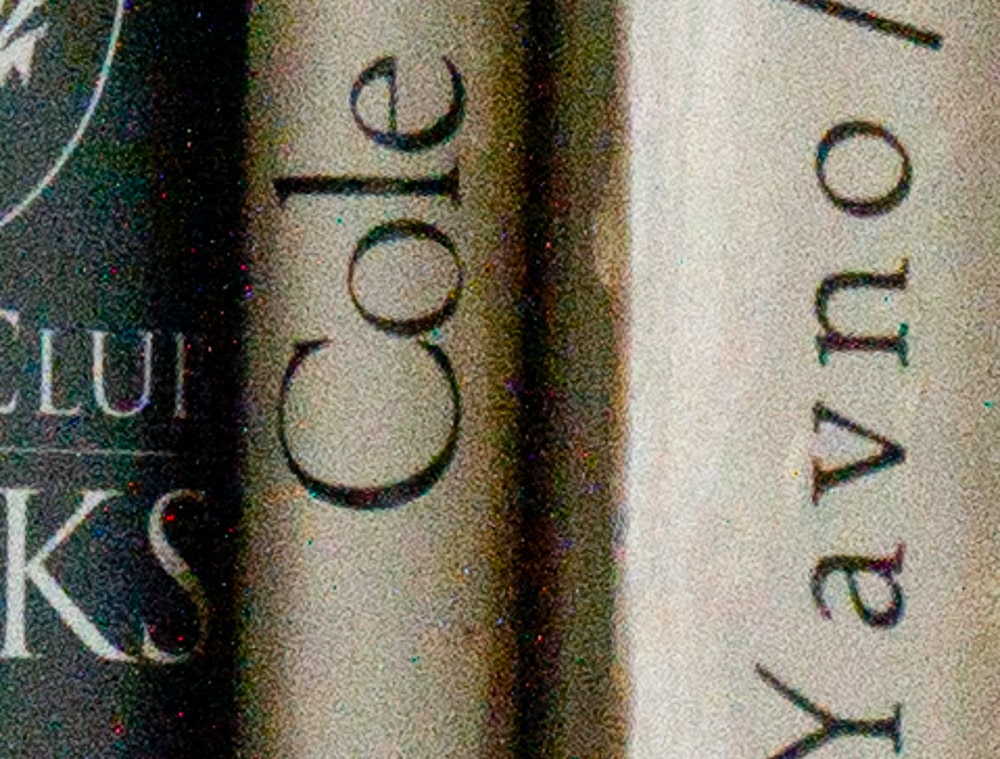
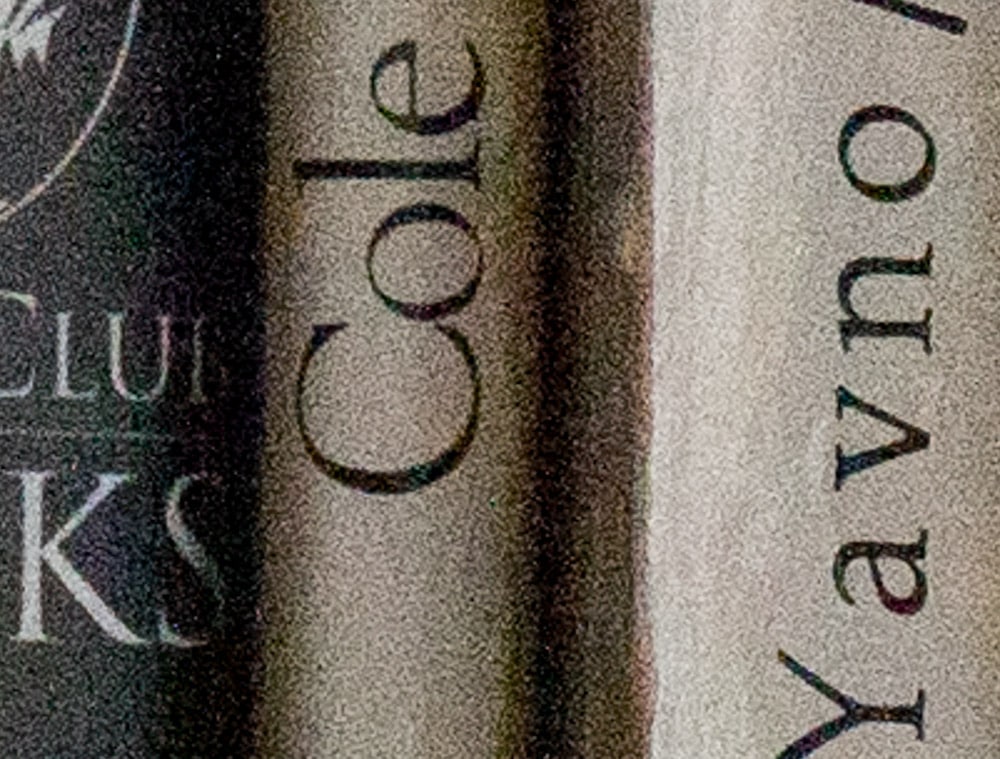
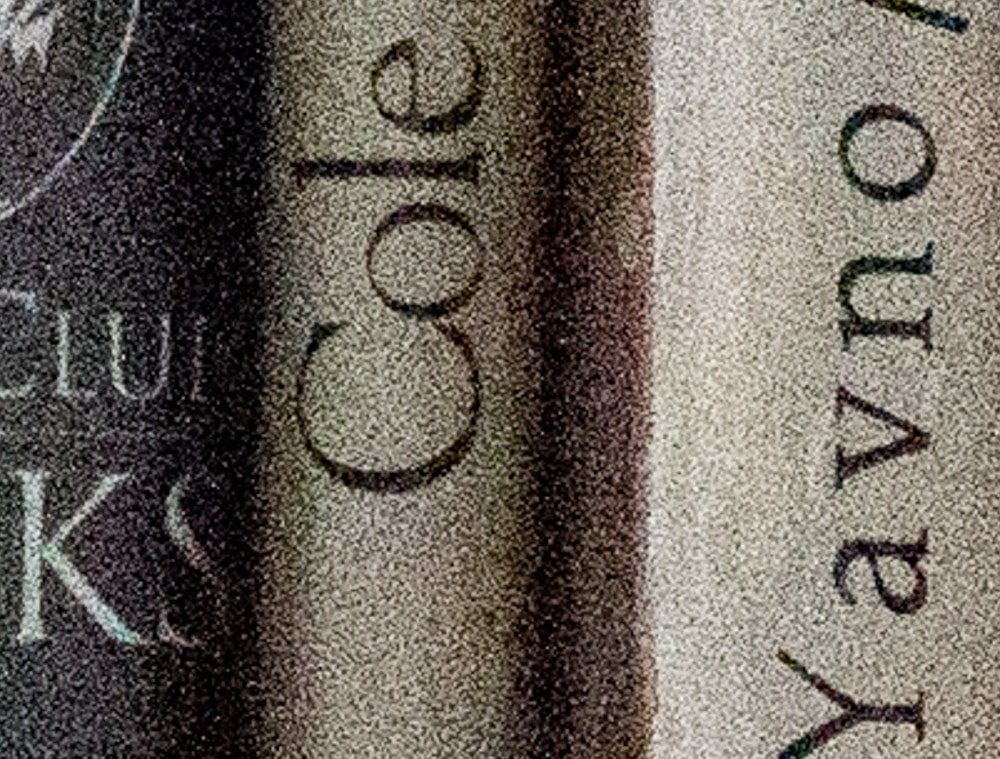
a7RIV, ISO 800


a7RIII, ISO 800


And ISO 1600:

a7RIV, ISO 1600


a7RIII, ISO 1600

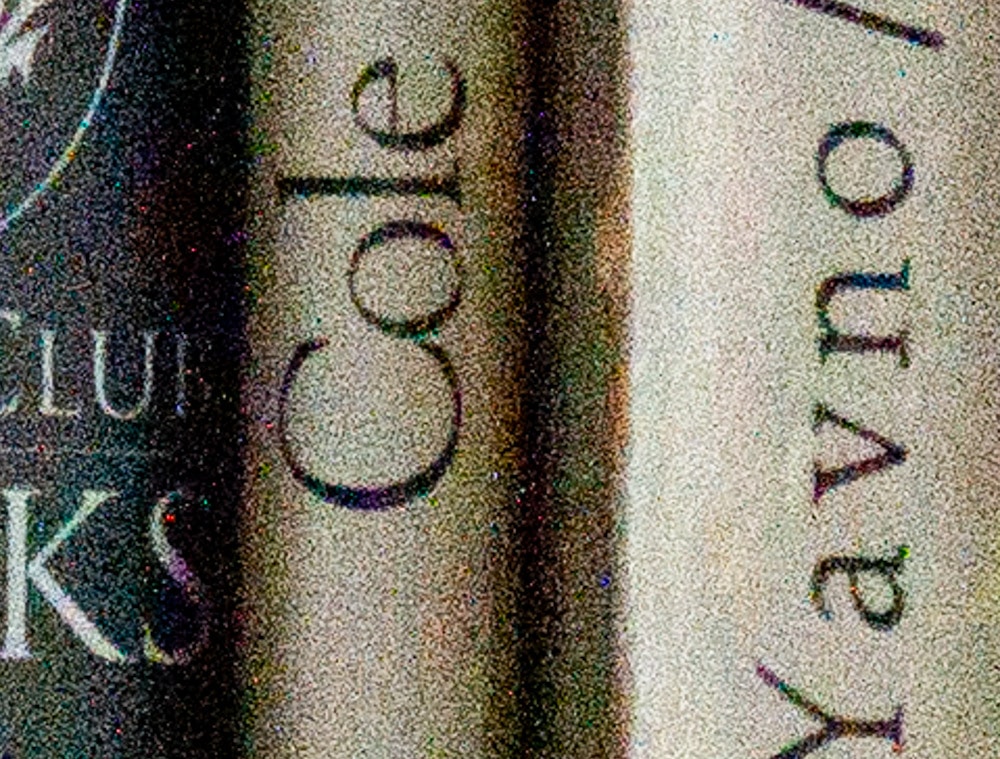
At ISO 3200, something strange happens to the a7RIV’s colors:

a7RIV, ISO 3200


a7RIII, ISO 3200

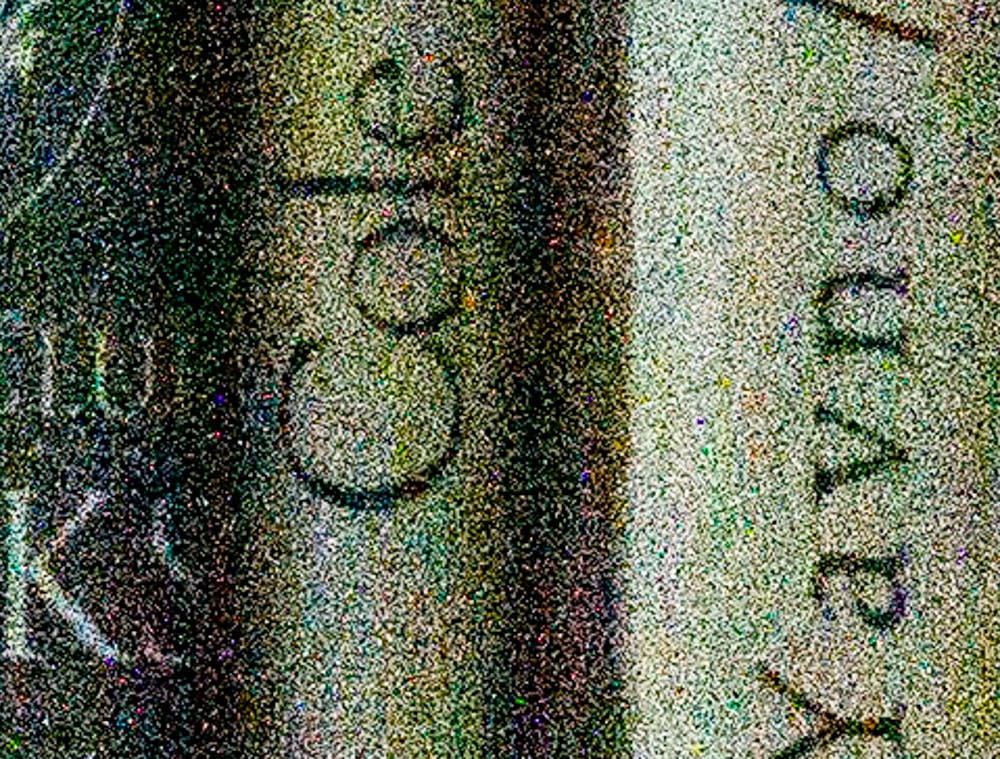
Overall, I find the a7RIV comes up short compared to its predecessor, but not short enough that that should discourage an a7RIII owner who wants the capabilities and features of the newer camera.

Next, the same images with no sharpening and no noise reduction.


a7RIV

← Sony a7RIV visual examples with 12 and 14 bit precision a7RIV, a7RIII shadow noise w/ no sharpening or noise reduction →

Comments

  1. kamikaze says

    September 19, 2019 at 6:39 pm

    why the hell would you push exposure in post? Sony sensor is ISO invariant. That means that either you are setting ISO in camera or pushing exposure by the same amount of stops in PP – it is the same crap. so ISO 100/200 pushed by 5 stops is not ISO 100/200 anymore but 3200/6400

    Reply
    • JimK says

      September 19, 2019 at 8:57 pm

      why the hell would you push exposure in post?

      Uh, to protect highlights?

      Reply
      • kamikaze says

        September 20, 2019 at 12:36 am

        five stops? r u crazy? Either you have very small amount of shadow regions, either you better loose some highlights

        Reply
        • JimK says

          September 20, 2019 at 7:12 am

          Five stops for a web demo makes easily visible what you can see with a stop and a half on a print.

          Reply
  2. Erik Kaffehr says

    September 22, 2019 at 8:40 pm

    Hi Jim,

    It may seem that the A7rIII images have more accurate focus. Could that be the case?

    Reply
    • JimK says

      September 22, 2019 at 9:07 pm

      That could very well be the case. There’s also the issue that radius one is less sharpening for the a7RIV than for the a7RIII.

      Reply

Leave a Reply Cancel reply

Your email address will not be published. Required fields are marked *

May 2025
S M T W T F S
 123
45678910
11121314151617
18192021222324
25262728293031
« Apr    

Articles

  • About
    • Patents and papers about color
    • Who am I?
  • How to…
    • Backing up photographic images
    • How to change email providers
    • How to shoot slanted edge images for me
  • Lens screening testing
    • Equipment and Software
    • Examples
      • Bad and OK 200-600 at 600
      • Excellent 180-400 zoom
      • Fair 14-30mm zoom
      • Good 100-200 mm MF zoom
      • Good 100-400 zoom
      • Good 100mm lens on P1 P45+
      • Good 120mm MF lens
      • Good 18mm FF lens
      • Good 24-105 mm FF lens
      • Good 24-70 FF zoom
      • Good 35 mm FF lens
      • Good 35-70 MF lens
      • Good 60 mm lens on IQ3-100
      • Good 63 mm MF lens
      • Good 65 mm FF lens
      • Good 85 mm FF lens
      • Good and bad 25mm FF lenses
      • Good zoom at 24 mm
      • Marginal 18mm lens
      • Marginal 35mm FF lens
      • Mildly problematic 55 mm FF lens
      • OK 16-35mm zoom
      • OK 60mm lens on P1 P45+
      • OK Sony 600mm f/4
      • Pretty good 16-35 FF zoom
      • Pretty good 90mm FF lens
      • Problematic 400 mm FF lens
      • Tilted 20 mm f/1.8 FF lens
      • Tilted 30 mm MF lens
      • Tilted 50 mm FF lens
      • Two 15mm FF lenses
    • Found a problem – now what?
    • Goals for this test
    • Minimum target distances
      • MFT
      • APS-C
      • Full frame
      • Small medium format
    • Printable Siemens Star targets
    • Target size on sensor
      • MFT
      • APS-C
      • Full frame
      • Small medium format
    • Test instructions — postproduction
    • Test instructions — reading the images
    • Test instructions – capture
    • Theory of the test
    • What’s wrong with conventional lens screening?
  • Previsualization heresy
  • Privacy Policy
  • Recommended photographic web sites
  • Using in-camera histograms for ETTR
    • Acknowledgments
    • Why ETTR?
    • Normal in-camera histograms
    • Image processing for in-camera histograms
    • Making the in-camera histogram closely represent the raw histogram
    • Shortcuts to UniWB
    • Preparing for monitor-based UniWB
    • A one-step UniWB procedure
    • The math behind the one-step method
    • Iteration using Newton’s Method

Category List

Recent Comments

  • bob lozano on The 16-Bit Fallacy: Why More Isn’t Always Better in Medium Format Cameras
  • JimK on Goldilocks and the three flashes
  • DC Wedding Photographer on Goldilocks and the three flashes
  • Wedding Photographer in DC on The 16-Bit Fallacy: Why More Isn’t Always Better in Medium Format Cameras
  • JimK on Fujifilm GFX 100S II precision
  • Renjie Zhu on Fujifilm GFX 100S II precision
  • JimK on Fuji 20-35/4 landscape field curvature at 23mm vs 23/4 GF
  • Ivo de Man on Fuji 20-35/4 landscape field curvature at 23mm vs 23/4 GF
  • JimK on Fuji 20-35/4 landscape field curvature at 23mm vs 23/4 GF
  • JimK on Fuji 20-35/4 landscape field curvature at 23mm vs 23/4 GF

Archives

Copyright © 2025 · Daily Dish Pro On Genesis Framework · WordPress · Log in

Unless otherwise noted, all images copyright Jim Kasson.