This is one in a series of posts on the Fujifilm GFX 100S. You should be able to find all the posts about that camera in the Category List on the right sidebar, below the Articles widget. There’s a drop-down menu there that you can use to get to all the posts in this series; just look for “GFX 100S”.
A few days ago, I posted more images of distant foliage with the Fuji 80 mm f/1.7 GF lens, and proclaimed it fit for landscape use. Not so fast, said Joseph Holmes, whom I greatly respect, you need to consider field curvature. So this is the result of some testing with the same subject with a protocol designed to test for field curvature.
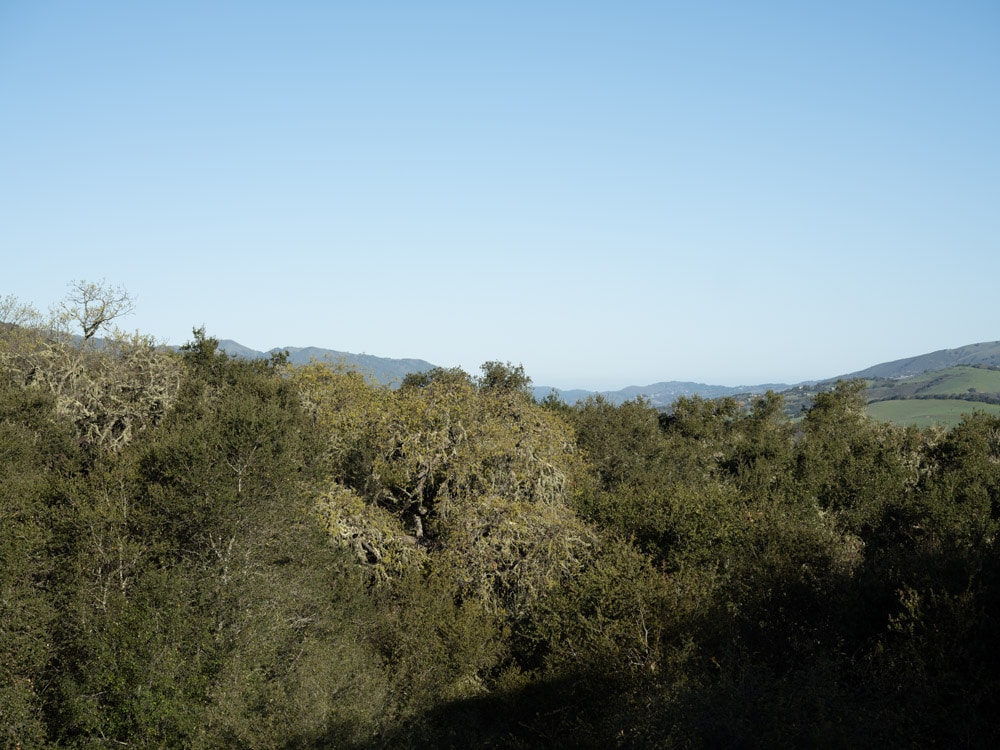
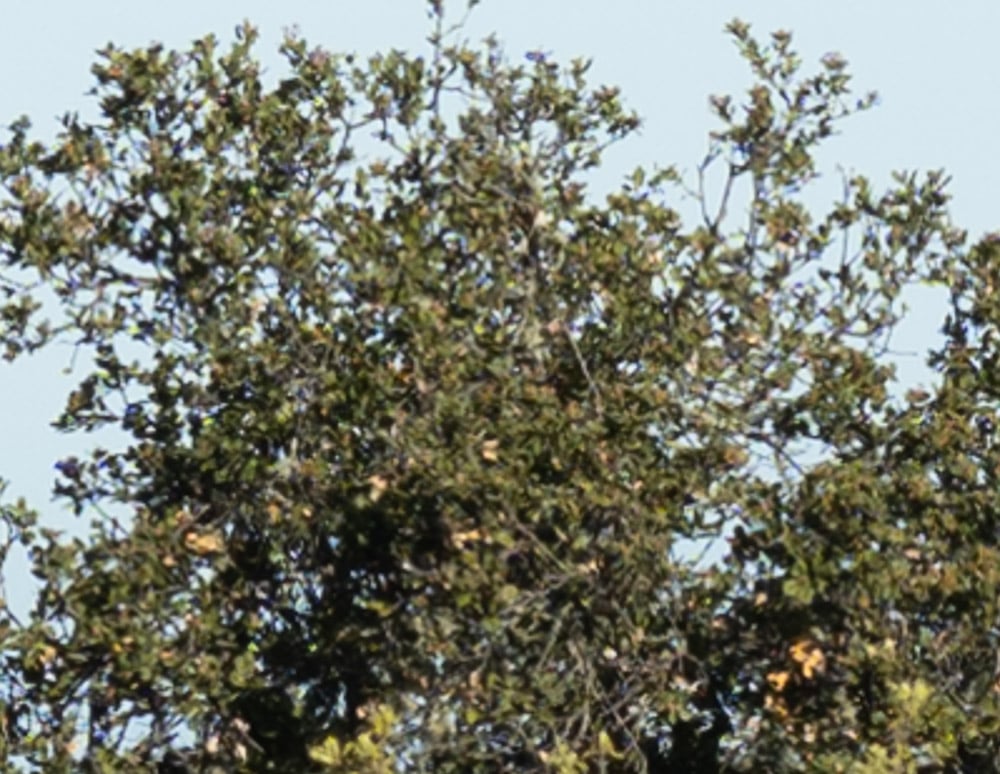
The scene, with the central tree about 100 meters away. At that distance, recomposing with a rectilinear lens will produce a focus error with a CoC of about 2 um at f/1.7, and well under 1 um at f/5.6.
The protocol:
- RRS 4-series Versa legs
- Arca-Swiss C1
- 2-second self timer
- ES
- ISO 100
- Manual focus at taking aperture, focusing once with the subject tree (you’ll see) centered.
- Two more shots with the focus the same with the tree on the far left side and in the upper left corner
- f/5.6, f/8 for the 80
- Three sets of images at each aperture.
- 1/200, 1/100 second shutter speed with f/5.6 and f/8, respectively
I developed the images in Lightroom with
- White balance set to Daylight
- Adobe Color Profile
- Sharpening: amount 20, radius 1, detail 25
If you’ve seen these here before, just jump to the images. If not, I need to spend some time telling you how to interpret them. They’re at roughly 250% magnification, enlarged to 700 pixels high on export from Lightroom. If you just want a rough idea of the differences, just look at the images as displayed in-line in the posts. However, if you wish to compare these images in detail, you should view these images by clicking on them to see the source files, then set your browser for 100% zooming. Even better, download them and make Photoshop stacks.
No matter what you do, these crops are all going to look horrible. I’m blowing them up so much so that they will represent the original file after JPEG’s discrete cosine transform has had its way with them. If you want to get a good idea of what the images would look like printed, get far away from your monitor. No, farther than that. Put a bunch of the images up on the screen and back up until the best one starts to look good. Then look at the others. There’s another reason why these images won’t look like the best thing the camera/lens combination can deliver. They’re demosaiced with Lightroom. Lightroom is not awful, but for a particular image, there are usually better raw processors. I use Lr because it’s a de facto standard, because I know it well, and because it’s got good tools for dealing with groups of images.
Here’s how to use these highly-magnified crops. The dimensions of the GFX 100 sensor is 11648×8736 pixels. If we make a full-frame print from the GFX 100 on a printer with 360 pixels per inch native driver-level resolution, like the Epson inkjet printers, we’ll end up with a 32.4×24.3 inch print. The 399×309 pixel crop you’re looking at will end up roughly 1.2×0.8 inches. Let’s imagine that you or your viewers are critical, and will look at the 32×24 inch print from about 24 inches (conventional wisdom is that the distance would be a little greater than that, or 40 inches (the diagonal), but you did buy a high-resolution camera for a reason, didn’t you?).
The next step is dependent on your monitor pitch, which you may or may not know. Turns out, you don’t have to know it. Just take the crops and view then at 1:1. How high are they? Get out your ruler and measure, or just guess. Let’s say they are 6 inches high. 6 inches is about 6 times 0.9, so in order to view the crops the way they’d look from 24 inches on the print is to view them from 6 times as far away, or 12 feet.
An issue with the test protocol I used is that the focus could be a little bit off in the center image, and depending ono field curvature, that might help or hurt the sharpness of the off-axis images. So I will show you all three seds of images.
First at f/5.6:
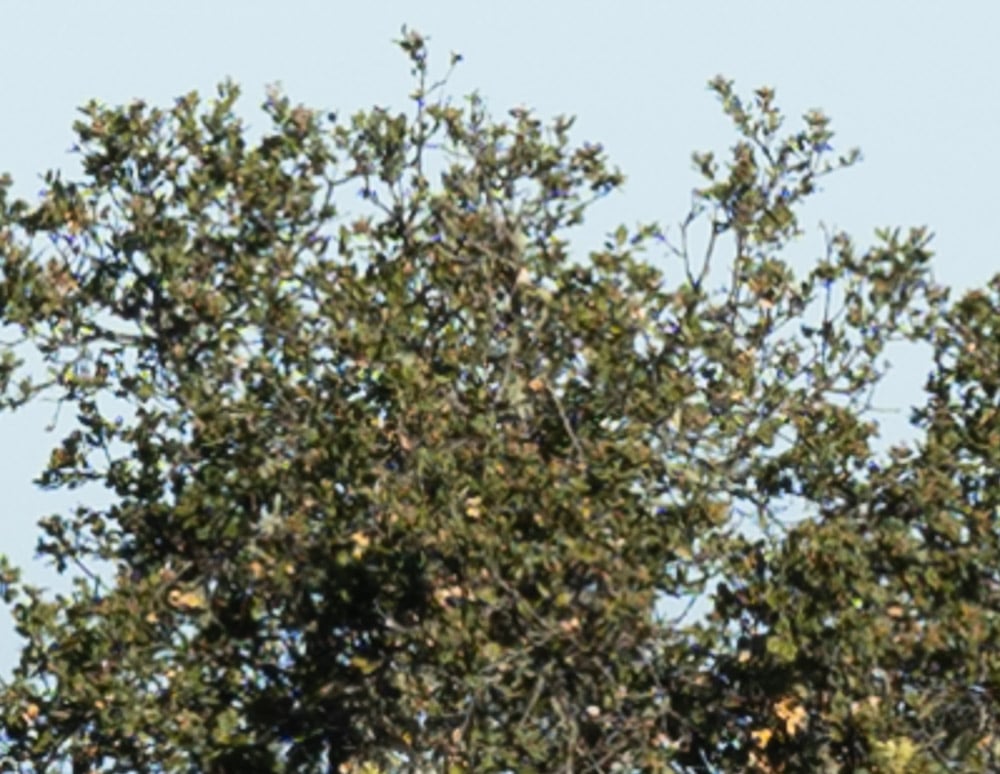
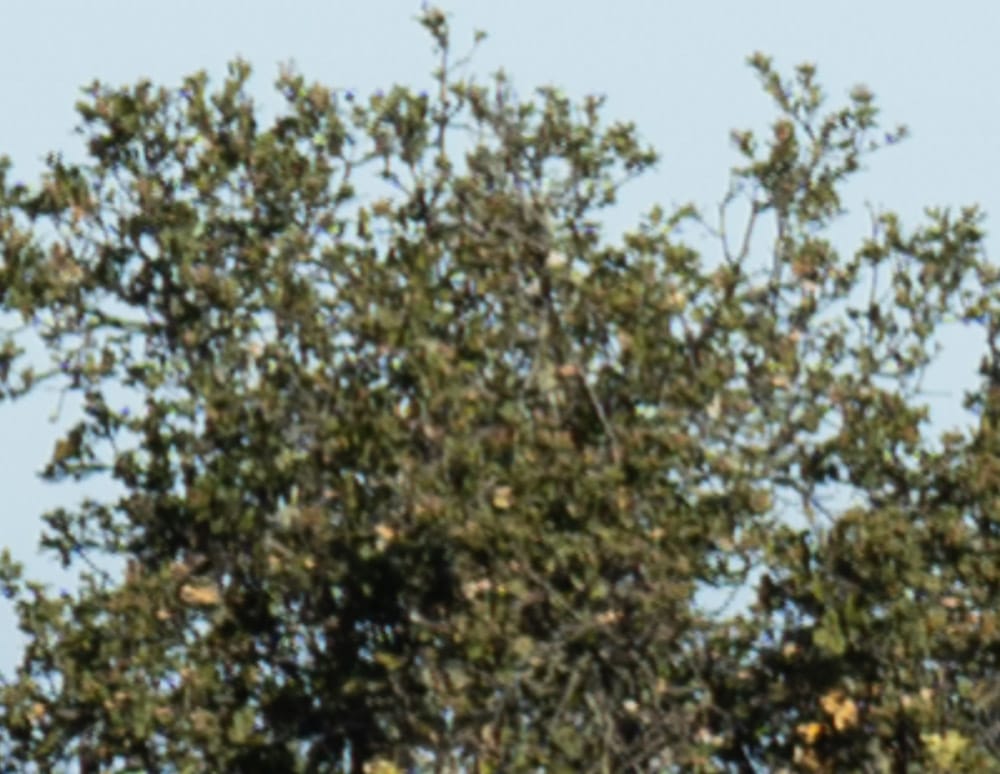
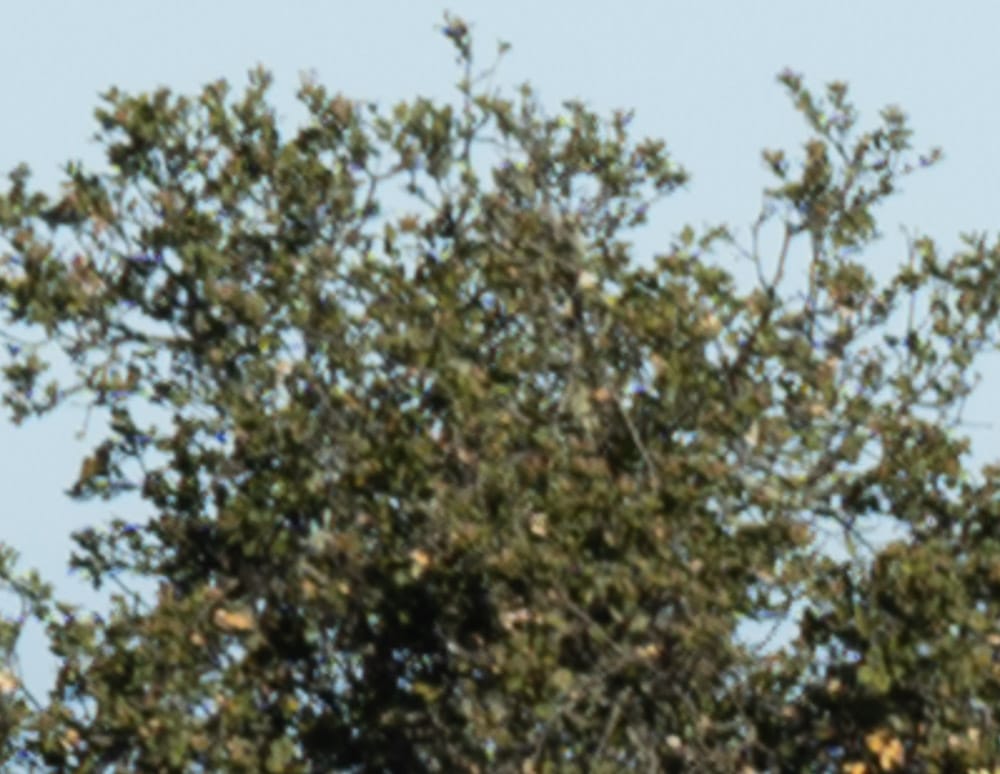
There is some loss in sharpness in the off-axis images. I don’t consider it disqualifying for landscapes.
f/5.6, center, #2
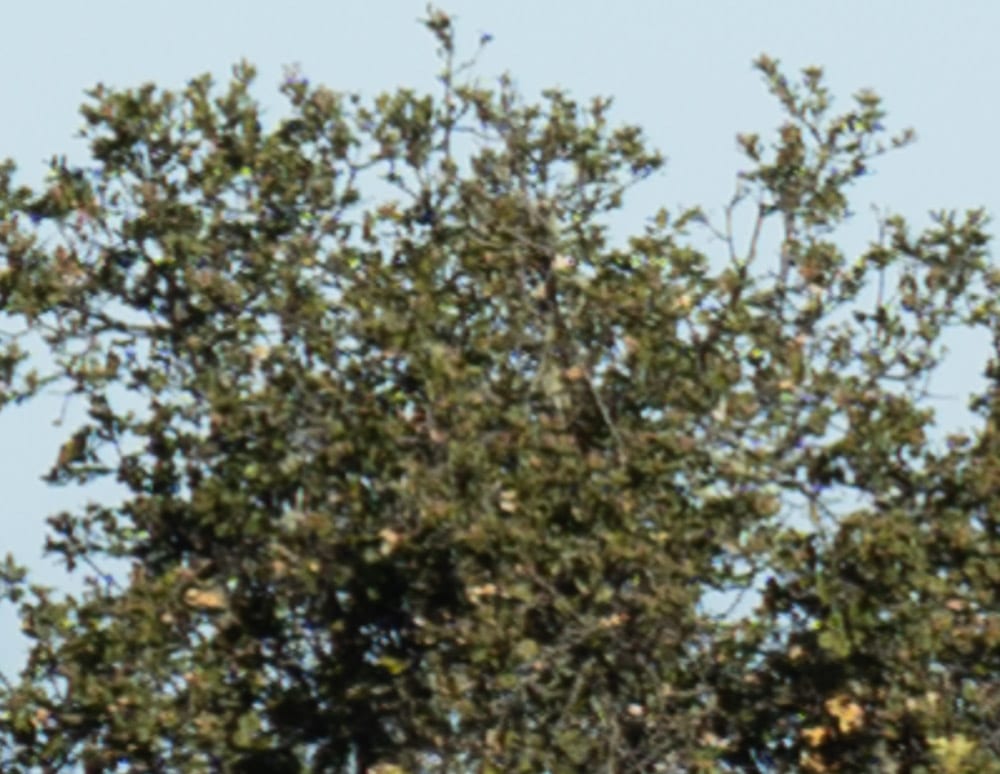
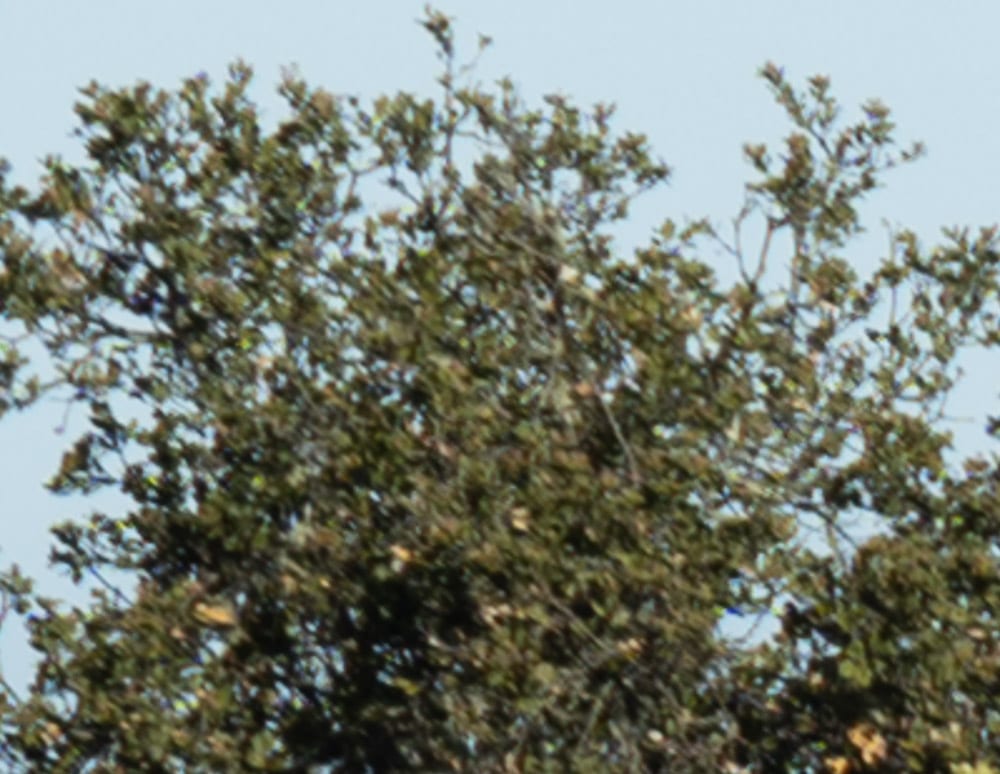
Similar.
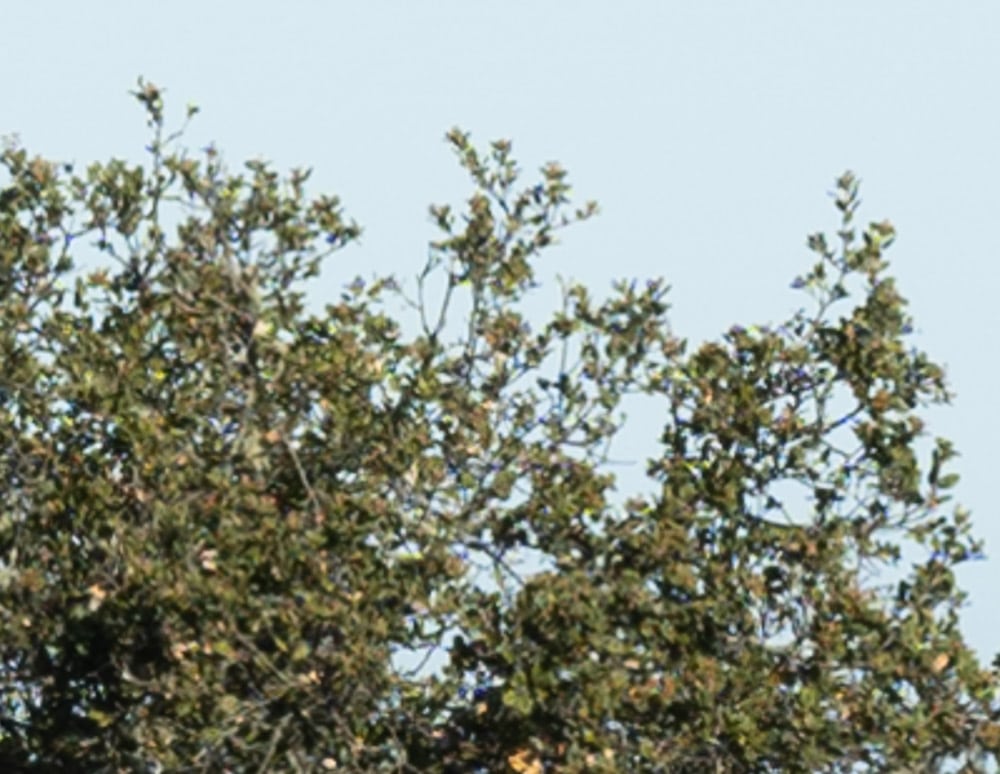
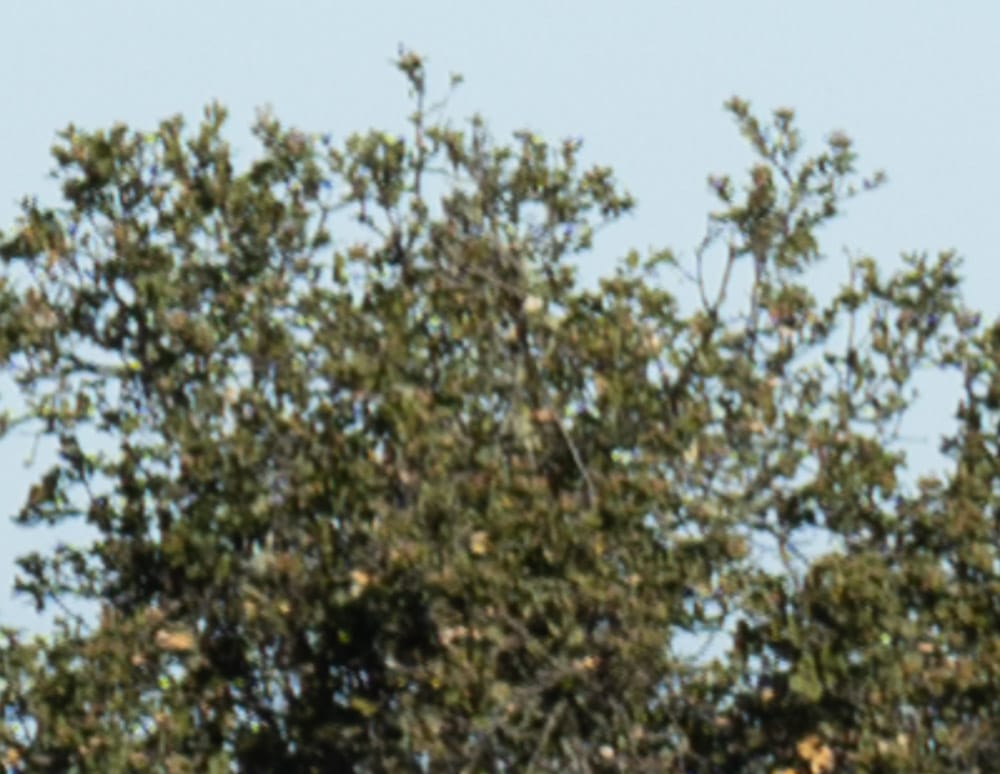
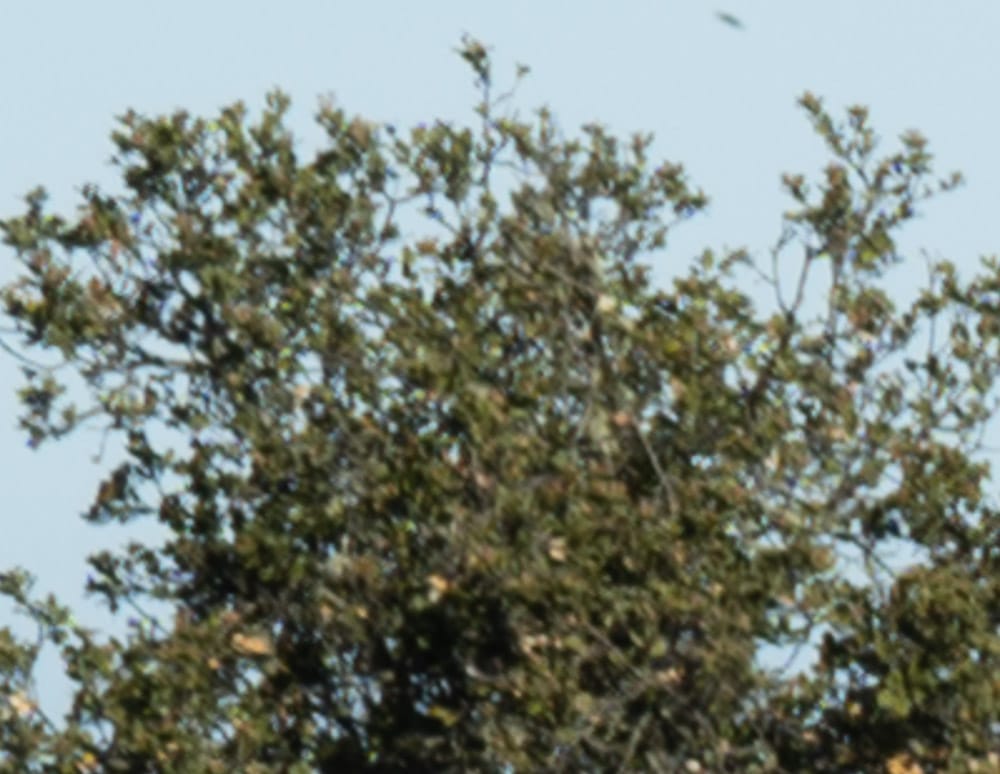
Also similar.
At f/8:
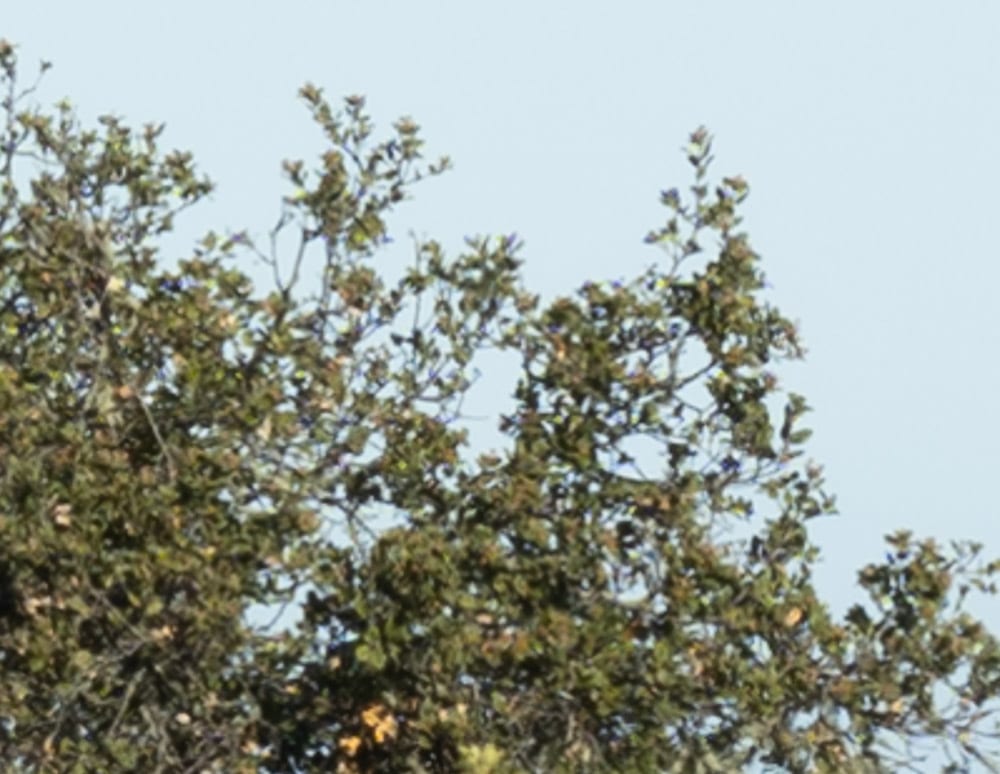
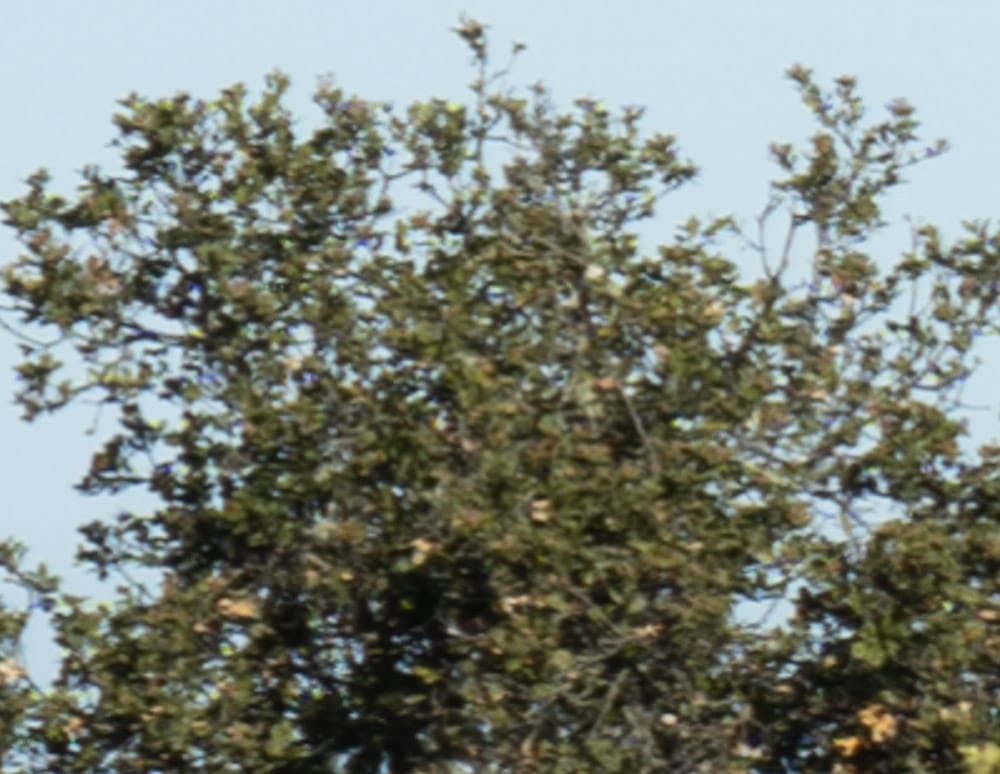
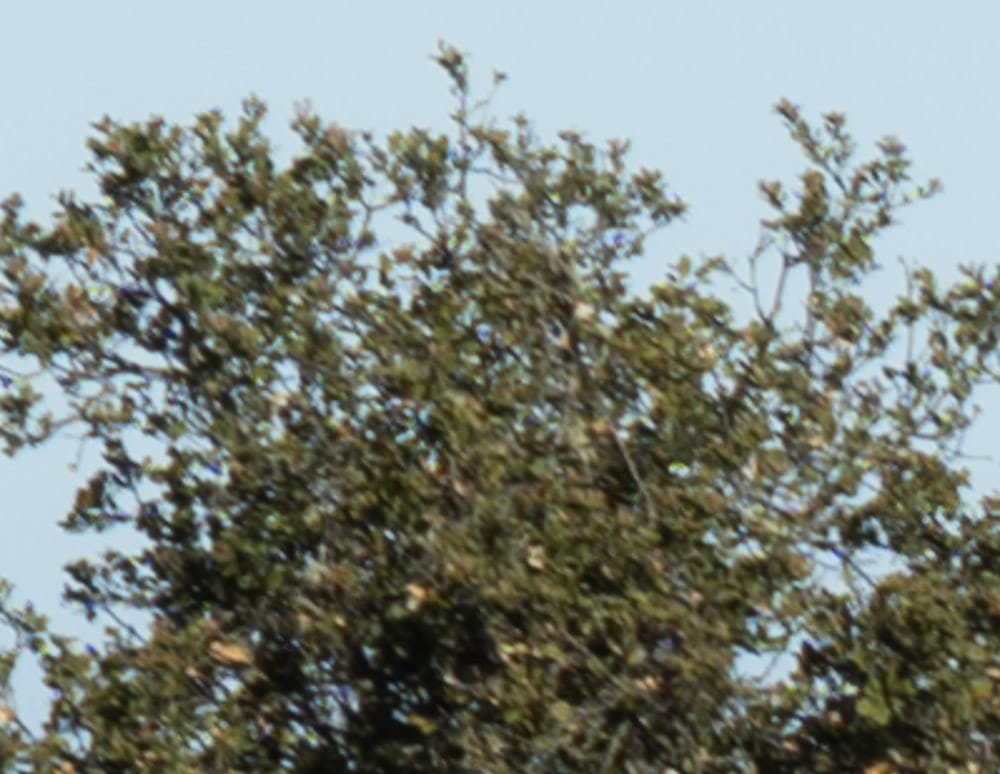
Now the differences are less significant.
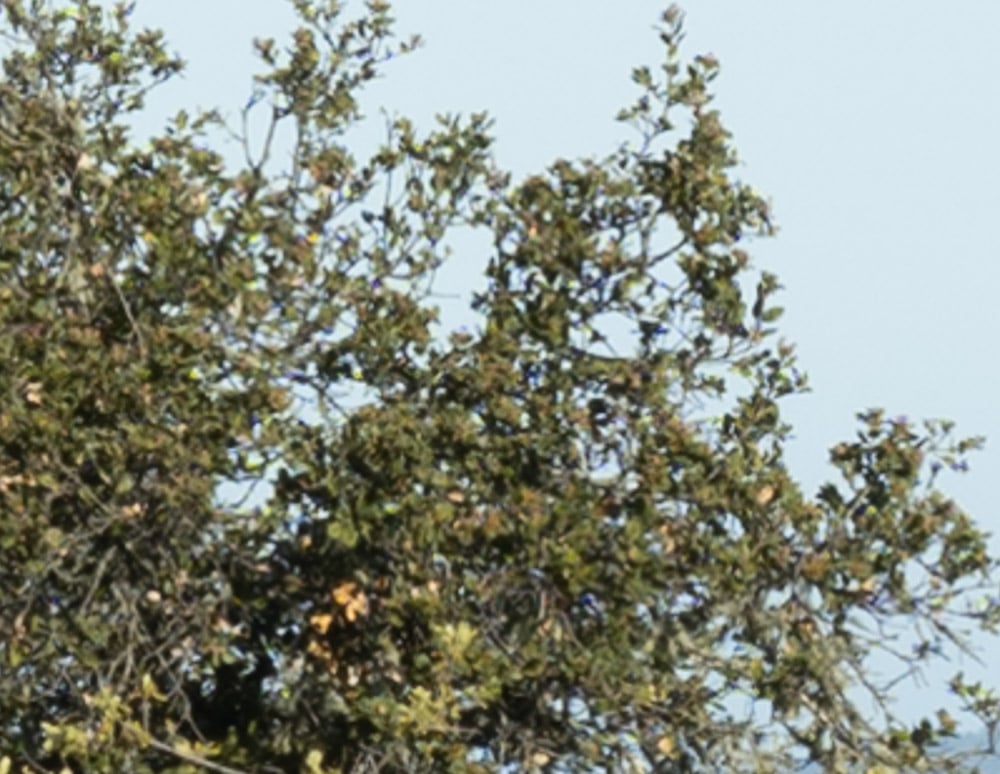
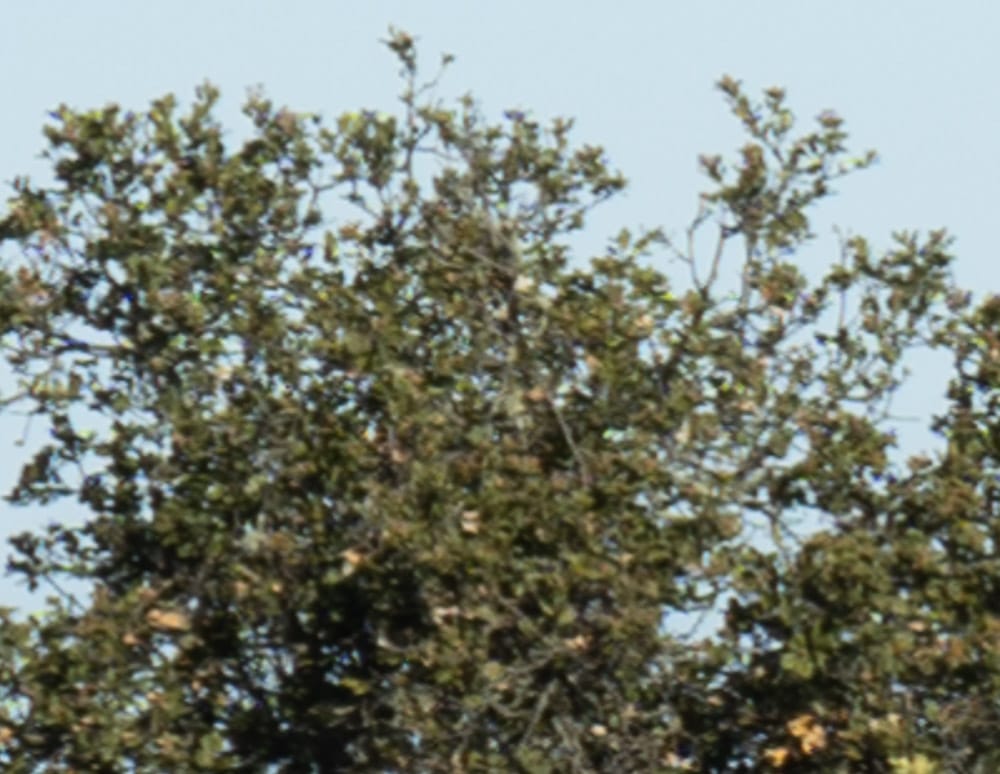
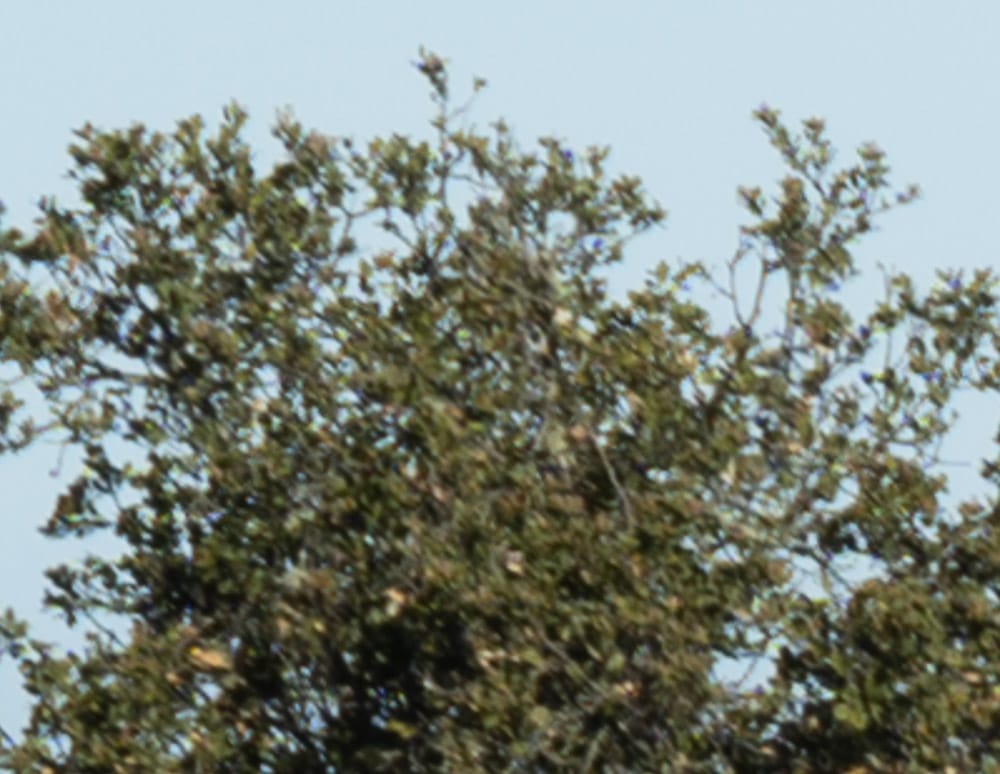
Not much difference.
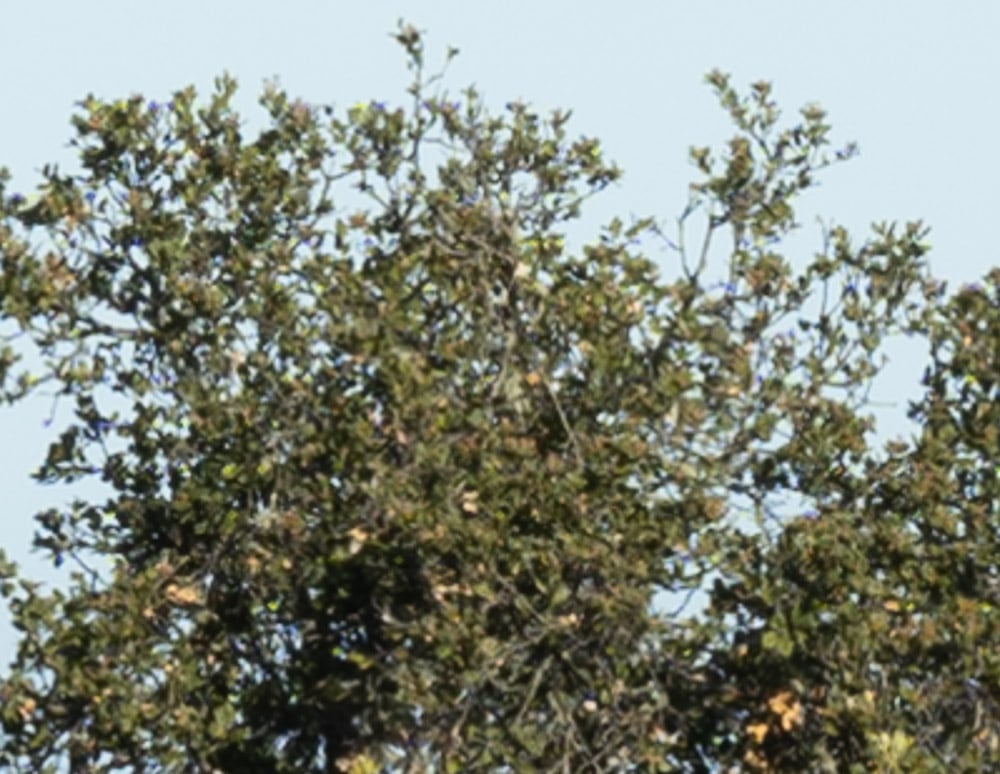
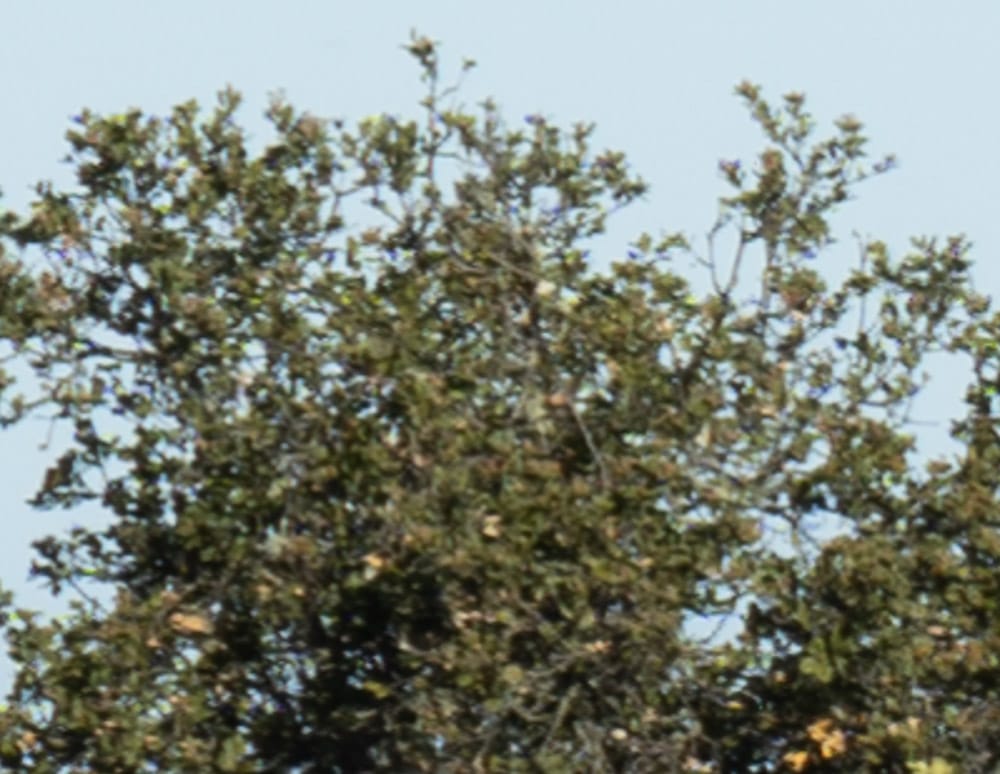
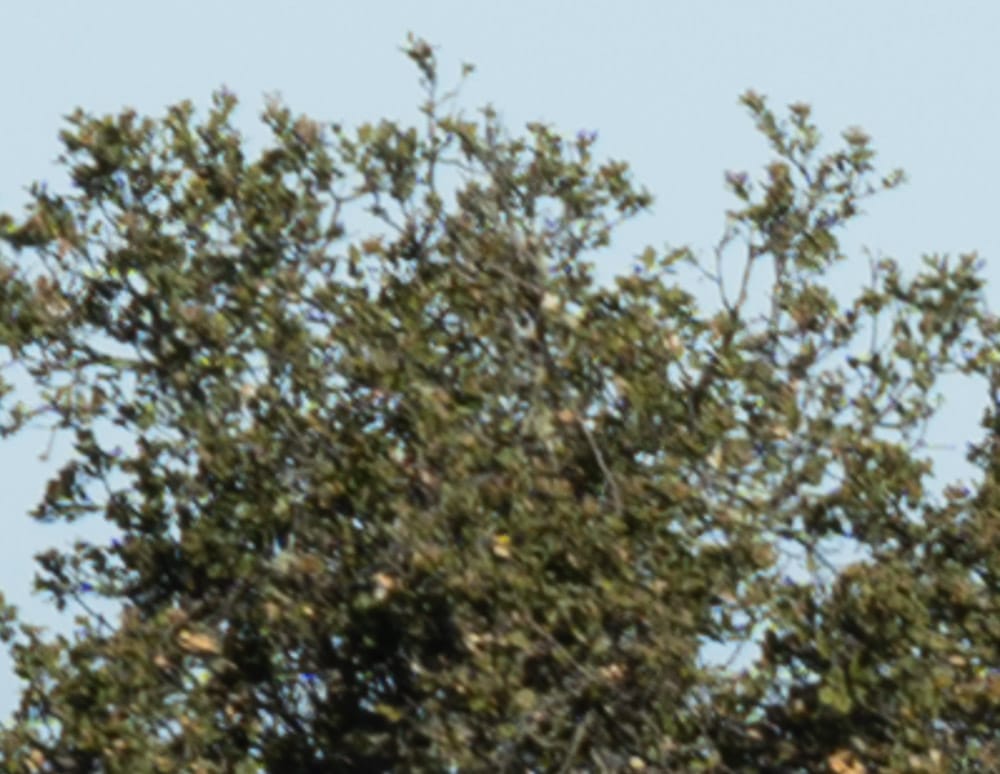
About the same as the first two sets of f/8 images.
I still think this would make a pretty good landscape lens.
As a bonus, a 16-shot stack. You can’t normally get away with this for landscapes, but it was a very still morning.
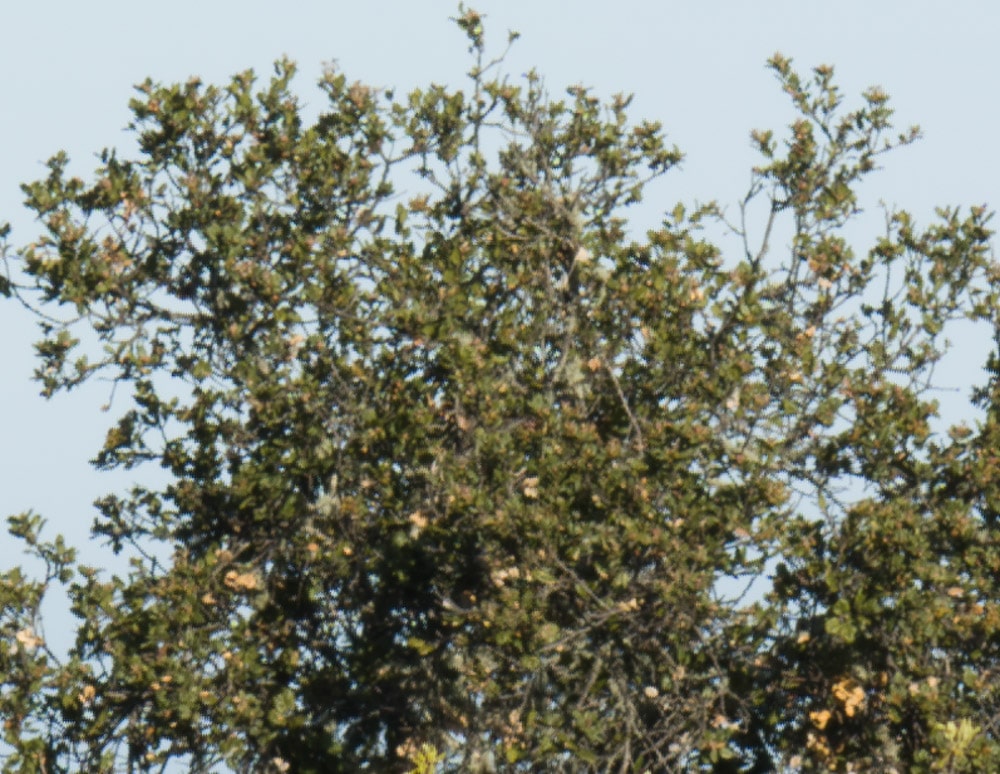
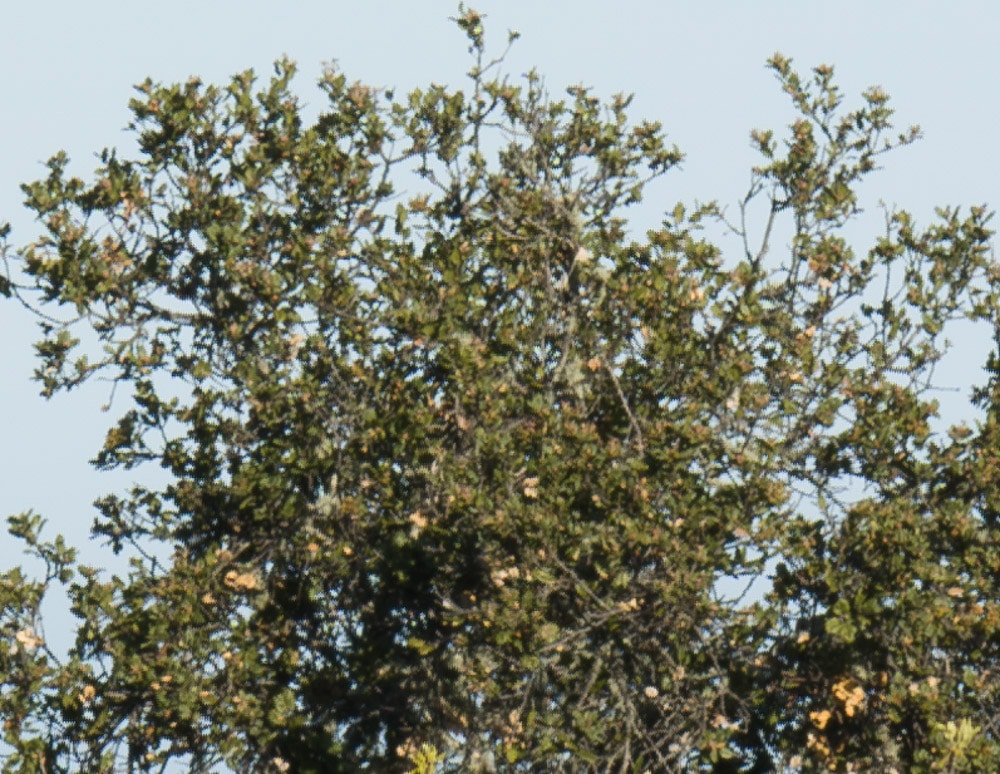
That is so clean that you can amp up the sharpening without exciting visible aliasing:
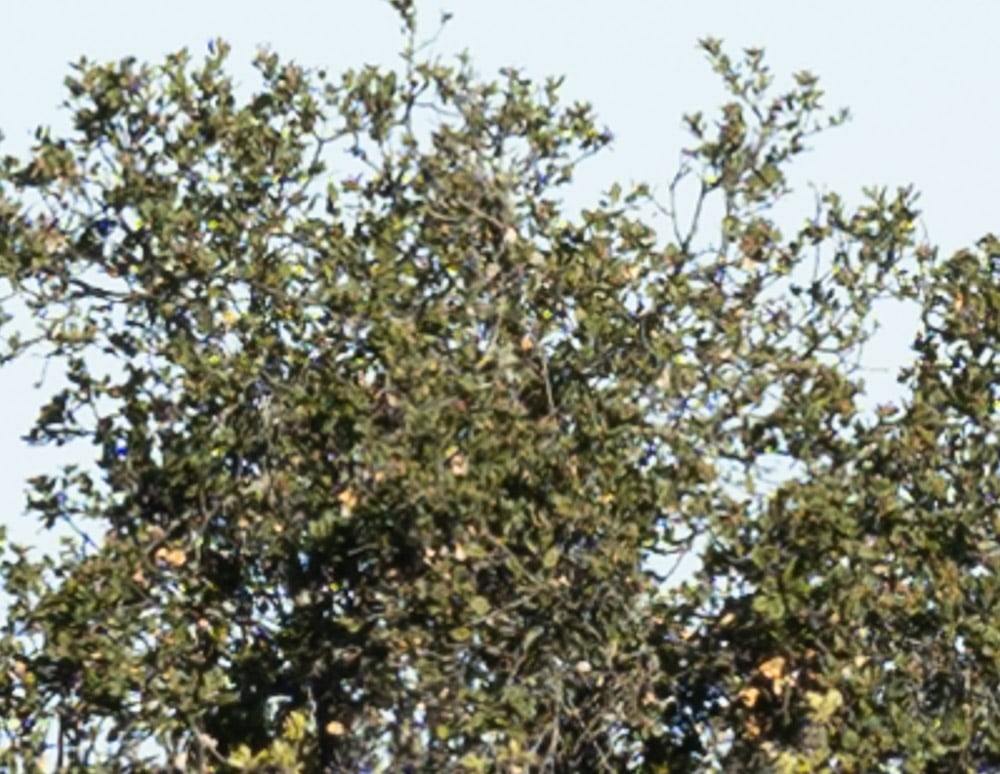
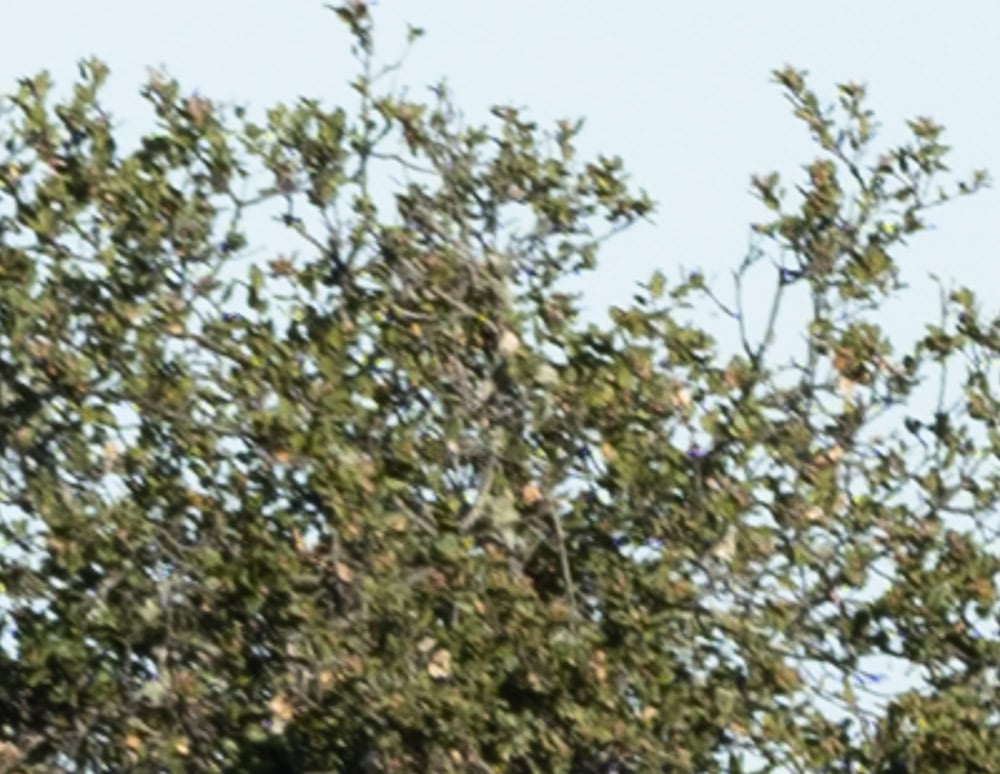
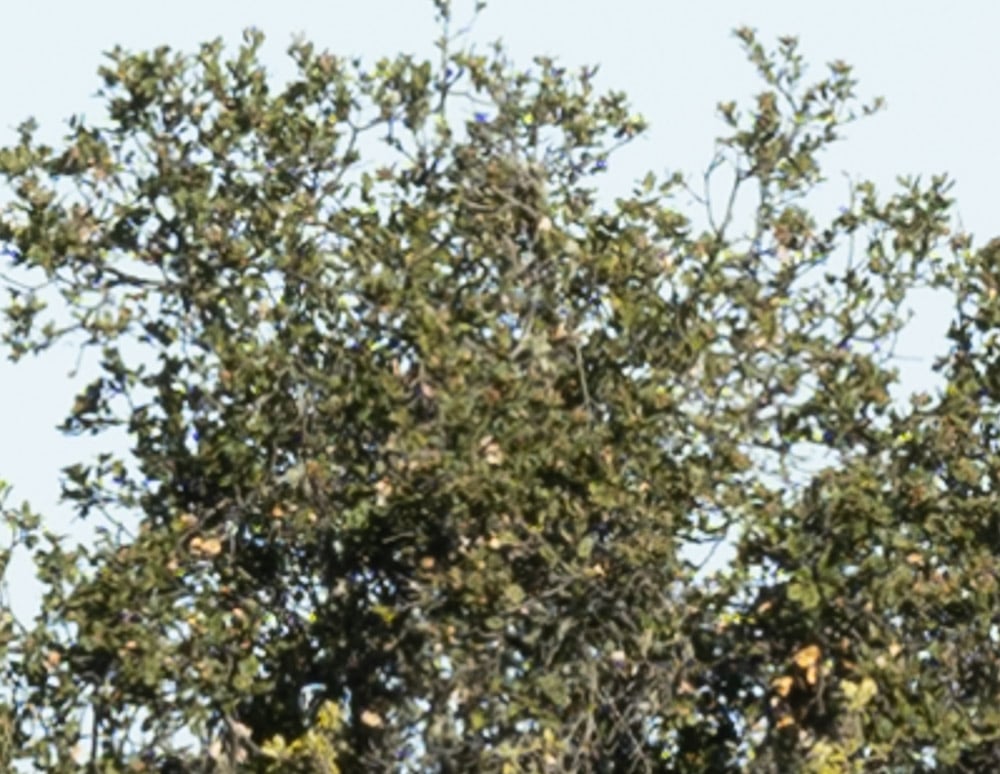
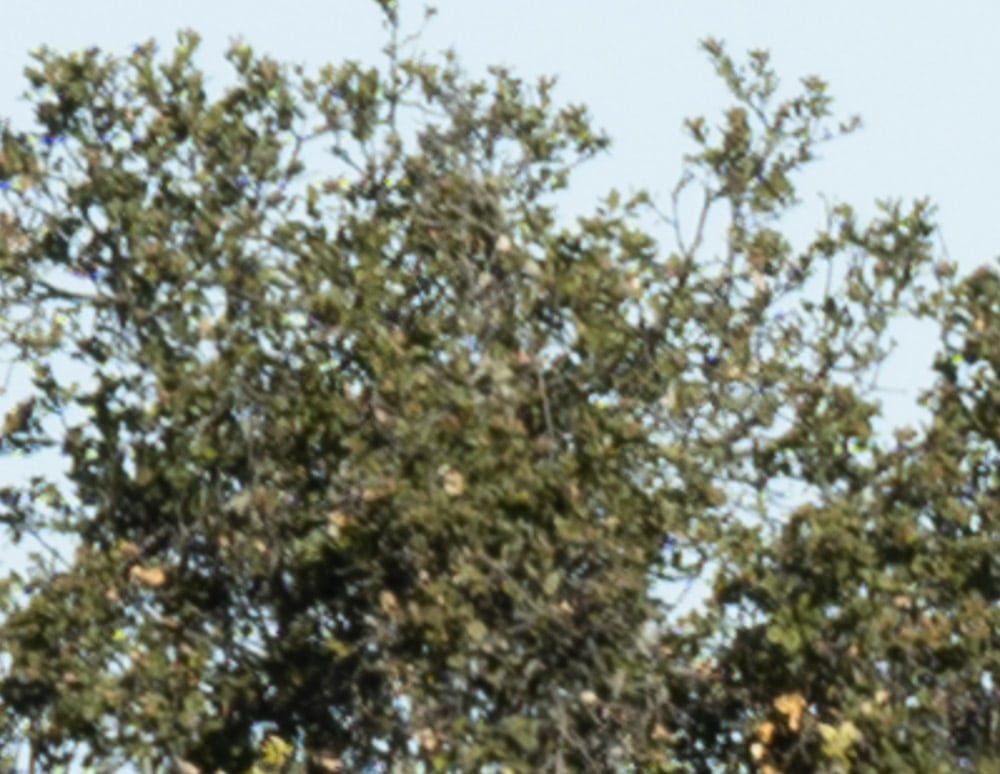
Another reasonable question is how much of the corner softening is due to focus curvature.
Here are a two pairs of shots where the camera was refocused in the corners.
Joseph Holmes says
Oh jeez, thanks, that’s so nice. Likewise! Thanks for jumping on this. I will withhold judgement on whether this lens would satisfy my flat-infinity desires at various apertures but this series does tell quite a bit. The pixel shift improvement is remarkable! (the corners aren’t too bad… but how uniform? Well that’s what your 9-way star target tests are for.) Doing it a few times to try to avoid curvature making it look better in the corners is a good idea too. Looking, looking and looking again.
I think it’s RAW Therapee that offers, for some pixel shift cameras, a smart method of combining which defaults to single-frame wherever in the picture movement has spoiled the result. That method needs to be supported more widely. And Fuji needs to give us 4-shot pixel shift too. I bet they will before long.
This makes the perfect segue for me to briefly explain my most common lens testing routine. It has a bunch of variations, but it’s a relatively easy and practical thing that many people can do wherever they are, or at least not far away. It starts with a wide open careful focus on a high-contrast object at roughly 150 feet. The top of a telephone pole viewed at a 45 degree angle to the wires in plan (top) view works well for the more basic versions of the test. I usually use the rooftop of the house below ours which has the major added advantage of having lots of other subject matter across a range of distances from about 40 feet to about 600 feet, all within a very narrow range of angles.
It helps that I once got a laser rangefinder while shopping for my first medium format system. It can measure ~600 feet away to 6″ accuracy, very handy. It’s an American one built for foresters and linemen and such. It’s called a TruPulse 200. Having made one capture (or even just looked) on axis, I just re-aim the camera so as to place that same narrow group of objects in all four corners in turn. Depending on how closely I want to look, I can start with EVF only viewing or move up to on-the-monitor viewing of raws, and from there I can add in various sampling patterns where I’ve moved the focussing target item (a particular roof vent with shingles extending nearer and farther by a useful amount) into lots of other locations in the frame so as to pick up on other kinds of issues aside from just weak and variable corners. Next after the five-location pattern comes the nine-location pattern, then perhaps as many as five rows of seven if getting serious about keeping a lens. Beyond weak corners with various causes, these various bugaboos include donuts of OOF, overall curvature, tilt, swing, and local defects which don’t seem at all radially symmetrical in origin. A whole lot of lenses can be ruled out just by what I can see in the EVF, e.g. of an A7r II at max magnification with in-camera JPEG and EVF/LCD sharpening (“style” I think it’s under) turned down to -2!, for which I’ve done more lens hunting than any other body because of the mad quest for night sky lenses. After looking wide open I’ll try two stops down, then go further, as necessary, to see whether a workable aperture can manage to bring the image sufficiently to heel that I can count on it in practice.
Sometimes, like in yesterday’s series, it’s useful to position one edge at each of a broad range of distances by re-aiming the camera 15 to 20 times and exposing at each position, so as to detect at exactly what distance the more or less in-focus zone ends, when it’s right along the edge. Picture looking down at a lawn. Then repeat with the opposite edge. So, e.g. at 32mm, having focussed at roughly 132 feet, the start of distinct OOF on one side was ~31.5 feet and on the other it was ~21.5 feet (measured with the rangefinder). At that point I can look at the handy spreadsheet that I built using the formula for lens extension at a given focal length versus focussing distance, and get the number of microns change which accounts for that big of a focus shift. Then I assume (I think correctly) that the amount of relative movement of the image plane at the sensor will be the same as it was at this near limit of the DOF. This kind of swing or tilt result is thus a combination of lens swing or tilt and sensor swing or tilt. Having the camera straight to under 10 microns goes a long way to letting us see the truth about the lens. That particular 10-foot difference amounted to a 50 micron tilt.
As you alluded to above, though it’s true that an object placed in a corner after focussing on it in the middle should naturally have the plane of focus a little ways behind it, I find that the magnitude of the errors I’m looking for is so much greater that it works to pretty much ignore this issue, which Samuel Chia and I have taken to calling the “T” effect, because it’s as though the camera were at the base of a capital T and the stem is the axis and the top of the T is the plane of focus. Besides, if there’s a tiny bit of forward curvature helping to make the corners look just perfect, a little cheating here might be good for the soul.
Joseph Holmes says
So it looks like refocussing didn’t help. No obvious effect of curvature then, don’t you think? Looks quite well-behaved in the corners, just somewhat softer.
My second GF lens will be the 45-100. For trees in a single frame composition I’m apt to like 85 to 105 the most often. The flexibility of zooms tends to be tremendously helpful for solving the compositional puzzles in my landscape work. I do have favorite tree pictures that range from around 31mm equivalent at this sensor size up to about 180mm, but not often. I’ve also moved into stitching rather a lot since about 2006, which changes so many aspects of the lens puzzle and image design. I really like what it can accomplish.
Dimy says
Field curvature is irrelevant beyond hyperfocal distance.
But if you want to get a feeling for it why not just use the simple method used by Roger from lensrentals?
JimK says
Field curvature is not irrelevant beyond the hyperfocal distance. if the field curves so that the edges are close than they should be, then actual infinite objects will be curves beyond the CoC.
I do use Roger’s Ps method, but that doesn’t show you how much blur you’ll see.
https://blog.kasson.com/gfx-100/quick-and-dirty-field-curvature-test-on-the-fuji-80-1-7/
Dimy says
I quite like simple methods.
Field curvature will only matter in a DOF environment with blurred out front AND background.
As Joseph Holmes mentioned above you are not dealing here with with field curvature or else you would be able to refocus the corners to be sharper!
Either edge softness due to other aberrations (e.g. coma, chr.abb…) or a decentered lens config (off axis or tilted) single lens or lens group.
Kind regards
JimK says
The lens has field curvature:
https://blog.kasson.com/gfx-100/quick-and-dirty-field-curvature-test-on-the-fuji-80-1-7/
The question this test was intended to resolve is whether that curvature is sufficient to materially affect landscape photography.
Dimy says
Yes, that is correct. Almost all lenses have field curvature. Your measurement is well done.
If you use your lens focused at infinity for landscape everything at hyperfocal distance is in focus and you cannot see or measure the field curvature. If the edges are soft it has other reasons.
Have fun