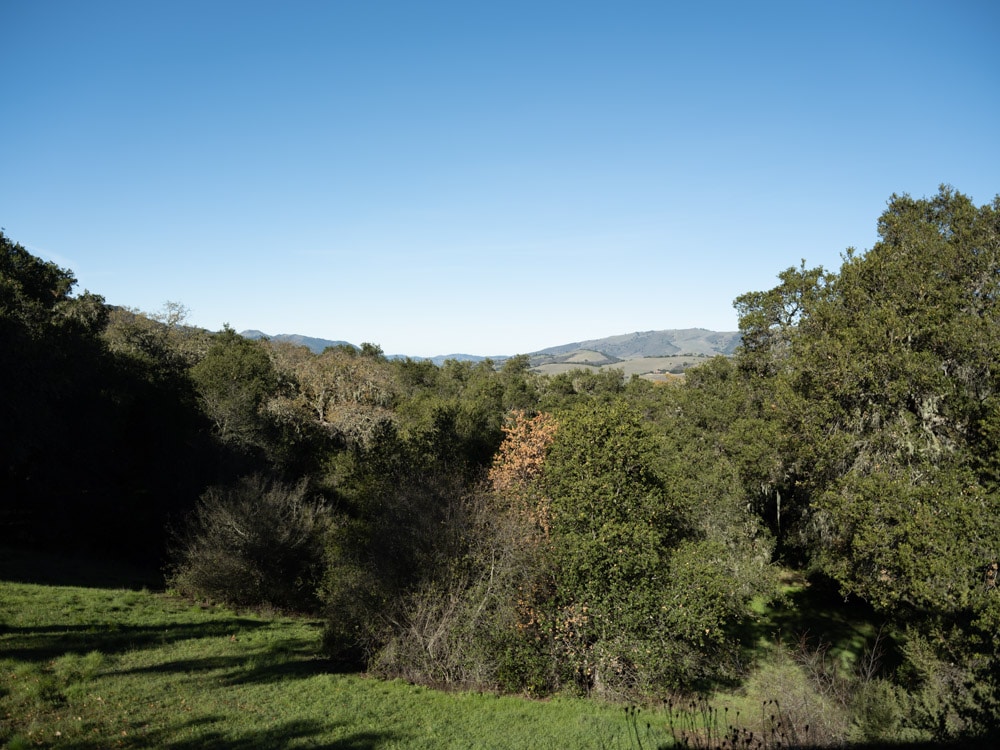
I set up on one of my usual foliage test scenes, shown here with the 35-70 at 35 mm wide open.
I set up the GFX 100S as follows:
- RRS 4-series Versa legs
- Arca-Swiss C1
- 2-second self timer
- ES
- ISO 100
- AF-S for three shots, picking the best sharpness in post; this calibrates out field curvature
- Wide open, f/5.6, f/8, f/11
- Manual shutter speed selection
I developed the images in Lightroom with
- White balance set to Daylight
- Adobe Color Profile
- Sharpening: amount 20, radius 1, detail 0
If you’ve seen these here before, just jump to the images. If not, I need to spend some time telling you how to interpret them. They’re at roughly 250% magnification, enlarged to 700 pixels high on export from Lightroom. If you just want a rough idea of the differences, just look at the images as displayed in-line in the posts. However, if you wish to compare these images in detail, you should view these images by clicking on them to see the source files, then set your browser for 100% zooming. Even better, download them and make Photoshop stacks.
No matter what you do, these crops are all going to look horrible. I’m blowing them up so much so that they will represent the original file after JPEG’s discrete cosine transform has had its way with them. If you want to get a good idea of what the images would look like printed, get far away from your monitor. No, farther than that. Put a bunch of the images up on the screen and back up until the best one starts to look good. Then look at the others. There’s another reason why these images won’t look like the best thing the camera/lens combination can deliver. They’re demosaiced with Lightroom. Lightroom is not awful, but for a particular image, there are usually better raw processors. I use Lr because it’s a de facto standard, because I know it well, and because it’s got good tools for dealing with groups of images.
Here’s how to use these highly-magnified crops. The dimensions of the GFX 100 sensor is 11648×8736 pixels. If we make a full-frame print from the GFX 100 on a printer with 360 pixels per inch native driver-level resolution, like the Epson inkjet printers, we’ll end up with a 32.4×24.3 inch print. The 399×309 pixel crop you’re looking at will end up roughly 1.2×0.8 inches. Let’s imagine that you or your viewers are critical, and will look at the 32×24 inch print from about 24 inches (conventional wisdom is that the distance would be a little greater than that, or 40 inches (the diagonal), but you did buy a high-resolution camera for a reason, didn’t you?).
The next step is dependent on your monitor pitch, which you may or may not know. Turns out, you don’t have to know it. Just take the crops and view then at 1:1. How high are they? Get out your ruler and measure, or just guess. Let’s say they are 6 inches high. 6 inches is about 6 times 0.9, so in order to view the crops the way they’d look from 24 inches on the print is to view them from 6 times as far away, or 12 feet.
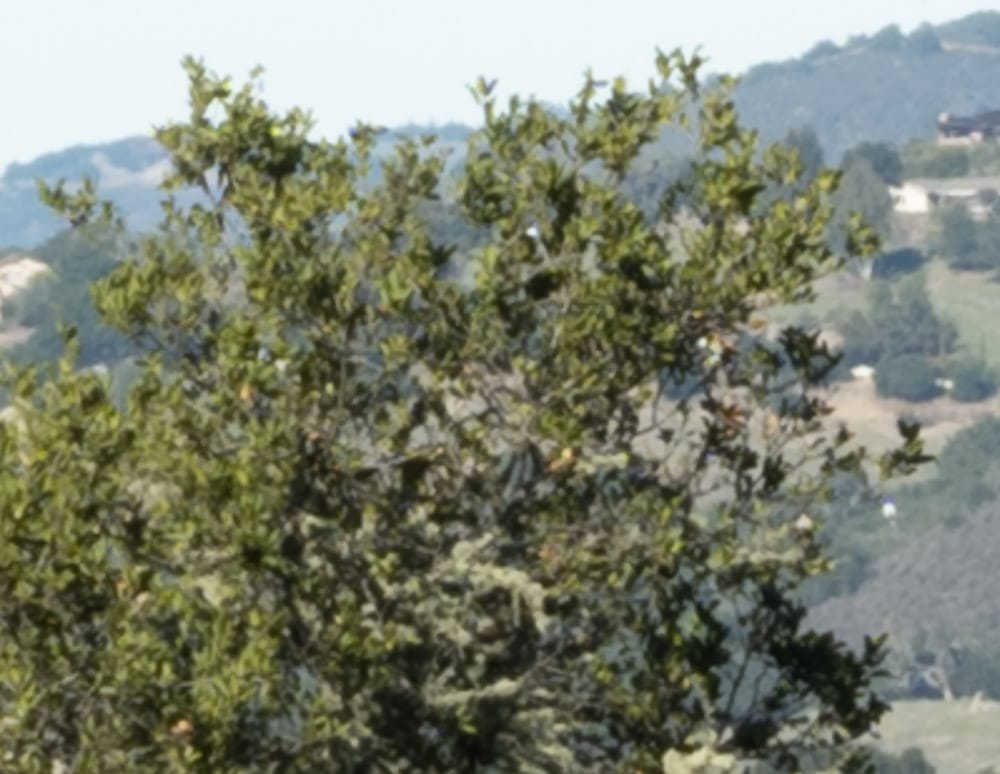
At 35mm, in the center, at a distance of about 100 meters:


The 32-70 is a bit sharper and punchier, but there’s nothing really wrong with the 35-70 shot at all. The 35-70 was a bit less than a third of a stop darker; I fixed that in post.
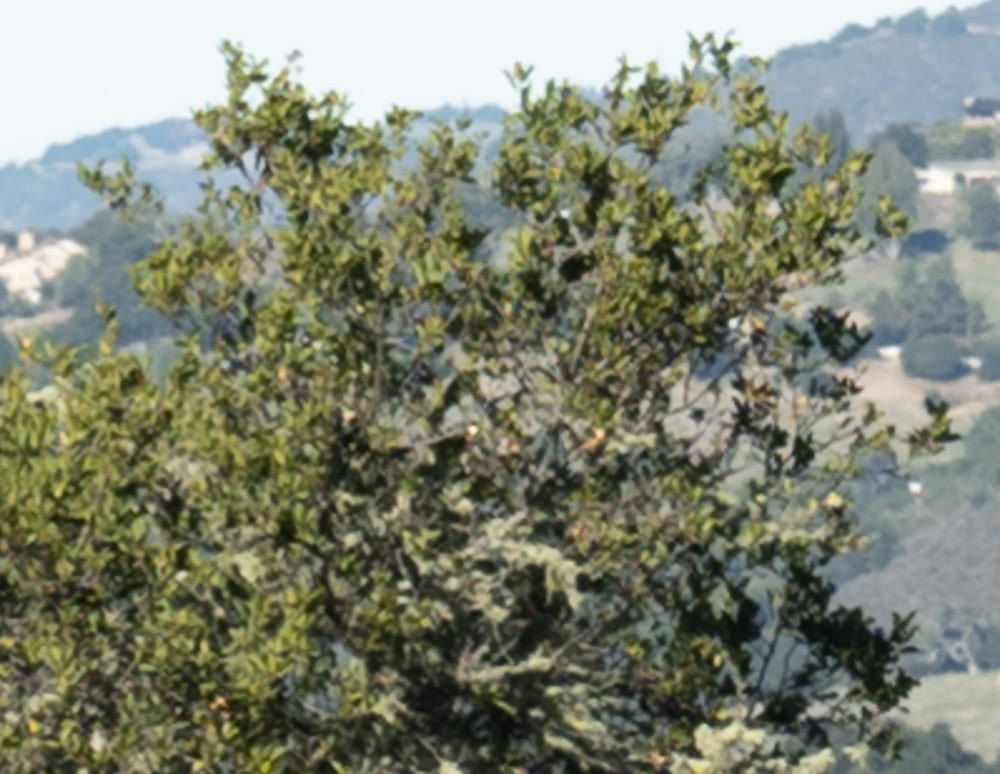
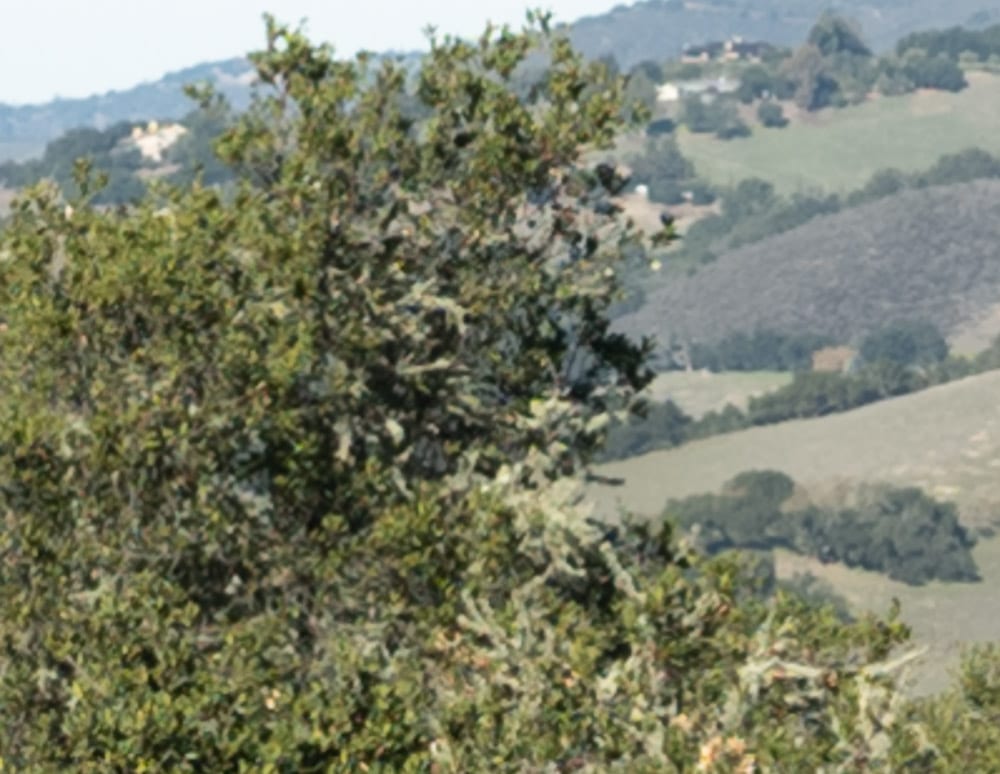
Now they’re really close.

32-64 at 35, f/8
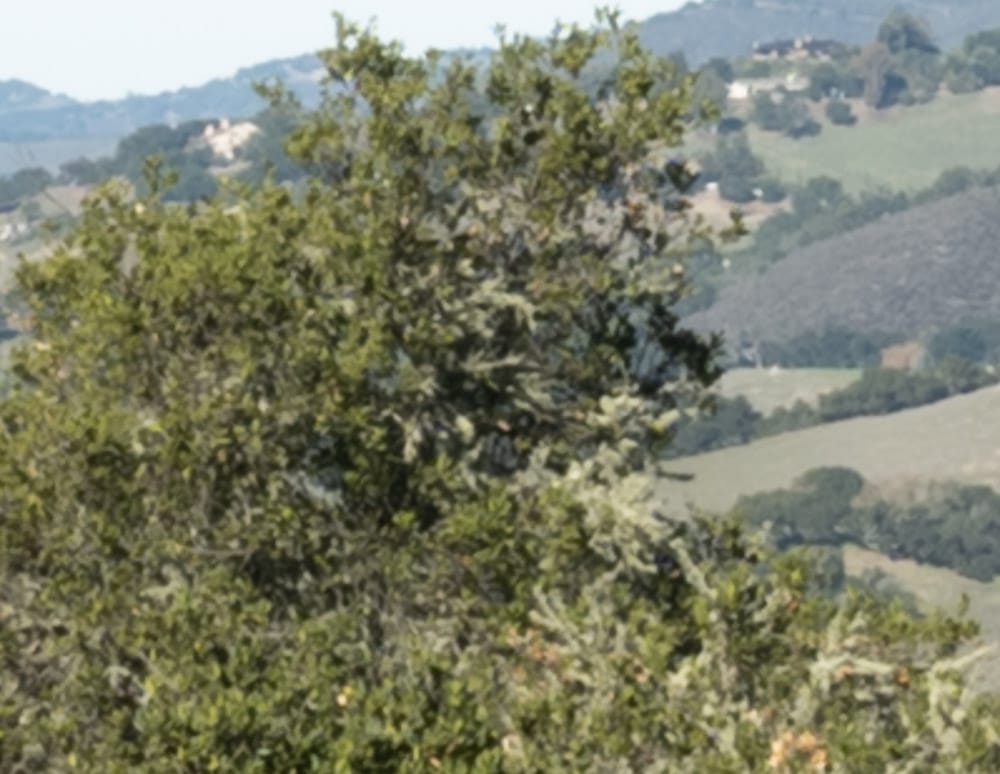

At 45 mm:

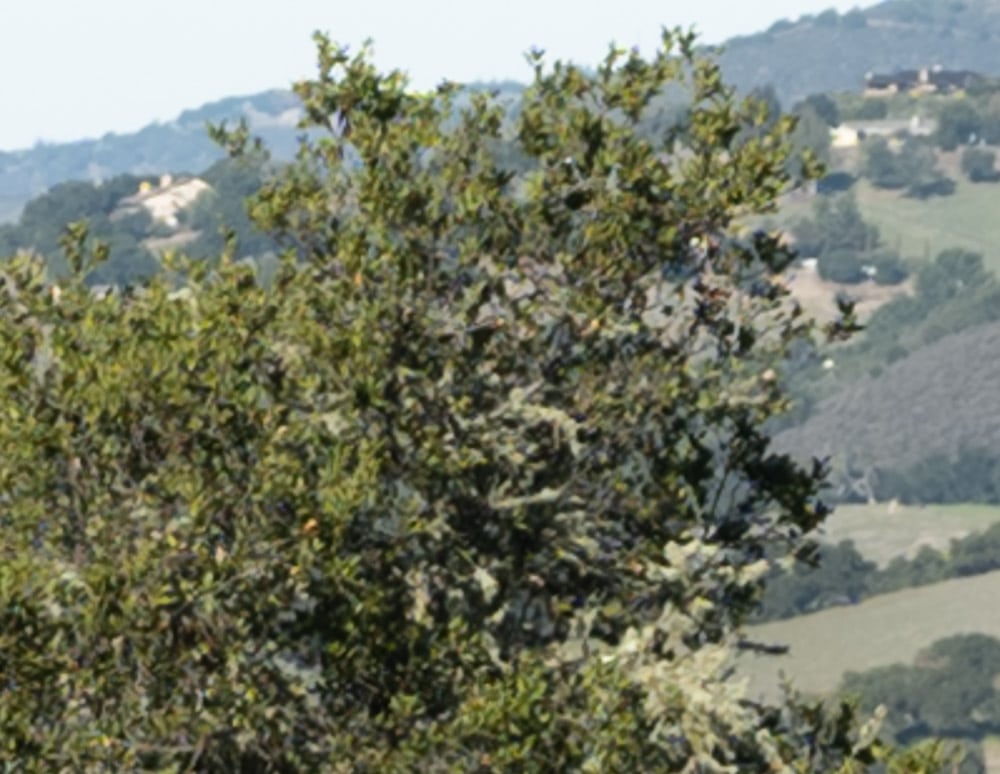
Not a lot to chose between these.
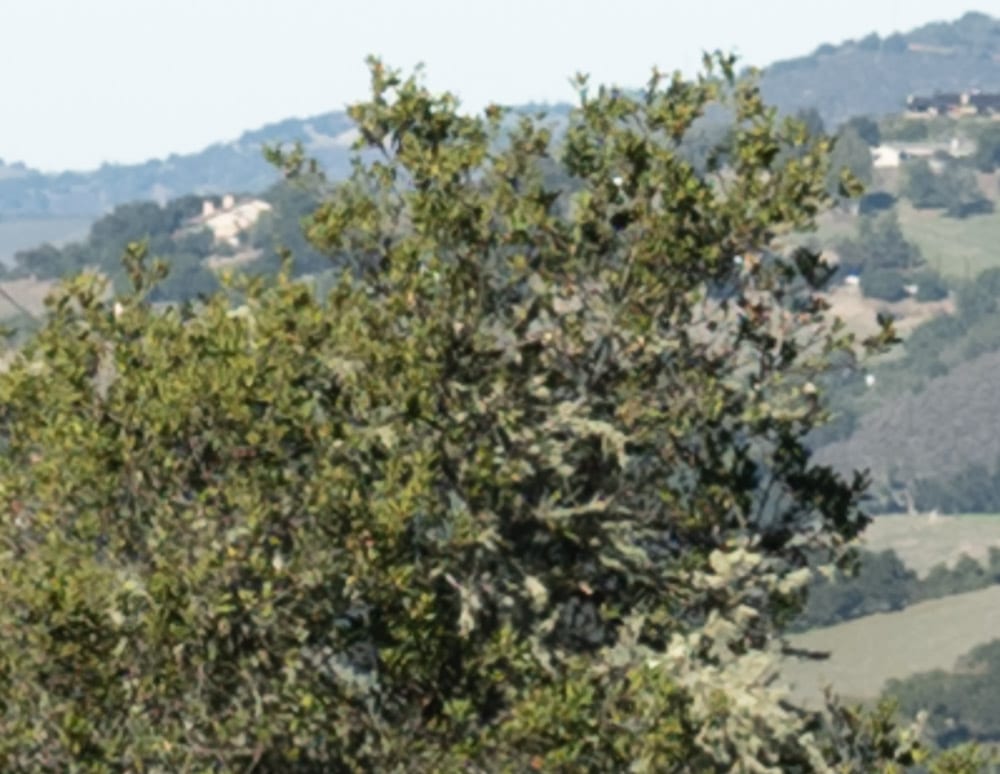
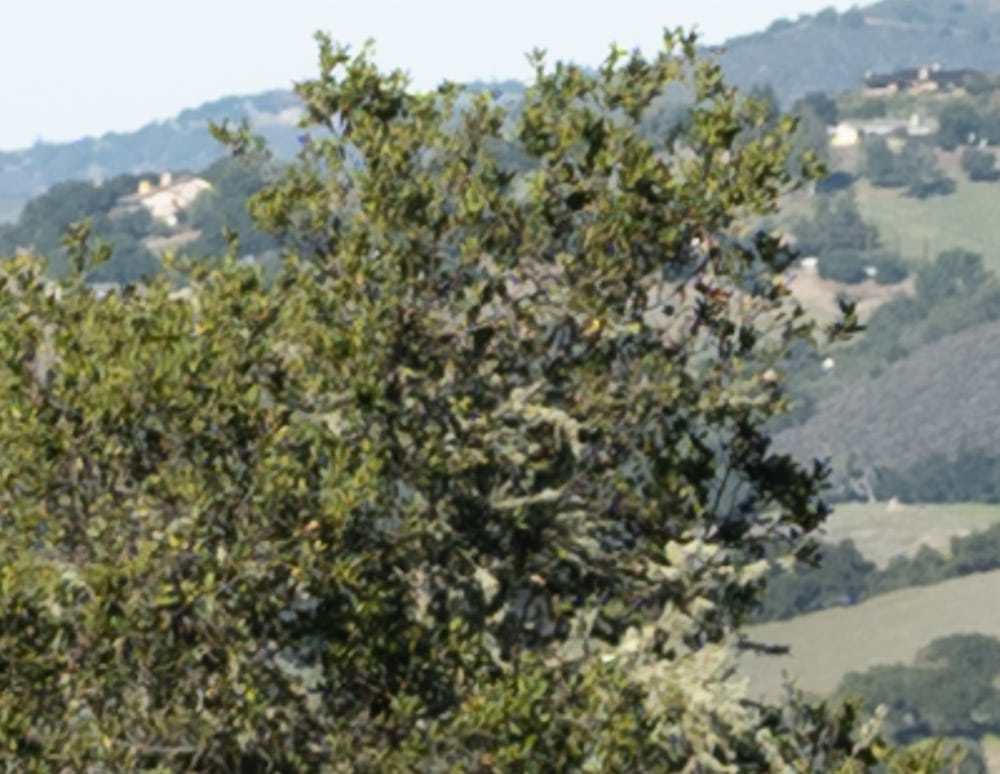
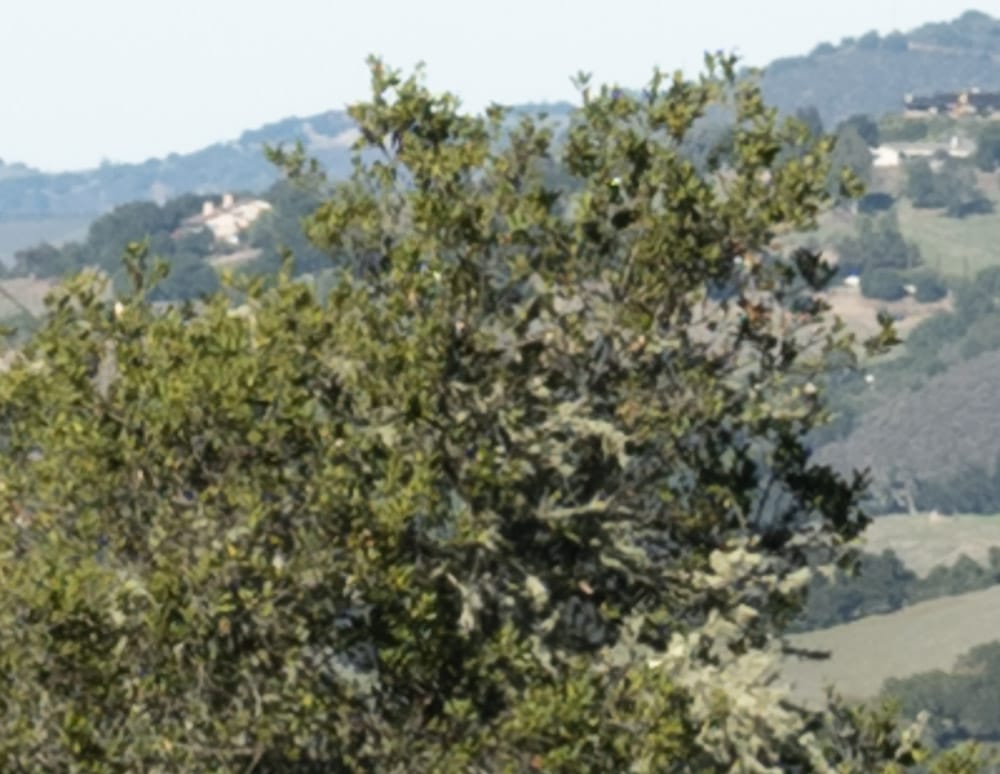
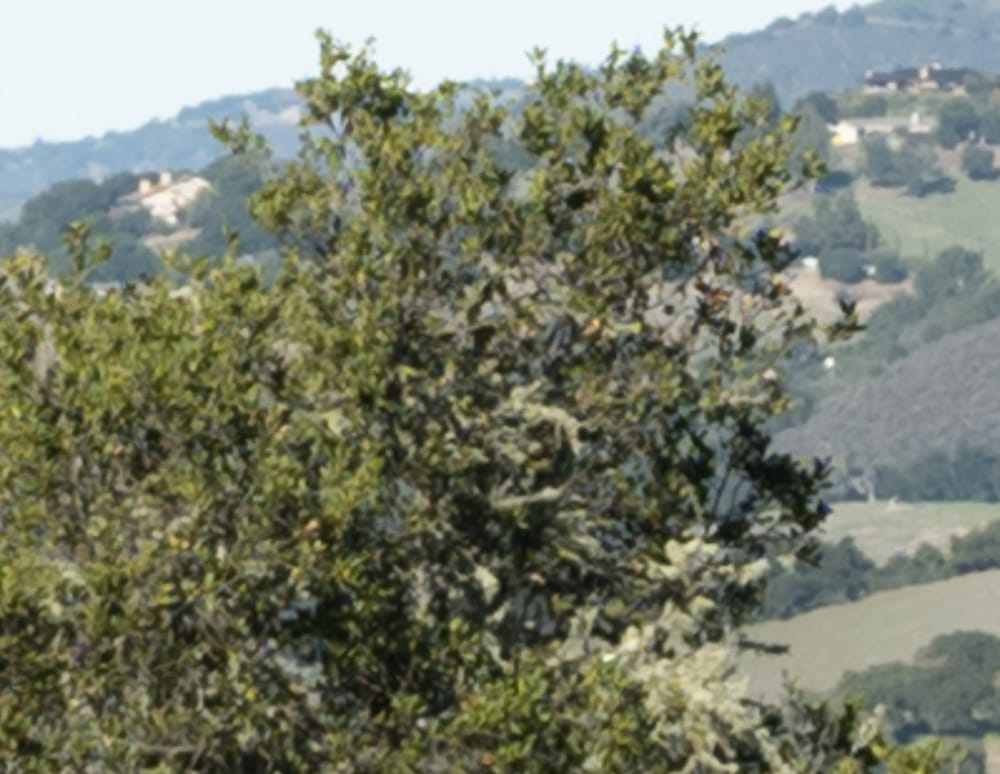
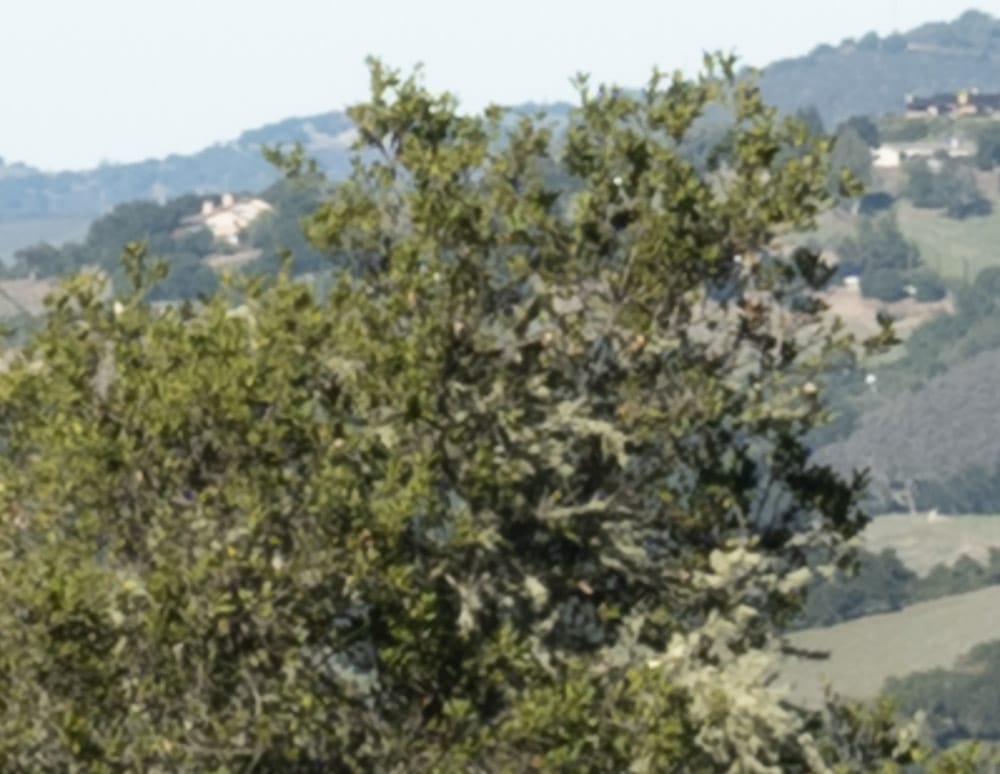

At 63 mm:

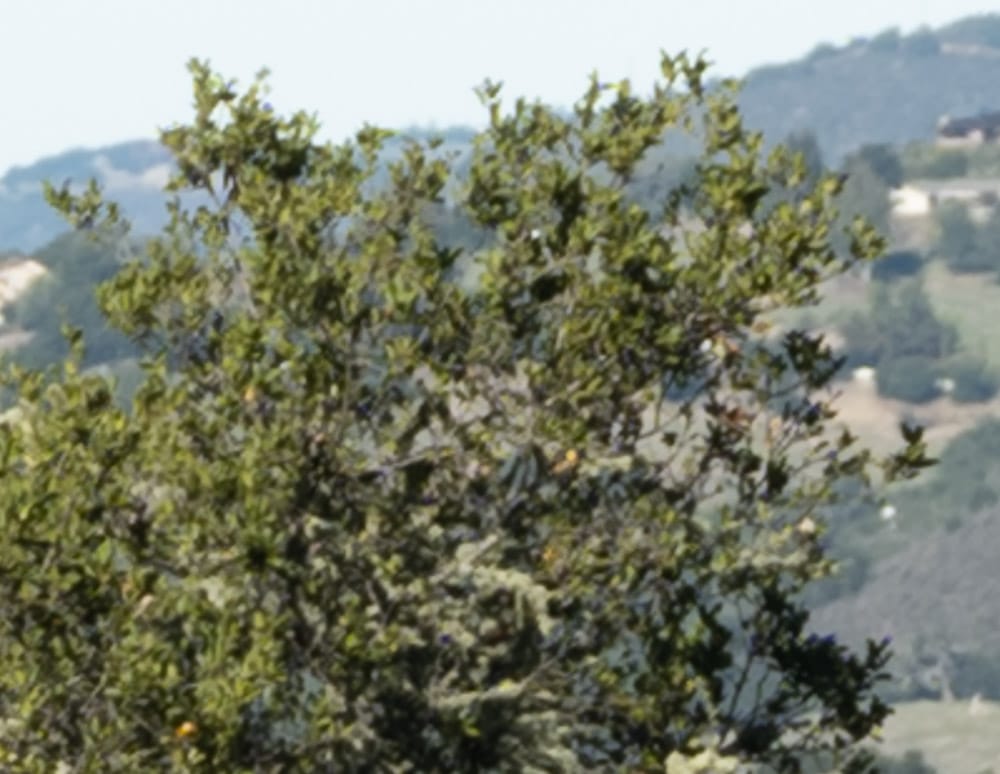
Really close.

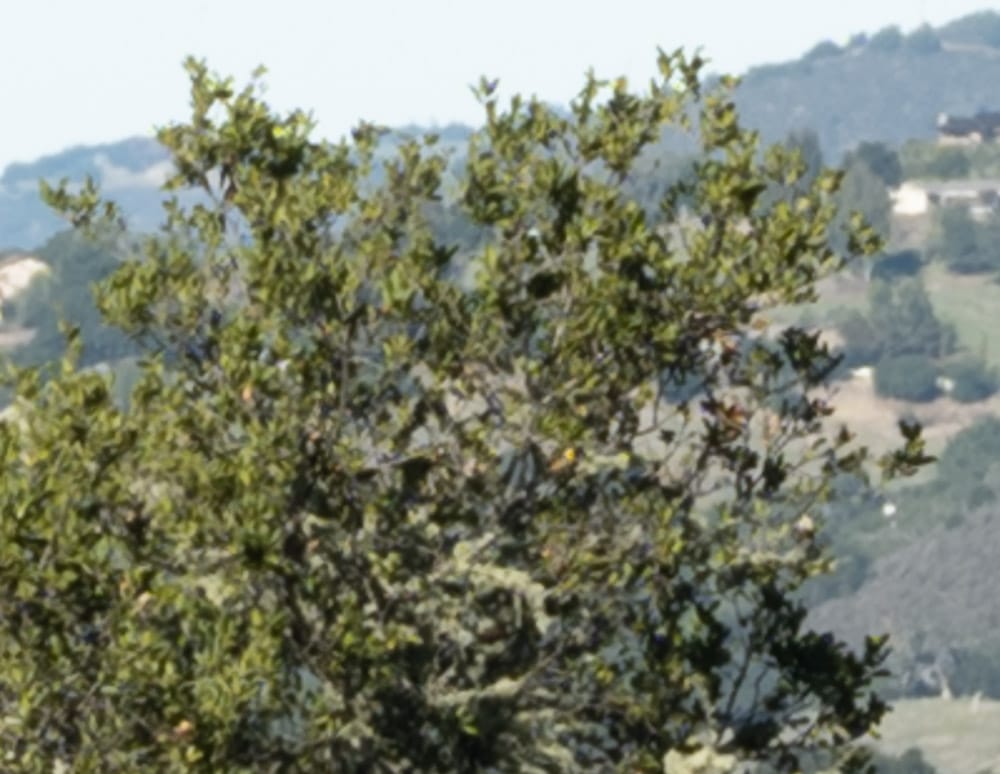
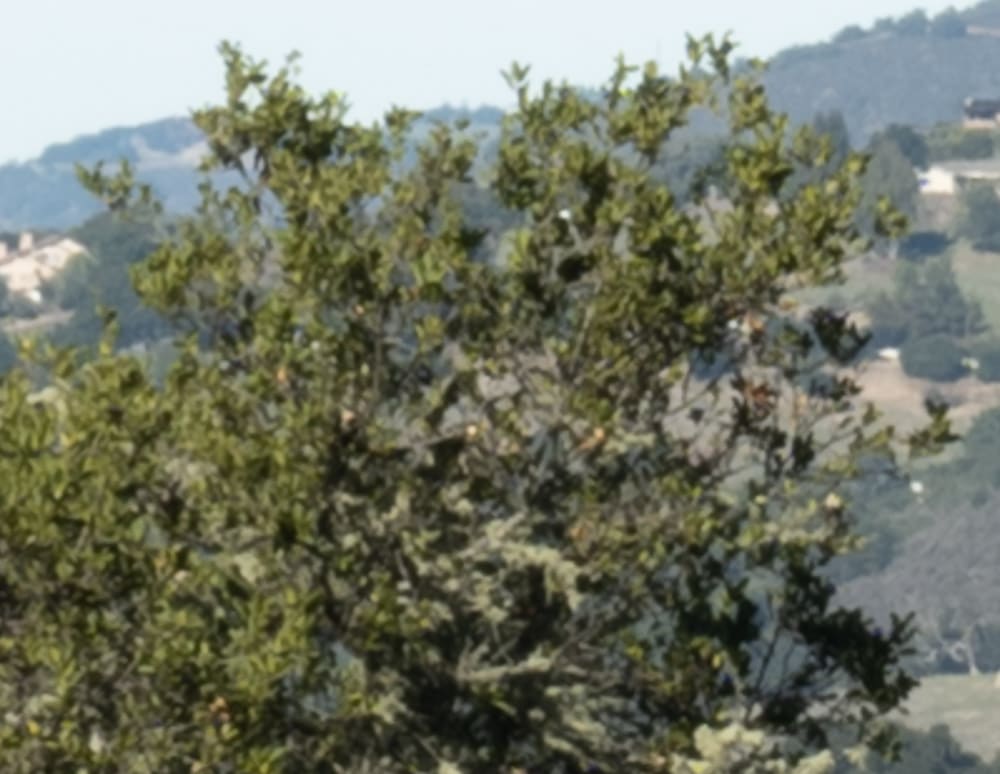
Next up: corner tests.
Mark James says
Jim,
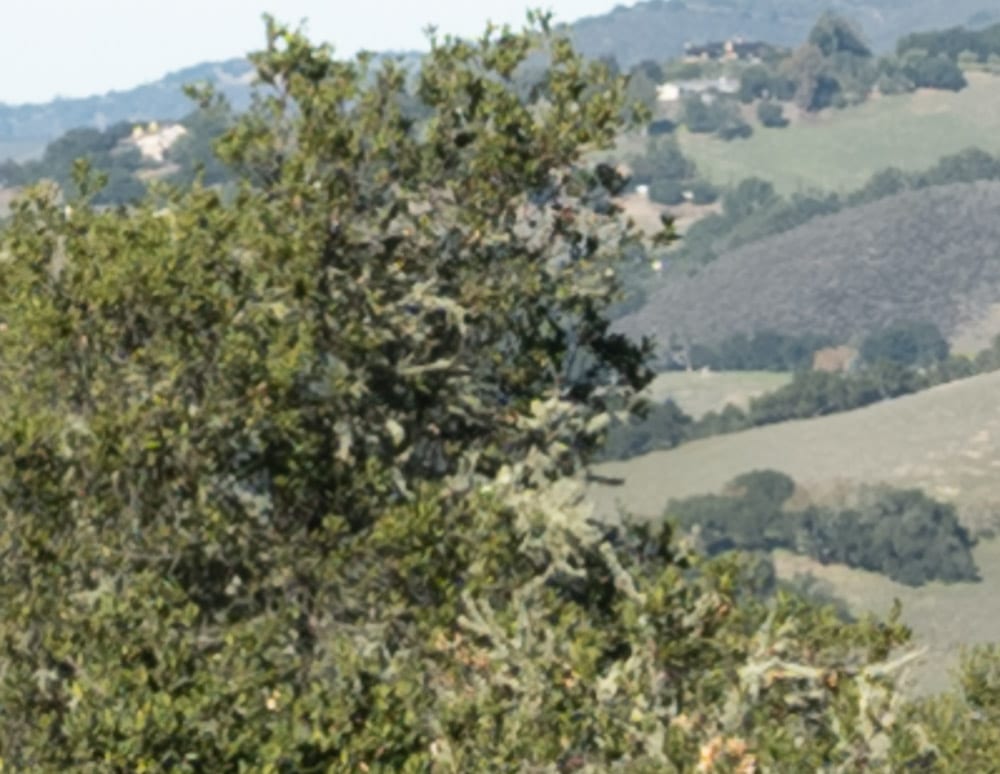
Image #3 is 35-70 at 63, f/5.6. It looks like it should be at 35mm.
Mark
JimK says
Fixed. Thanks.