While not directly about the camera, this is one in a series of posts that relates to the Nikon Z6. You should be able to find all the posts about that camera in the Category List on the right sidebar, below the Articles widget. There’s a drop-down menu there that you can use to get to all the posts in this series; just look for “Nikon Z6/7”. This is also relevant to the Fuji GFX 100; for other posts about that camera, look at Category “GFX 100”. This is also a continuation of testing that I’ve been doing on the Epson P800 printer. I’ve created a category called “Printers”, and put this post in that category. If you go to the Category List (on the right in the desktop formatting), find “Printers” and click on it, you’ll see all the posts in that series.
In the previous three posts, we looked at the results of resizing files from three different camera/lens combinations:
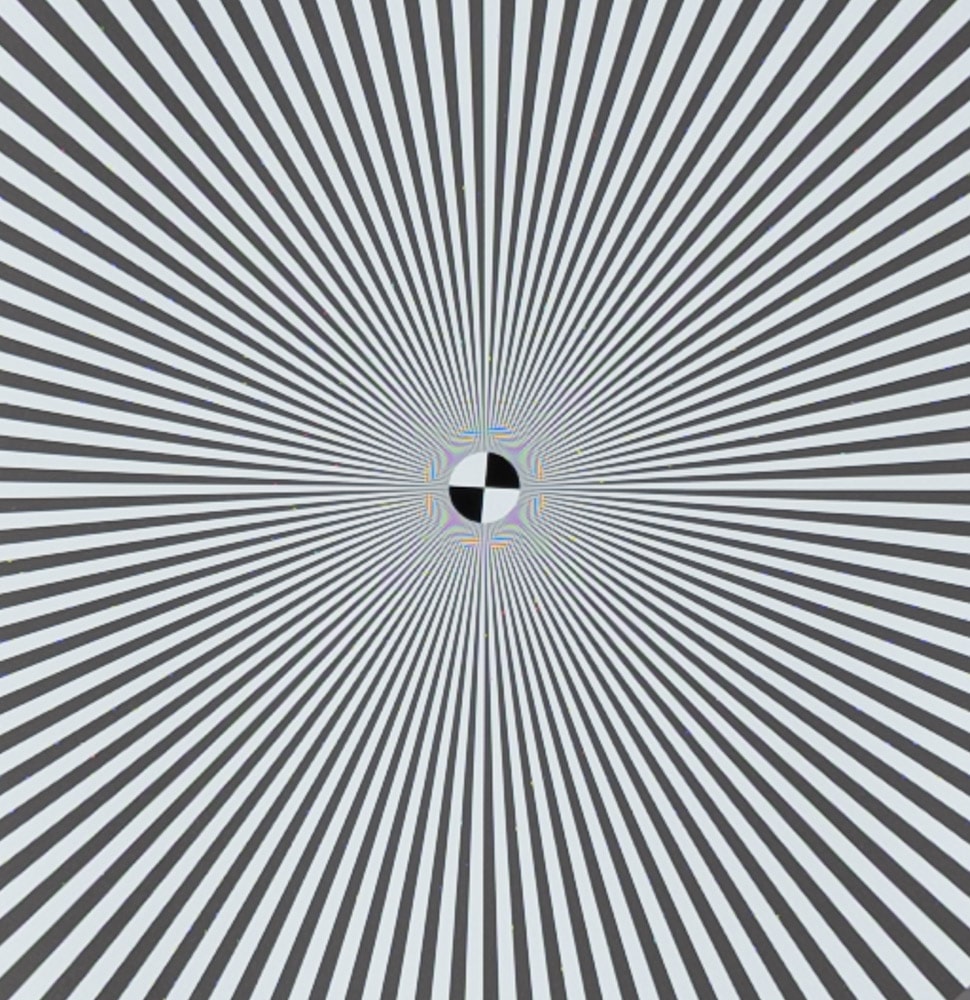
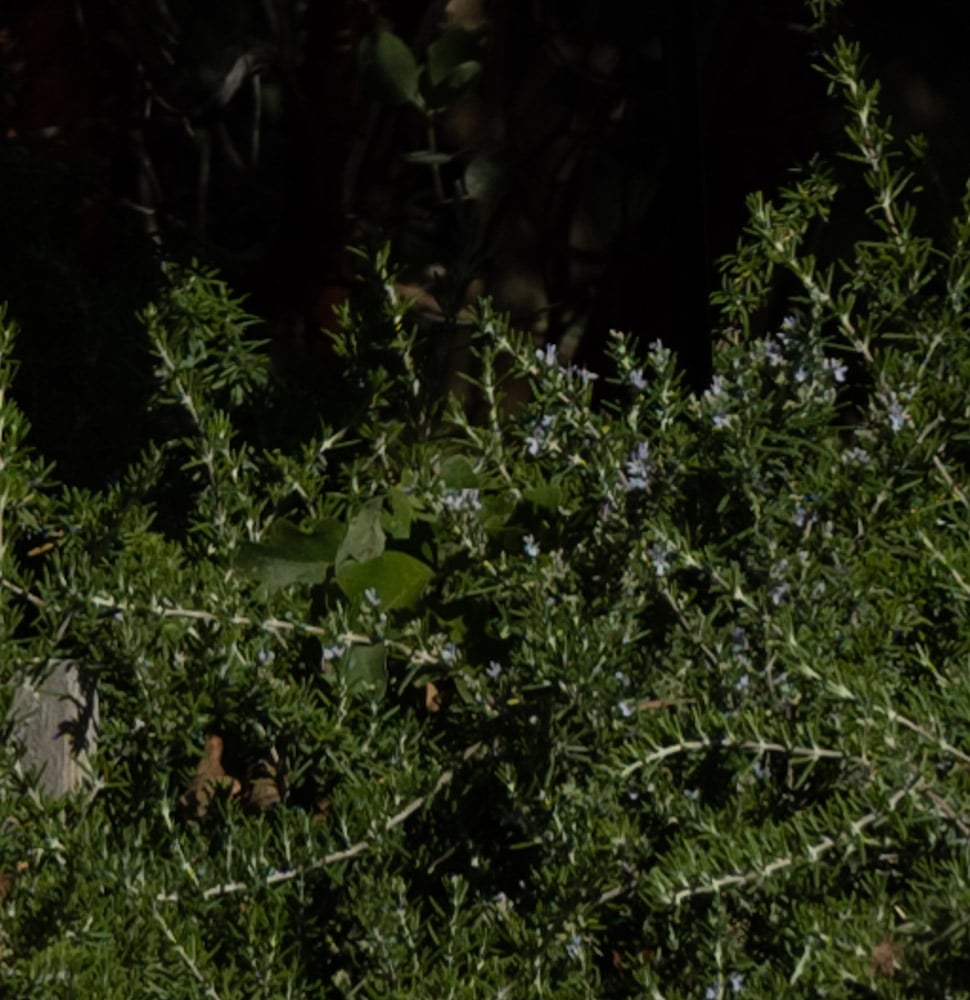
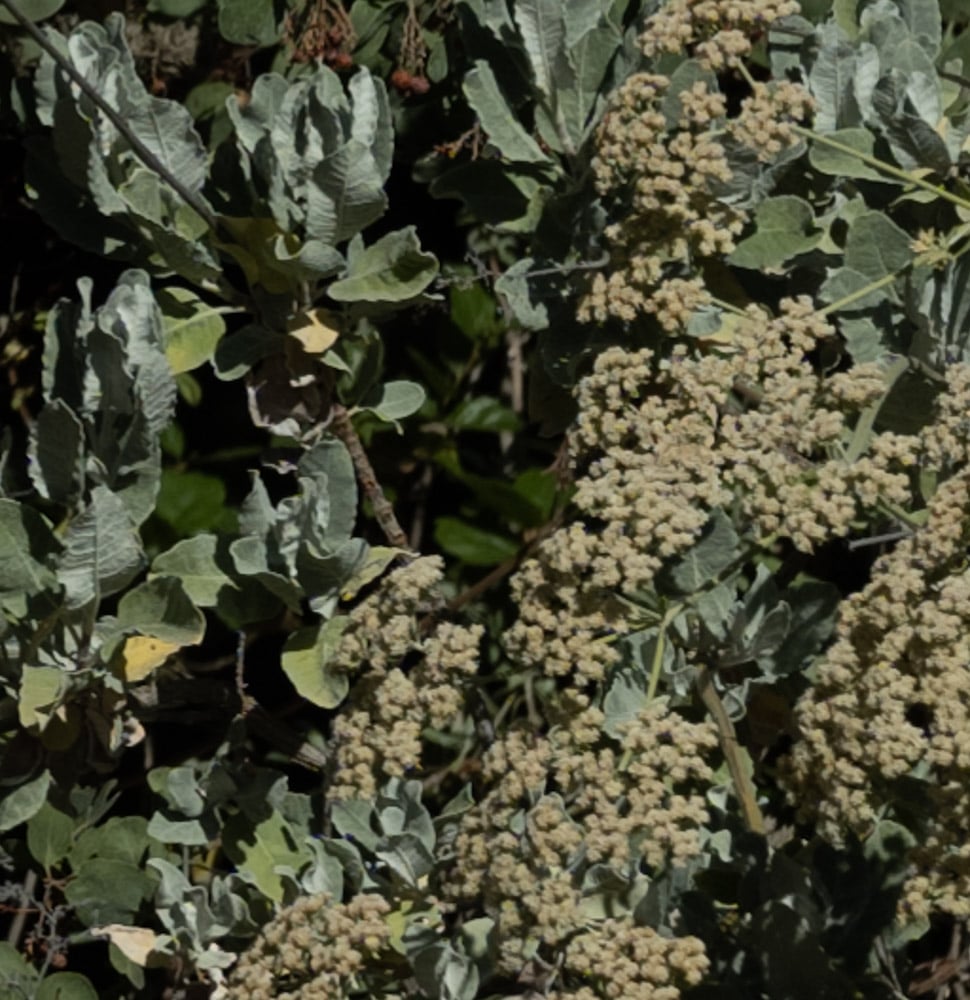
- Fujifilm GFX 100, Fuji 110 mm f/2 lens, set to f/5.6. That’s not the sharpest aperture for that lens, but the sharpness is not far down from its best there. Lightroom sharpening amount = 20, radius = 1, detail = 0. Image height is 8776 pixels and image area is 101 megapixels.
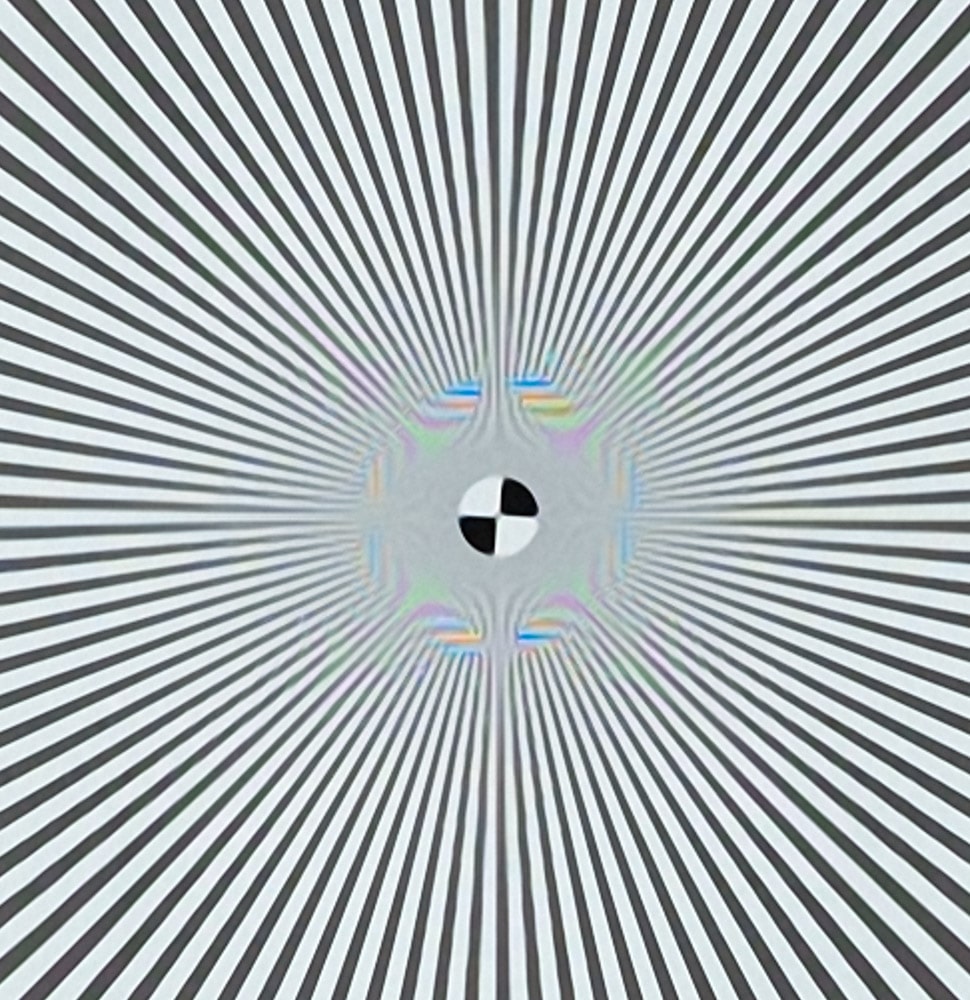
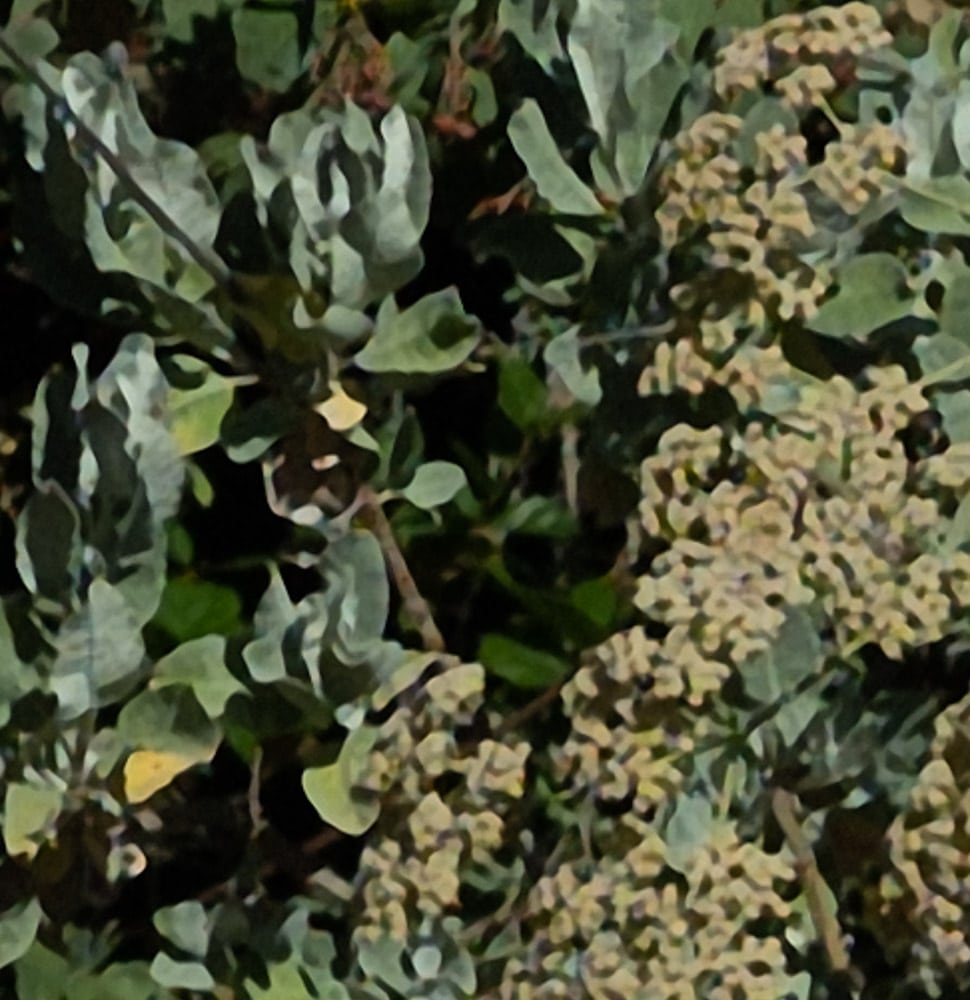
- Nikon Z6, FX mode, Zeiss Otus 85 mm f/1.4 lens, set to f/4. That’s not the sharpest aperture for that lens, but the sharpness is not far down from its best there. Lightroom sharpening amount = 30, radius = 1, detail = 0. The increase sharpening is to compensate for the (weak) AA filter on the Z6. Image height is 4000 pixels and image area is 24 megapixels.
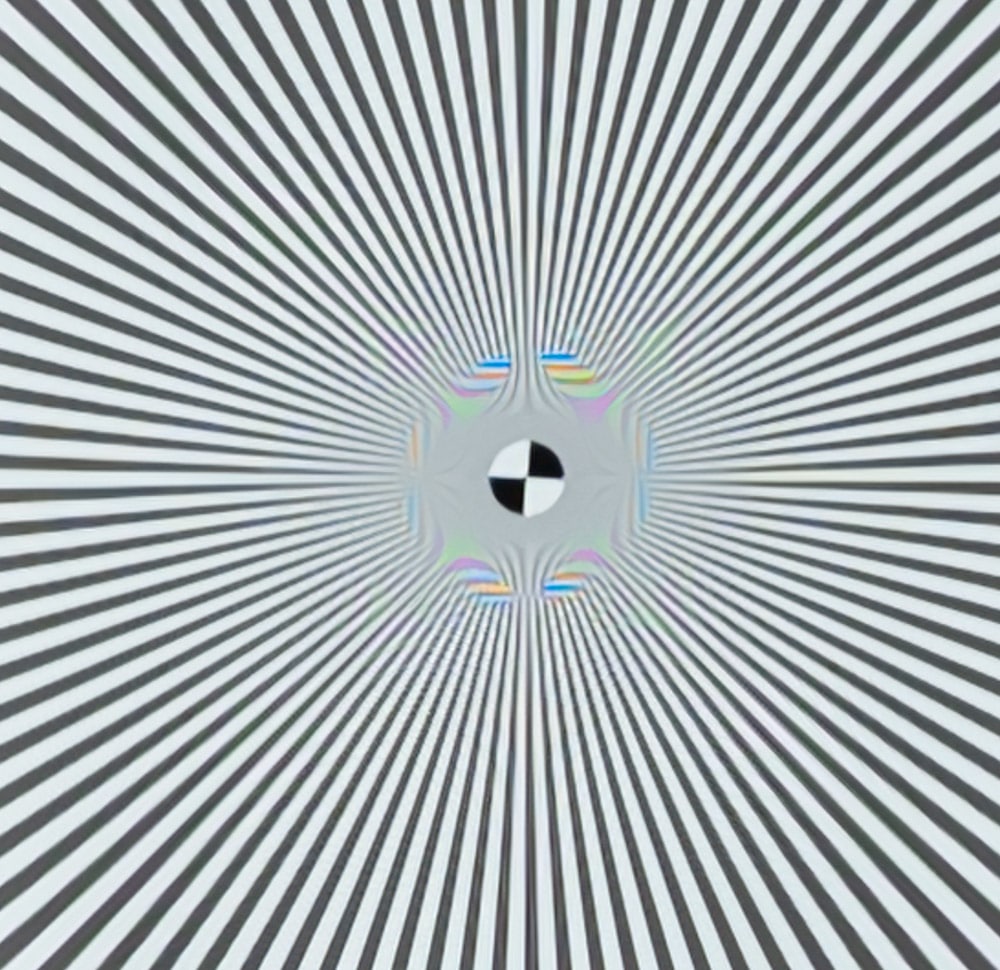
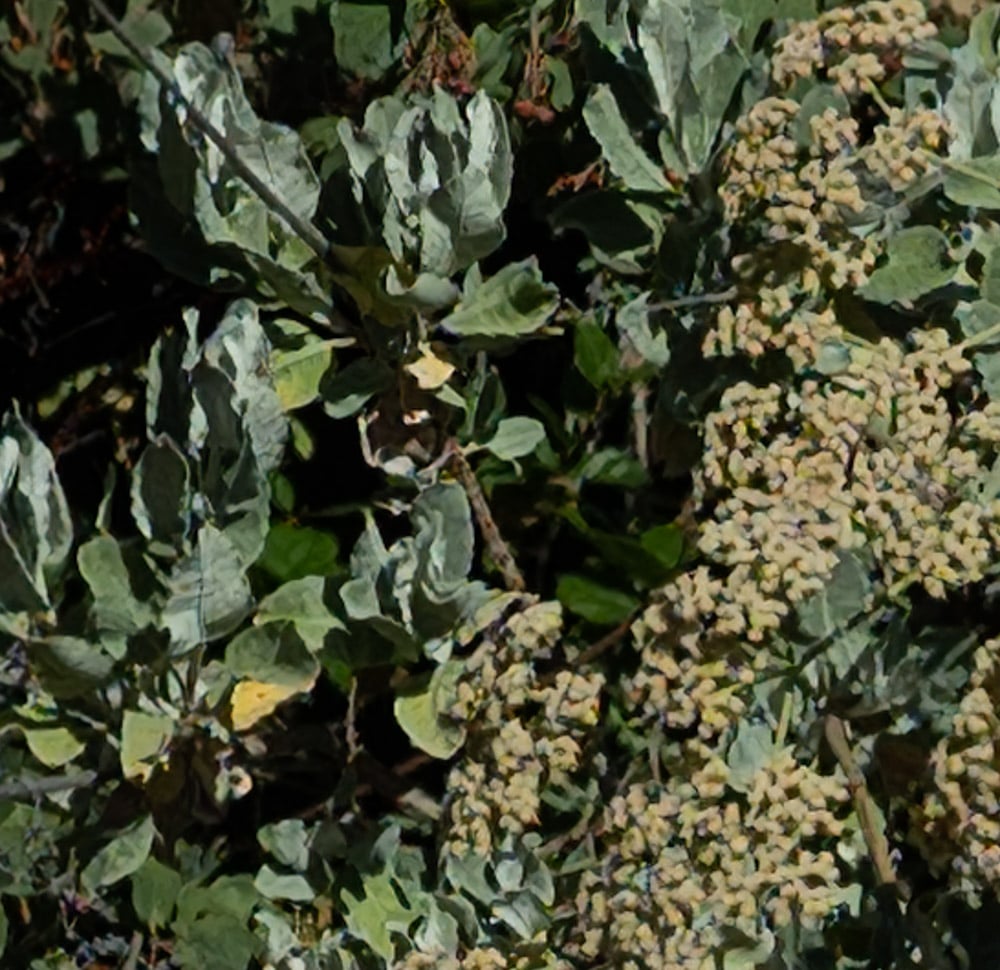
- Nikon Z6, DX mode, Zeiss Otus 55 mm f/1.4 lens, set to f/2.8. That’s pretty close to the sharpest aperture for that lens. Lightroom sharpening amount = 30, radius = 1, detail = 0. The increase sharpening is to compensate for the (weak) AA filter on the Z6. Image height is 2780 pixels and image area is a bit less than 12 megapixels.
If you haven’t already done so, please at least skim the earlier posts. Here’s the first one. Here’s the second one. Here’s the third one.
Going into this post, the best upscaling results were obtained with Gigapixel AI. Now I’ll throw one more resampler into the mix, Alien Skin Blow Up. I tested it with the default settings.
The Blow Up image is more punchy that the Gigapixel AI one, and has what looks to be a large-kernel “clarity” setting applied.
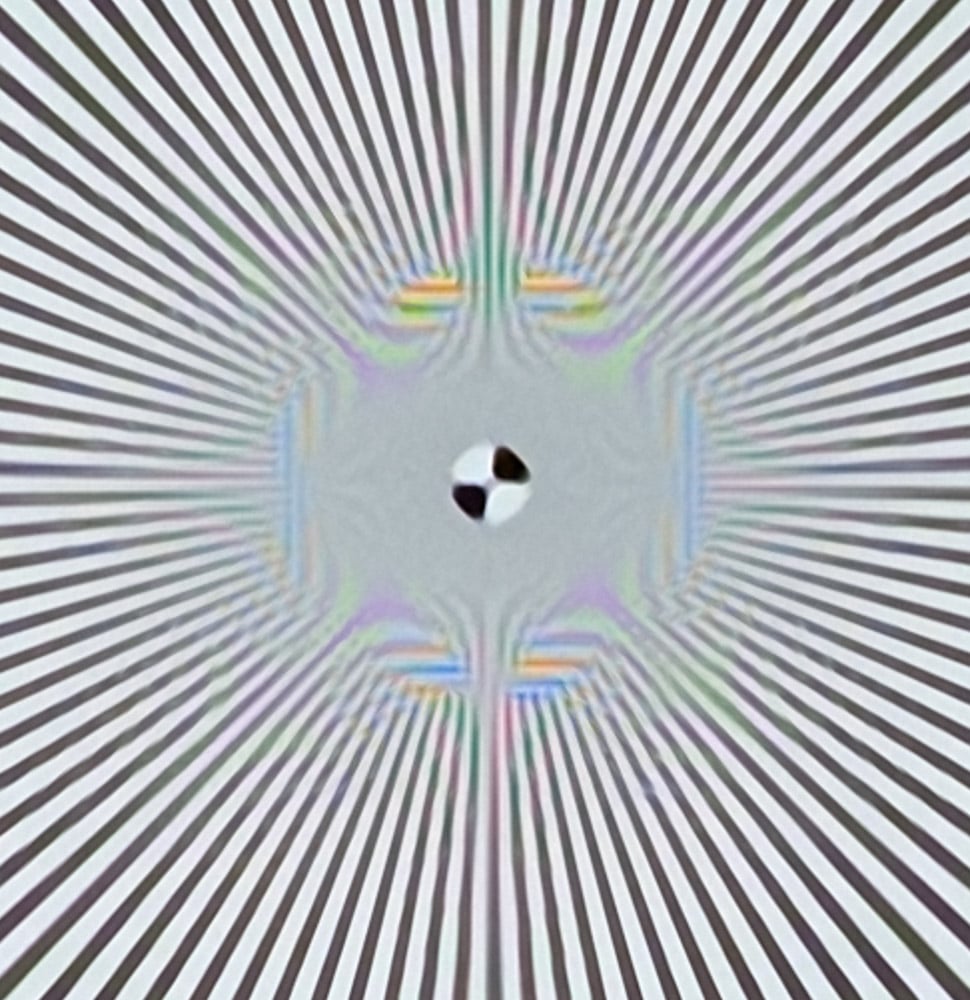

Blow Up manages to avoid the artifacts on the left of the Gigapixel AI image.
I like the Gigapixel AI image better.

Again, I like the Gigapixel AI image better.
In this instance, the advantages of Gigapixel AI are striking.

The Gigapixel edge here is significant.
Well, it was worth a try.
Jim, these upscaling programs must either dynamically analyze or assume certain parameters for some spatial properties of the image either in its entirety or locally (i.e. fractal), and/or assume certain perceptual properties of human vision. Probably both.
Any idea (or do you have any willingness to test) how well they work for subject matter different than what you have shown, i.e. say city street scenes, where both people and the man-made environment (but not Siemens stars!) are much more prominent than vegetation?
And a further question: how well (if at all) would these programs work on images originally taken on film and then digitized to a high standard?
This latter question relates to my recent comment/question about film digitization on one of your A7R4 posts. I’m hoping to print some of those fairly large (~2×3 feet, but in a few cases maybe much larger), and currently just planned to use the A7R4 best pixel-shift mode to well-image down to the grain level (which on my b&w negatives is mostly not too prominent, since back in the day, I mostly developed in a dilute fine-grain developer such as Microdol, seldom anything like Rodinol). But I’m wondering how de-graining first (or digitizing to a lower resolution) and then using an upscaling program would work?Certainly the effect would be quite different.
Hi,
Just to say, going the high resolution camera route is workable. I had a couple of large prints made from scanned 6×7 cm Velvia. My prints were 70×100 cm. One of those prints was really astonishingly good. But, I spent a lot of time using Pixel Genius’s Photokit Sharpener to reduce grain and improve sharpness.
The main issue taking the repro route is film flatness and keeping film parallel to the camera.
If you shoot macro, the extension significantly reduces working aperture. As an example, if you shoot at f/11, the working aperture may be f/22 at 1:1 magnification. Using a modern macro lens with internal focusing and floating elements the working aperture may be larger.
But, to get 100 lp/mm of resolution, at f/11 as working aperture, your film needs to be flat within 0.05 mm or so and even at f/11 diffraction will be a limiting factor.
Best regards
Erik
Thanks for the advice, Erik.
Yes, I know I’ll need to pay attention to both parallel alignment and film flatness, and that the optimum aperture from an optical standpoint won’t give me much depth-of-field at 1:1. So it may require some compromise in aperture between what’s best optically vs. what’s needed for depth-of-field, and empirical determination of where the best compromise will be.
Worst-case scenario, in order to obtain enough depth-of-field while using an aperture large enough to avoid diffraction, I may need to try focus bracketing and combining in post. I’m hoping that can be avoided, at least for my b&w negatives. Luckily, most of them are on Ilford film, which I’ve found has much less tendency to curl than most Kodak or Agfa materials, so I’m hoping for the best. My cardboard-mounted 35mm slides are another matter, and unless I want to remove them from their mounts, focus bracketing will probably be necessary for adequate depth-of-field. (Even removing them from their mounts probably wouldn’t help flatness after all these years, unless I sandwich them between glass, which then adds problems of dirt and Newton rings).