• site home
  • blog home
  • galleries
  • contact
  • underwater
  • the bleeding edge

the last word

Photography meets digital computer technology. Photography wins -- most of the time.

You are here: Home / GFX 100 / Megapixels, smart resizing, and printing — ON1

Megapixels, smart resizing, and printing — ON1

August 28, 2019 JimK 4 Comments

While not directly about the camera, this is one in a series of posts that relates to the Nikon Z6. You should be able to find all the posts about that camera in the Category List on the right sidebar, below the Articles widget. There’s a drop-down menu there that you can use to get to all the posts in this series; just look for “Nikon Z6/7”. This is also relevant to the Fuji GFX 100; for other posts about that camera, look at Category “GFX 100”. This is also a continuation of testing that I’ve been doing on the Epson P800 printer. I’ve created a category called “Printers”, and put this post in that category. If you go to the Category List (on the right in the desktop formatting), find “Printers” and click on it, you’ll see all the posts in that series.

In the previous post, we looked at the results of resizing files from three different camera/lens combinations:

  1. Fujifilm GFX 100, Fuji 110 mm f/2 lens, set to f/5.6. That’s not the sharpest aperture for that lens, but the sharpness is not far down from its best there.  Lightroom sharpening amount = 20, radius = 1, detail = 0. Image height is 8776 pixels and image area is 101 megapixels.
  2. Nikon Z6, FX mode, Zeiss Otus 85 mm f/1.4 lens, set to f/4. That’s not the sharpest aperture for that lens, but the sharpness is not far down from its best there.  Lightroom sharpening amount = 30, radius = 1, detail = 0. The increase sharpening is to compensate for the (weak) AA filter on the Z6. Image height is 4000 pixels and image area is 24 megapixels.
  3. Nikon Z6, DX mode, Zeiss Otus 55 mm f/1.4 lens, set to f/2.8. That’s pretty close to the sharpest aperture for that lens.  Lightroom sharpening amount = 30, radius = 1, detail = 0. The increase sharpening is to compensate for the (weak) AA filter on the Z6. Image height is 2780 pixels and image area is a bit less than 12 megapixels.

If you haven’t already done so, please at least skim the earlier post.

Now I’ll look at resizing the full frame and APS-C images to the size of the GFX 100 one using a smarter resizing program: On1 Resize, which has roots in the Genuine Fractals resizing program of yore.


First, the Siemens Star:

GFX 100, 110 mm f/5.6


Z6, FF, 85mm f/4, ON1 resize


Z6, APS-C, 55mm f/2.8, ON1 resize

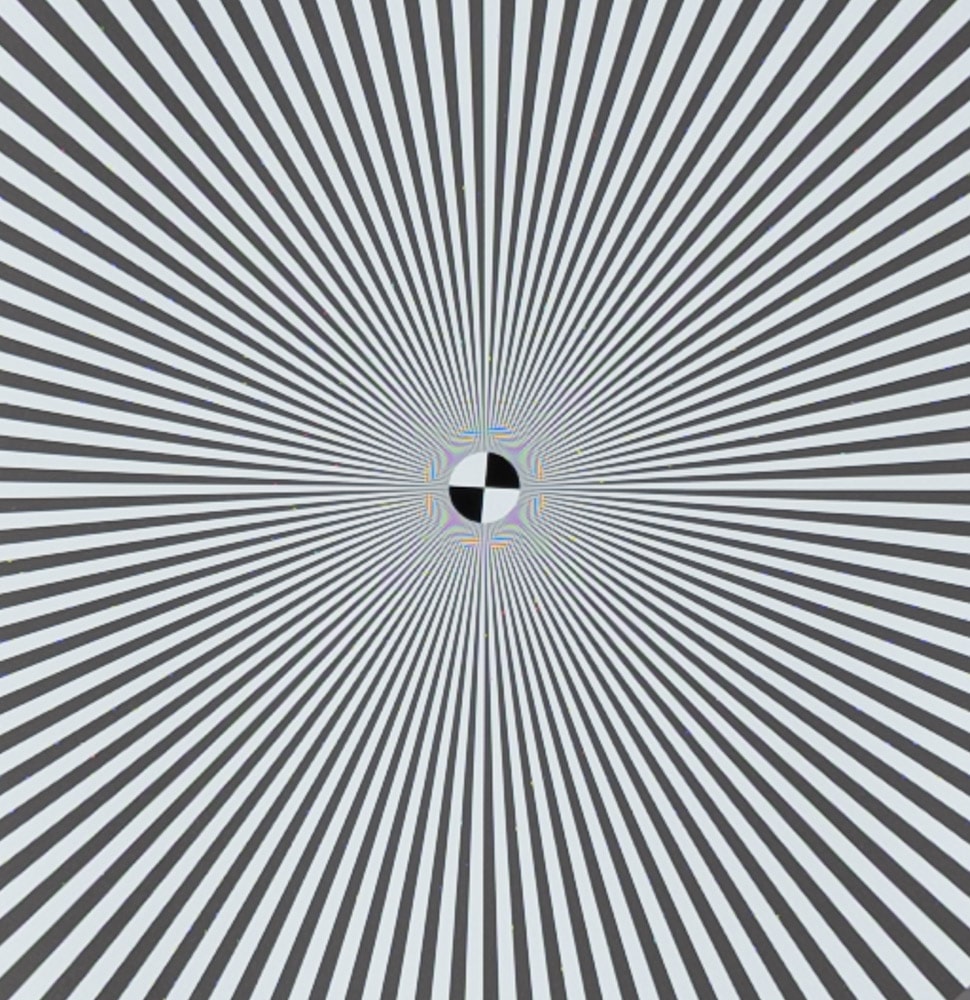
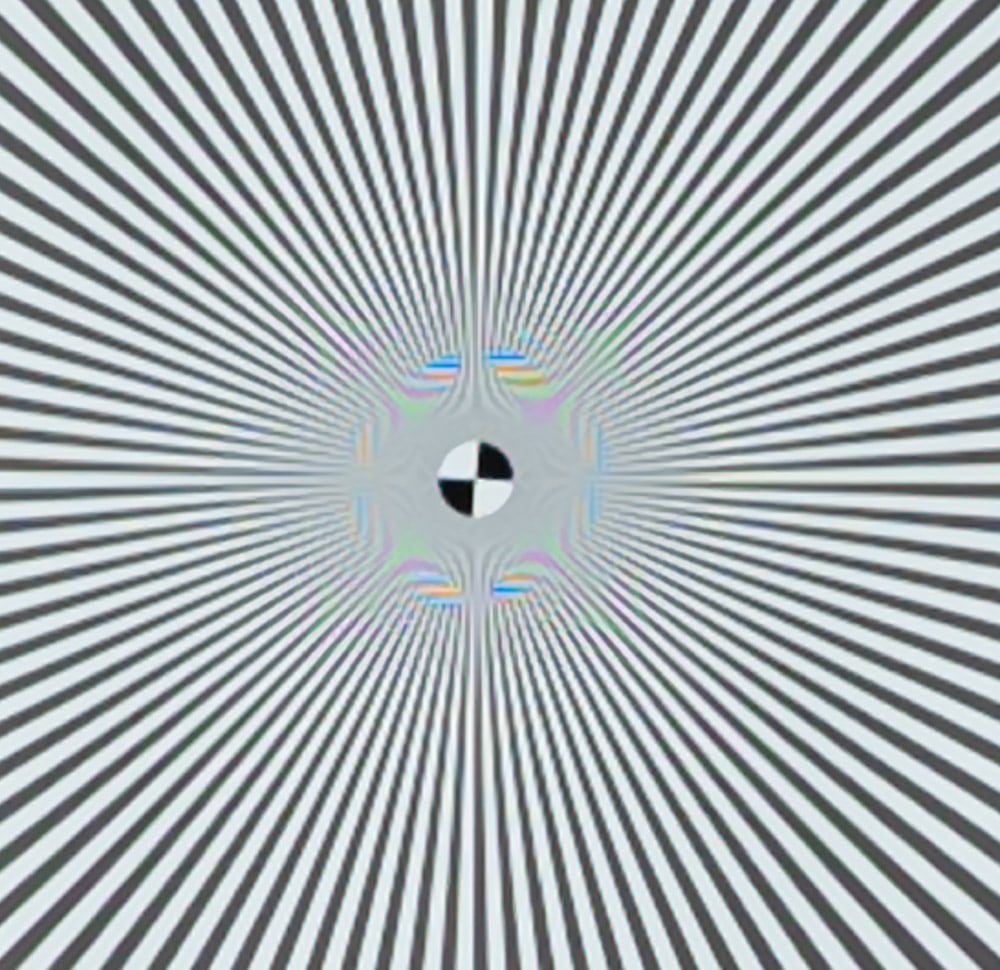
On1 is definitely crisper than the Lightroom export resizing, but it can’t come up with the detail that’s missing in the two Z6 shots.

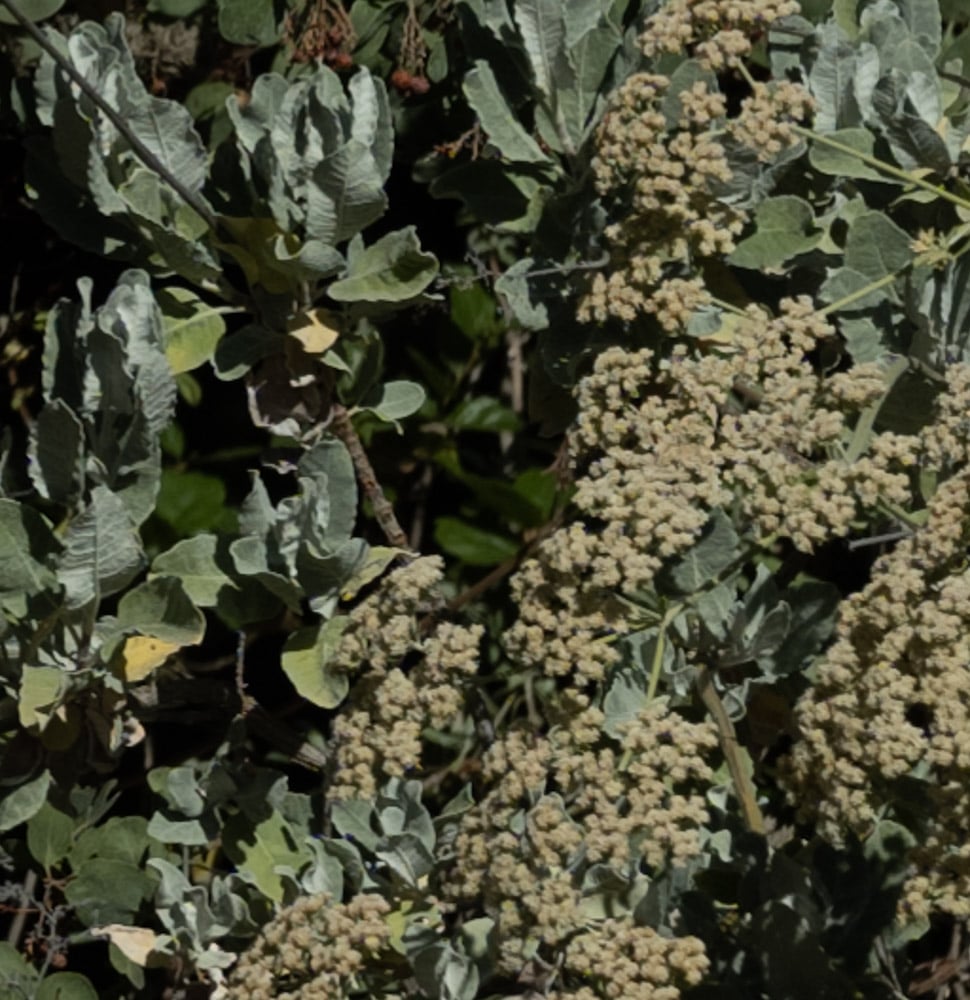
Now with a natural subject:

GFX 100, 110 mm f/5.6


Z6, FF, 85mm f/4, ON1 resize


Z6, APS-C, 55mm f/2.8, ON1 resize

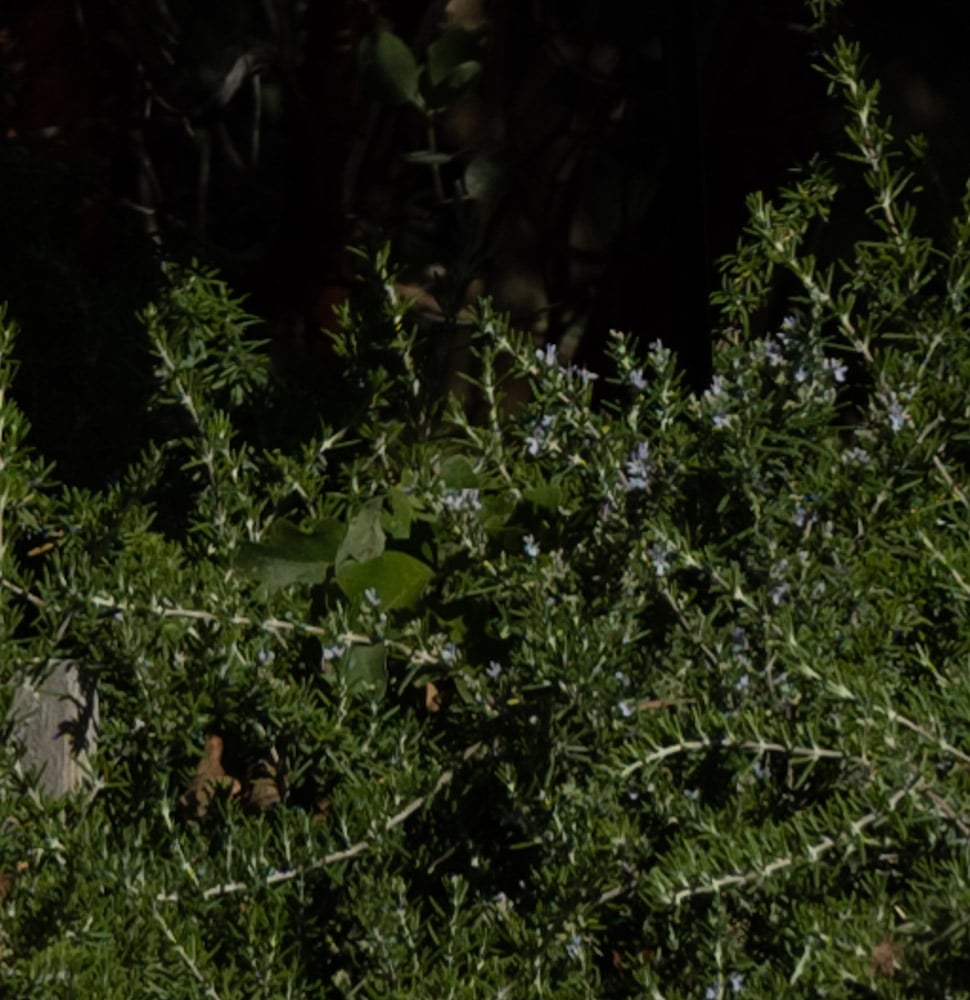
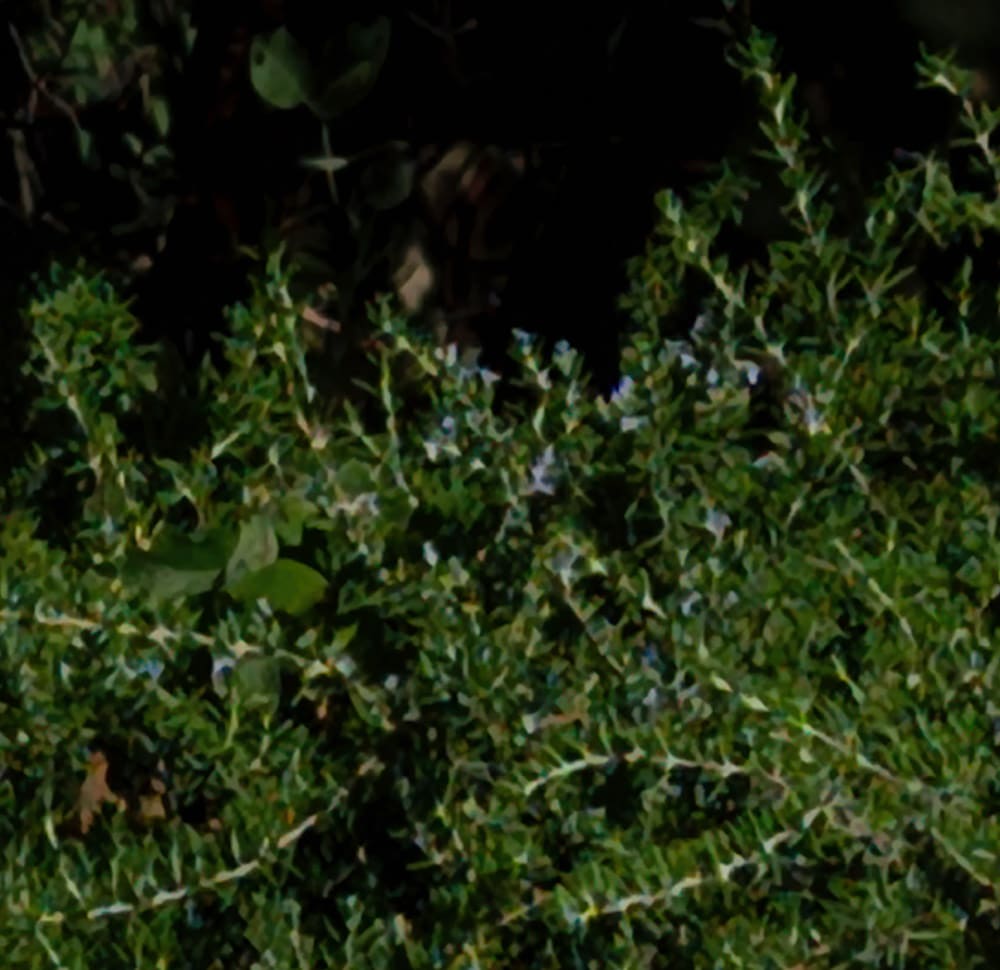
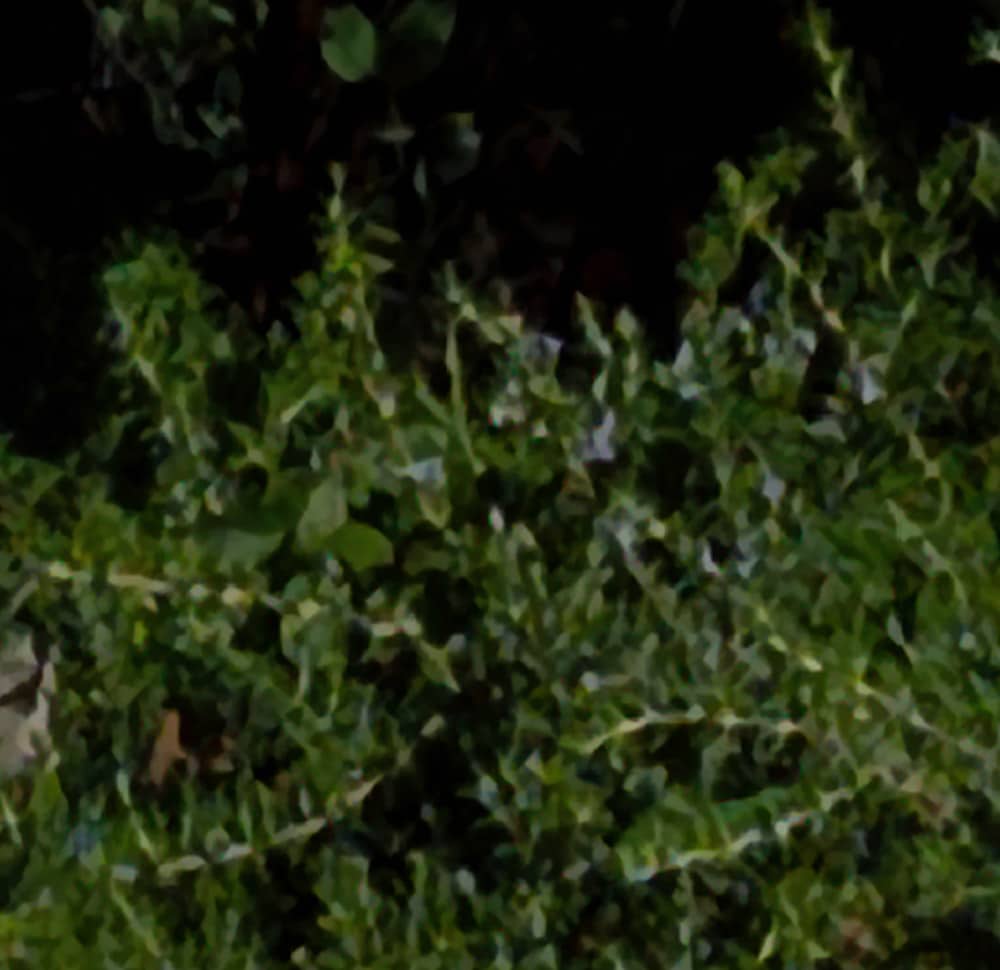
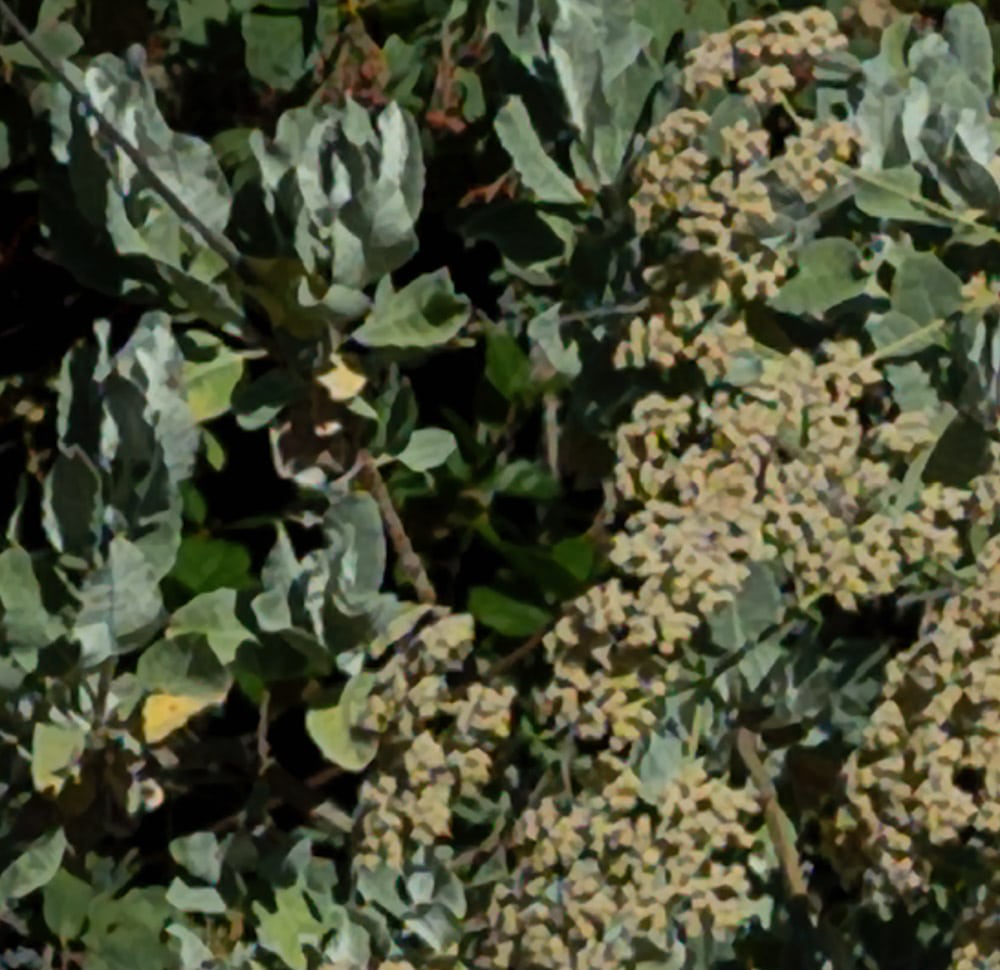
The ON1 details look fake from up close, but from a distance, they don’t look half bad.

Now with another part of the image:

GFX 100, 110 mm f/5.6


Z6, FF, 85mm f/4, ON1 resize


Z6, APS-C, 55mm f/2.8

Testing note. ON1 resize is terribly slow on my 256 GB, 16-core workstation, sometimes locking up the Win 10 GUI for minutes at a time, while throwing up random reports in the progress bar that are as likely to indicate less progress than the update before as they are to indicate that we’re getting somewhere:

In the next post, I’ll look at another resizing tool.


GFX 100, Nikon Z6/7, Printers

← MP don’t matter for printing — or do they? Megapixels, smart resizing, and printing — Topaz Gigapixel AI →

Trackbacks

  1. Megapixels, smart resizing, and printing — Topaz Gigapixel AI says:
    August 29, 2019 at 11:59 am

    […] If you haven’t already done so, please at least skim the earlier posts. Here’s the first one. Here’s the second one. […]

    Reply
  2. Megapixels, smart resizing, and printing — scanned samples says:
    September 11, 2019 at 1:03 pm

    […] you haven’t already done so, please at least skim the earlier posts. Here’s the first one. Here’s the second one, in which Gigapixel AI came out on top. Here’s the third one, which looked at Alien Skin Blow Up.  Here’s one that used […]

    Reply
  3. Megapixels, smart resizing, and printing — PhotoZoom Pro 8 says:
    September 11, 2019 at 1:04 pm

    […] you haven’t already done so, please at least skim the earlier posts. Here’s the first one. Here’s the second one, in which Gigapixel AI came out on top. Here’s the third one, which looked at Alien Skin Blow […]

    Reply
  4. Megapixels, smart resizing, and printing — Alien Skin Blow Up says:
    September 11, 2019 at 1:05 pm

    […] you haven’t already done so, please at least skim the earlier posts. Here’s the first one. Here’s the second one. Here’s the third […]

    Reply

Leave a Reply Cancel reply

Your email address will not be published. Required fields are marked *

May 2025
S M T W T F S
 123
45678910
11121314151617
18192021222324
25262728293031
« Apr    

Articles

  • About
    • Patents and papers about color
    • Who am I?
  • How to…
    • Backing up photographic images
    • How to change email providers
    • How to shoot slanted edge images for me
  • Lens screening testing
    • Equipment and Software
    • Examples
      • Bad and OK 200-600 at 600
      • Excellent 180-400 zoom
      • Fair 14-30mm zoom
      • Good 100-200 mm MF zoom
      • Good 100-400 zoom
      • Good 100mm lens on P1 P45+
      • Good 120mm MF lens
      • Good 18mm FF lens
      • Good 24-105 mm FF lens
      • Good 24-70 FF zoom
      • Good 35 mm FF lens
      • Good 35-70 MF lens
      • Good 60 mm lens on IQ3-100
      • Good 63 mm MF lens
      • Good 65 mm FF lens
      • Good 85 mm FF lens
      • Good and bad 25mm FF lenses
      • Good zoom at 24 mm
      • Marginal 18mm lens
      • Marginal 35mm FF lens
      • Mildly problematic 55 mm FF lens
      • OK 16-35mm zoom
      • OK 60mm lens on P1 P45+
      • OK Sony 600mm f/4
      • Pretty good 16-35 FF zoom
      • Pretty good 90mm FF lens
      • Problematic 400 mm FF lens
      • Tilted 20 mm f/1.8 FF lens
      • Tilted 30 mm MF lens
      • Tilted 50 mm FF lens
      • Two 15mm FF lenses
    • Found a problem – now what?
    • Goals for this test
    • Minimum target distances
      • MFT
      • APS-C
      • Full frame
      • Small medium format
    • Printable Siemens Star targets
    • Target size on sensor
      • MFT
      • APS-C
      • Full frame
      • Small medium format
    • Test instructions — postproduction
    • Test instructions — reading the images
    • Test instructions – capture
    • Theory of the test
    • What’s wrong with conventional lens screening?
  • Previsualization heresy
  • Privacy Policy
  • Recommended photographic web sites
  • Using in-camera histograms for ETTR
    • Acknowledgments
    • Why ETTR?
    • Normal in-camera histograms
    • Image processing for in-camera histograms
    • Making the in-camera histogram closely represent the raw histogram
    • Shortcuts to UniWB
    • Preparing for monitor-based UniWB
    • A one-step UniWB procedure
    • The math behind the one-step method
    • Iteration using Newton’s Method

Category List

Recent Comments

  • bob lozano on The 16-Bit Fallacy: Why More Isn’t Always Better in Medium Format Cameras
  • JimK on Goldilocks and the three flashes
  • DC Wedding Photographer on Goldilocks and the three flashes
  • Wedding Photographer in DC on The 16-Bit Fallacy: Why More Isn’t Always Better in Medium Format Cameras
  • JimK on Fujifilm GFX 100S II precision
  • Renjie Zhu on Fujifilm GFX 100S II precision
  • JimK on Fuji 20-35/4 landscape field curvature at 23mm vs 23/4 GF
  • Ivo de Man on Fuji 20-35/4 landscape field curvature at 23mm vs 23/4 GF
  • JimK on Fuji 20-35/4 landscape field curvature at 23mm vs 23/4 GF
  • JimK on Fuji 20-35/4 landscape field curvature at 23mm vs 23/4 GF

Archives

Copyright © 2025 · Daily Dish Pro On Genesis Framework · WordPress · Log in

Unless otherwise noted, all images copyright Jim Kasson.