Here’s another try at an informal test of the Nikon 500mm f/5.6 phase Fresnel lens compared to the Nikon 180-400mm f/4 zoom.
Here’s the scene with both lenses, with the zoom set to 500mm by switching in the built in teleconverter and setting the lens to 360 mm.. I made the shots at sunrise to avoid atmospheric thermal effects. The target is 400 meters away:
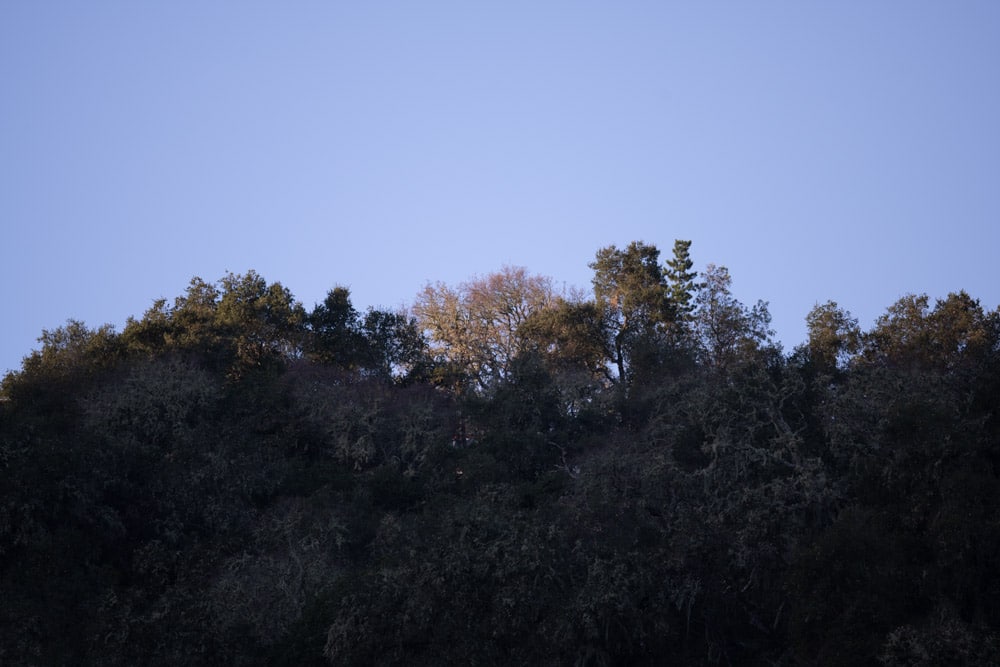
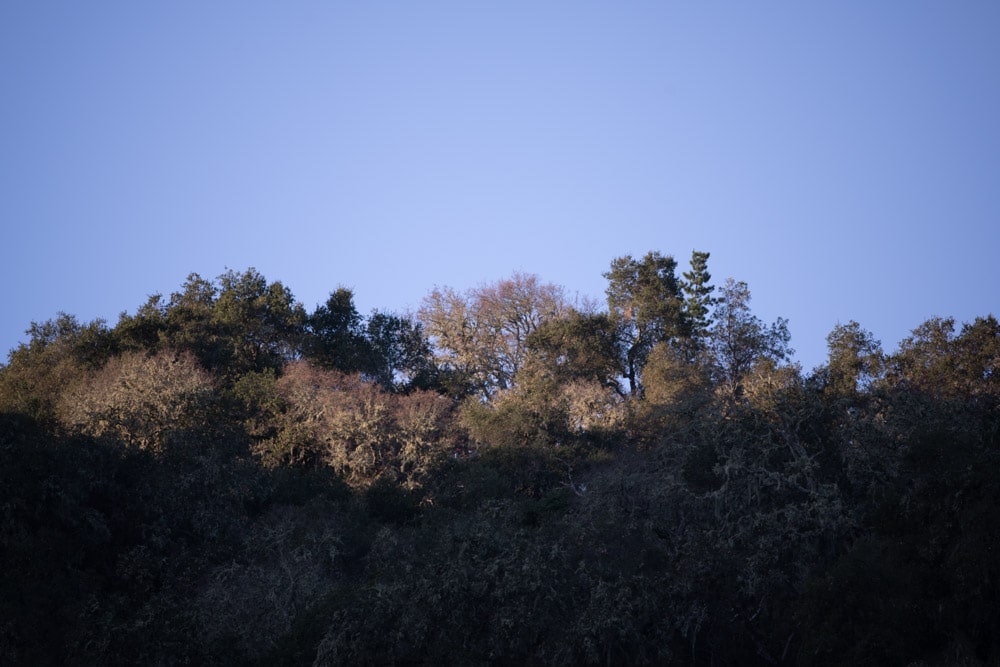
Making three shots for each variation and picking the sharpest, I exposed at base ISO (100). I used AF-S and the pinpoint (CDAF) spot.
Capture conditions were:
- Heaviest RRS legs
- ISO 800, to keep all the shutter speeds at 1/1000 or higher
- Arca Swiss C1
- 5 second self-timer
- Electronic shutter
Images developed in Lightroom, with default settings except:
- WB set to daylight
- Exposure to equalize brightness
- Adobe Color Profile
- Sharpening 20, radius 1, detail 0
- Chromatic aberration correction turned off
- Pick the best of three images at each test condition
I did not try to defeat Lightroom’s silent distortion correction.
We’ll look at some tight crops.
If you’ve seen these here before, just jump to the images. If not, I need to spend some time telling you how to interpret them. They’re at roughly 250% magnification, enlarged to 700 pixels high on export from Lightroom. If you just want a rough idea of the differences, just look at the images as displayed in-line in the posts. However, if you wish to compare these images in detail, you should view these images by clicking on them to see the source files, then set your browser for 100% zooming. Even better, download them and make Photoshop stacks.
No matter what you do, these crops are all going to look horrible. I’m blowing them up so much so that they will represent the original file after JPEG’s discrete cosine transform has had its way with them. If you want to get a good idea of what the images would look like printed, get far away from your monitor. No, farther than that. Put a bunch of the images up on the screen and back up until the best one starts to look good. Then look at the others. There’s another reason why these images won’t look like the best thing the camera/lens combination can deliver. They’re demosaiced with Lightroom. Lightroom is not awful, but for a particular image, there are usually better raw processors. I use Lr because it’s a de facto standard, because I know it well, and because it’s got good tools for dealing with groups of images.
Here’s how to use these highly-magnified crops. The dimensions of the Z7 sensor is 9504×6336 pixels. If we make a full-frame print from the Z7 on a printer with 360 pixels per inch native driver-level resolution, like the Epson inkjet printers, we’ll end up with a 26.4×17.6 inch print. The 289×224 pixel crop you’re looking at will end up 0.8×0.68 inches. Let’s imagine that you or your viewers are critical, and will look at the 27×18 inch print from about 18 inches (conventional wisdom is that the distance would be a little greater than that, or 28 inches (the diagonal), but you did buy a high-resolution camera for a reason, didn’t you?).
The next step is dependent on your monitor pitch, which you may or may not know. Turns out, you don’t have to know it. Just take the 250% crops and view then at 1:1. How high are they? Get out your ruler and measure, or just guess. Let’s say they are 6 inches high. 6 inches is about 7 times 0.8, so in order to view the crops the way they’d look from 18 inches on the print is to view them from 7 times as far away, or 10.5 feet.
Everything here scales proportionately. If the image on your screen is bigger than 6 inches, increase your viewing distance by the ratio of your image height to 6 inches. If you think your viewers are going to almost get their nose to that print and look at it from six inches, divide that 10.5 feet by 3, and look at the image on the monitor from three and a half feet away.
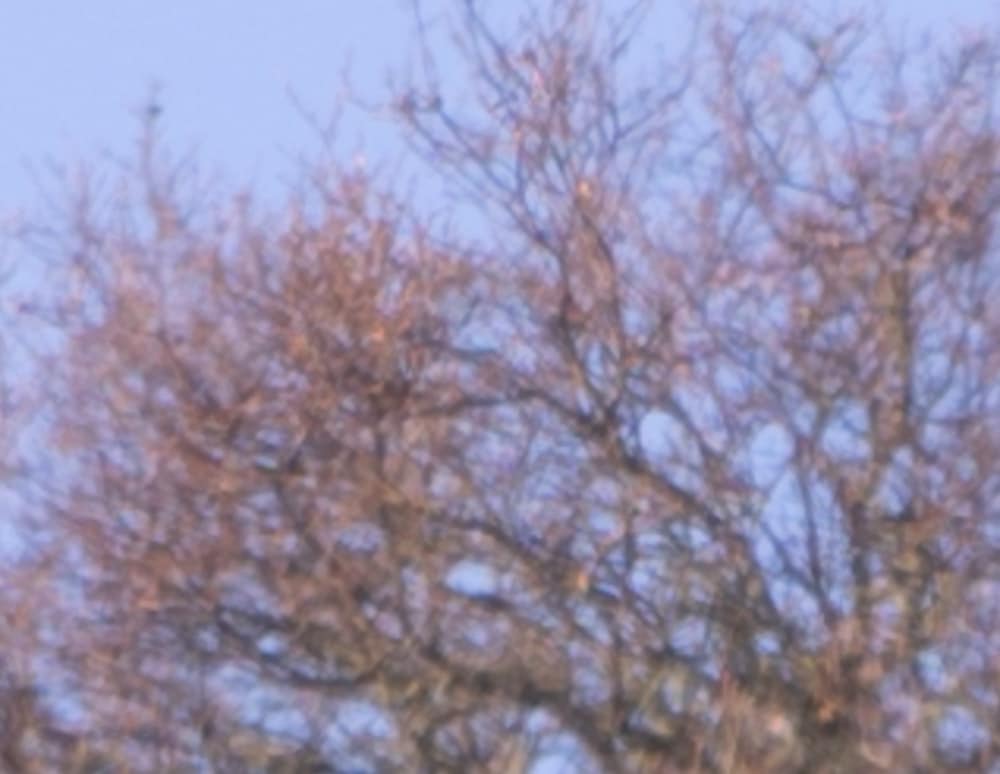
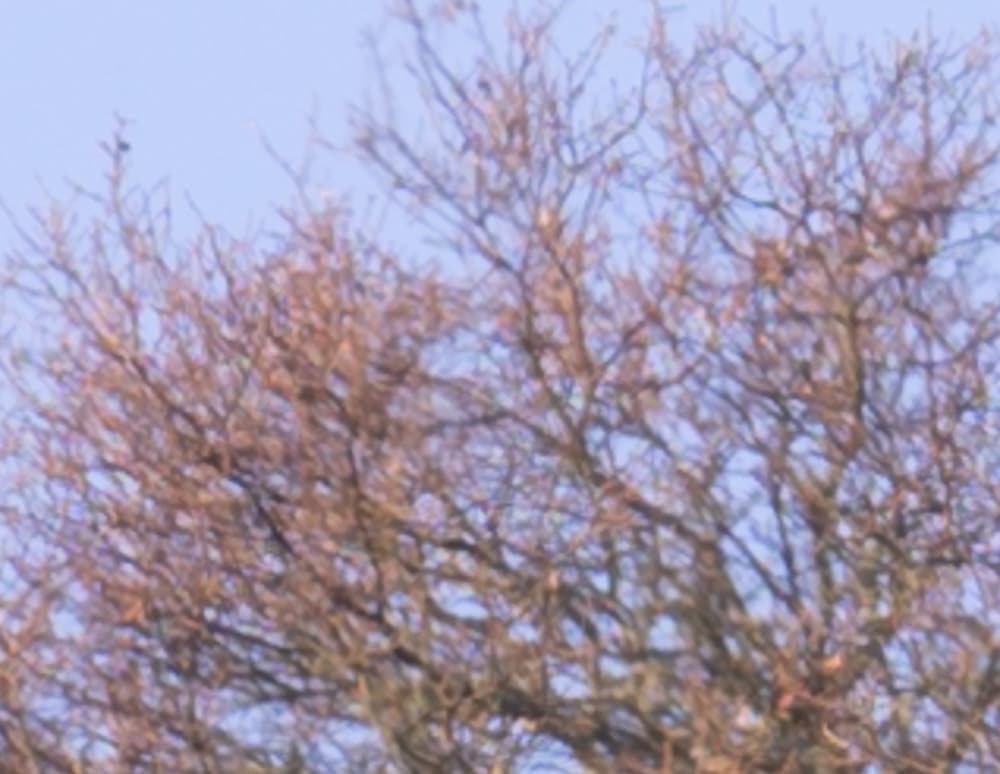
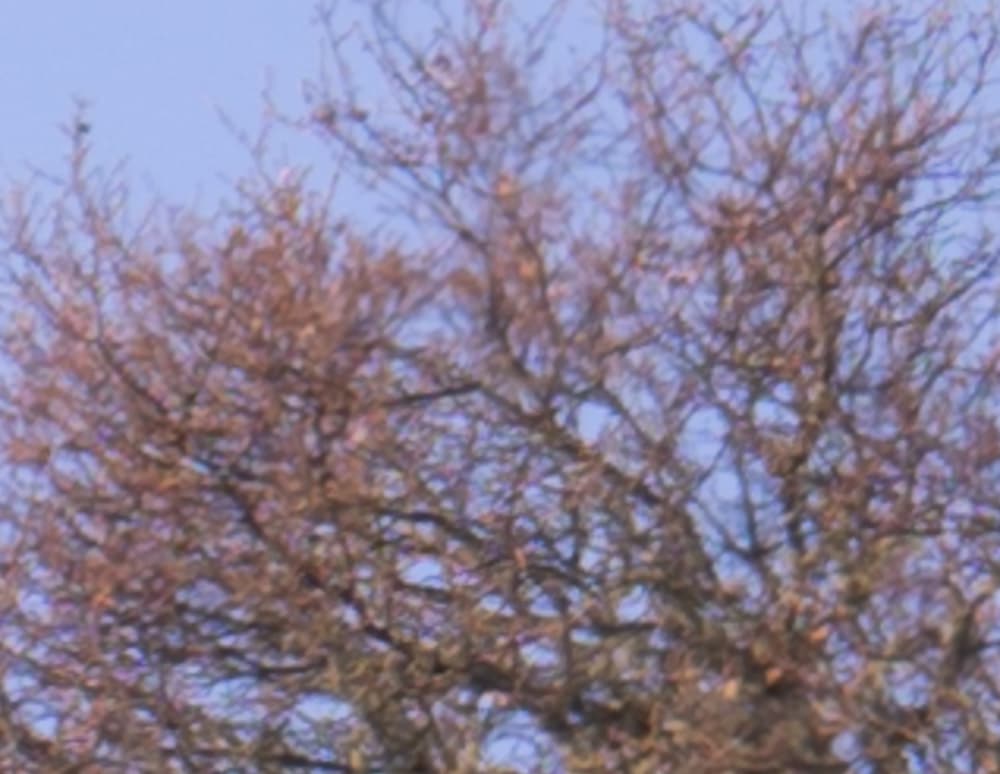
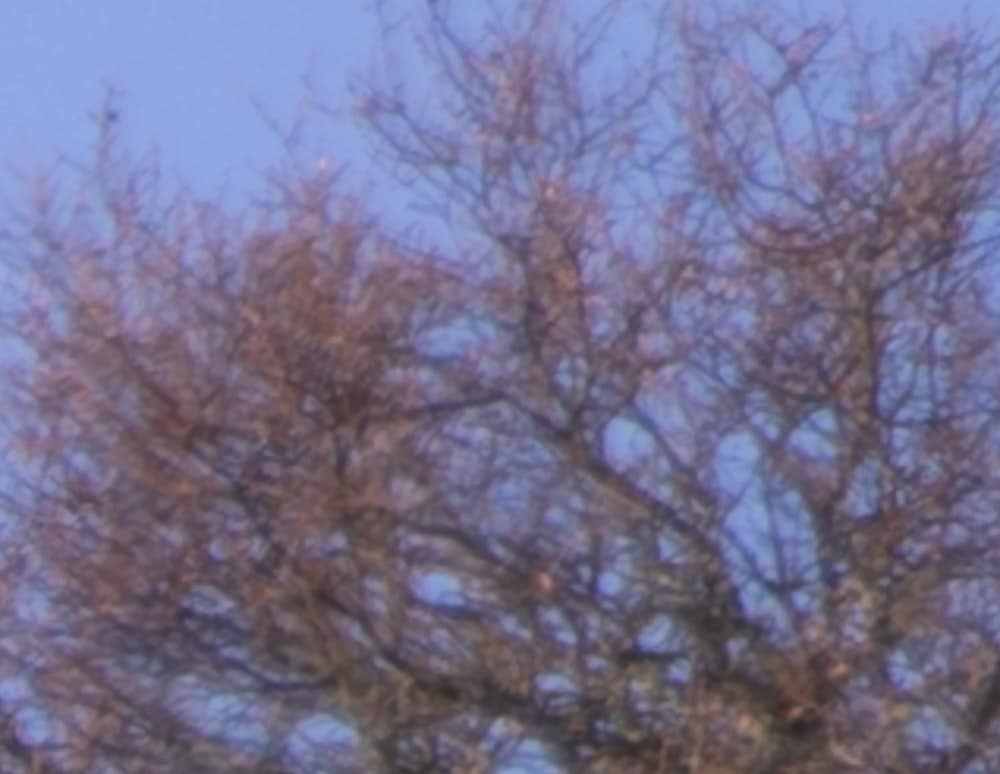
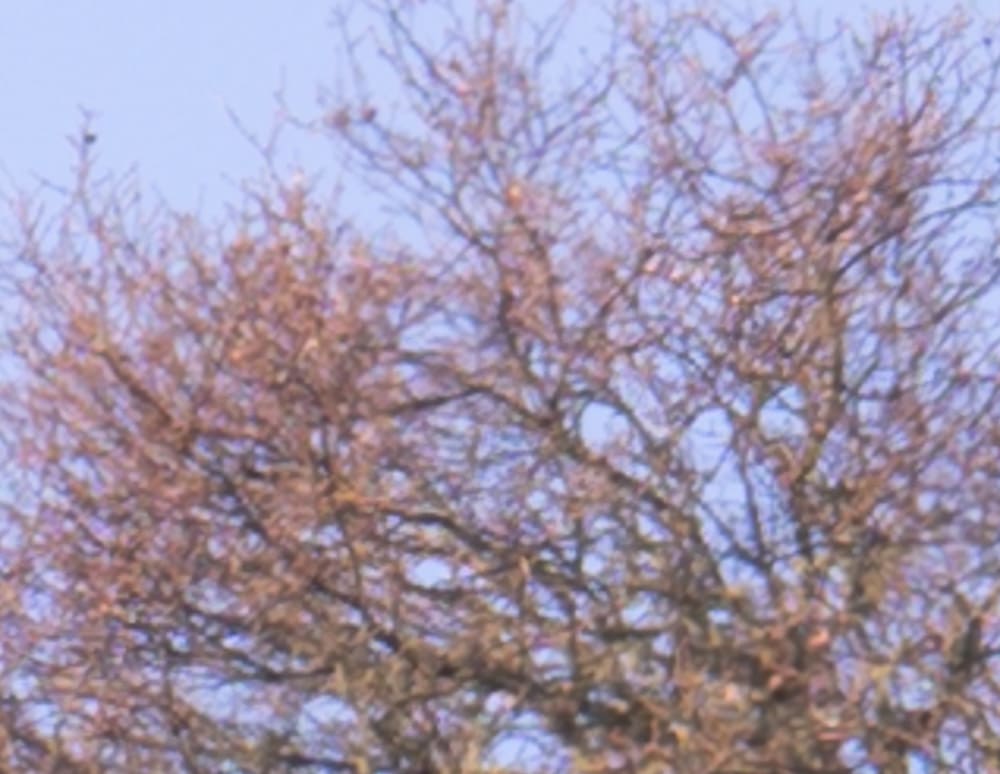
In the center:
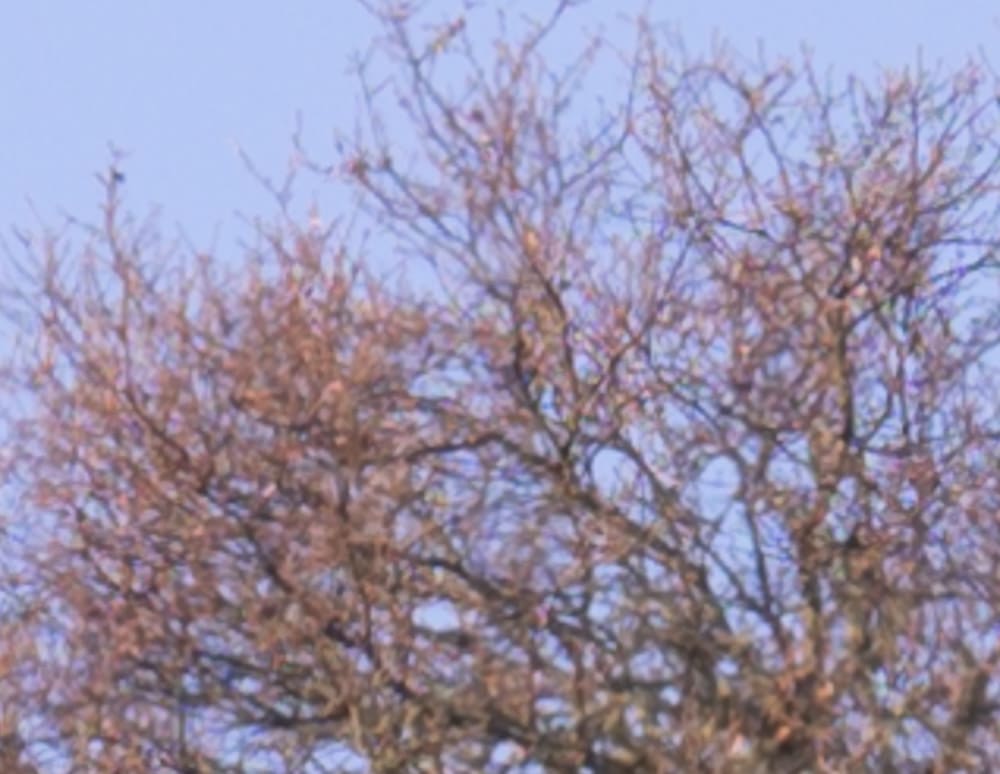
There is lots of pixel-sized and sub-pixel detail here. The zoom image is lower in contrast and not as sharp.
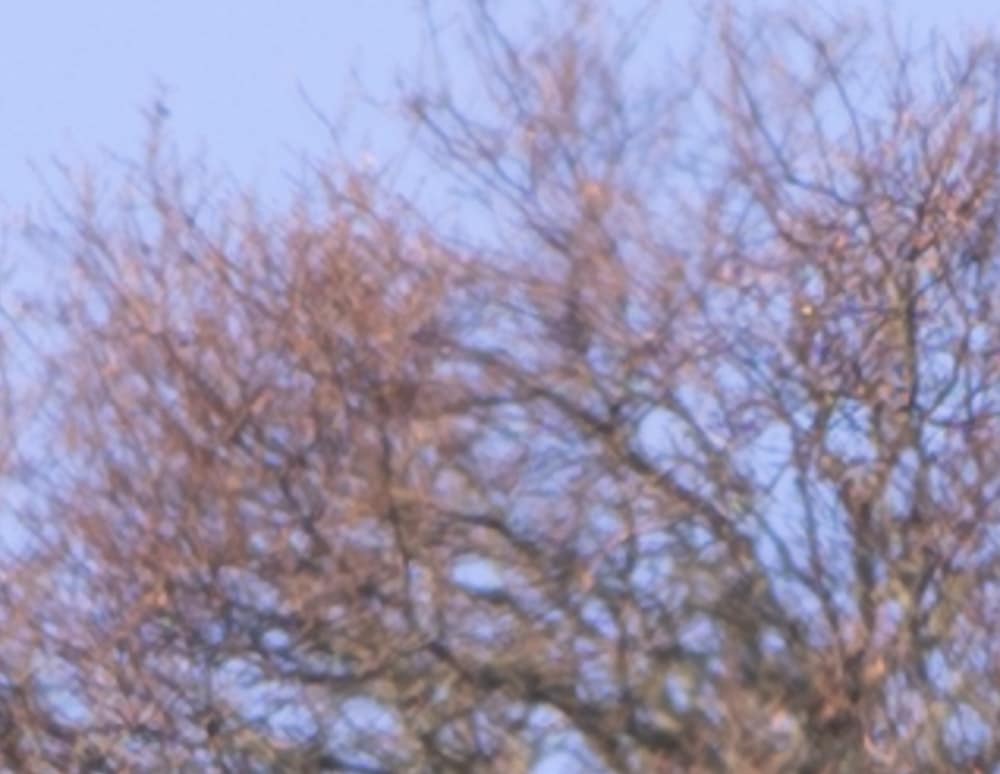
The zoom image again suffers by comparison.
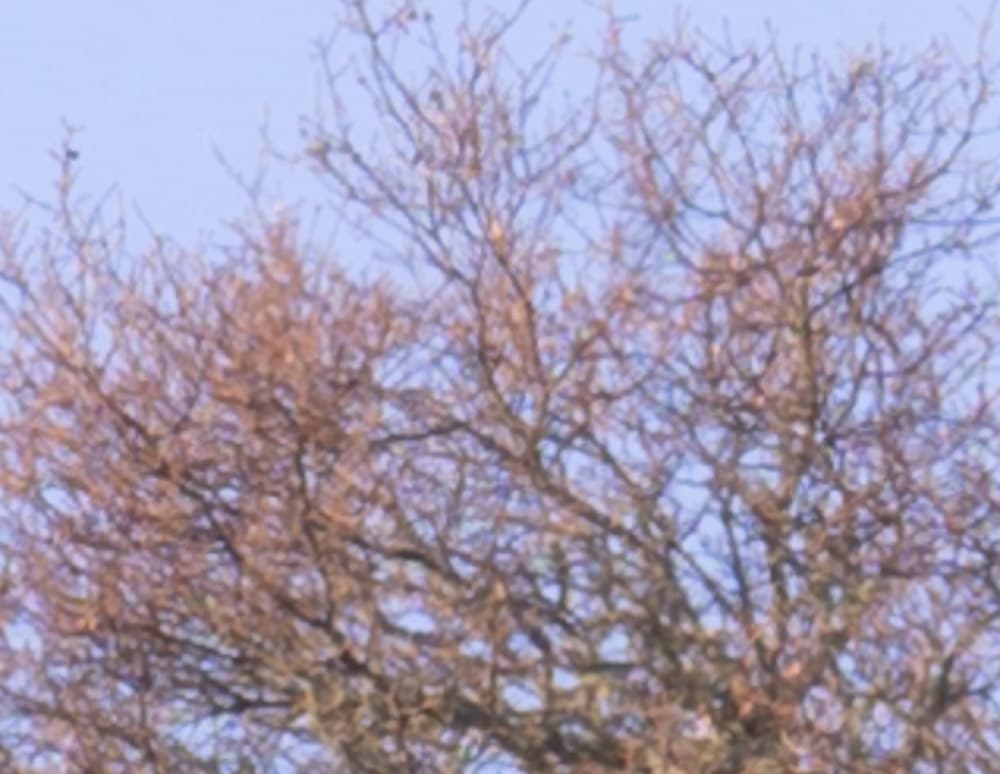
The zoom image is again more diffuse.
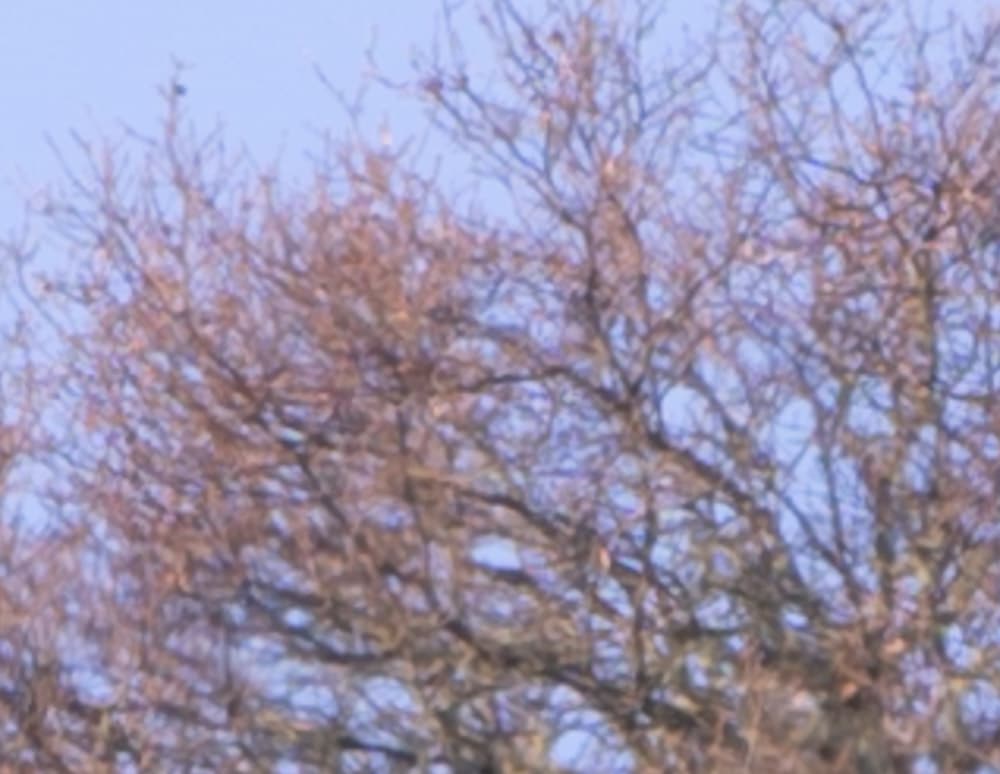
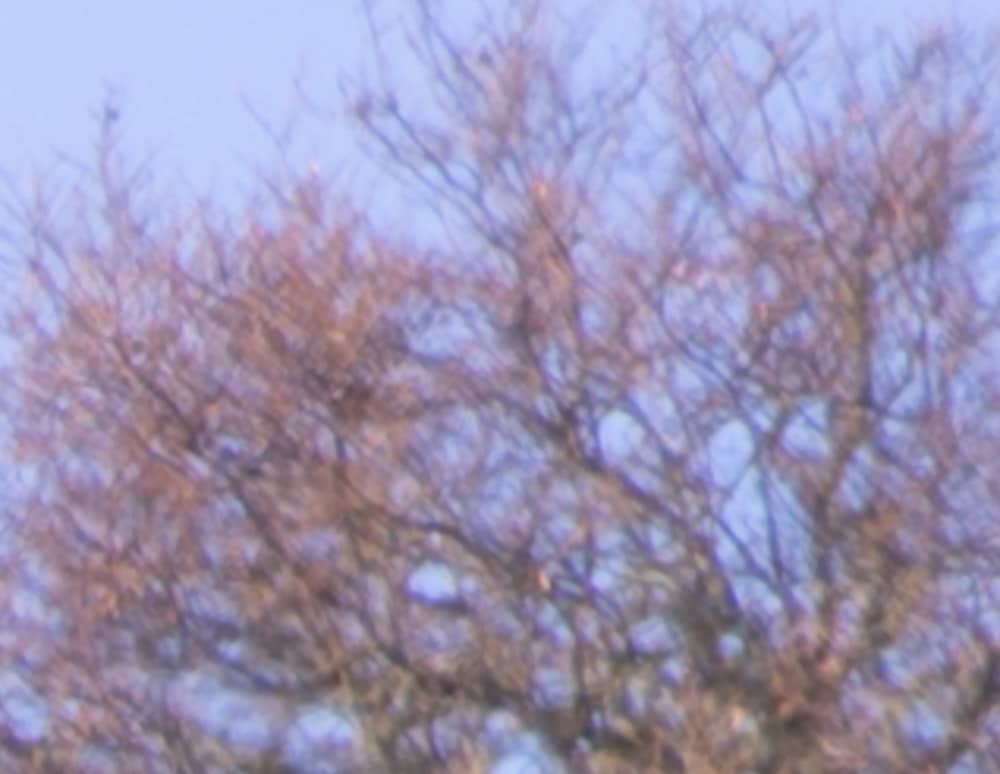
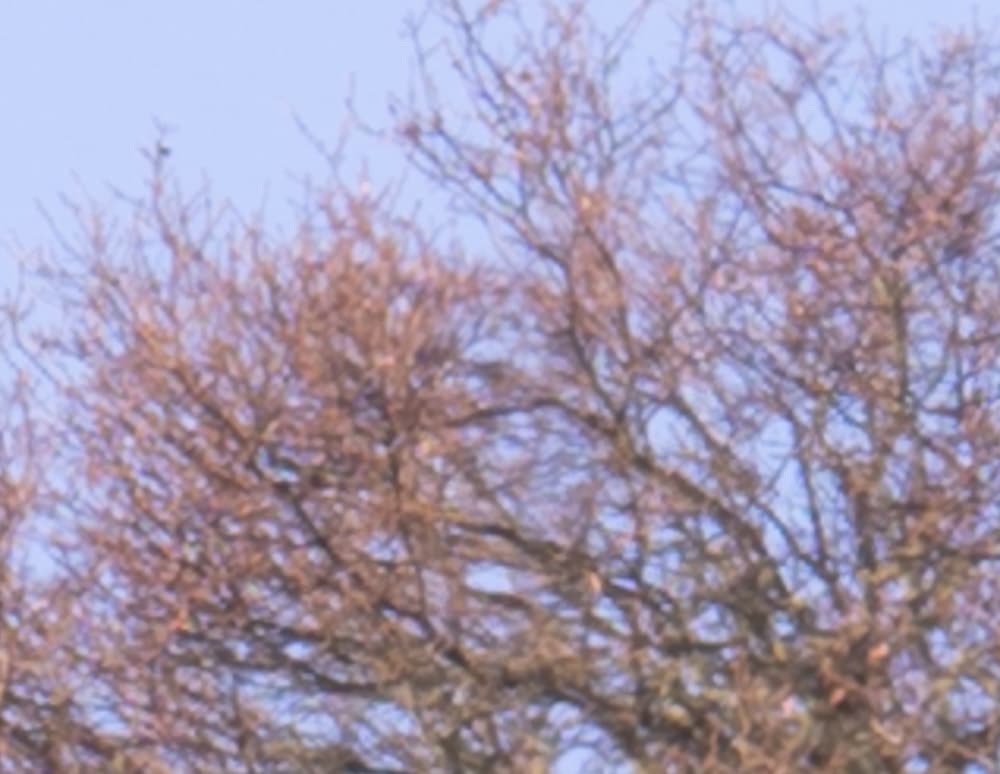
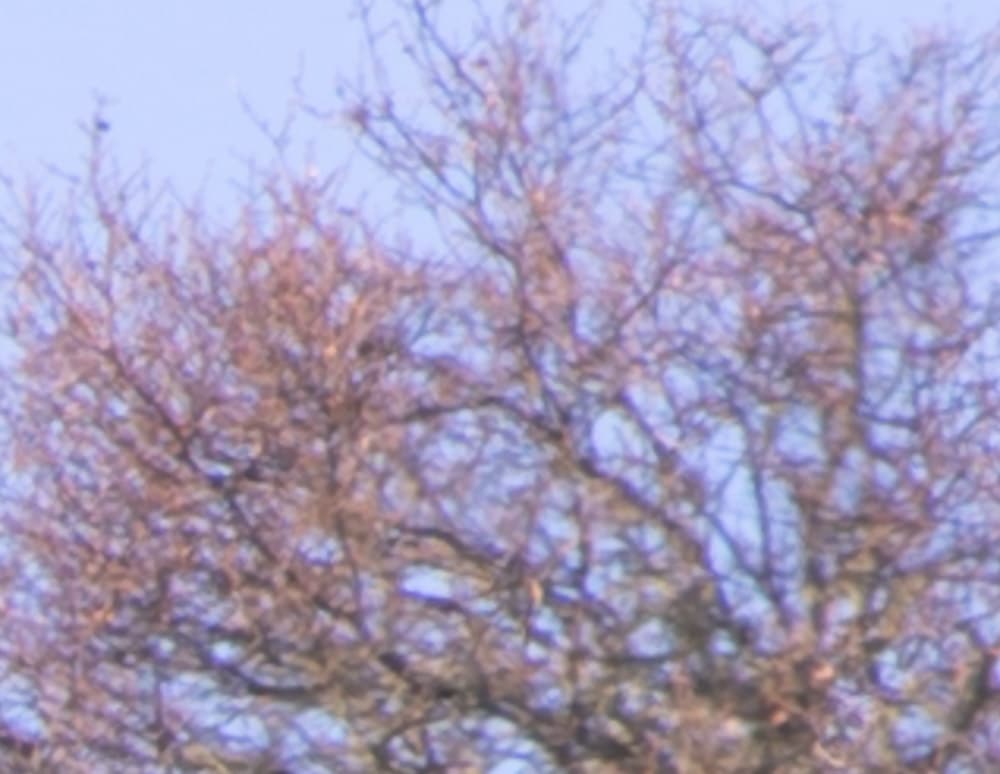
In the upper-right corner:
The corners suffer a bit compared to the center, as you’d expect. The phase Fresnel lens wins here.
Same situation.
About the same, but the prime lens’ high contrast makes it preferable.
The Nikon 180-400/4 is an outstanding lens without the TC switched in, and is maybe the best zoom I’ve ever tested. With the TC, it’s still an good performer, but it can’t stand up to the excellent phase Fresnel 500.
Of course, neither lens is likely to be used under circumstances where there is this much high-spatial-frequency detail. In the previous post, there was little difference visible. It is possible that there was some increase in atmospheric blurring in the zomm series, which was made a few minutes after the 500 PF series, and the sun had risen higher. Because the sun had risen more, and illuminated the trees near the target tree more, it is also possible that that was some of the source of the flare visible in the zoom images.
If this was a test, I flunked it. I would swear the “corner” samples were the same portion of the image as the “center” samples?
The camera was pointed differently for the two sets. It is indeed the same part of the scene.
Thanks Jim, I woke up in the middle of the night and gave myself a face palm when it occurred to me what you were showing.
But while I have your attention, is there a useful application for this lens adapted to the 7RM4? I currently use the old Canon 400/5.6L on MC-11 for handheld bird photography primarily for it’s light weight. On paper and based on your test this lens sounds like a great alternative.
I have not had good luck with the F-mount to E-mount smart adapters. If you could make it work, either of the two tested lenses would indeed be an excellent performer on the a7RIV, and there is no E-mount equivalent to either. However, if you’re going to spring for the zoom, it’s not that much more to pick up a Z7 body to use with it.