• site home
  • blog home
  • galleries
  • contact
  • underwater
  • the bleeding edge

the last word

Photography meets digital computer technology. Photography wins -- most of the time.

You are here: Home / GFX 100 / Scanning 4×5 Tmax 100 with a Nikon Z7

Scanning 4×5 Tmax 100 with a Nikon Z7

December 2, 2021 JimK Leave a Comment

The last four posts have shown you the results of scanning one 4×5 TMax 100 negative with the GFX 100S. What happens if we try to use a lower resolution camera like the Nikon Z7?

That’s what this post is about.

Here’s the scanning setup with the Z7 attached:
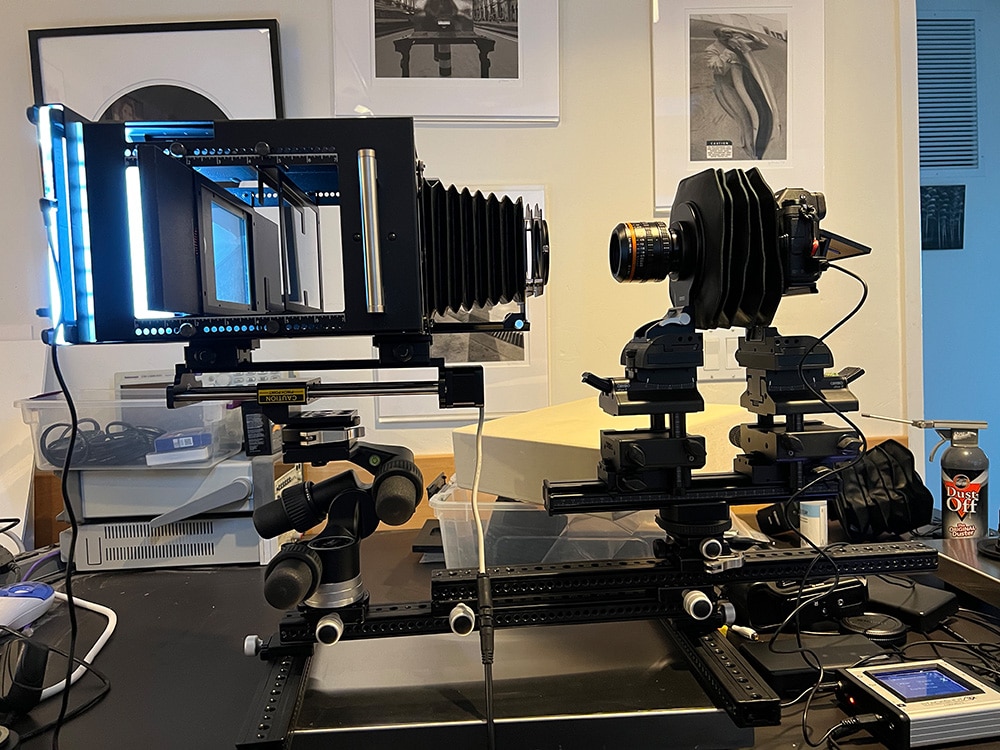
From left to right:

  • Light source
  • Negative in holder atop Cognisys rail
  • Compendium bellows
  • Rodenstock 105 mm f/5.6 HR Digaron Macro
  • Cambo Ultima II converted for Actus camera and lens mounting
  • Cognisys controller

The scanning approach is to use the Cognisys rail to create a set of images to be stacked using Helicon Focus, eliminating negative curvature and alignment issues.

With the Z7, I made a single 30-exposure stack.

With the GFX 100S, I made two sets of images that I’ll show you here:

  1. Single stack
  2. Pixel shifted stack

ISO was 64 for the Z7 shotes, and 100 for the GFX 100S ones. I took pains to make the processing of the pixel shifted and unshifted series as close as possible, but there were still some significant differences because of the different workflows involved. I stacked each series with the same settings in Helicon Focus. I converted them to positives with the same settings and sharpening turned off.  I exported all three to Photoshop, where I made the width of the unshifted images 19710  pixels to match the pixel shifted one using bilinear interpolation and scaled the other two images to the same dimensions using the same interpolation algorithm. I brought them back into Lightroom as developed one of the images, then pasted those setting onto the other image.

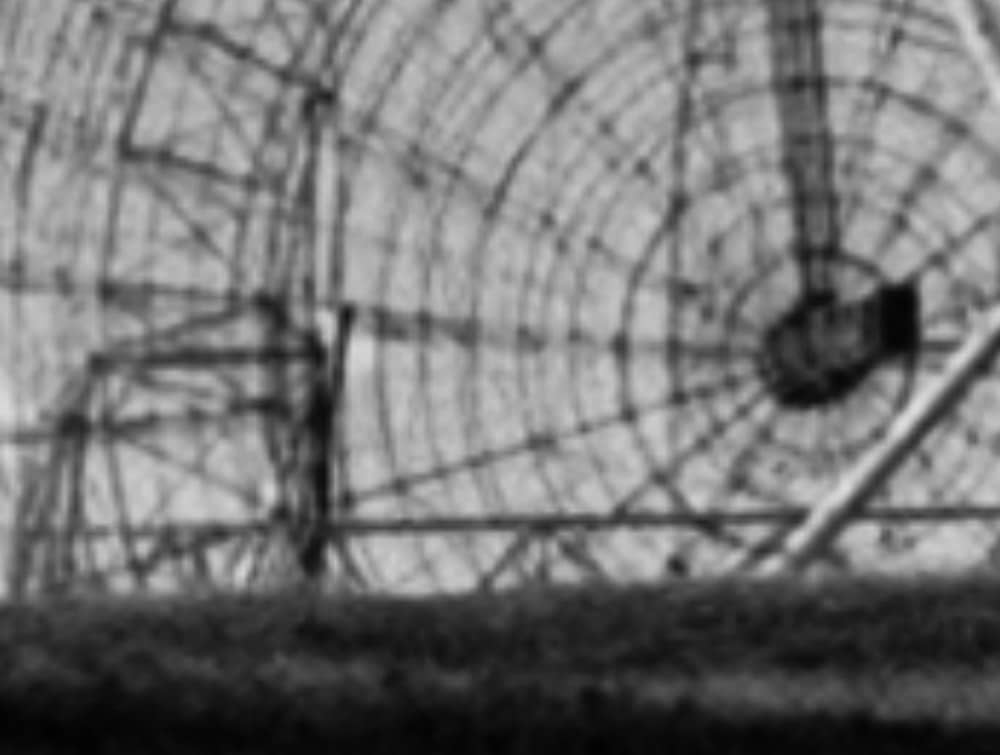
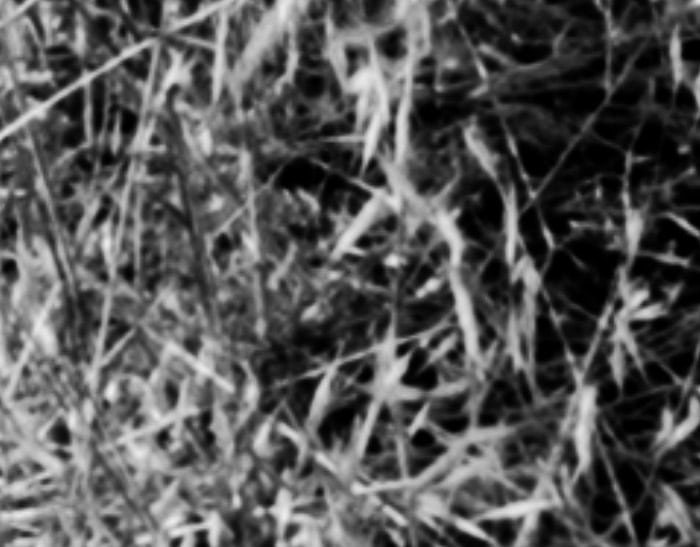
Here’s the whole negative, scanned with the Z7 — original is upscaled to 19710 pixels wide, but this is considerably reduced for web usage:

Z7 scaled

Here’s a crop of the above scaled up  to 140%

Z7 scaled

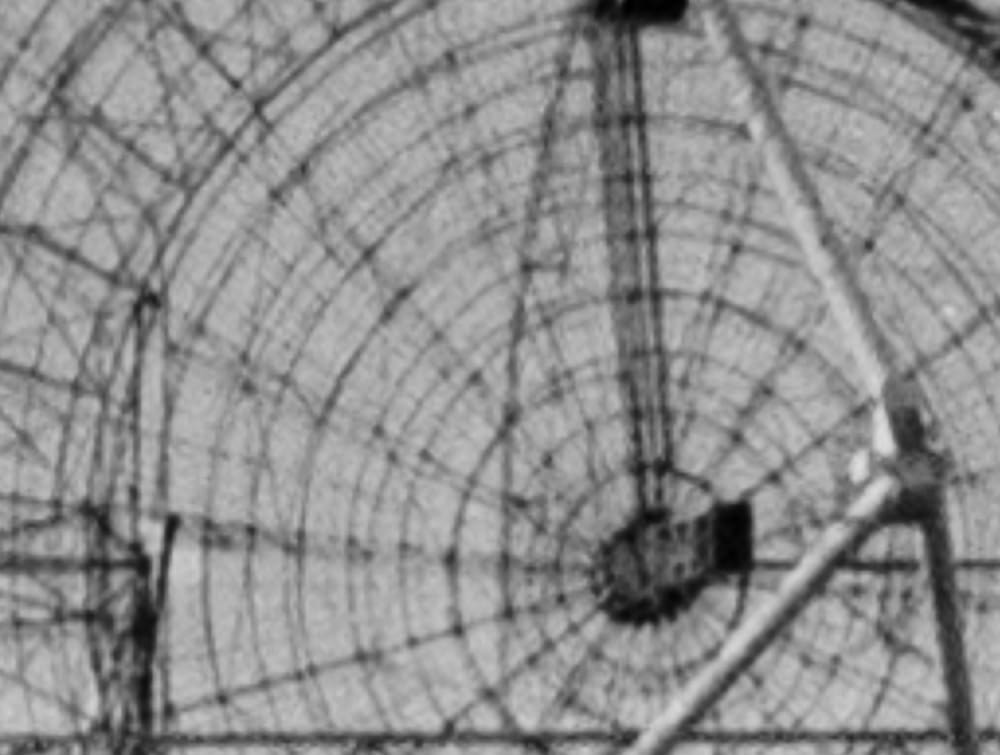
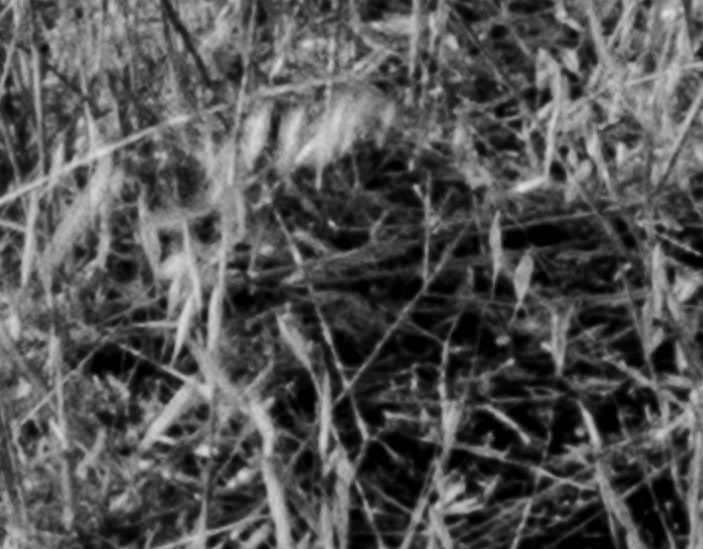
Here’s the GFX 100 image scaled the same way:

GFX 100S, no pixel shift

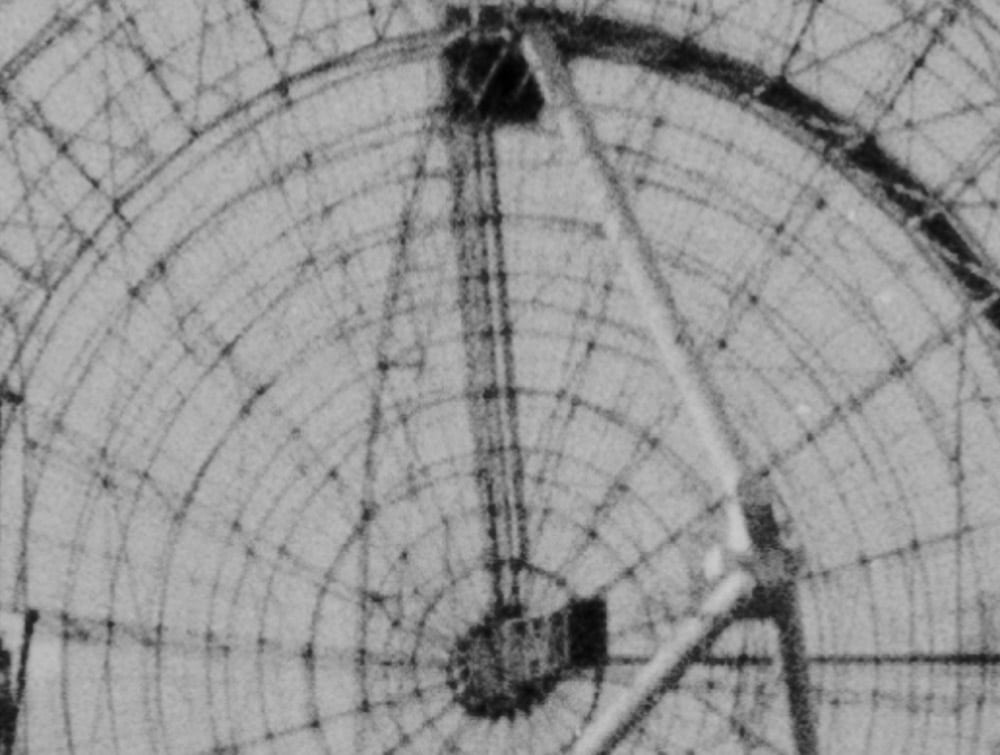
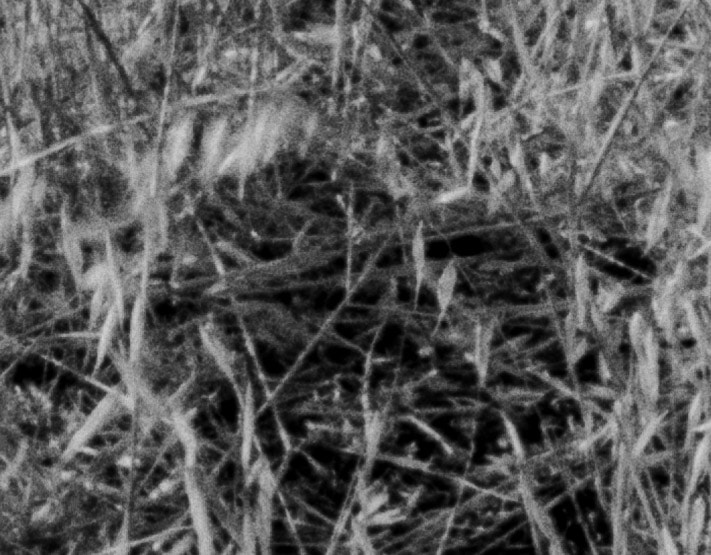
And here is the pixel shifted image cropped the same way:

GFX 100S, pixel shift

For me, the thing that shows the differences in detail is not the wires of the dish, but the details — or lack of them — in the feed horn.

Let’s look at another crop, this time at 100%:

Z7 scaled


GFX 100S, no pixel shift


GFX 100S, pixel Shift

The amount of detail improvement from the Z7 to the GFX 100s is more than that achieved by going from a single stack to a pixel shifted stack with the GFX 100S.

I printed out the full image on a C-size sheet of Epson Legacy Baryta with a P800 and compared it with similar prints from GFX 100S scans.


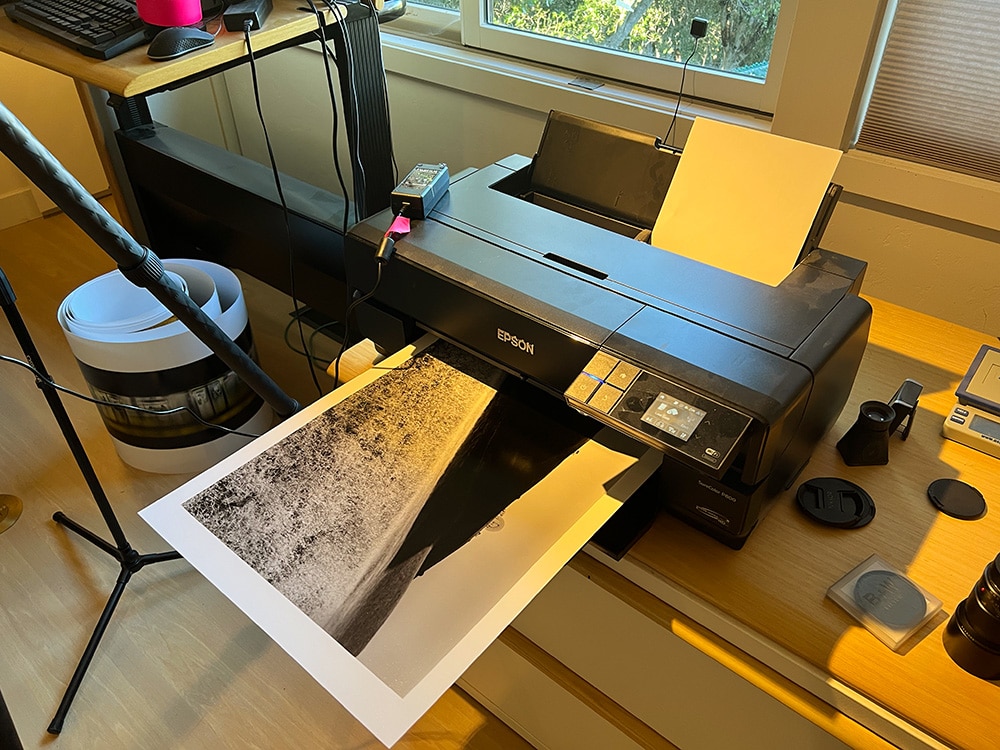
The Z7 print didn’t look quite as good as the GFX 100S ones. The difference was most apparent in the dish. The grass looked good enough in the Z7 print that I couldn’t tell them apart if I let 10 seconds go by between looks. I’d say the Z7 scan was good enough for 17×22 inch prints. To go much bigger and get the most out of a 4×5 TMax 100 negative, you’ll have to stitch (there is no pixel shift capability with the Z7).

Next up: upscaling with GigaPixel AI. [Edit: That’s not gonna happen. GigaPixel AI makes a hash of the dish.]


GFX 100, GFX 100S, Nikon Z6/7

← Visibility of scanning differences in C-size prints 4×5 Tmax 100 with a Nikon Z7, enhance details →

Leave a Reply Cancel reply

Your email address will not be published. Required fields are marked *

May 2025
S M T W T F S
 123
45678910
11121314151617
18192021222324
25262728293031
« Apr    

Articles

  • About
    • Patents and papers about color
    • Who am I?
  • How to…
    • Backing up photographic images
    • How to change email providers
    • How to shoot slanted edge images for me
  • Lens screening testing
    • Equipment and Software
    • Examples
      • Bad and OK 200-600 at 600
      • Excellent 180-400 zoom
      • Fair 14-30mm zoom
      • Good 100-200 mm MF zoom
      • Good 100-400 zoom
      • Good 100mm lens on P1 P45+
      • Good 120mm MF lens
      • Good 18mm FF lens
      • Good 24-105 mm FF lens
      • Good 24-70 FF zoom
      • Good 35 mm FF lens
      • Good 35-70 MF lens
      • Good 60 mm lens on IQ3-100
      • Good 63 mm MF lens
      • Good 65 mm FF lens
      • Good 85 mm FF lens
      • Good and bad 25mm FF lenses
      • Good zoom at 24 mm
      • Marginal 18mm lens
      • Marginal 35mm FF lens
      • Mildly problematic 55 mm FF lens
      • OK 16-35mm zoom
      • OK 60mm lens on P1 P45+
      • OK Sony 600mm f/4
      • Pretty good 16-35 FF zoom
      • Pretty good 90mm FF lens
      • Problematic 400 mm FF lens
      • Tilted 20 mm f/1.8 FF lens
      • Tilted 30 mm MF lens
      • Tilted 50 mm FF lens
      • Two 15mm FF lenses
    • Found a problem – now what?
    • Goals for this test
    • Minimum target distances
      • MFT
      • APS-C
      • Full frame
      • Small medium format
    • Printable Siemens Star targets
    • Target size on sensor
      • MFT
      • APS-C
      • Full frame
      • Small medium format
    • Test instructions — postproduction
    • Test instructions — reading the images
    • Test instructions – capture
    • Theory of the test
    • What’s wrong with conventional lens screening?
  • Previsualization heresy
  • Privacy Policy
  • Recommended photographic web sites
  • Using in-camera histograms for ETTR
    • Acknowledgments
    • Why ETTR?
    • Normal in-camera histograms
    • Image processing for in-camera histograms
    • Making the in-camera histogram closely represent the raw histogram
    • Shortcuts to UniWB
    • Preparing for monitor-based UniWB
    • A one-step UniWB procedure
    • The math behind the one-step method
    • Iteration using Newton’s Method

Category List

Recent Comments

  • JimK on How Sensor Noise Scales with Exposure Time
  • Štěpán Kaňa on Calculating reach for wildlife photography
  • Štěpán Kaňa on How Sensor Noise Scales with Exposure Time
  • JimK on Calculating reach for wildlife photography
  • Geofrey on Calculating reach for wildlife photography
  • JimK on Calculating reach for wildlife photography
  • Geofrey on Calculating reach for wildlife photography
  • Javier Sanchez on The 16-Bit Fallacy: Why More Isn’t Always Better in Medium Format Cameras
  • Mike MacDonald on Your photograph looks like a painting?
  • Mike MacDonald on Your photograph looks like a painting?

Archives

Copyright © 2025 · Daily Dish Pro On Genesis Framework · WordPress · Log in

Unless otherwise noted, all images copyright Jim Kasson.