In today’s update to Camera Raw and Lightroom Classic CC, Adobe introduced a new feature. Here’s some of what they have to say about it:
Enhance Details is introduced in Adobe Camera Raw 11.2. Powered by Adobe Sensei, Enhance Details produces crisp detail, improved color rendering, more accurate renditions of edges, and fewer artifacts. Enhance Details is especially useful for making large prints, where fine details are more visible. This feature applies to raw mosaic files from cameras with Bayer sensors (Canon, Nikon, Sony, and others) and Fujifilm X-Trans sensors.
I tried it on some of my informal lens test shots, and was unimpressed. The good news was that it appeared to do no harm. The bad news is that it didn’t do much good.
Then I tried it on a Siemens star image. Here are some highly magnified shots:
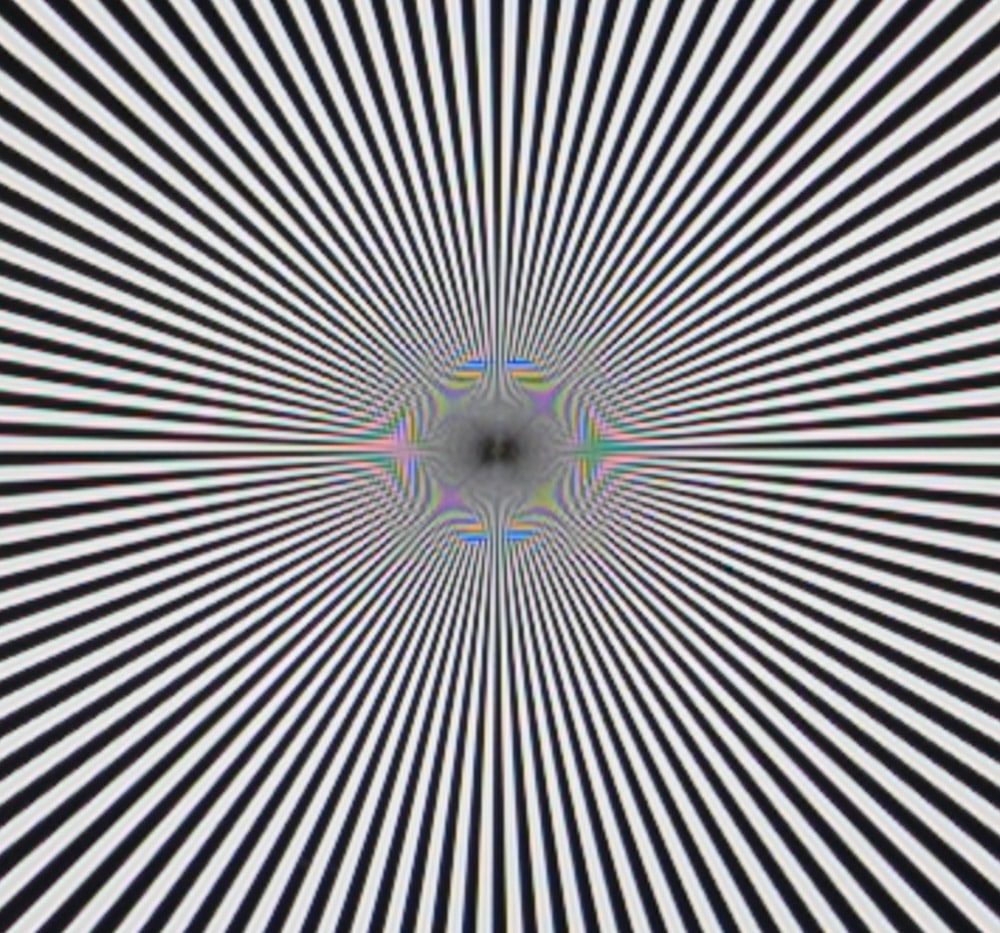
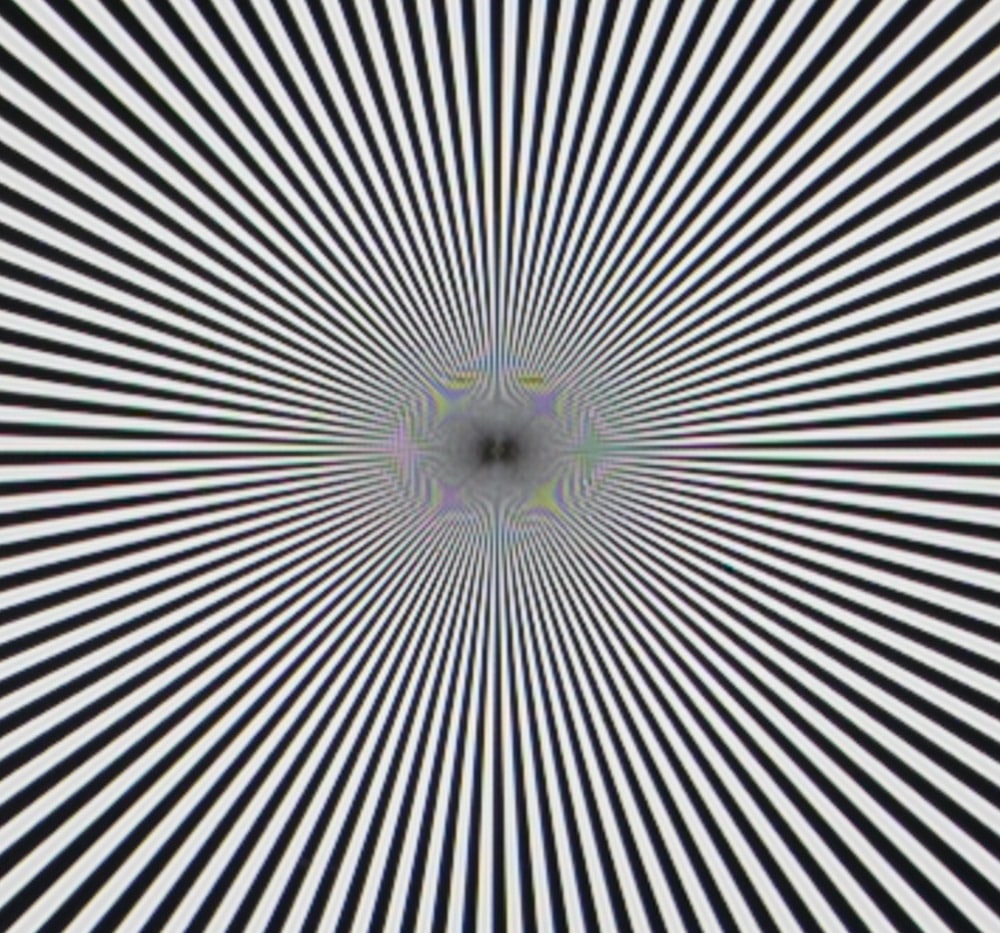
That is very impressive. Most of the false color has been removed, with absolutely no loss in sharpness of unaliased detail.
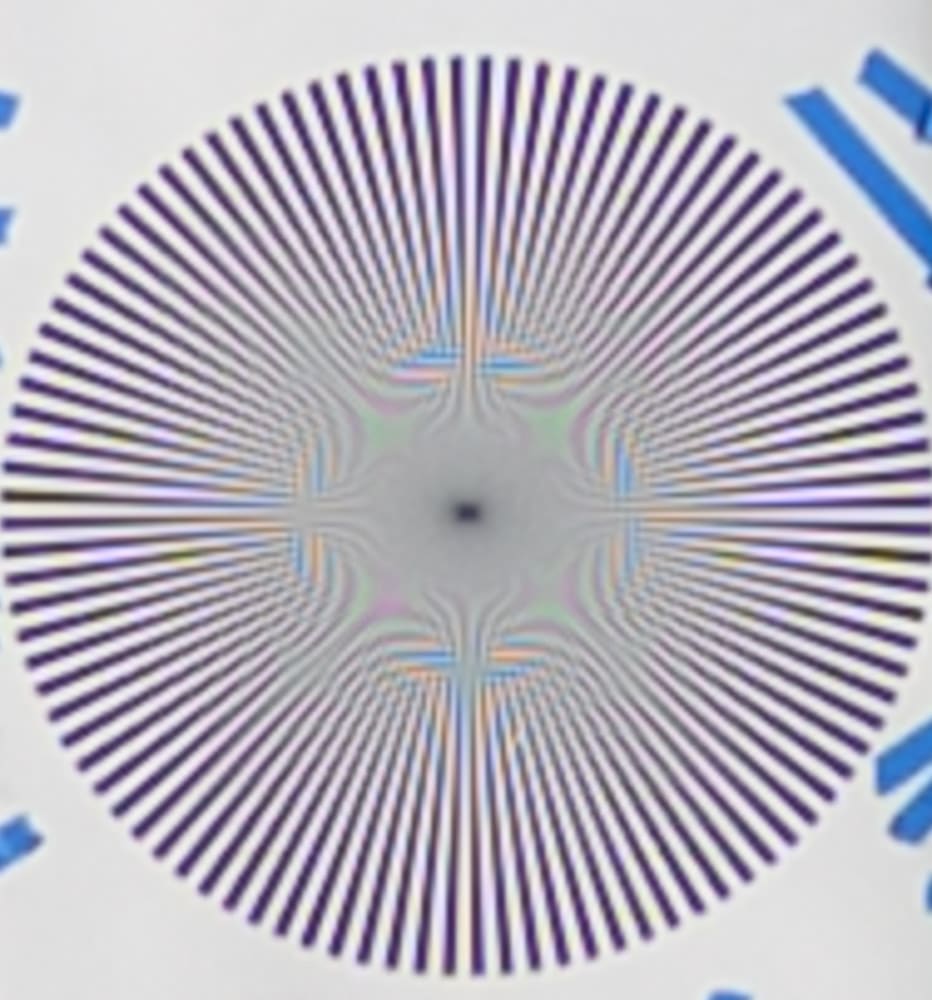
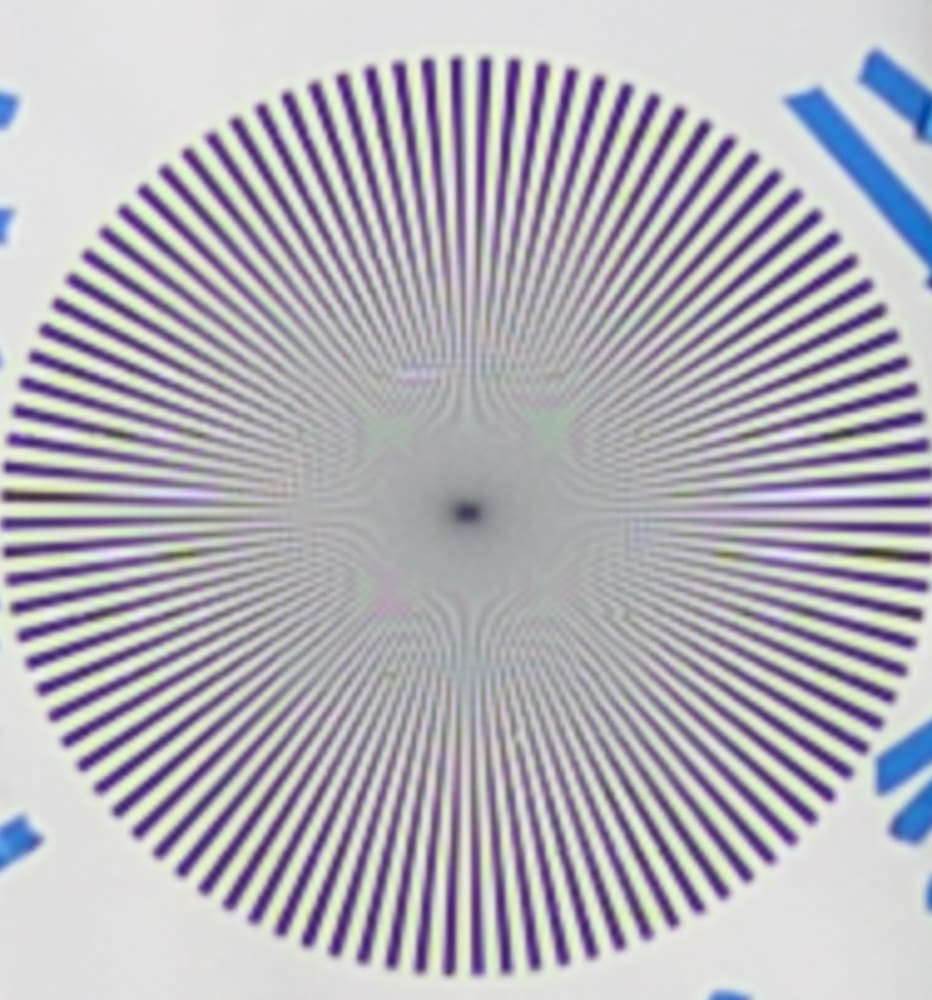
Here’s another pair:
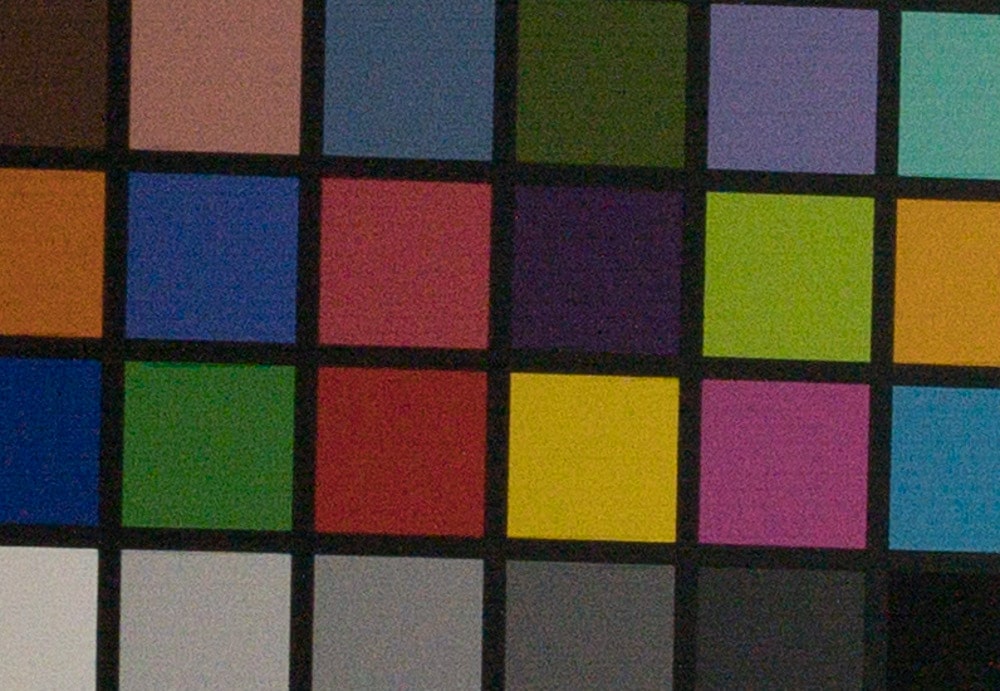
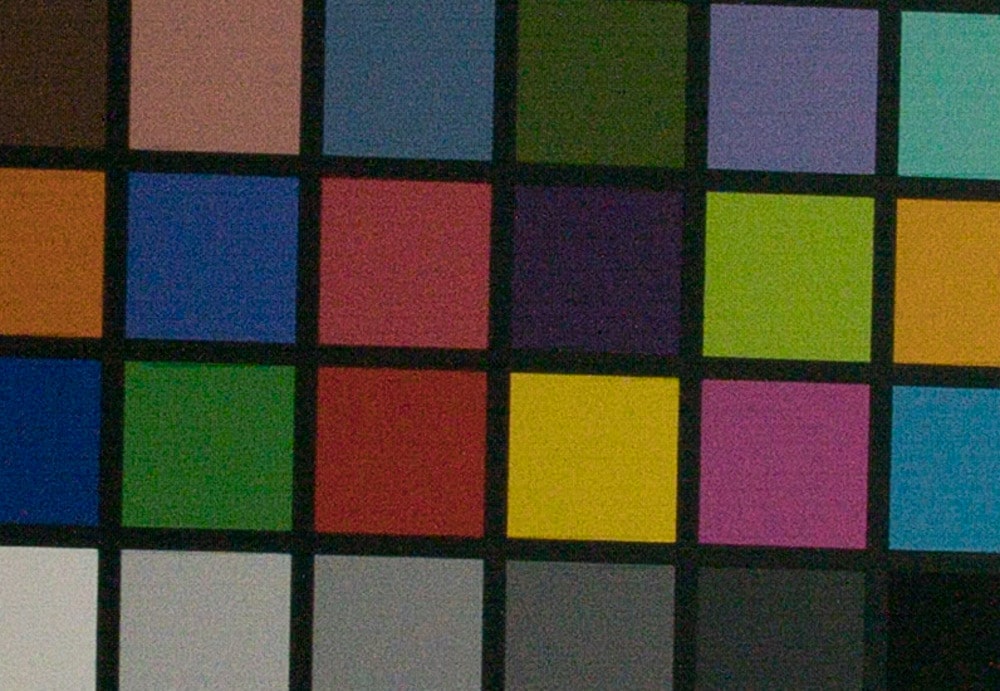
Next up was some fabric:
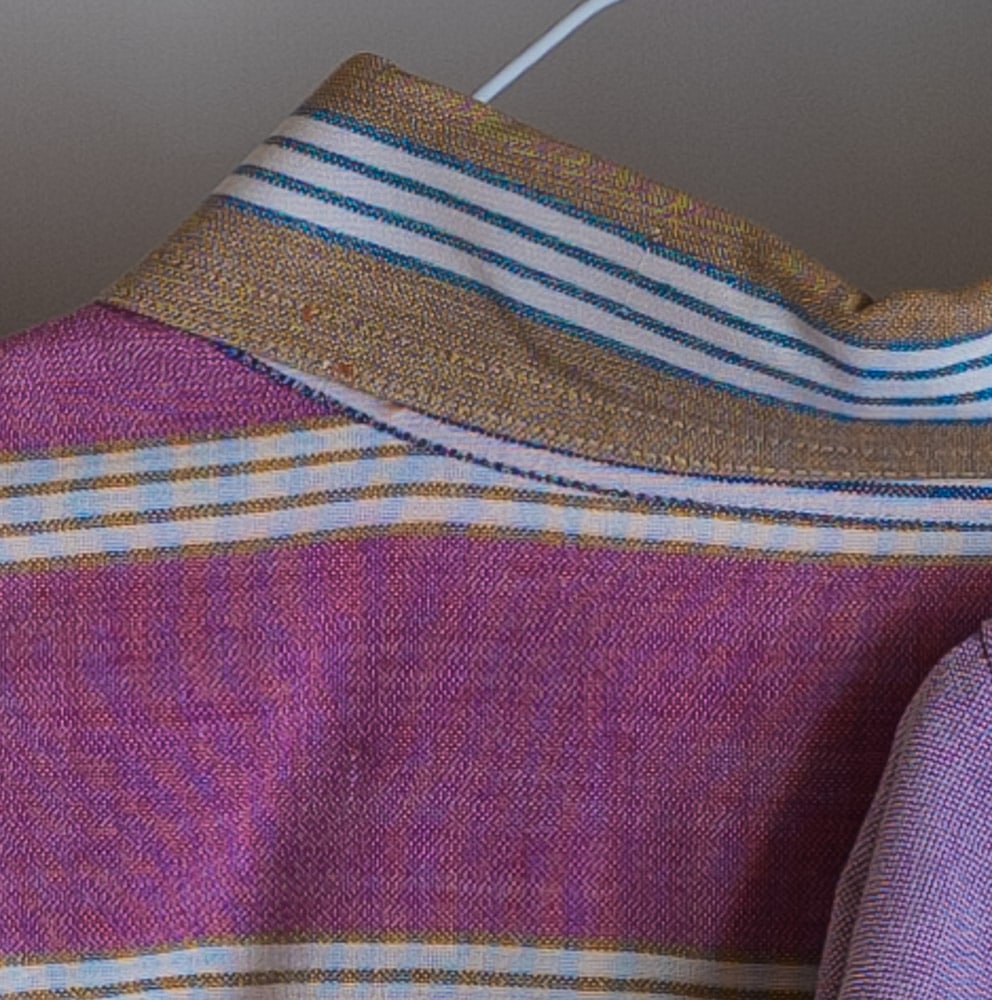
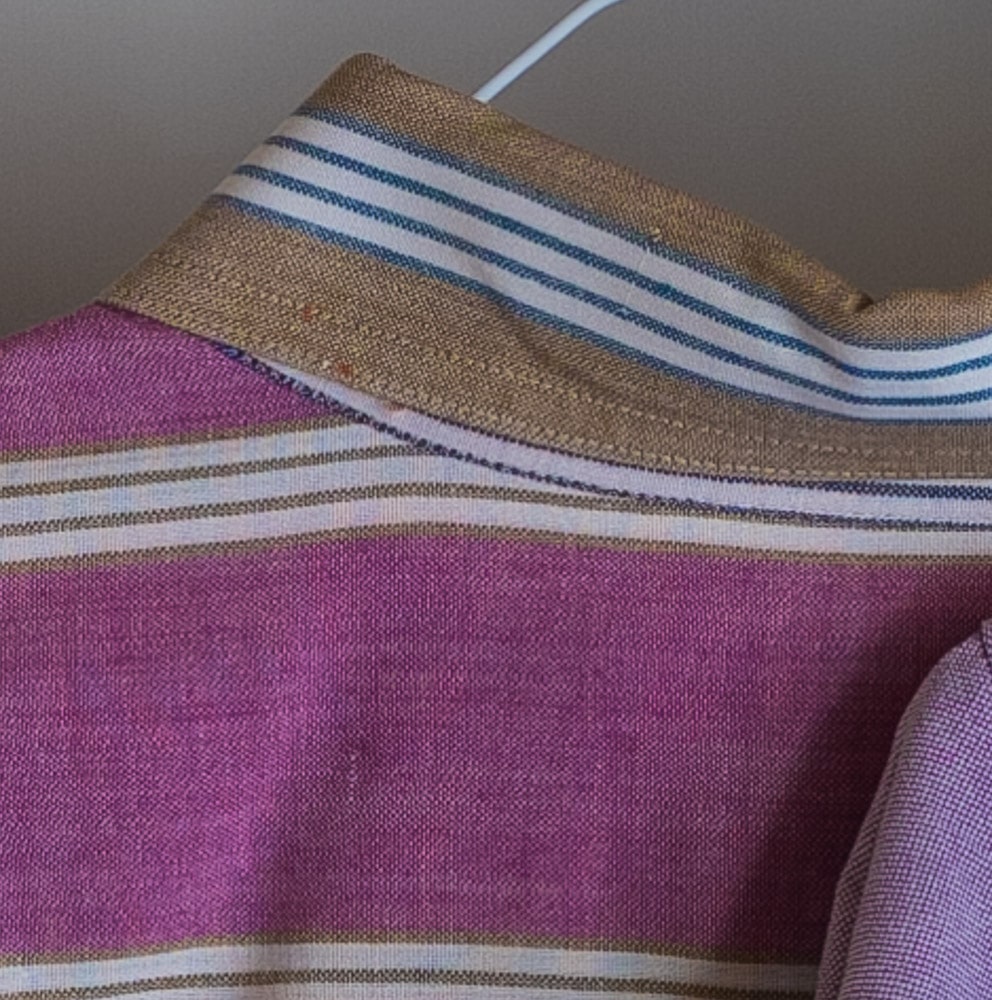
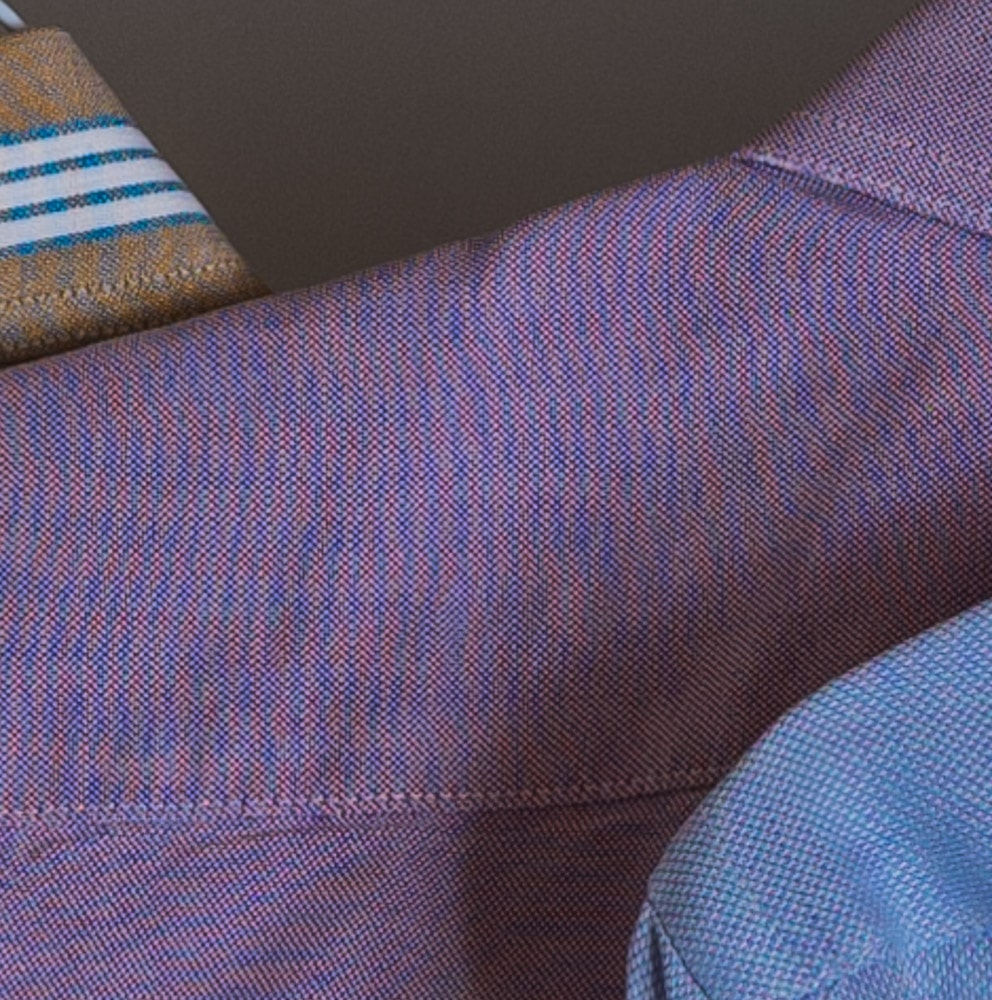
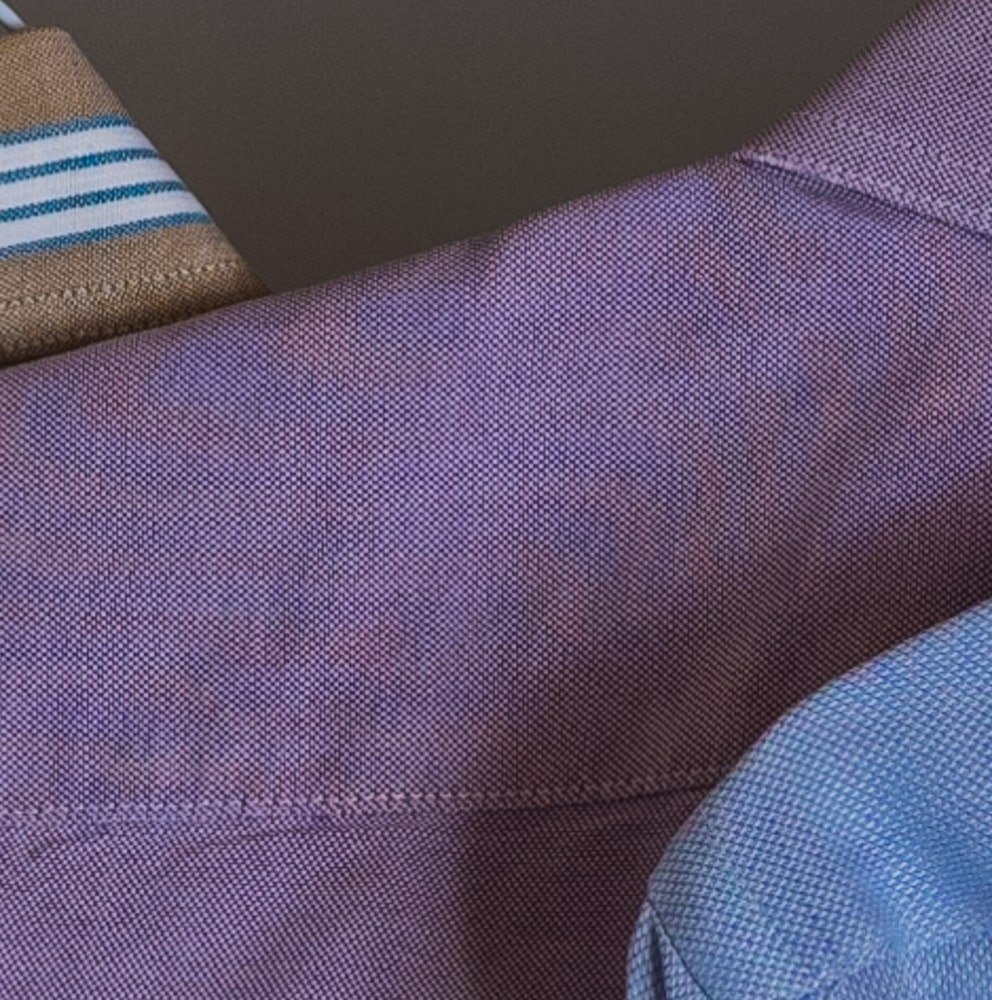
Wow! It’s not perfect, what what in improvement.
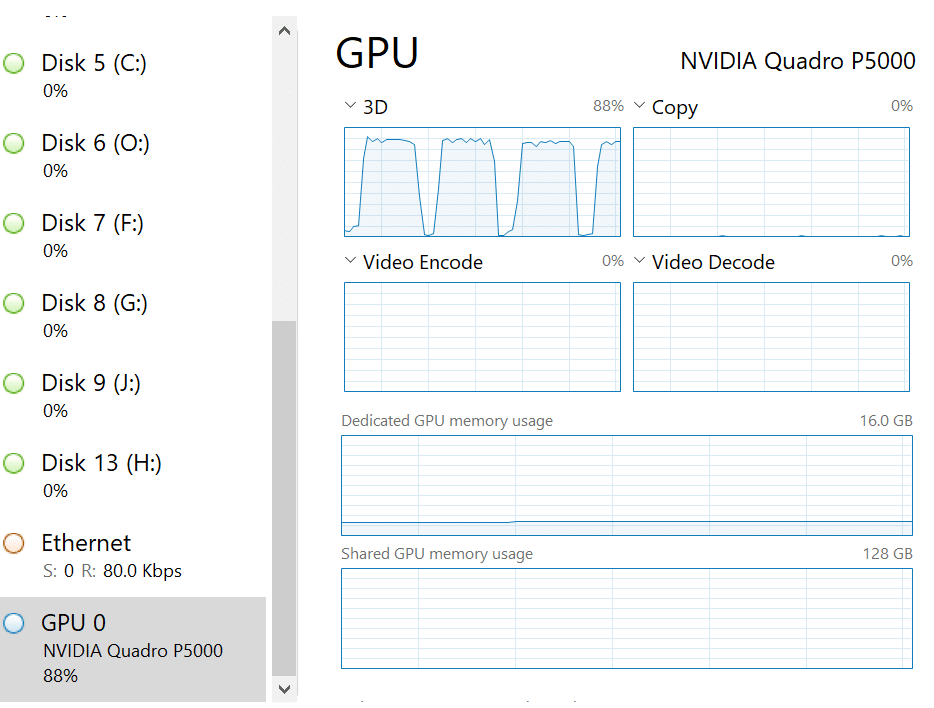
The correction is processor intensive. It takes about 10 seconds for a Z7 conversion, and uses a lot of GPU cycles:
I don’t know how Adobe is doing this, but this could really be a help in some situations.
It doesn’t do everything. Here are a couple of versions of a shot with some Z7 PDAF banding, and the banding is unaffected.
Stephen Starkman says
Jim, I also applied LR’s Enhance Details to a fairly random selection of images I had handy – Sony A7r3, Nikon D850, E-M1MkII. All shot with good glass for their mount. Also found what you did – no real improvement, no harm done AND reduction of false colour! So, tentatively, that’s my use case…. 🙂
Hopefully more info will be forthcoming. It’s a resource intensive process (time and storage).
Matt Anderson says
The enhance image sampling is trippy.
Try taking a regular image, put the enhanced version on a layer above, change blend mode to difference. Then put a levels adjustment layer on top and crank the highlight from 255 to 10. You can see an interesting sampling algorithm they are using for detection. Looks like a pixel direction estimation, analyzing the neighbors texture and edges, and picks a smart “block” demosaicing algorithm depending on the prior analysis.
https://imgur.com/gallery/z4562rB
Kirk Thompson says
It seems to make much more improvement in the GFX files. Effect varies with pixel pitch? Other explanations?
JimK says
The G lenses are in general sharper, and the GFX micro lenses are relatively smaller. That makes for sharper images and more visible artifacts.