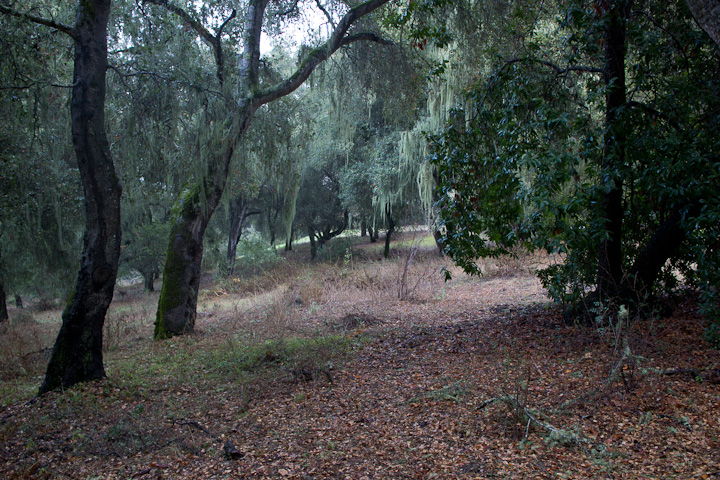
Yesterday morning, I set out to make a series of pairs of images, letting the NEX-7 focus the first image in the pair, and manually focusing the second. The images did not turn out the way I expected. I expected to catch the NEX-7 making autofocus mistakes. Now that I understand the limitations of the NEX-7 autofocus better, I found no out-and-out mistakes at all when I used it in circumstances where it can be expected to work. I also expected that I would be more accurate manually focusing in all situations then the NEX-7 autofocus. I was wrong.
Here’s the good news. The NEX-7 autofocus is quite accurate if the entire portion of the image surrounded by the focus indication rectangle in the viewfinder is essentially in the same image plane, and possesses information of medium or high spatial frequency. If the portion of the image that the camera is focusing on contains elements of varying distances so that they can’t all be in focus, you don’t know where the camera is going to focus.
Here’s the bad news. While I continue to admire the concept of the feature of the NEX-7 that allows you to manually tweak the autofocus just by twisting the focusing ring of Sony lenses, experience has caused me to give the implementation mixed reviews.
There are two problems: the first is that the magnified image that appears when you twist the focusing ring is the 6x magnification not 12x. That makes it difficult to see when the image is in sharp focus. I looked in vain for menu settings to allow me to change this. It is possible to get the magnification to briefly go to 12x by pressing the lower button on the back of the camera while holding the shutter release half-depressed, but I couldn’t get it to stay that way for more than a second, and I took a lot of unintended photographs while trying.
When you twist the focusing ring on the NEX-7 you’re not directly controlling the focus of the lens. The connection between the ring and the focusing rack is electrical, not mechanical. When you twist the ring, you’re telling the camera firmware that you want it to change the focus distance, and the firmware then tells the lens what to do. The algorithms that do that do not provide a good simulation of mechanical focusing. A small part of this is the feel of the focusing ring, which doesn’t replicate the action a Zeiss or Leica M-mount lens. The larger problem is that the translation of ring angle to focusing is a bit strange. I don’t think it’s time lag, but I have a tendency to overshoot when making small corrections. I’ll be doing a post on this in the future.
Both the image magnification and the focus algorithm problems are probably fixable in firmware, and I hope Sony addresses them.
I made a set of 30 pairs of photographs of subjects in which the Sony autofocus should work well. In the first image of each pair, I let the camera focus. In the second, I tweaked the focus manually. In roughtly a third of the images, I did as good a job as the autofocus – maybe better in one or two. In the rest, the autofocus was better than I was.
Some examples follow.
First, here’s an image where the autofocus area, one-third in from the left and one-third down from the top, contains objects of varying distance. This photograph was made at f/2.8, handheld at a fortieth of a second. It is surprising to me that the resolution of the NEX-7 sensor is so good that the depth of field of the lens can’t span the range of distances in the autofocus area. It is also surprising to me that the shutter release is so shake-free that you can make a photograph this sharp at such a low shutter speed.
Here’s a one-pixel enlargement of the area that should be in focus. The camera, on autofocus, focused behind the tree trunk that I wanted in focus:
Here’s a one-pixel enlargement of that area when I focused. It looks the way I intended.
Second, here’s an image in which the autofocus area, one-third in from the left and one-third down from the top, contains objects which all fall within the depth of field of the lens when it’s focused on any of them:
Here’s a one-pixel enlargement of the area that should be in focus:
Here’s a one-pixel enlargement of that area when I focused. The sharpness is the same, to my eye.


Leave a Reply