For the last month or so, I’ve been occupied in preparing for an upcoming exhibition. In this and a few subsequent posts, I’d like to walk you all through the process that has been ongoing for about nine months, and which will culminate in a show at a local museum in the first quarter of next year.
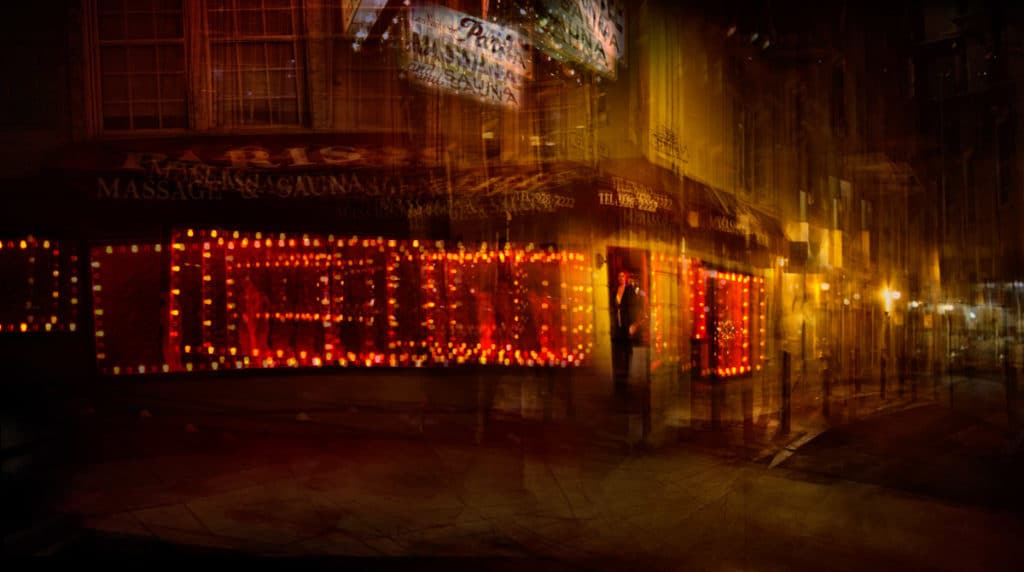
In February, the museum contacted me about having an exhibition. In March, I met with the executive director and the manager of collections and exhibitions. They showed me the space they had in mind, after we kicked around some ideas, we settled on organizing principles for a possible show:
- Represent several bodies of work
- Show the evolution of artistic ideas over time
- Emphasize photographs made in California.
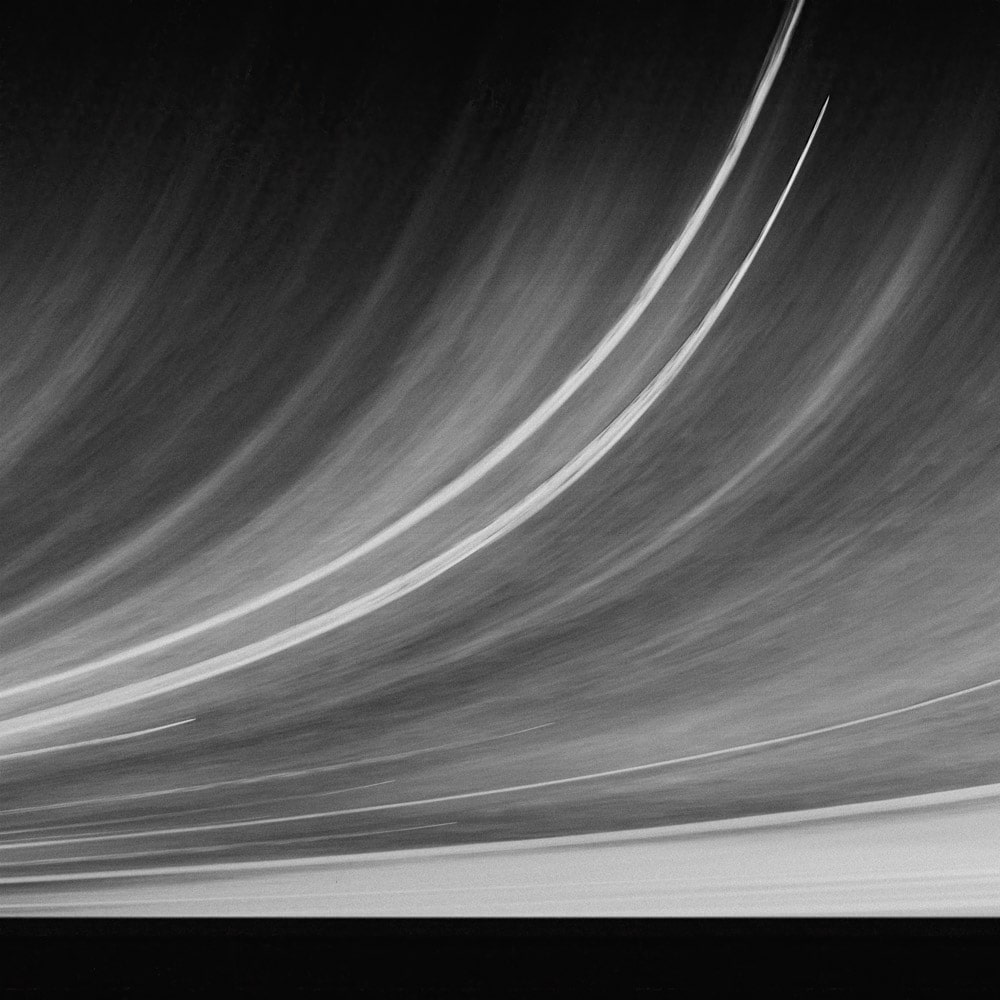
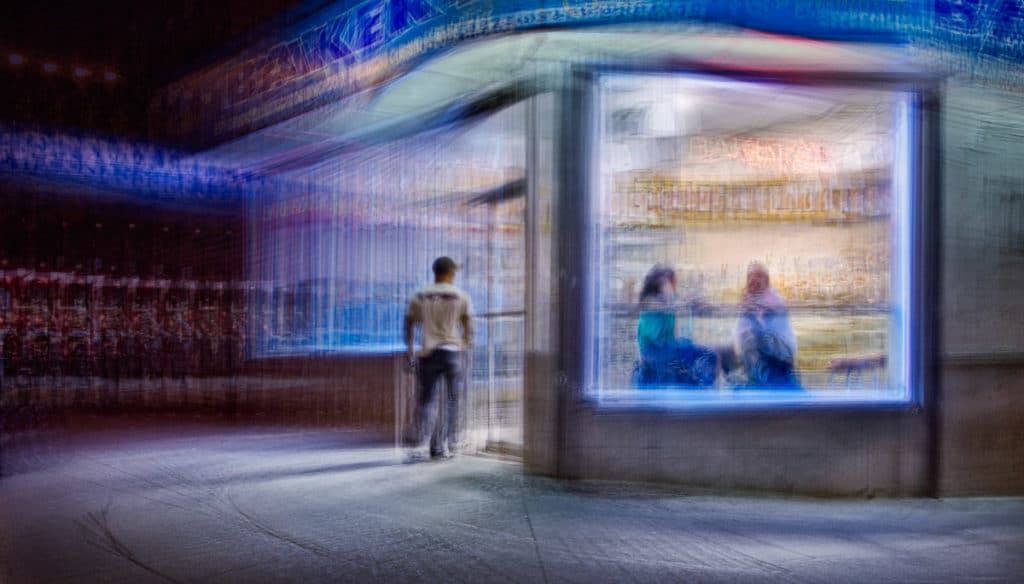
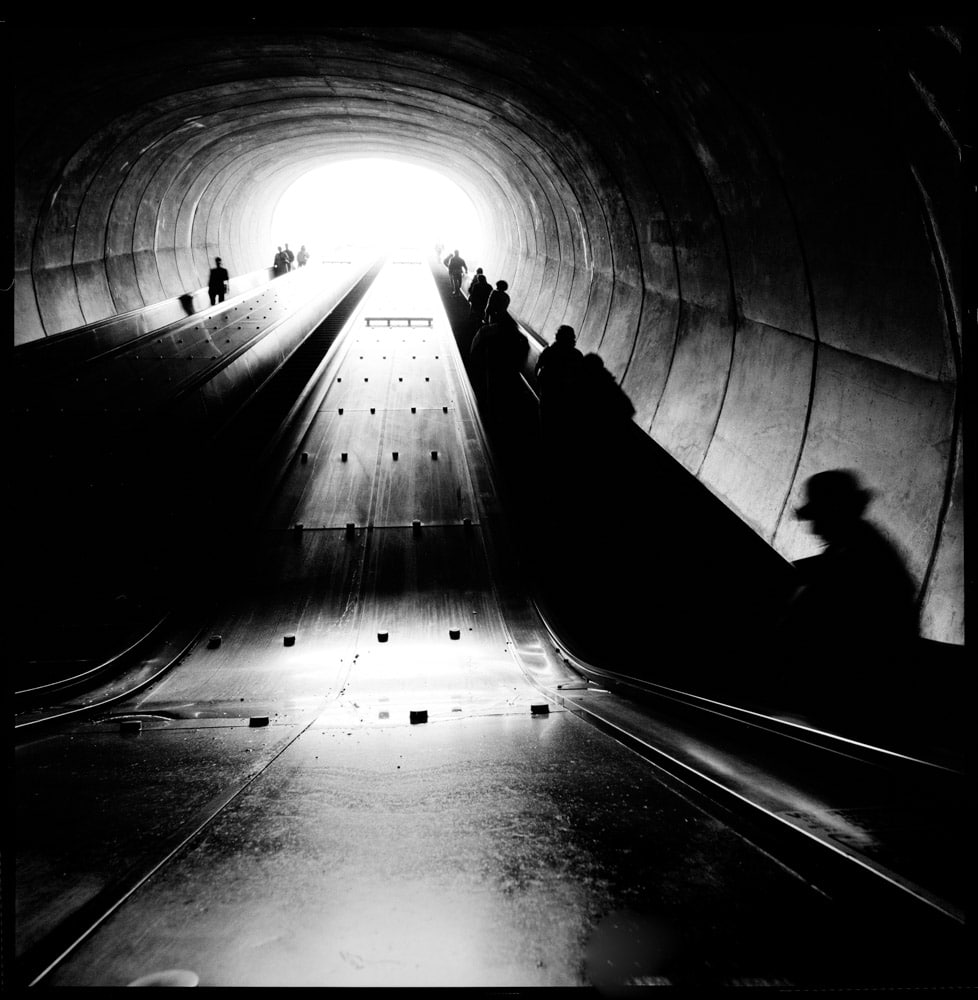
I went home and spent a couple of weeks coming up with a theme and picking the series that would be represented. I decided to concentrate on the images I’ve made in which the element of time is somehow incorporated into the print. This has been a particular interest of mine for about 30 years, so that didn’t narrow things down a whole lot. I decided to throw out the series where time was indirectly incorporated through the subject matter itself. I didn’t want to show just a few images from each series, so I eliminated the ones that didn’t have very many images exposed in California. That left me with:
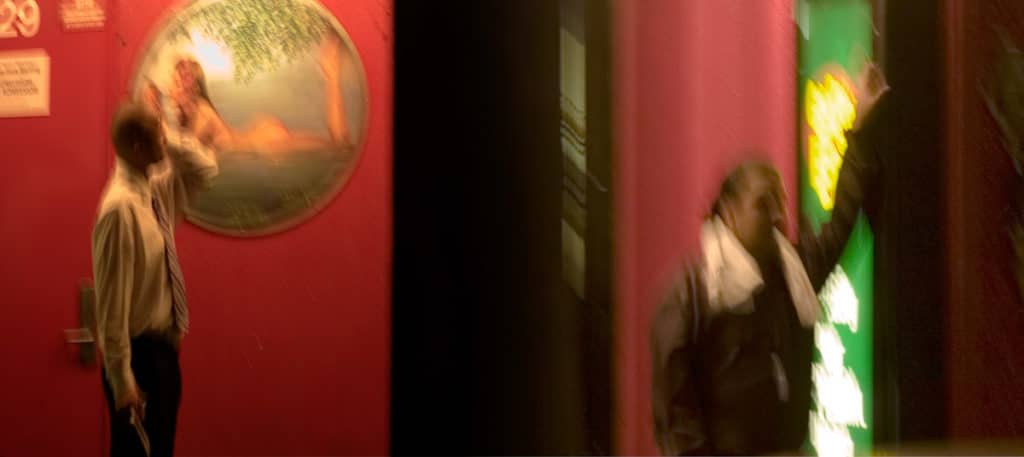
- Alone in a Crowd
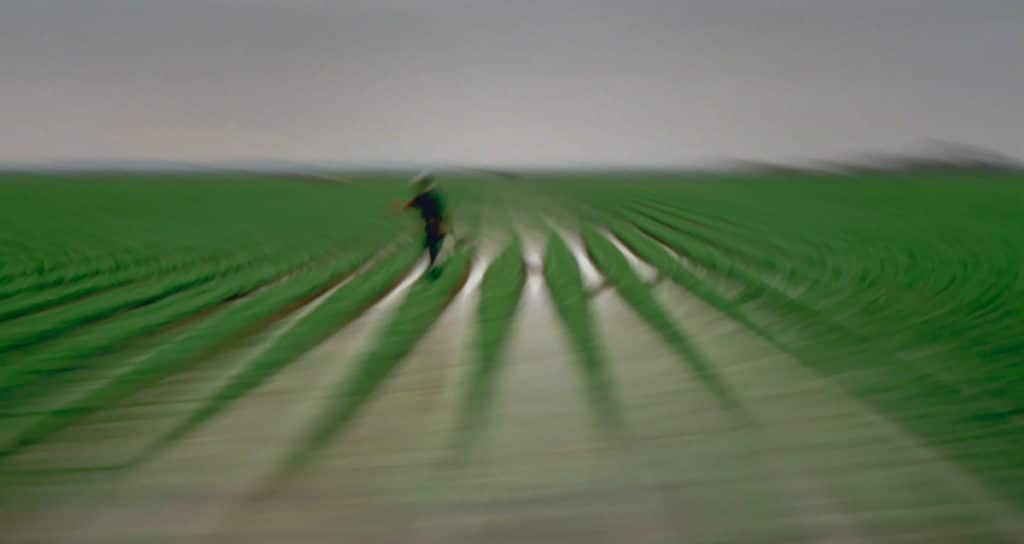
- This Green, Growing Land
- Nighthawks
- Staccato
- Timescapes (slit scanned landscapes)
- The synthetic slit scan images.
I fired up Adobe InDesign, prepared a dummy catalog, and dropped a representative set of images into it. I exported the catalog as a PDF and sent it to the museum. They liked it, and gave me a layout of the gallery where the show would be hung. I made a set of scaled elevations in Microsoft Visio and dropped some images on to them to get an idea of what the walls might look like. I decided that I would like to have fairly large images – on the order of 3 feet wide when framed, and that there was enough wall space for about 40 of those.
The next step was to think about how to present the images. In order to get the maximum image size for the wall space available, I was enamored of the idea of floating frameless images off the wall. Metalprints, with the images printed on an inkjet printer with special dyes that are then sublimated onto white-painted sheets of aluminum, seemed like an economical way to go. I ordered some samples from four of the series.
When they arrived, they were a pretty big disappointment. The matte and semi-matt ones looked hazed, and the glossy ones didn’t have the Dmax I was used to. They didn’t have anywhere near the depth or richness of the inkjet prints that I make at home on Epson Legacy Baryta paper, with a p800 or 9800.
I looked at direct printing of the images onto white Dibond, which is an aluminum/polyethylene/aluminum composite. I found a local printer who could do that with an Epson 9900. I ordered more samples. They were better, but when I put them next to my Legacy Baryta prints, they were lacking in depth and gamut. I showed the samples to the people at the museum, and they agreed.
I returned to the idea of printing the images myself. But how big? It turns out the museum has plenty of 33×24 inch simple black wooden frames. With a reasonable mat, that allows me to have 26-inch-wide images. There are a few square ones – including all the images from Alone in a Crowd – and they’ll look nice in those frames at 17 inches square if the frames are in portrait orientation. There are two large images. One is 48 inches wide and one is 36 inches wide. They’ll need custom frames.
I tried to order 24×30 Legacy Baryta, and found out that Epson doesn’t make it. I’m not sure they ever made it, but think I remember printing on 24×30 Epson Exhibition Fiber before. In fact, I couldn’t find any baryta paper in 24×30. I did find Hahnemuehle Photo Rag in 24×36, and ordered 25 sheets for the This Green Growing Land pictures. I don’t like dealing with prints printed on roll paper. I have a devil of a time flattening them out, and I’ve sold my dry mount press, which I used to use for that purpose. On the advice of someone on LuLa, I bought a ReRoller.
The 24-inch roll of Legacy Baryta arrived, and I loaded it into the printer. I made a test print and flattened it with the ReRoller. I was surprised at how well it worked. With a little experience you can tell how long to leave it reverse-rolled in the gadget before letting it flatten itself out. For the first prints on a roll, 45 seconds seemed about right. As I got further down to where the paper had more curl, I increased the time gradually, finally getting to 90 seconds.
But there was a big problem. There were scrape marks in one part of the image that looked like head strikes. I figured that the curl of the paper was lifting it into the path of the head. I increased the platen gap and tried again. That was better, but still not perfect. I made the gap even wider. Closer, but no cigar. Then, figuring the curl of the exiting paper was lifting it up under the print head, I rearranged the paper guide below the place where the paper comes out of the printer to make them point straight up and down rather than be in line with the paper path. That, when combined with the wide platen gap, seemed to fix the problems. I printed all the 17-inch square images and all the 26-inch wide ones except for This Green Growing Land. I printed the farmworkers images on 24×36 Photo Rag sheets with a normal platen gap. I flattened all the roll paper images and took them to the museum to be framed.
I printed the big images on 44-inch Legacy Baryta. There were head scrape marks, even with all the tricks I’d learned with the 24-inch paper. I’m thinking that the increased width of the roll made it easier for the curl to lift the paper under the head. Also, I found it very difficult to inspect the 44-inch prints, because I don’t have a 44-inch ReRoller.
So I gave up, and sent the two large images to a local printer, who will print them on Fineline Gold Fiber Silk Baryta paper with an Epson 9900.
Bryn says
For future you might try the breathing color aluminum sheets for aqueous printers. The cardboard mounts for borderless printing can jam but I’m told they are reworking them. I plan to print and then cut on my Cnc router but a metal shear would work too
Stephen Ozcomert says
One solution to the curling problem is to take the paper towards the end of the roll off the roll, use the de-roller device to uncurl the paper and then print after. Don’t know if you tried this and, of course, it is more work, but I mention it for future reference.
Jean-Pierre Peretti says
Hi Jim
Congratulations for your coming exhibition ! I wish I could be there, but “hélas” …
About your printer : Are you using the P800 or the SC-P800 ?
I more ore less have in mind to replace my 4800 whose clogging problems are more than boring.
I read somewhere on a previous post from you that you don’t encounter this problem anymore with your new printer.
Hence my question : Assuming that I don’t print daily or even weekly, would you recommend the choice of the SCP/P800 ?
About the cartridges lasting life, what is your meaning ? They are much smaller than the 4800 ones. I don’t like to think I could fall out of ink in the middle of a wide print.
Best regards
Jean-Pierre Peretti