There’s been an interesting thread on the L-Camera Forum that was started by someone who’d read this post about getting better results with the M9 by treating the camera as if the ISO dial didn’t go past 640. In the ensuing discussion, there was some healthy skepticism about my findings and about the applicability of signal-to-noise-ratio calculations of images of computer screens to real-world photography.
I’d done some real photography with the D800 and satisfied myself that the SNR testing correlated with practice, but I’d never done a similar series with the M9. I mean to fix that with today’s post.
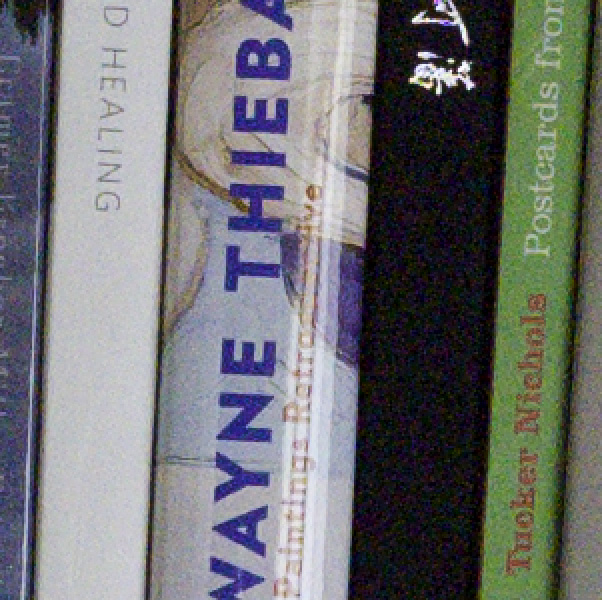
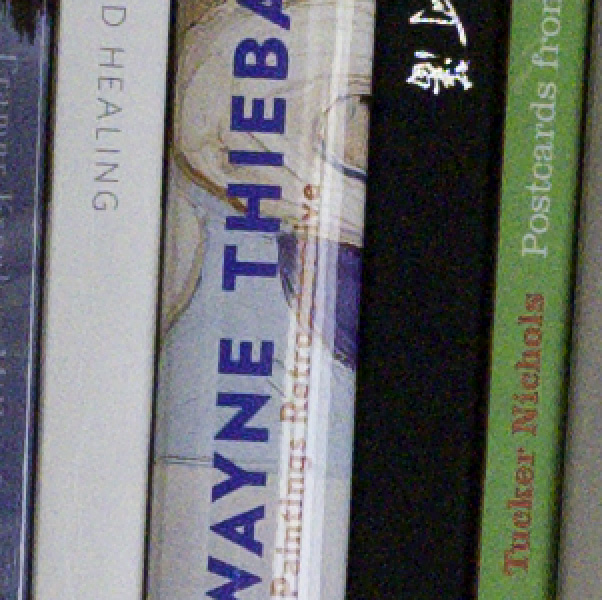
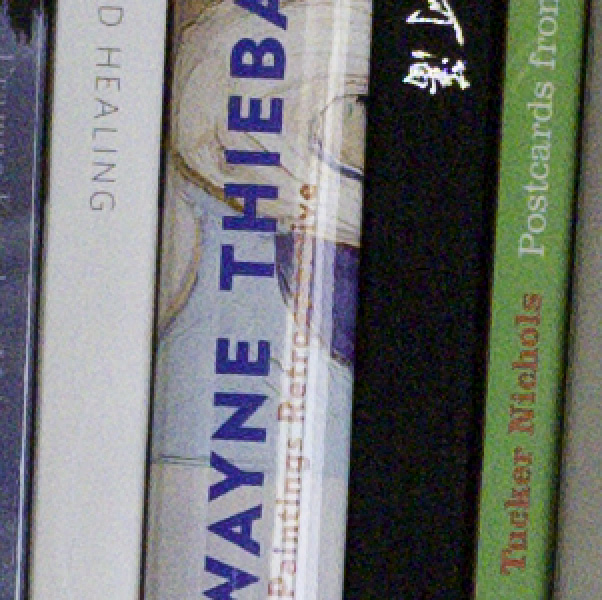
I used my usual noise-testing subject matter:
I used the M9 with the Leica 24mm f/3.8 Elmar-M ASPH set at f/9.5 with a shutter speed of 1/8 second, which produced an expose-to-the-right (ETTR) exposure at ISO 2500. As you can see, I did not compensate for lens fall-off. I converted the images from raw format in Lightroom 5, with default processing except for setting the white balance manually and turning off all noise reduction. I exposed a set of images with the ISO at 2500, 1250, 640, 320, and 160. I applied +0 stop Exposure for the ISO 2500 image, +1 stop Exposure for the ISO 1250 image, +2 stop Exposure for the ISO 640 image, +3 stop Exposure for the ISO 320 image, and +4 stop Exposure for the ISO 160 image.
I exported the images to Photoshop as layers, and labeled them by ISO. I then made 300×300 pixel crops of a highlight region and a shadow region. I enlarged them by a factor of two using nearest neighbor, and exported each layer as a JPEG. The JPEGS are below. However, I commend that you download the .psd files with all the layers before res-ing up and look at them in Photoshop at whatever magnification pleases you, turning layers on and off to compare them.
The highlight region Photoshop file is here.
The shadow region Photoshop file is here.
Highlights, ISO 2500:
Highlights, ISO 1250:
Highlights, ISO 640:
Highlights, ISO 320:
Highlights, ISO 160:
Shadows, ISO 2500:
Shadows, ISO 1250:
Shadows, ISO 640:
Shadows, ISO 320:
Shadows, ISO 160:
The differences are fairly subtle and hard to see in the JPEGs. But if you download the Photoshop shadow file and look alternately at the ISO 2500 and 160 layers, you’ll see an impressive difference in favor of the lower ISO. The SNR test said that you should stop turning up the ISO at 640, and that below that, for the same exposure, the best highlight results were obtained at ISO 640 and that in the shadows that ISOs 160, 320, and 640 were about a wash.
I want to emphasize that this testing and the above advice only apply to the situation where you can’t get enough light on the sensor to use ETTR at base ISO, but must find some way to make the best of a situation that drives you to a shorter shutter speed and/or a narrower f-stop than is ideal.
At the risk of being repetitive, I’ll summarize:
You’ll get the best results at ISO 160 with ETTR. If depth of field, subject or camera motion, or other things keep you from doing that, you’ll get slightly better results in the mids and higher tones by turning up the ISO to keep the histogram to the right than you will pushing equivalently in LR or ACR, and you’ll get essentially the same in the shadows. That’s only true up to ISO 640. After that, let the histogram go to the left and fix it in your raw developer program.


Jim, thanks for this. Have you looked at the impact on dynamic range with varying ISOs?