• site home
  • blog home
  • galleries
  • contact
  • underwater
  • the bleeding edge

the last word

Photography meets digital computer technology. Photography wins -- most of the time.

You are here: Home / GFX 50S / Lightroom sharpening of Fujifilm GFX-50S/63mm images

Lightroom sharpening of Fujifilm GFX-50S/63mm images

March 28, 2017 JimK Leave a Comment

This is the ninth in a series of posts on the Fujifilm GFX-50S. The series starts here.

Yesterday I posted a series of images made with the Fujifilm GFX-50S and the 63mm f/2.8 native lens. Those images were process using Lightroom’s default settings, except for Exposure. Lightroom uses non-defeatable lens corrections with the 63 on the GFX. Lightroom also applies sharpening that is dependent of the camera and the lens. The latter thing, and possibly the former, are not desirable for lens testing, as they introduce uncontrolled variables. When I say uncontrolled, I mean by the experimenter (that would be moi). The Adobe engineers control those things quite well, to whatever their criteria are.

There’s a way around this for the Fuji raw files. There’s a program called Iridient XTransformer that converts Fuji raw files to DNG files. It has options to turn off Lightroom’s lens corrections, noise removal, and sharpening.I left the lens corrections on, and I ran the GFX images from yesterday’s test through Xtransformer and told it to defeat the other two sets of corrections, but apply its own default sharpening. Then I bought the DNGs into Lr, corrected exposure by +2/3 stop, and applied the same crops as yesterdays images.


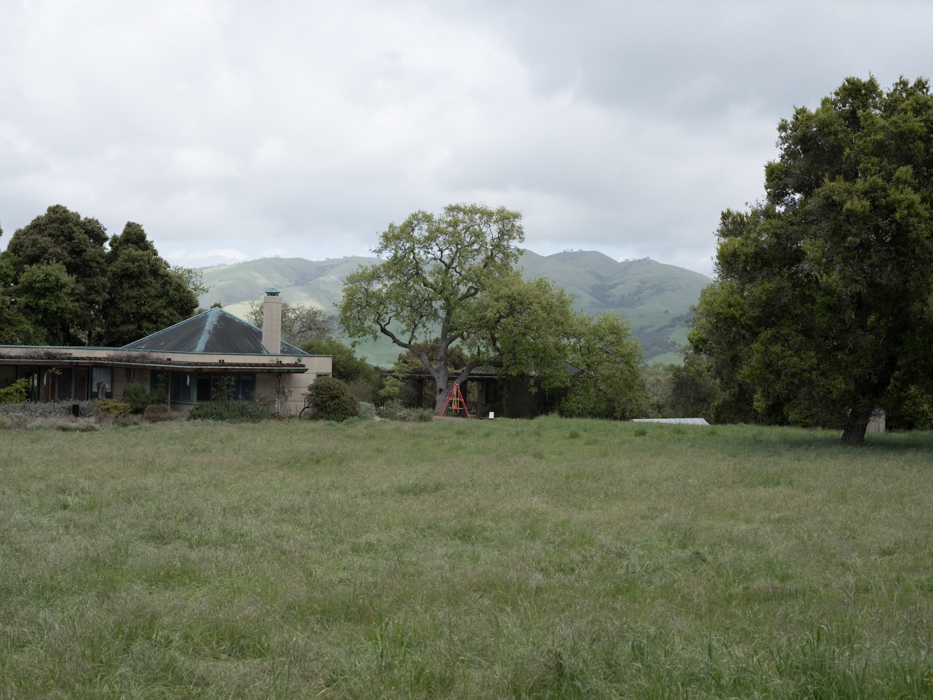
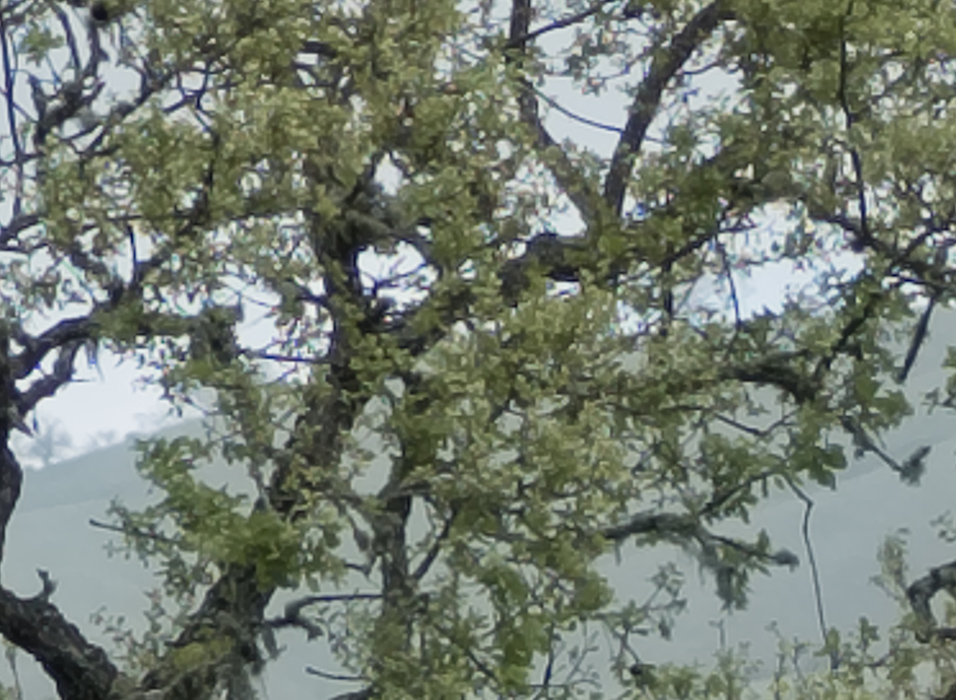
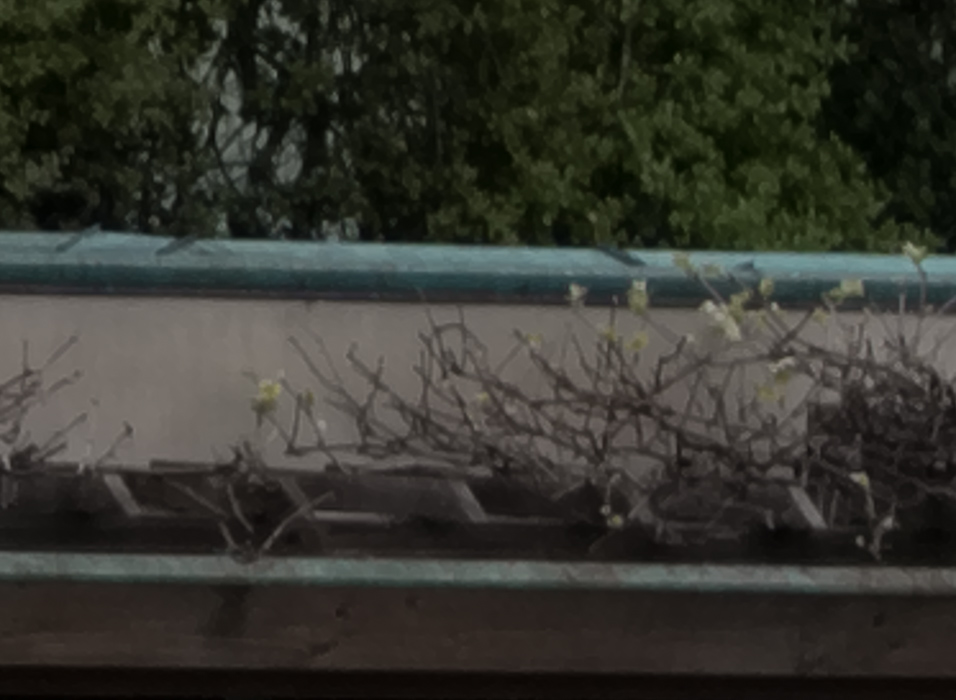
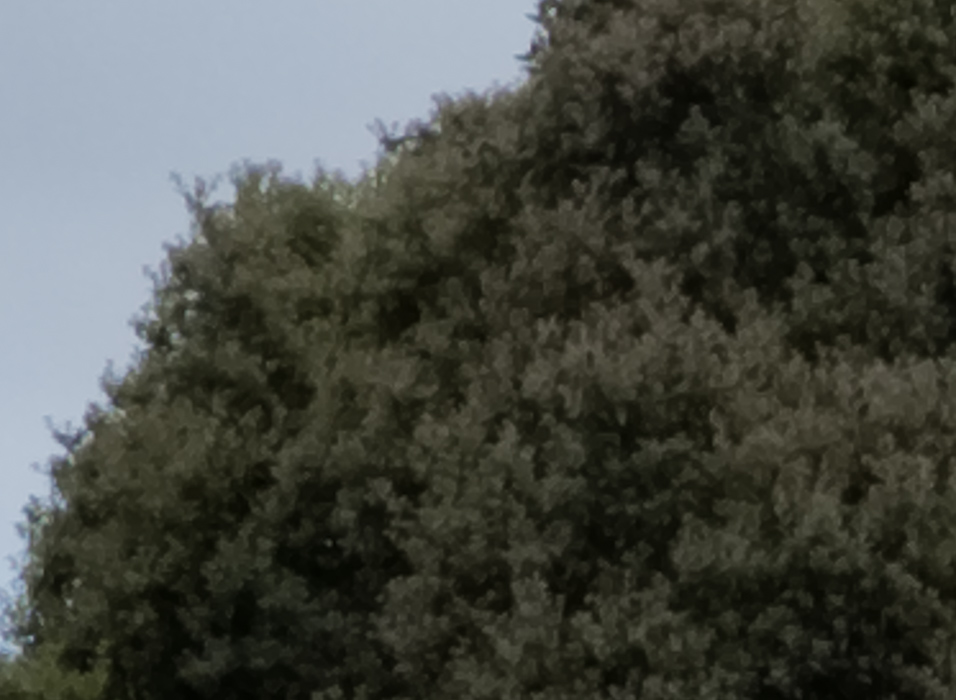
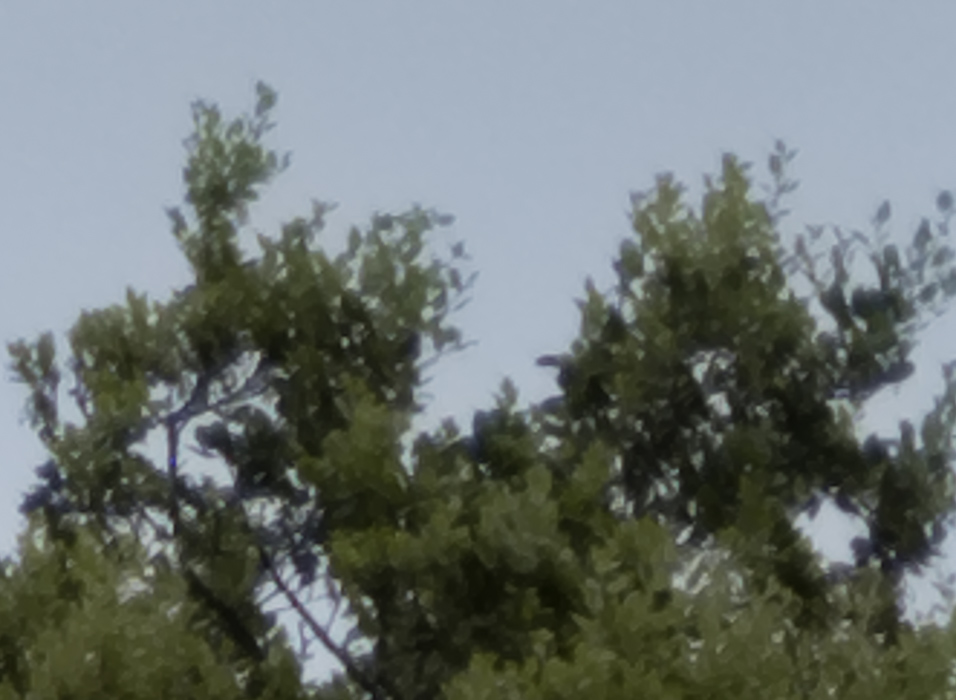
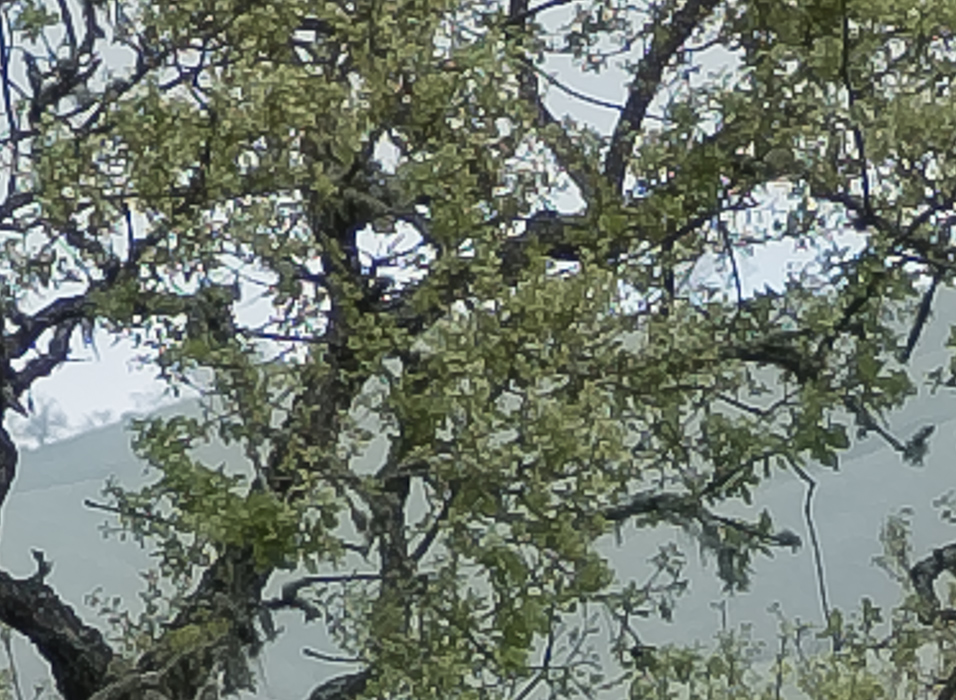
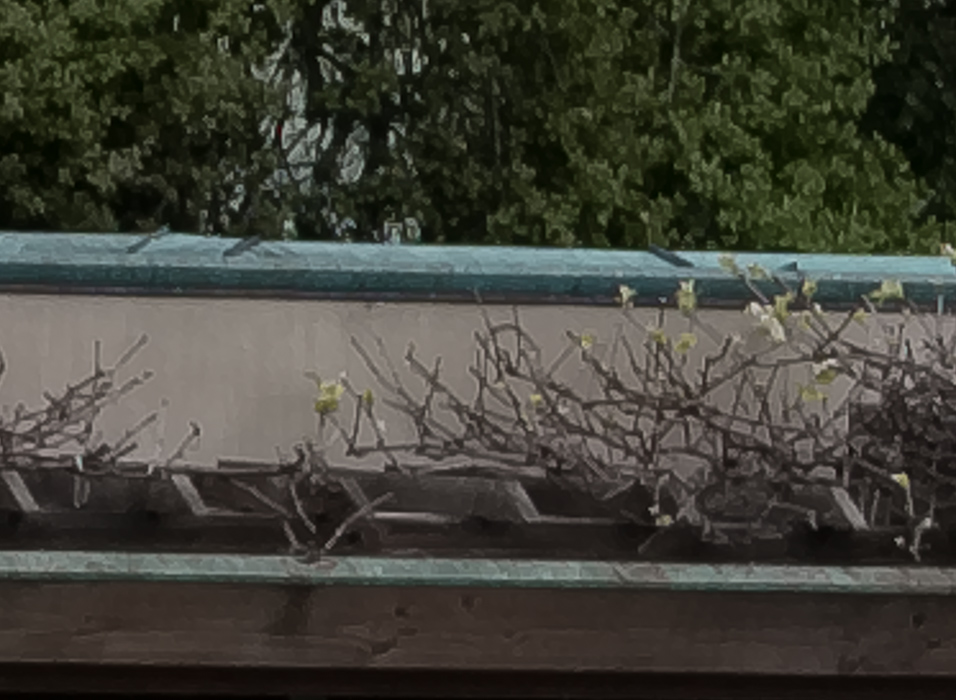
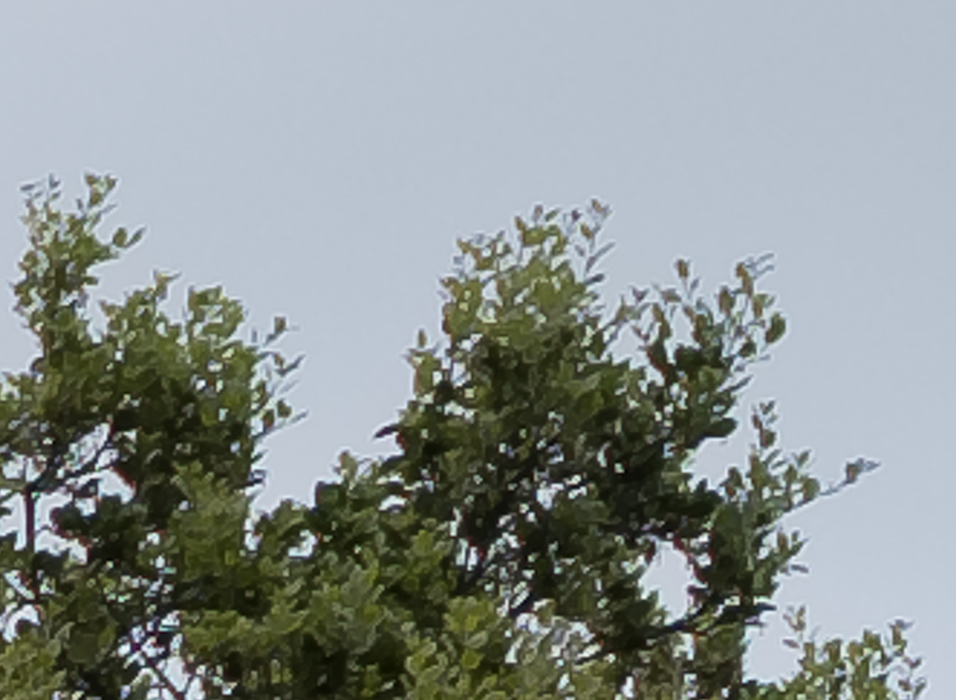
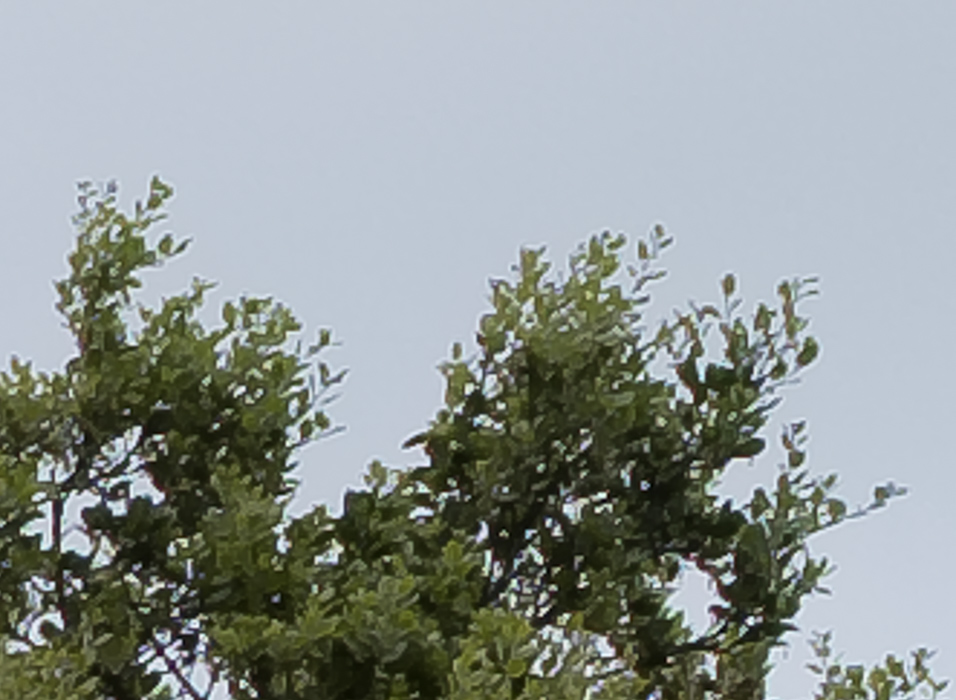
In the center at about 250 percent:

f/2.8

Here’s how to use these highly-magnified crops. The dimensions of the GFX sensor are 8256×6192 pixels. If we make a full-frame print from the GFX on a printer with 360 pixels per inch native driver-level resolution, like the Epson inkjet printers, we’ll end up with a 23×17 inch (58×44 cm) print. The 318×246 pixel crop you’re looking at will end up 0.8333×0.6833 inches (2.12×1.74 cm). Let’s imagine that you or your viewers are critical, and will look at the 22×17 inch print from about 18 inches (conventional wisdom is that the distance would be a little greater than that, or 28 inches (the diagonal), but you did buy a high-resolution camera for a reason, didn’t you?).

The next step is dependent on your monitor pitch, which you may or may not know. Turns out, you don’t have to know it. Just take the 253% crops and view then at 1:1. How high are they? Get out your ruler and measure, or just guess. Let’s say they are 6 inches high. 6 inches is about 7 times 0.8333, so in order to view the crops the way they’d look from 18 inches on the print is to view them from 7 times as far away, or 10.5 feet.

Everything here scales proportionately. If the image on your screen is bigger than 6 inches, increase your viewing distance by the ratio of your image height to 6 inches. If you thin your viewers are going to almost get their nose to that print and look at it from six inches, divide that 10.5 feet by 3, and look at the image on the monitor from three and a half feet away.


f/4


f/5.6


f/8

It is apparent that the great on-axis performance of the GFX and the 63 mm lens is does not come from Lightroom sharpening. It looks like the X-transformer default sharpening is a bit agressive for my tastes. I’ll do some more testing with it off entirely.

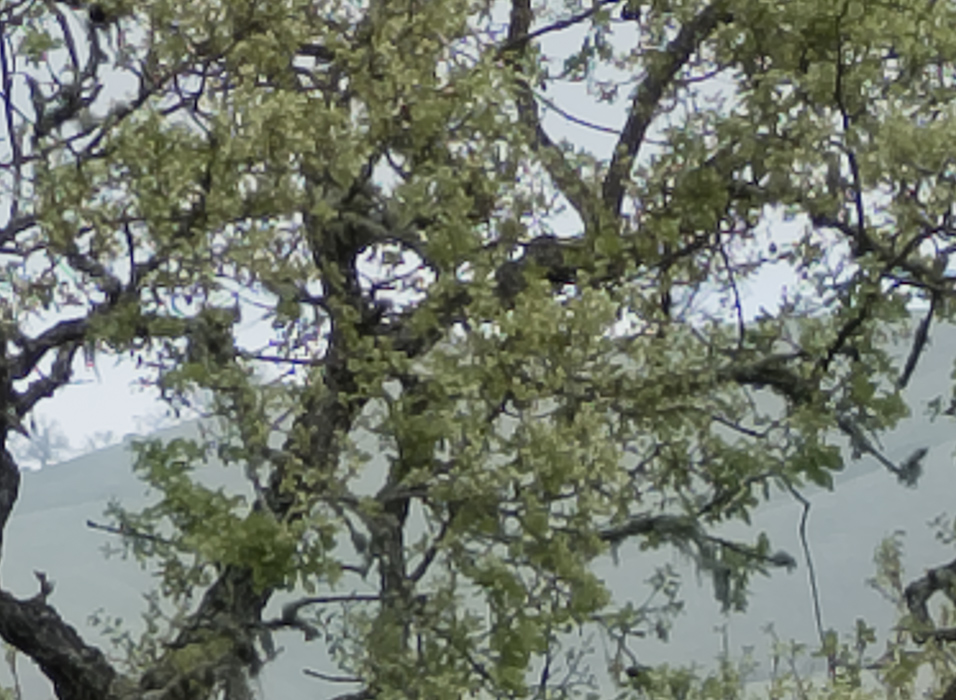
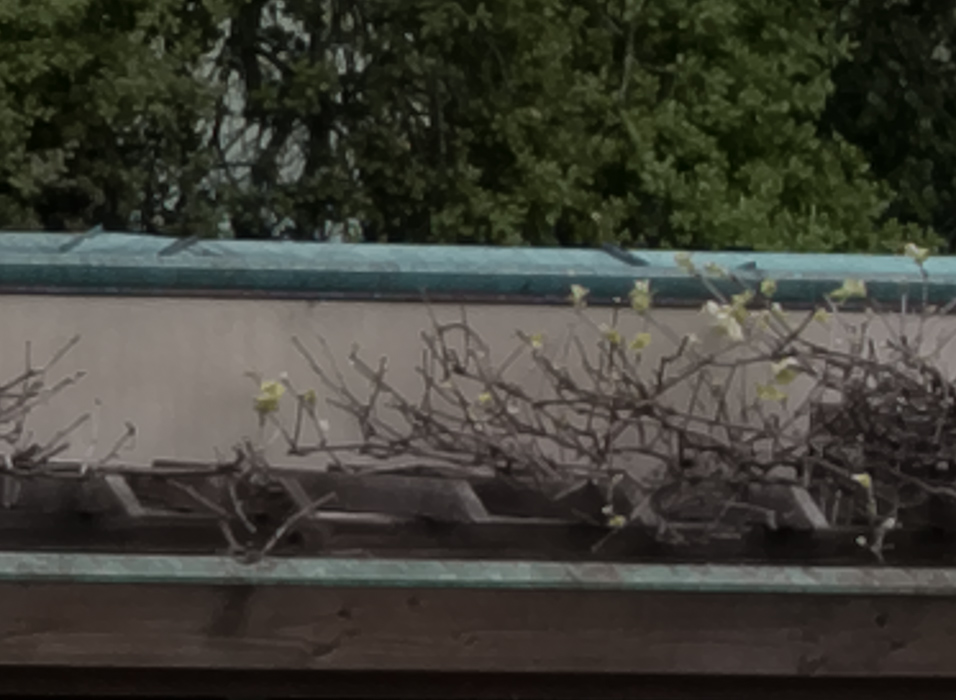
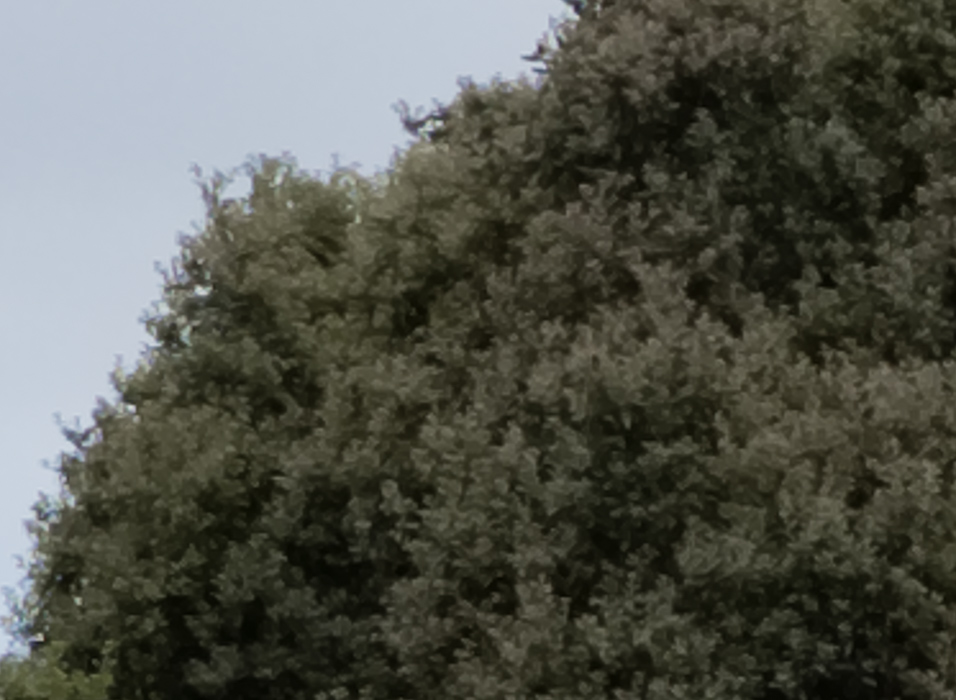
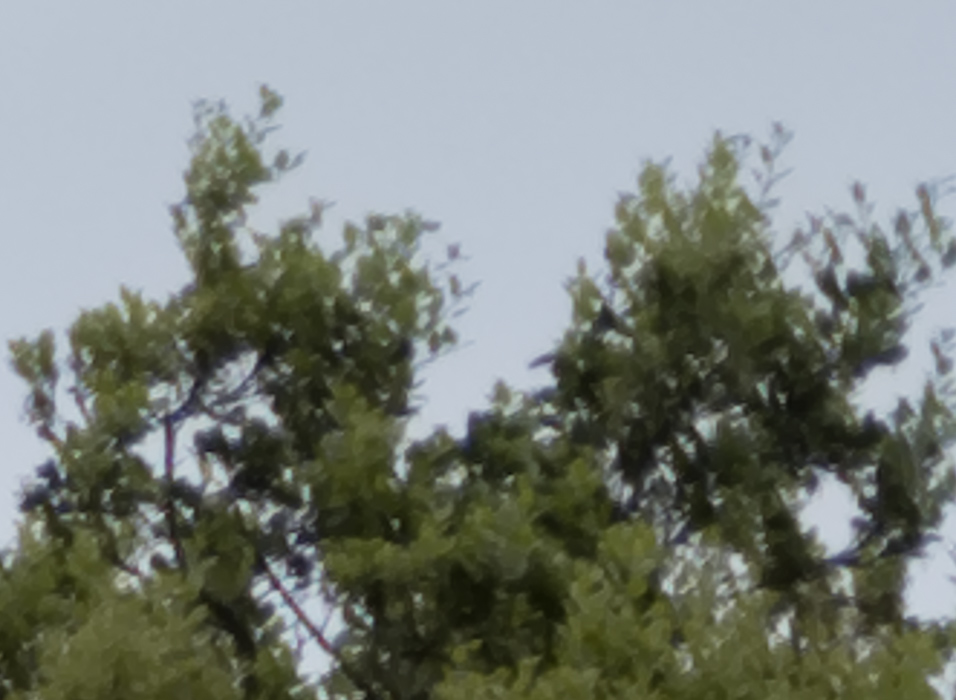
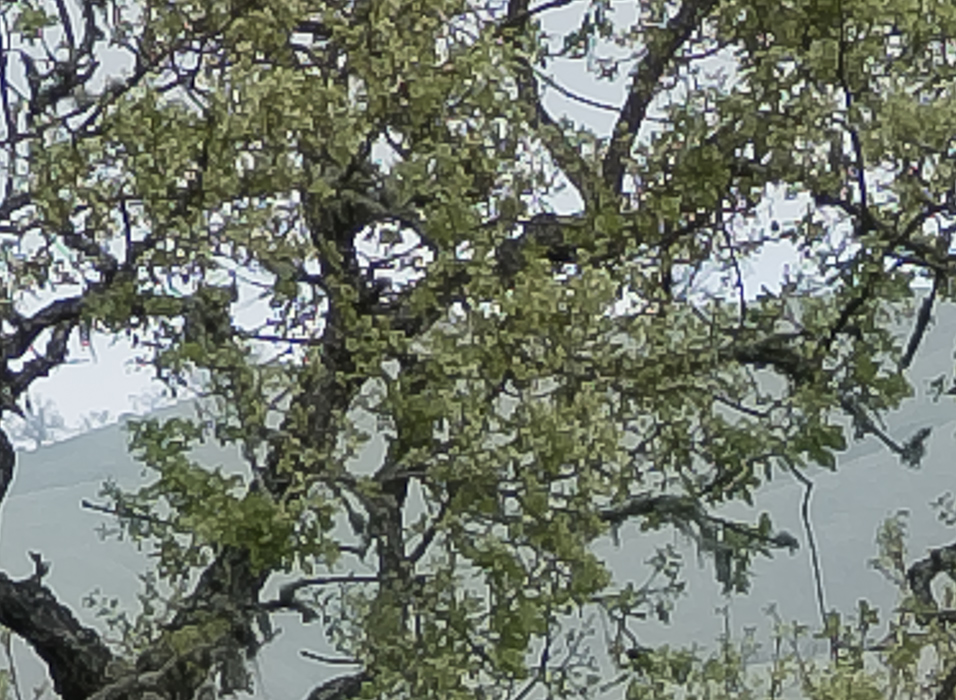
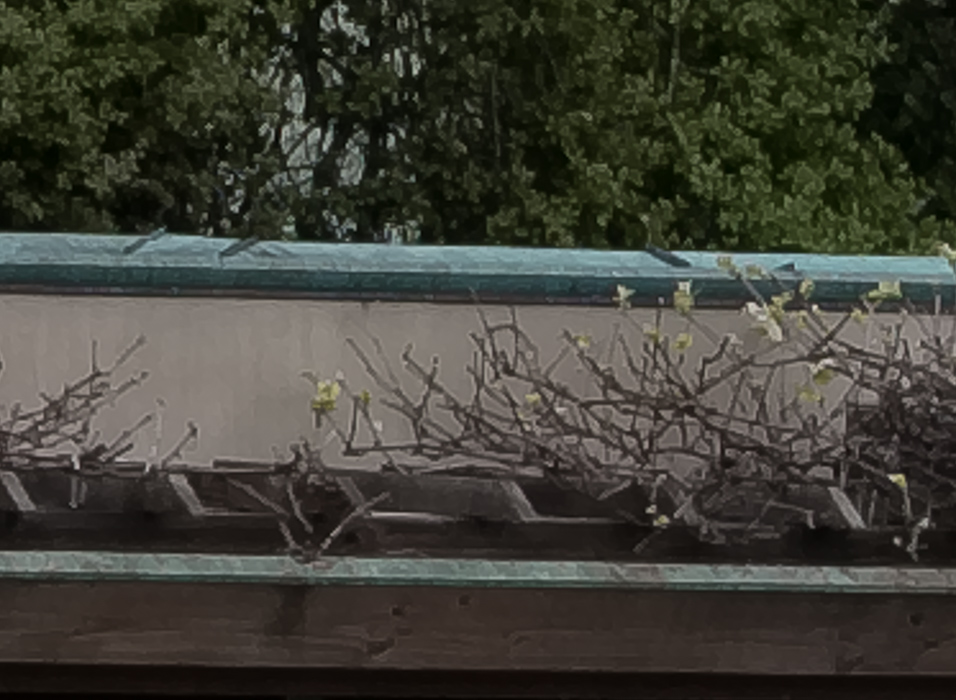
On the left side a bit close than the ideal focal plane:


f/2.8


f/4


f/5.6


f/8


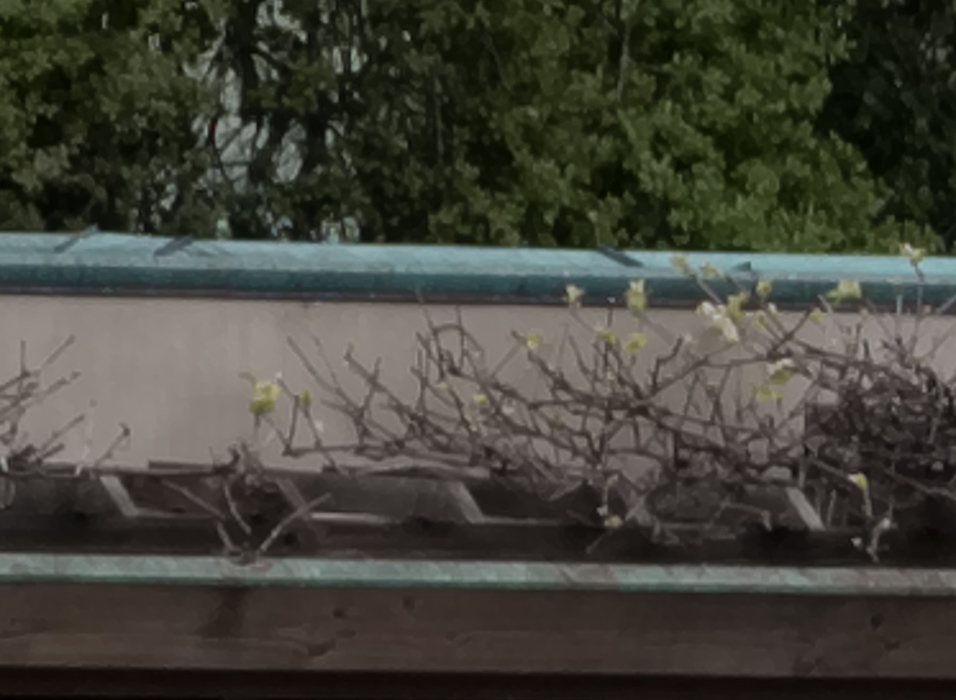
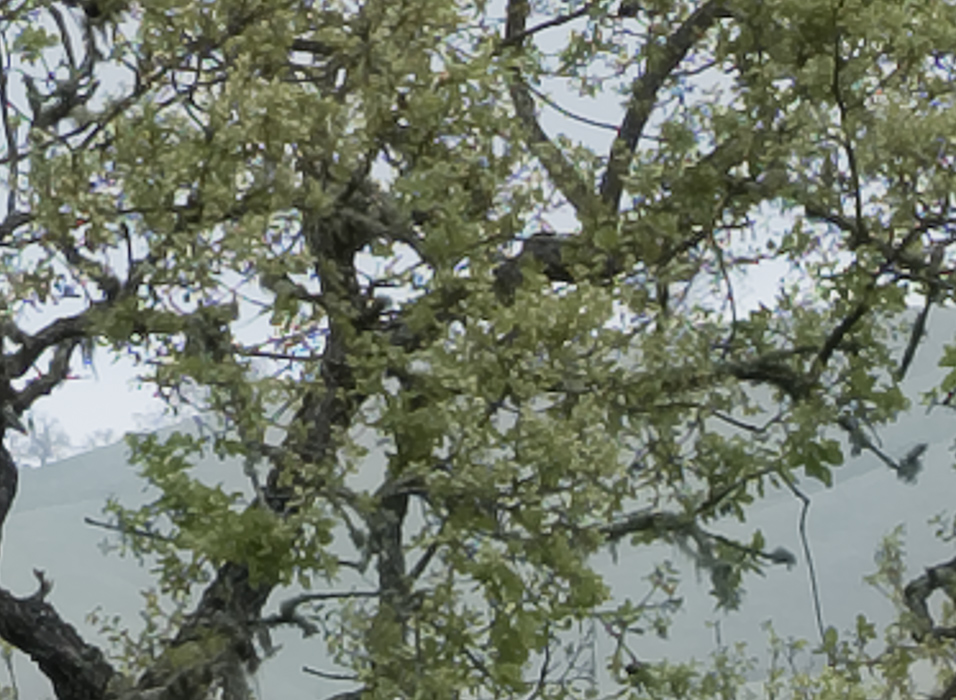
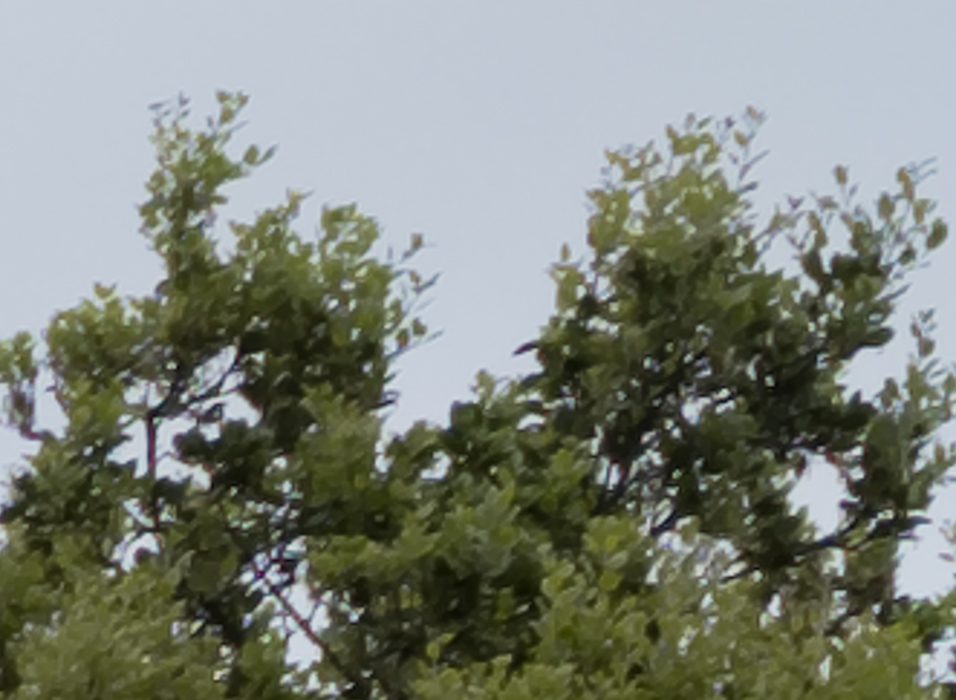
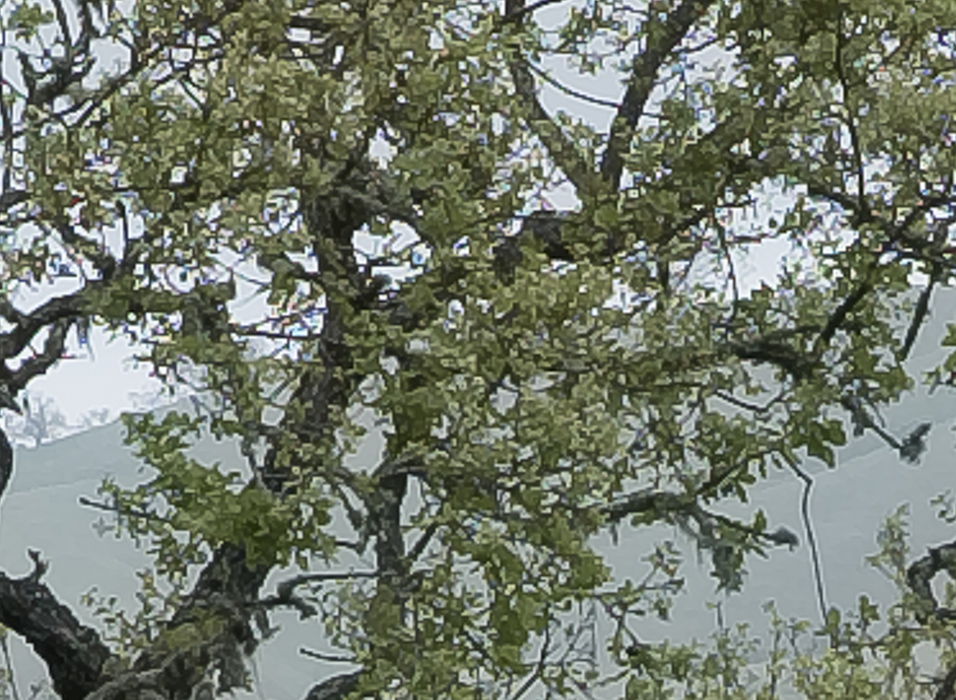
On the left side a bit behind the ideal focal plane:


f/4


f/5.6


f/8

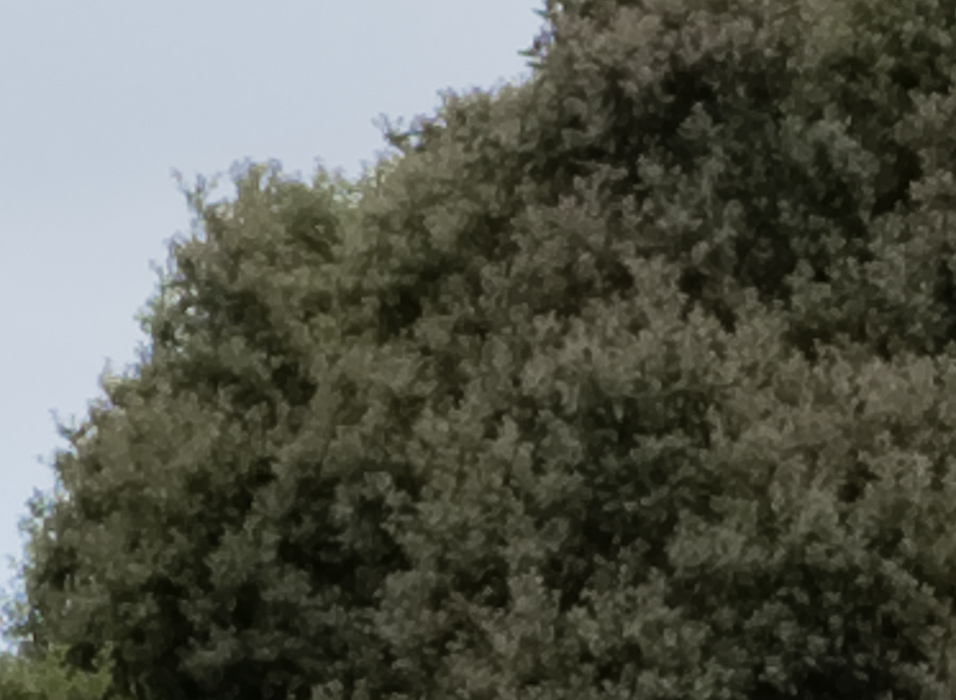
Again, we note that the focal plane bends forward somewhat at the periphery.


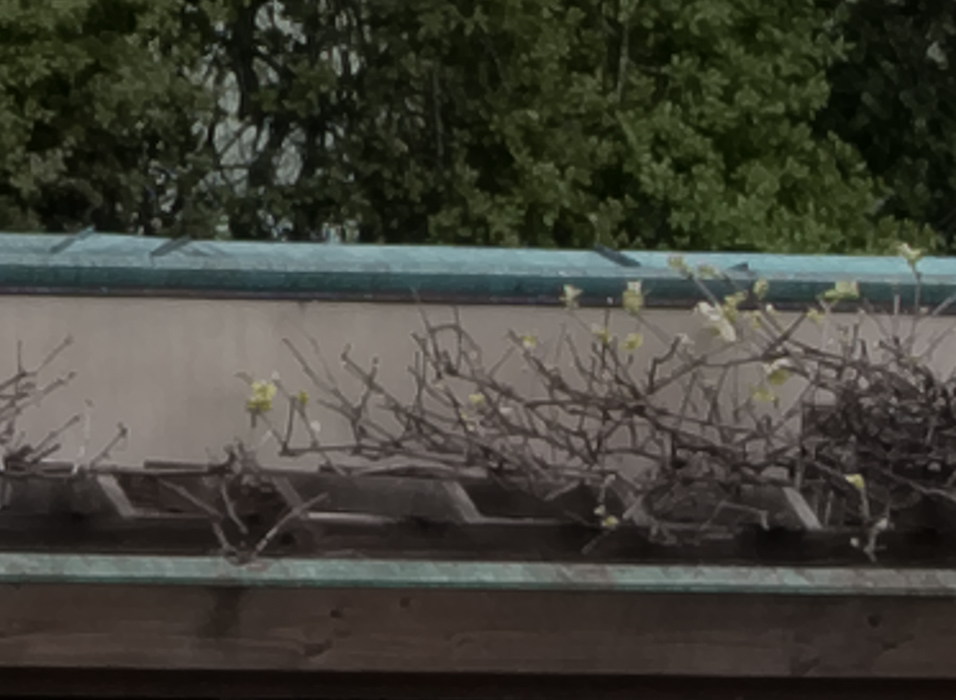
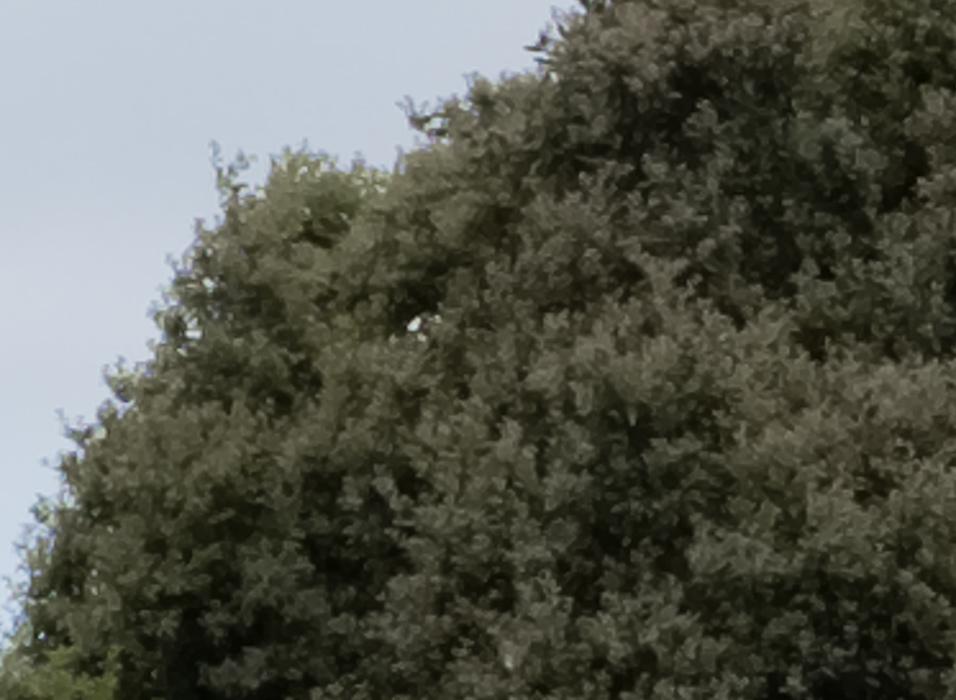
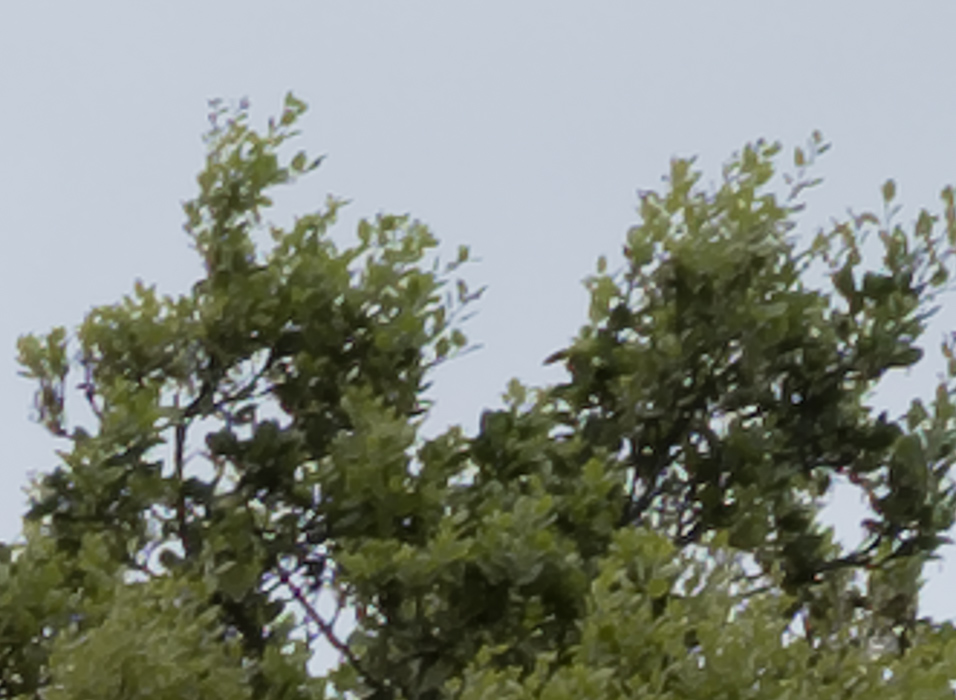
In the upper right corner:

f/2.8


f/4


f/5.6


f/8

Here’s a set of images with Iridient set to use the “Smoother” demosaicing option and lens corrections defeated:

f/2.8


f/4


f/5.6


f/8


f/2.8


f/4


f/5.6


f/8


f/2.8


f/4


f/5.6


f/8


f/2.8


f/4


f/5.6


f/8

It also looks like the corners might be sharper with the lens corrections turned off. Here’s the image above from the series with lens corrections and the other demosaicing algorithm:


f/8

One thing you can see for sure; the lens distortion correction moves the location of the tree in the frame.


GFX 50S, The Last Word

← Zony 55 on a7RII & Fuji 63 on GFX-50S a7RII/GFX comparisons with no demosacing →

Leave a Reply Cancel reply

Your email address will not be published. Required fields are marked *

May 2025
S M T W T F S
 123
45678910
11121314151617
18192021222324
25262728293031
« Apr    

Articles

  • About
    • Patents and papers about color
    • Who am I?
  • How to…
    • Backing up photographic images
    • How to change email providers
    • How to shoot slanted edge images for me
  • Lens screening testing
    • Equipment and Software
    • Examples
      • Bad and OK 200-600 at 600
      • Excellent 180-400 zoom
      • Fair 14-30mm zoom
      • Good 100-200 mm MF zoom
      • Good 100-400 zoom
      • Good 100mm lens on P1 P45+
      • Good 120mm MF lens
      • Good 18mm FF lens
      • Good 24-105 mm FF lens
      • Good 24-70 FF zoom
      • Good 35 mm FF lens
      • Good 35-70 MF lens
      • Good 60 mm lens on IQ3-100
      • Good 63 mm MF lens
      • Good 65 mm FF lens
      • Good 85 mm FF lens
      • Good and bad 25mm FF lenses
      • Good zoom at 24 mm
      • Marginal 18mm lens
      • Marginal 35mm FF lens
      • Mildly problematic 55 mm FF lens
      • OK 16-35mm zoom
      • OK 60mm lens on P1 P45+
      • OK Sony 600mm f/4
      • Pretty good 16-35 FF zoom
      • Pretty good 90mm FF lens
      • Problematic 400 mm FF lens
      • Tilted 20 mm f/1.8 FF lens
      • Tilted 30 mm MF lens
      • Tilted 50 mm FF lens
      • Two 15mm FF lenses
    • Found a problem – now what?
    • Goals for this test
    • Minimum target distances
      • MFT
      • APS-C
      • Full frame
      • Small medium format
    • Printable Siemens Star targets
    • Target size on sensor
      • MFT
      • APS-C
      • Full frame
      • Small medium format
    • Test instructions — postproduction
    • Test instructions — reading the images
    • Test instructions – capture
    • Theory of the test
    • What’s wrong with conventional lens screening?
  • Previsualization heresy
  • Privacy Policy
  • Recommended photographic web sites
  • Using in-camera histograms for ETTR
    • Acknowledgments
    • Why ETTR?
    • Normal in-camera histograms
    • Image processing for in-camera histograms
    • Making the in-camera histogram closely represent the raw histogram
    • Shortcuts to UniWB
    • Preparing for monitor-based UniWB
    • A one-step UniWB procedure
    • The math behind the one-step method
    • Iteration using Newton’s Method

Category List

Recent Comments

  • JimK on How Sensor Noise Scales with Exposure Time
  • Štěpán Kaňa on Calculating reach for wildlife photography
  • Štěpán Kaňa on How Sensor Noise Scales with Exposure Time
  • JimK on Calculating reach for wildlife photography
  • Geofrey on Calculating reach for wildlife photography
  • JimK on Calculating reach for wildlife photography
  • Geofrey on Calculating reach for wildlife photography
  • Javier Sanchez on The 16-Bit Fallacy: Why More Isn’t Always Better in Medium Format Cameras
  • Mike MacDonald on Your photograph looks like a painting?
  • Mike MacDonald on Your photograph looks like a painting?

Archives

Copyright © 2025 · Daily Dish Pro On Genesis Framework · WordPress · Log in

Unless otherwise noted, all images copyright Jim Kasson.