This is a continuation of the development of a simple, relatively foolproof, astigmatism, field curvature, and field tilt test for lens screening. The first post is here. It is also the first post in a series of tests of the Fujifilm 32-64 mm f/4 G-mount lens for the GFX 50s. If you go down to the bottom of this page, below the comments, you’ll see pingbacks to the other tests of this lens. If you click on them in turm you’ll be taken to those posts.
Brandon Dube, a lens design expert, has made some comments on these images, and I’ve included them in this post.
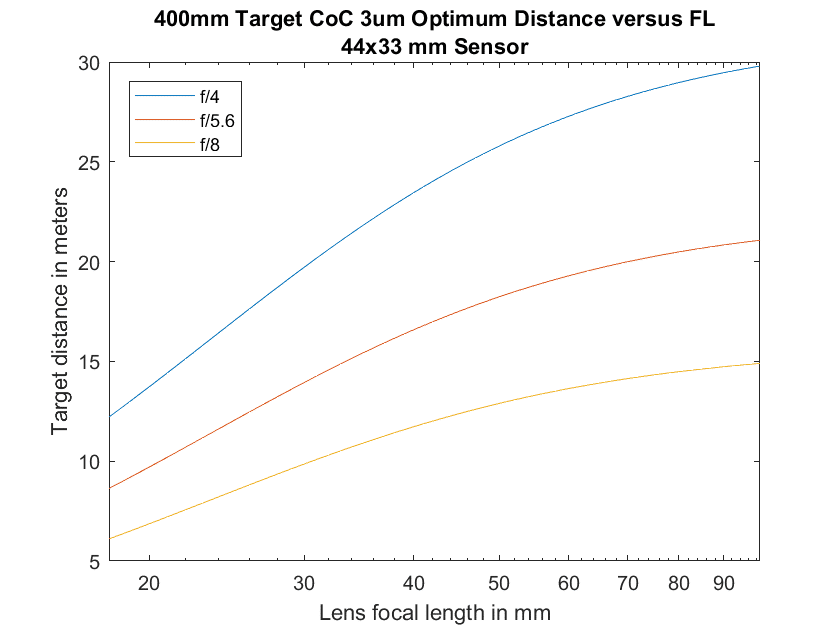
I haven’t been reporting on it, but I have been beavering away on the simple astigmatism test. I’ve changed the target to a full Siemens Star, with no focus area in the middle, so that target size on sensor would be less critical. I am now computing the optimum distance versus both focal length and f-stop:
You as consumers of this information won’t care about his, but I also automated the caption-writing part of the plot routine so that there would be a smaller chance of error on my part.
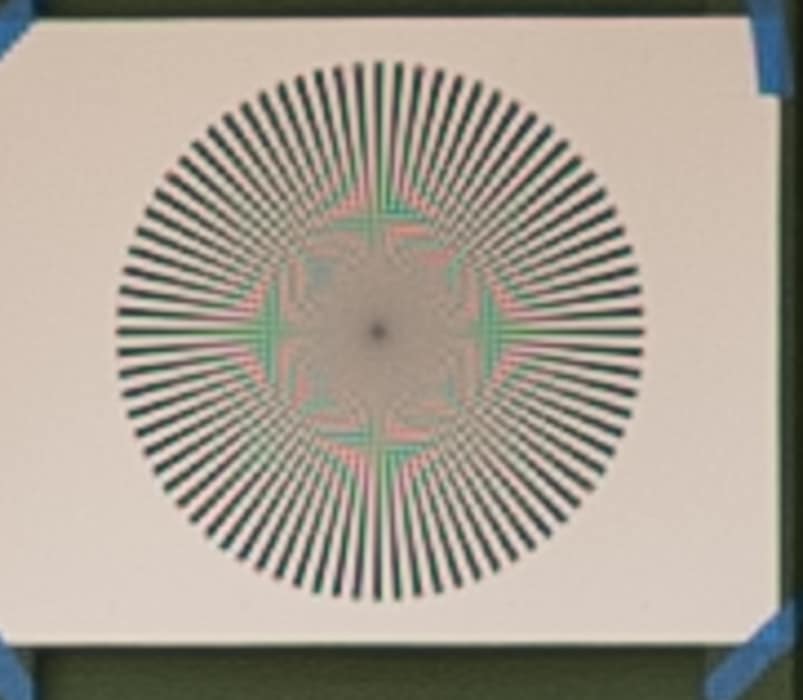
Today I received a copy of the Fuji 32-64 mm f/4 lens for the GFX. I figured this test would be as good as any to see if I had a bad copy, so I set up this test scene:
Target distance was 20 meters. Focal length was 32 mm, and the aperture was set to f/4. ISO 100, 2 second self-timer, manual focus. The target is way too contrasty for accurate focusing with the GFX, so I focused on the low-contrast garage door. By the way, I tried autofocus, too. You’d think this would be a pretty easy thing for the camera to focus on, but the results were completely unacceptable for testing. Maybe they would have been OK for some applications, but lens testing needs accuracy that AF couldn’t deliver in these circumstances. I used manual exposure and let the sky blow out. The whole series got the same exposure.
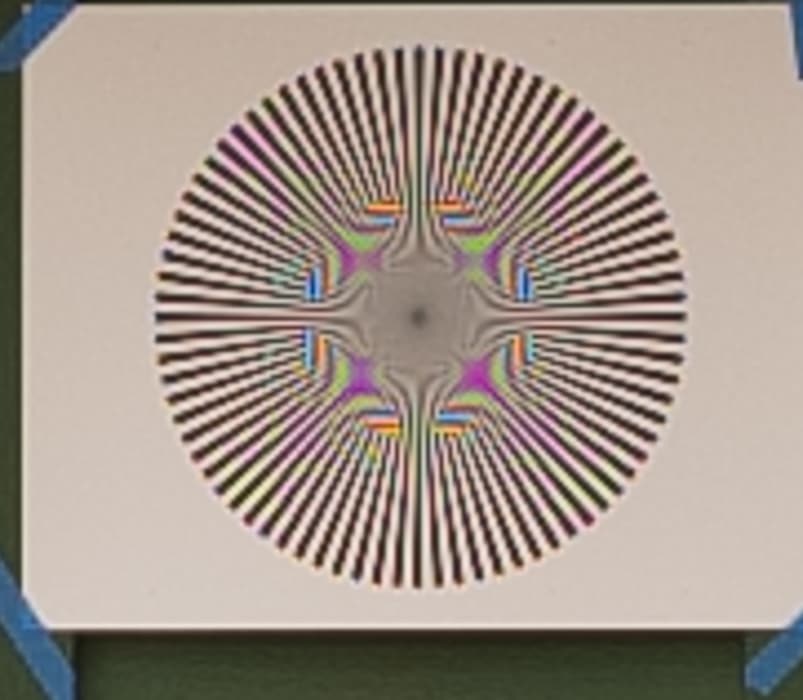
Here is a blowup of the center and each of the four corners:
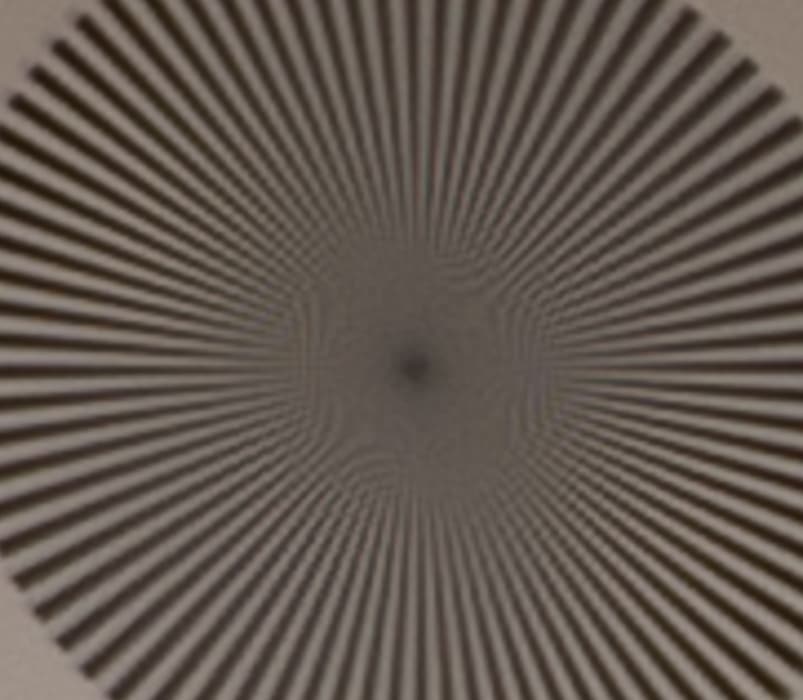
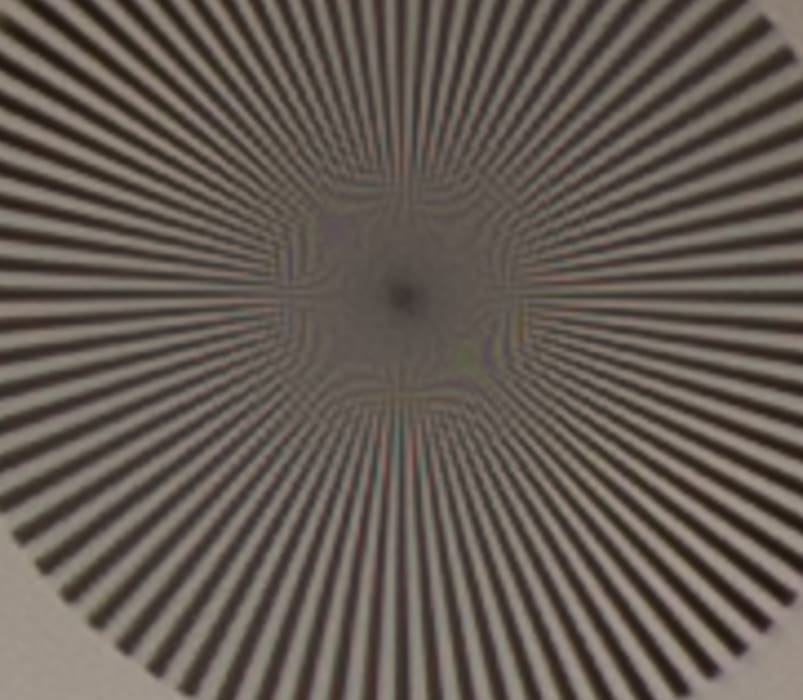
The lens is plenty sharp enough for psychedelic false colors. Please note the diverging of the lines that started out radial and spread you get close to the center. This is the result of aliasing, and the fact that the lines are pretty high in contrast even as they get to the point where the sensor aliases them indicates that this is a very sharp lens for a zoom, and maybe a very sharp lens by any standards — I’ll be testing for that later on.
In the upper right corner:
The corners are darker than the center because of lens fall off. The false color is not symmetric. I don’t think that’s any fault of the lens. In order for the lens to be rectilinear, it needs to expand the image more in the sagittal direction than in the tangential one, and that affects the spacing of the bands in the Siemens Star. Note that the loss in sharpness is not enough to keep aliasing from occurring.
Here are Brandon’s comments on the above and immediately following images:
…there is almost imperceptibly small field curvature or astigmatism. The purple haze/loss of contrast on the lower left edge is most likely coma — you can see the opposite corner has no perceptible blur. So it would appear the coma is pointing so that the tip of the snow cone faces to the lower left. The next image has coma pointing to the lower right. Then upper left next, and finally top right. If the order is what I think it is [originally I didn’t identffy the orer; I’ve fixed that now], you can actually directly observe nodal aberration theory from these images, which is very cool. It seems like the nominal coma in the design is disturbed by a field constant term related to the decenter or tilt of a group or element.
In the upper left corner:
In the lower right corner:
In the lower left corner:
Looks to me that all four corners are more or less as sharp as each other — even though there are minor differences (this test appears to be quite sensitive) and that there is no obvious astigmatism. The fact that all the corners are pretty sharp (the alsiasing shows that), though not as sharp as the center, indicates to me that the field is fairly flat.
According to the graph above, setting the focal length to 50 mm and the aperture to f/5.6 should produce a CoC at the corners well below 3 um, so I ran a test there. I didn’t change the exposure, either so these images are darker.
The crop size is the same — 181 x 157 pixels, so the Siemens Star appears larger.
Now the four corners:
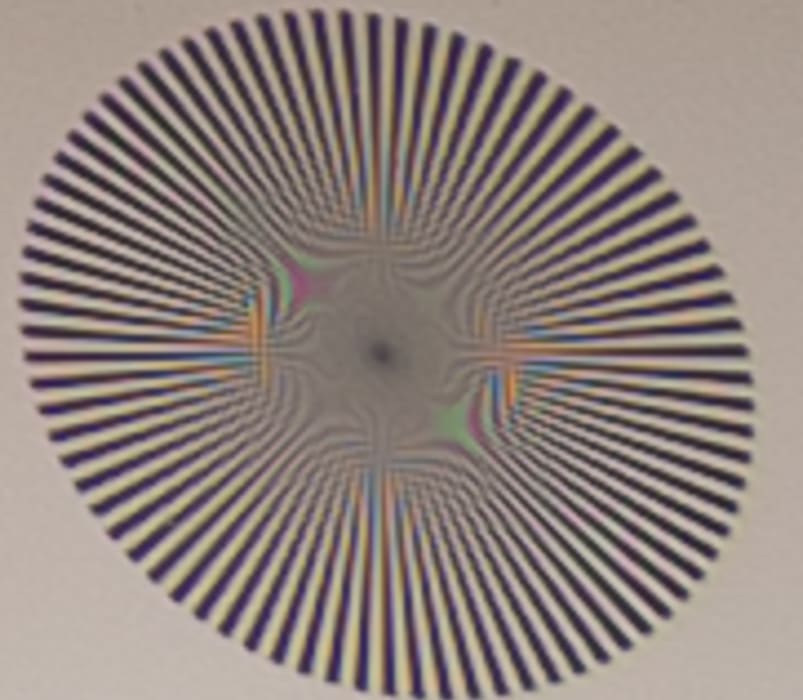
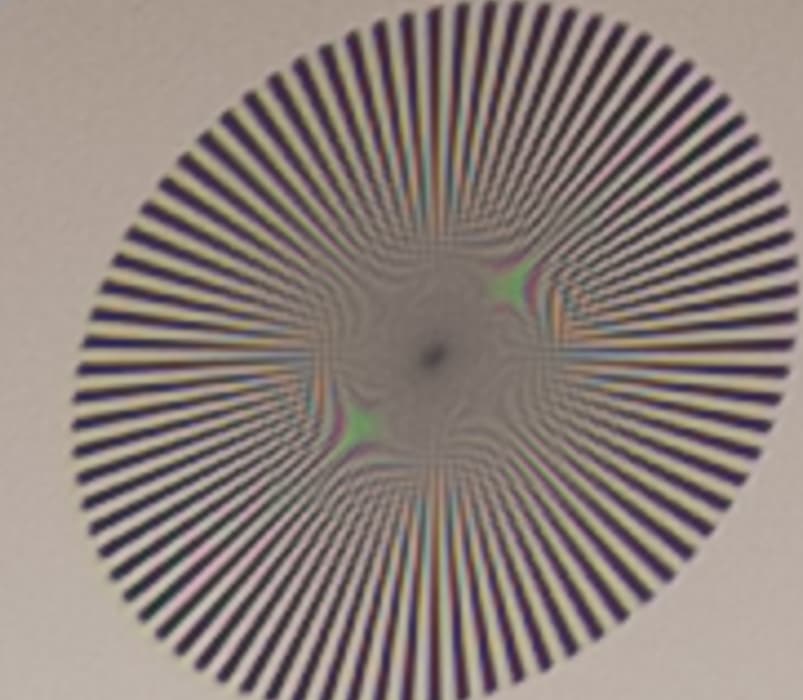
Naturally, the corners aren’t as sharp as the center. They all aren’t equally sharp, either. I can’t see any evidence of astigmatism. I don’t believe the differential sharpness in the corners will make any difference in actual photography with this lens. It’s one of those things that shows up in tests that can cause some folks to return lenses that are perfectly serviceable. If that’s the worst thing I find, I’m keeping this one.
Note that there are no tests at f/4 and 50 or 64 mm focal length. That’s because I couldn’t back up any further than 20 meters where I put the target. I will be looking for other locations to do this test.
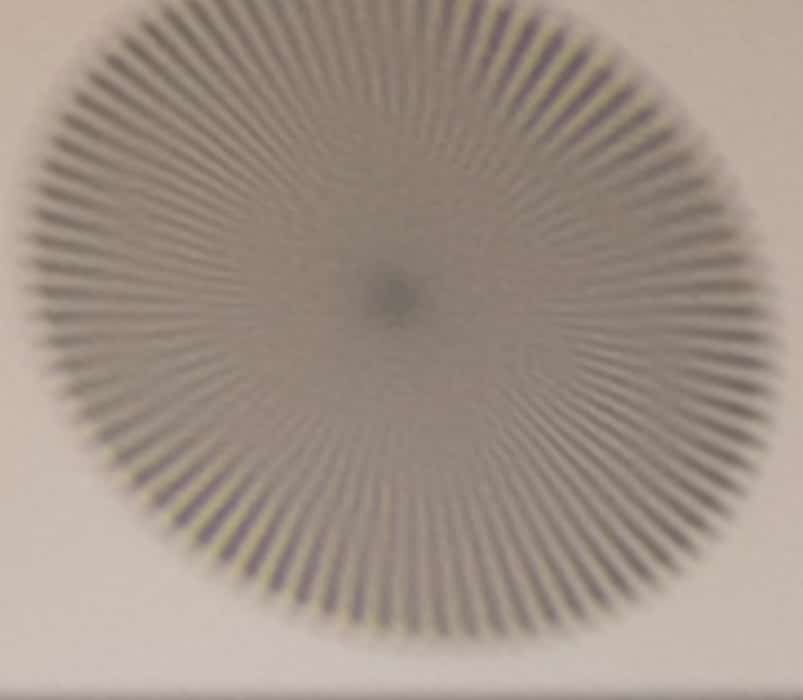
For you amusement, here’s a center-target crop using AF:
It’s not as sharp as the manually-focused image, but it doesn’t look just awful. However, the corners with that focus point are a different story:
Pretty terrible. That shows that all the effects that we’re talking about add up, if not in a linear fashion.
Here in Brandon’s comment on the AF-focus images:
The final image shows some astigmatism. This is simply because defocused images are more showing of the aberration than focused ones.






[…] This is the fourth post in a series of tests of the Fujifilm 32-64 mm f/4 lens on the Fuji GFX 50S. The test starts here. […]