This is the ninth in a series of posts on the Fujifilm GFX-50S. The series starts here.
Yesterday I posted a series of images made with the Fujifilm GFX-50S and the 63mm f/2.8 native lens. Those images were process using Lightroom’s default settings, except for Exposure. Lightroom uses non-defeatable lens corrections with the 63 on the GFX. Lightroom also applies sharpening that is dependent of the camera and the lens. The latter thing, and possibly the former, are not desirable for lens testing, as they introduce uncontrolled variables. When I say uncontrolled, I mean by the experimenter (that would be moi). The Adobe engineers control those things quite well, to whatever their criteria are.
There’s a way around this for the Fuji raw files. There’s a program called Iridient XTransformer that converts Fuji raw files to DNG files. It has options to turn off Lightroom’s lens corrections, noise removal, and sharpening.I left the lens corrections on, and I ran the GFX images from yesterday’s test through Xtransformer and told it to defeat the other two sets of corrections, but apply its own default sharpening. Then I bought the DNGs into Lr, corrected exposure by +2/3 stop, and applied the same crops as yesterdays images.
In the center at about 250 percent:
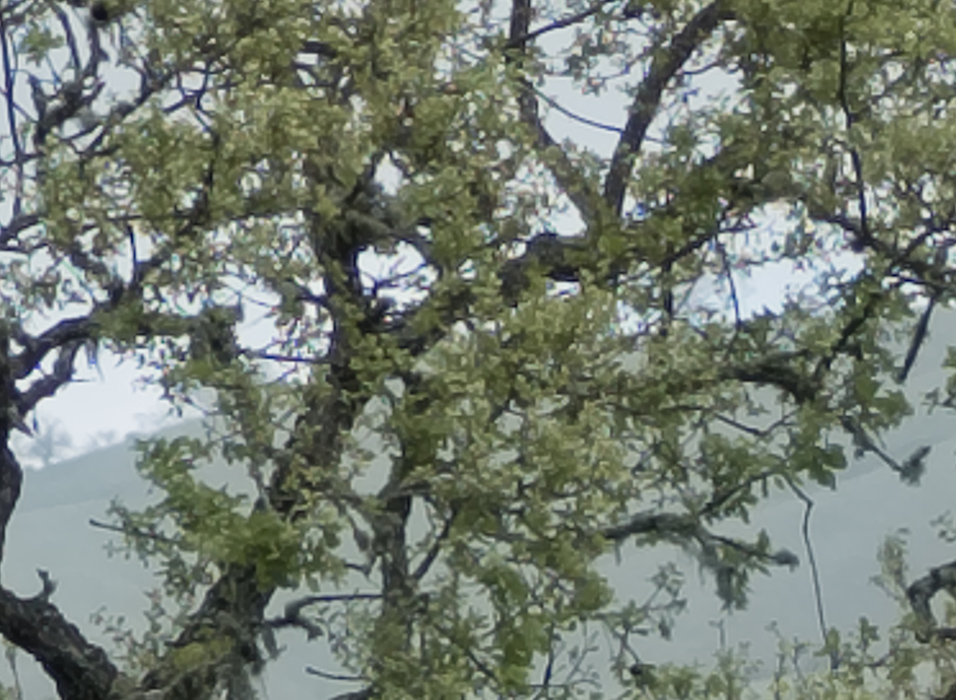
Here’s how to use these highly-magnified crops. The dimensions of the GFX sensor are 8256×6192 pixels. If we make a full-frame print from the GFX on a printer with 360 pixels per inch native driver-level resolution, like the Epson inkjet printers, we’ll end up with a 23×17 inch (58×44 cm) print. The 318×246 pixel crop you’re looking at will end up 0.8333×0.6833 inches (2.12×1.74 cm). Let’s imagine that you or your viewers are critical, and will look at the 22×17 inch print from about 18 inches (conventional wisdom is that the distance would be a little greater than that, or 28 inches (the diagonal), but you did buy a high-resolution camera for a reason, didn’t you?).
The next step is dependent on your monitor pitch, which you may or may not know. Turns out, you don’t have to know it. Just take the 253% crops and view then at 1:1. How high are they? Get out your ruler and measure, or just guess. Let’s say they are 6 inches high. 6 inches is about 7 times 0.8333, so in order to view the crops the way they’d look from 18 inches on the print is to view them from 7 times as far away, or 10.5 feet.
Everything here scales proportionately. If the image on your screen is bigger than 6 inches, increase your viewing distance by the ratio of your image height to 6 inches. If you thin your viewers are going to almost get their nose to that print and look at it from six inches, divide that 10.5 feet by 3, and look at the image on the monitor from three and a half feet away.
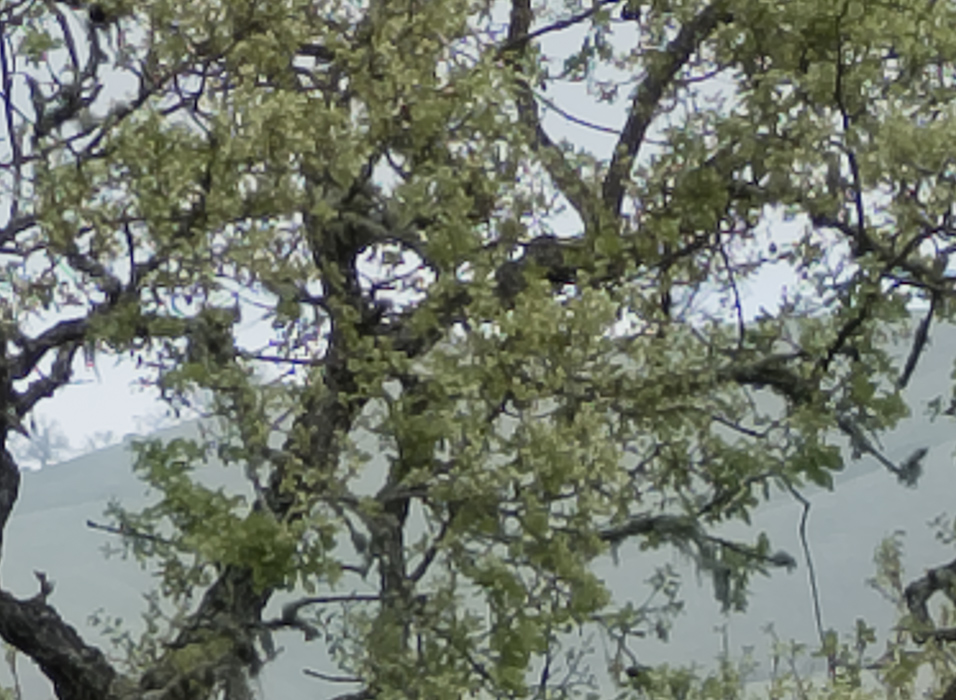

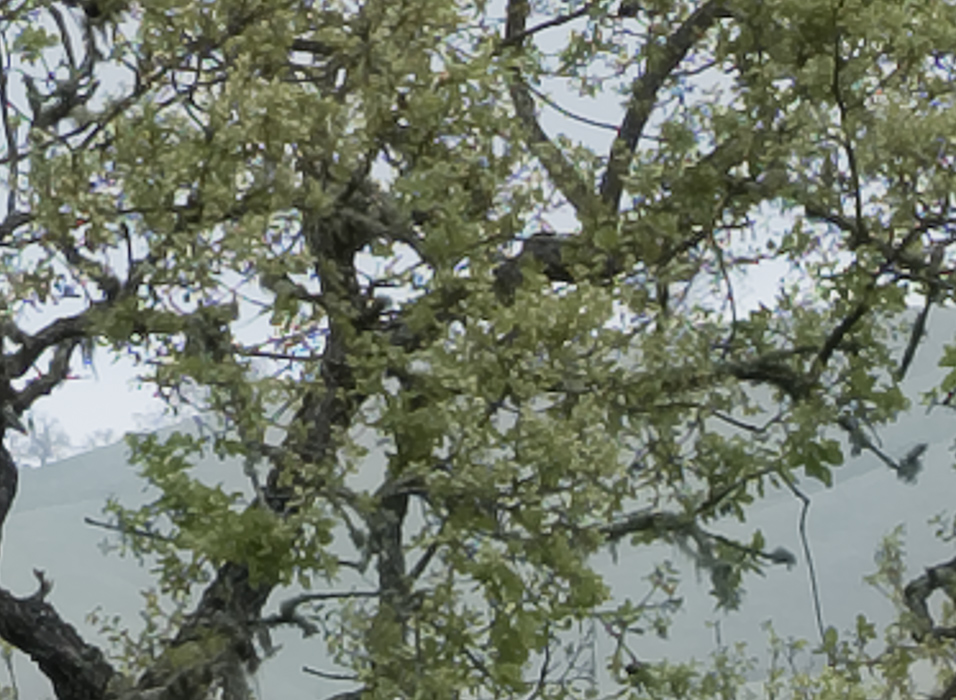
It is apparent that the great on-axis performance of the GFX and the 63 mm lens is does not come from Lightroom sharpening. It looks like the X-transformer default sharpening is a bit agressive for my tastes. I’ll do some more testing with it off entirely.
On the left side a bit close than the ideal focal plane:
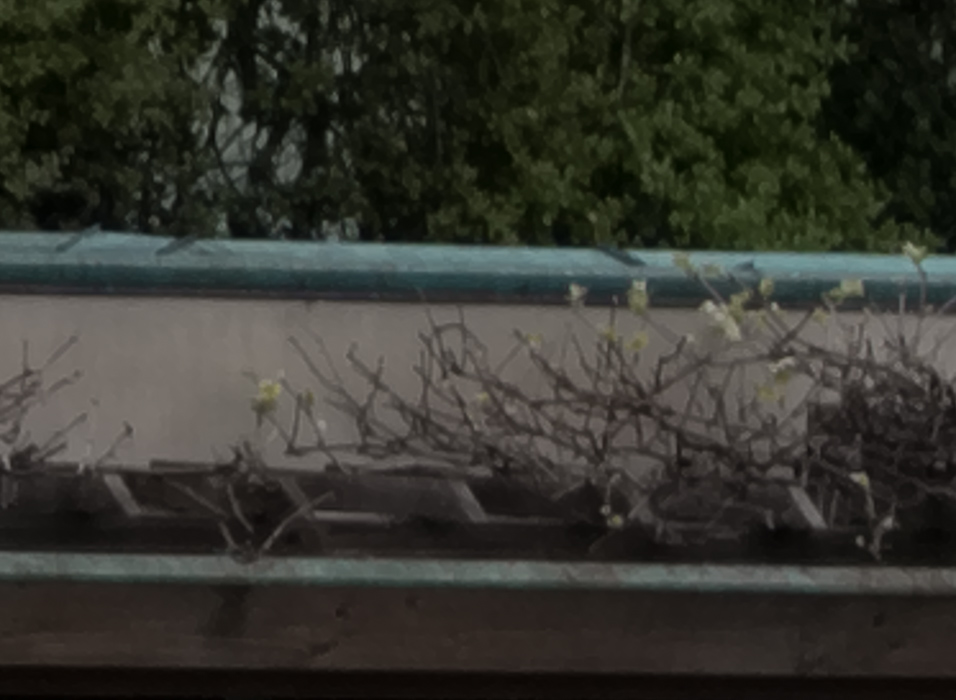
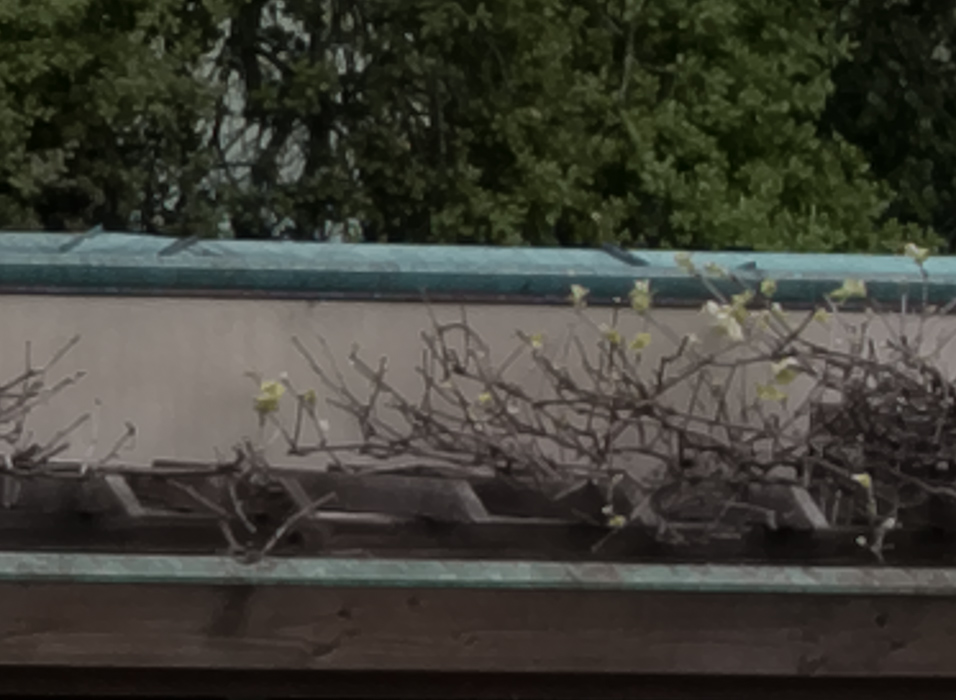
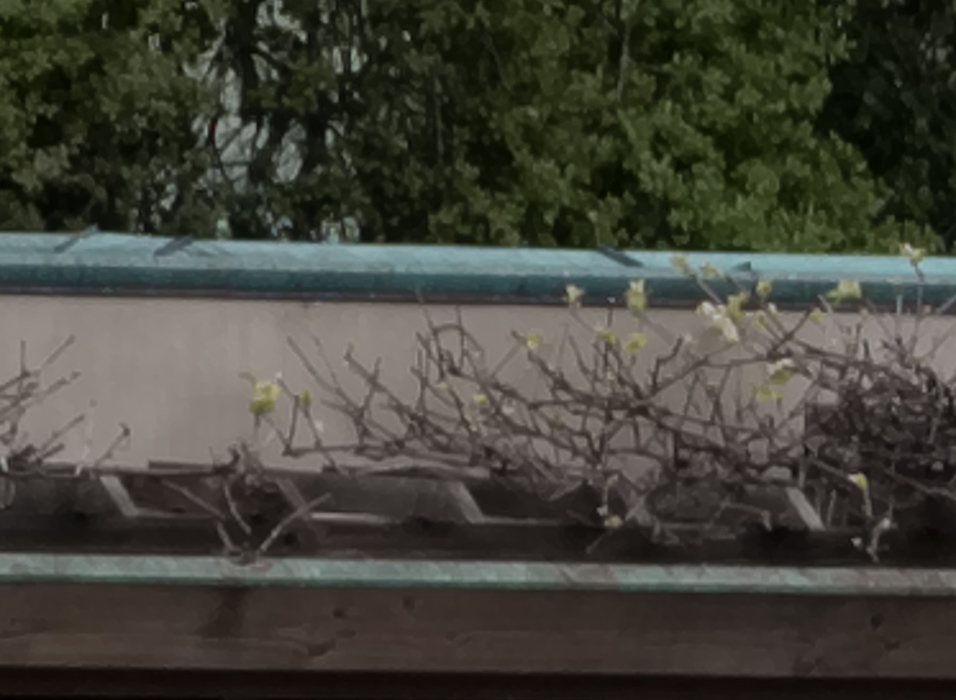
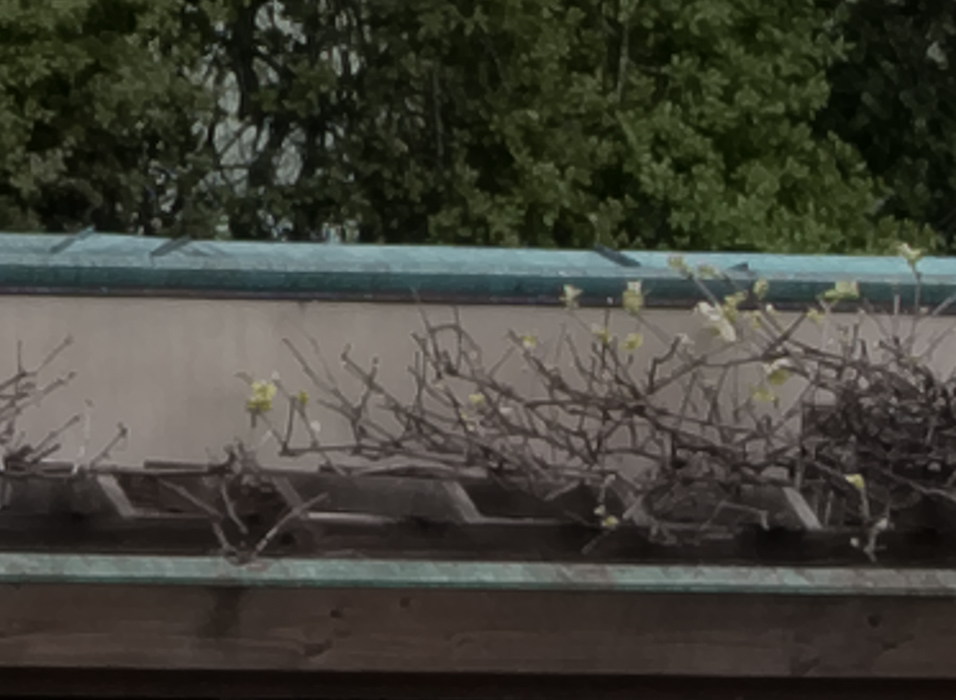
On the left side a bit behind the ideal focal plane:
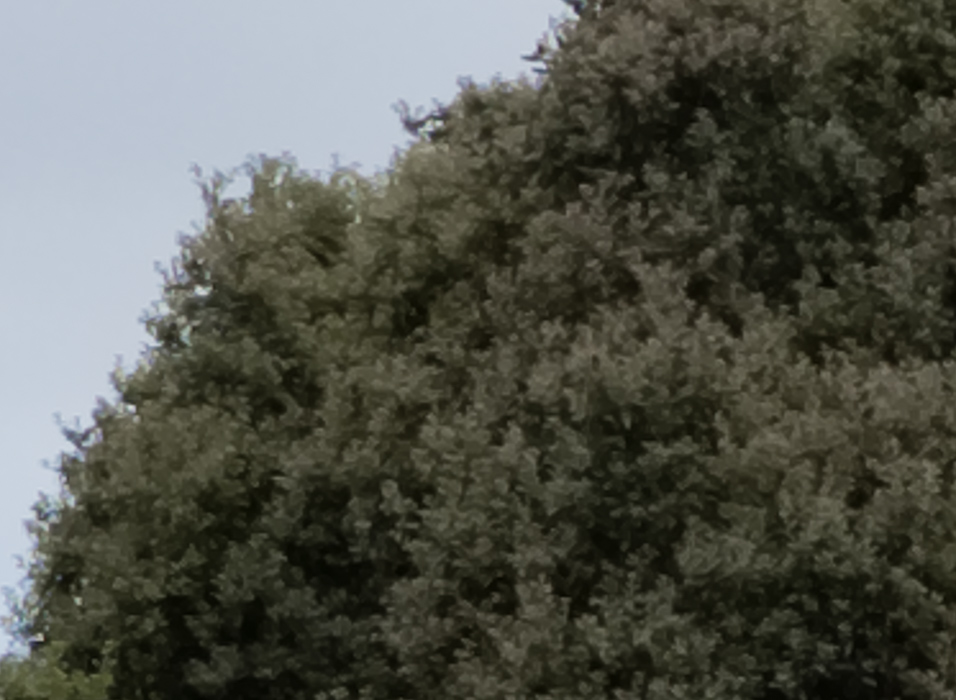
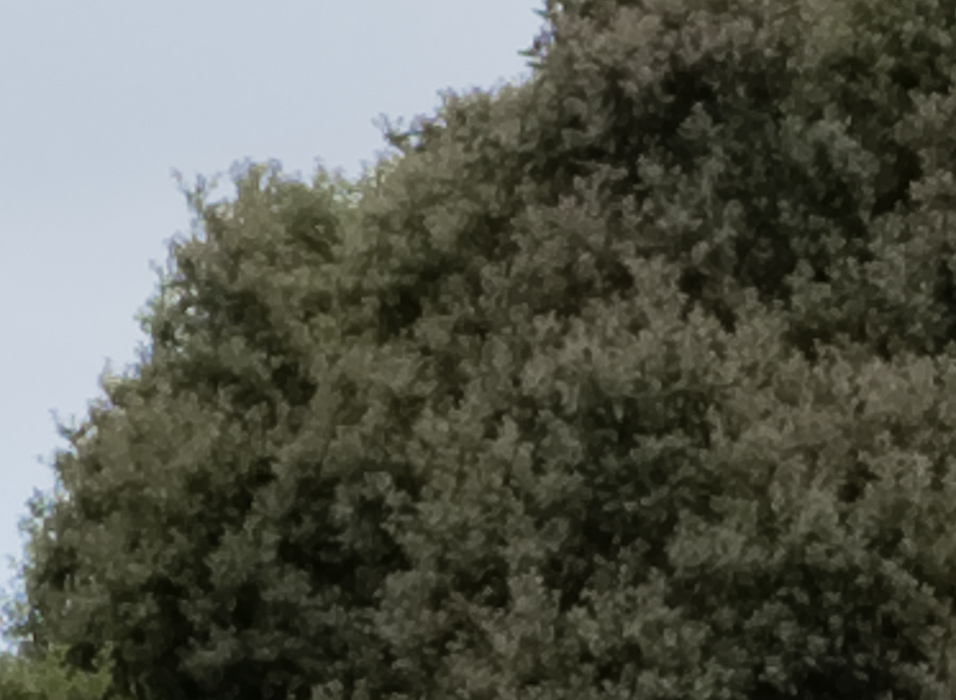
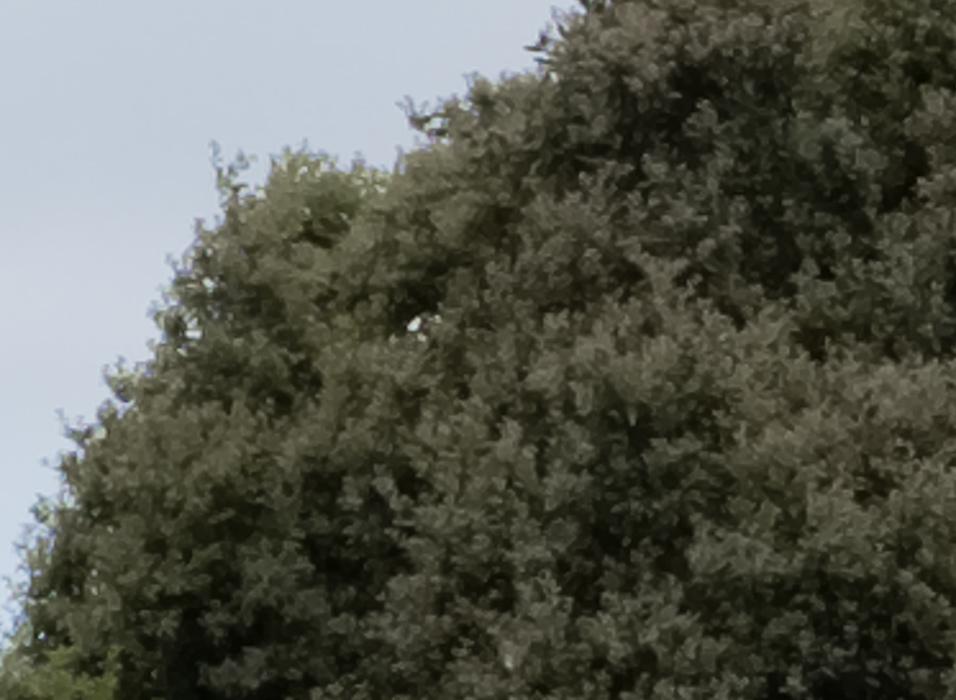
Again, we note that the focal plane bends forward somewhat at the periphery.
In the upper right corner:
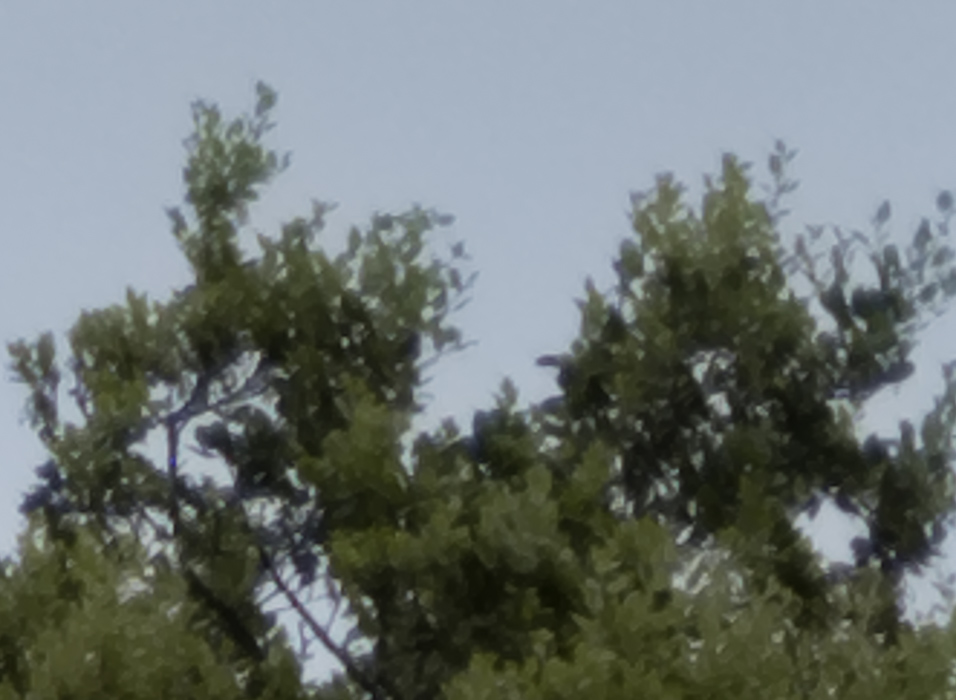
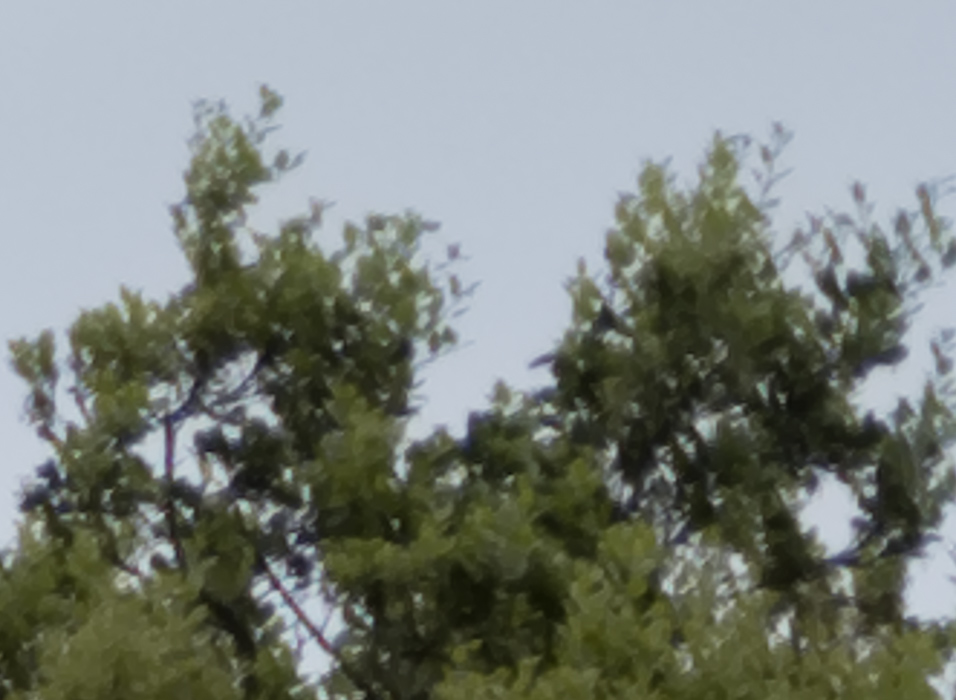
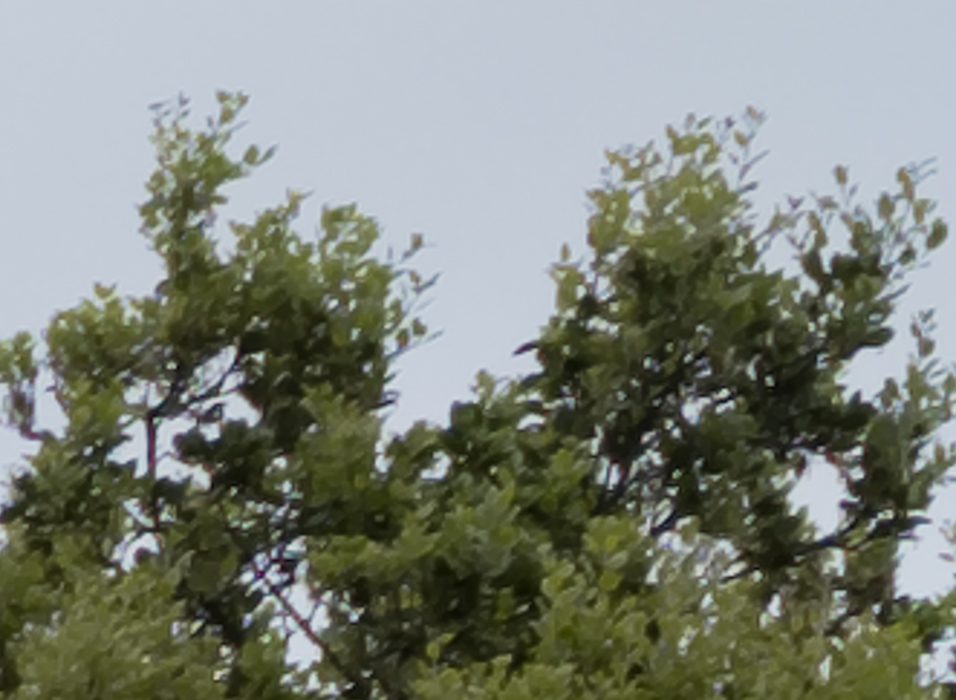
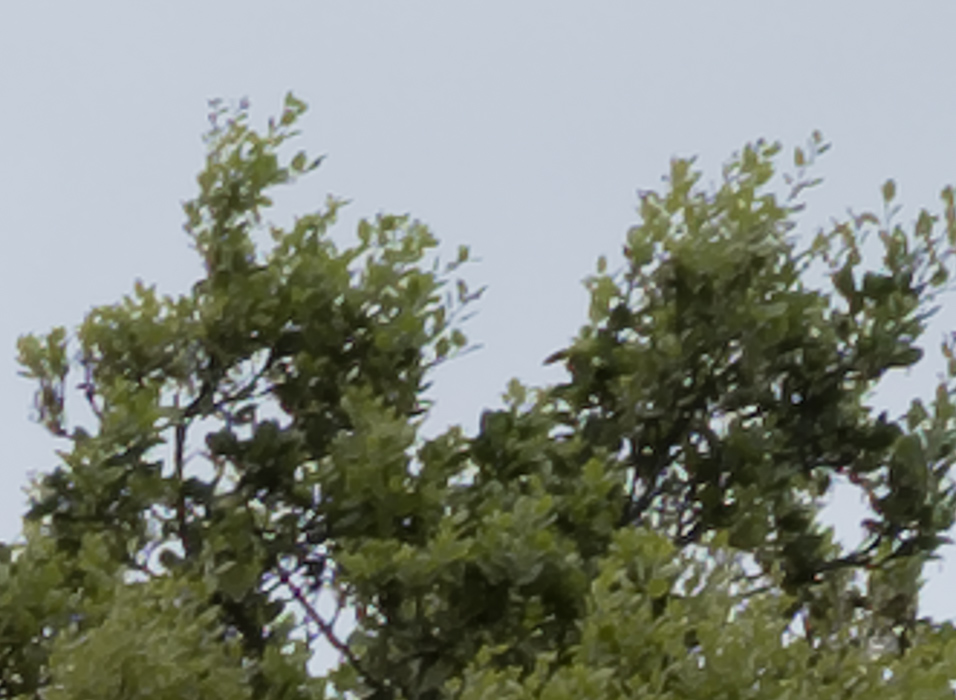
Here’s a set of images with Iridient set to use the “Smoother” demosaicing option and lens corrections defeated:
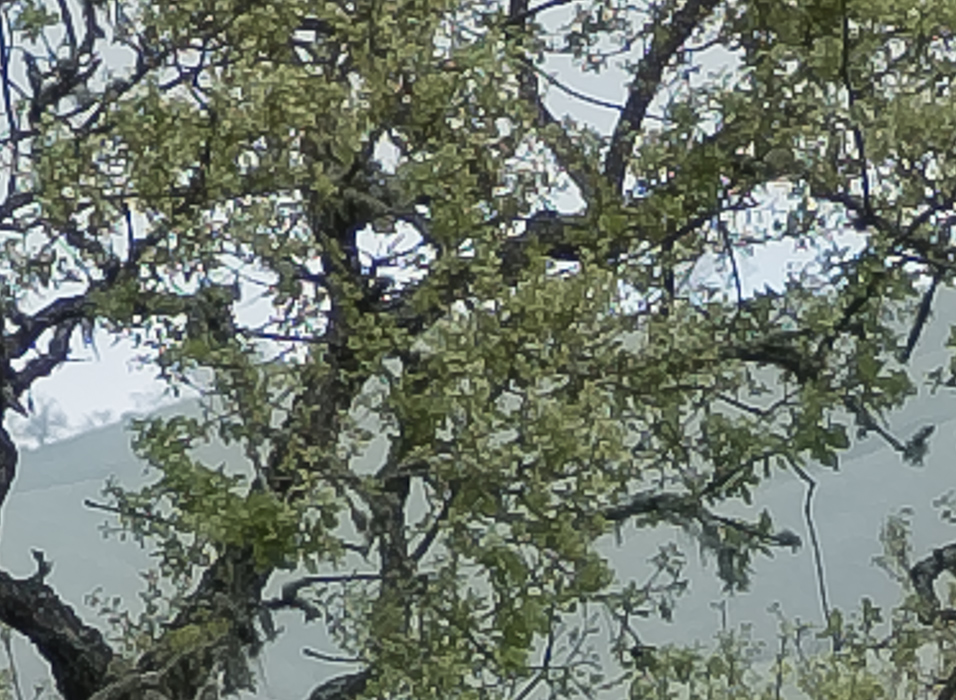
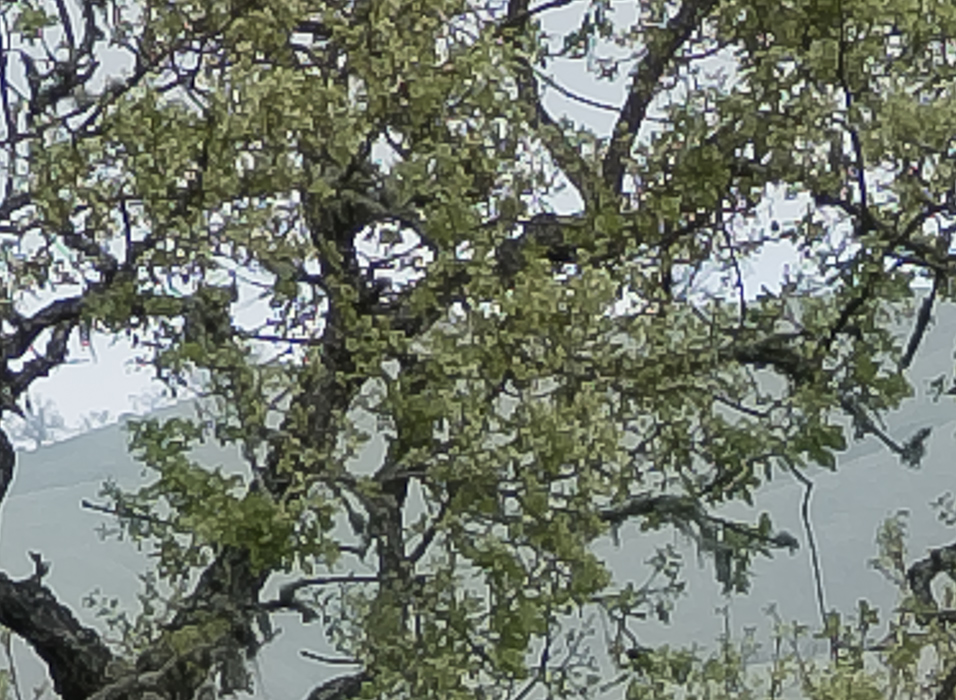
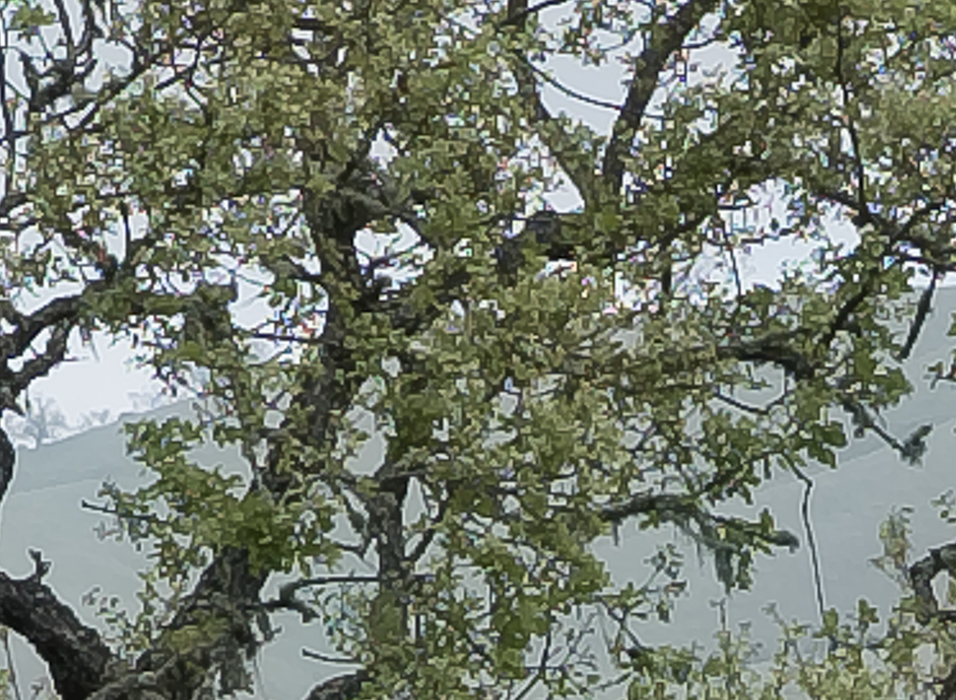
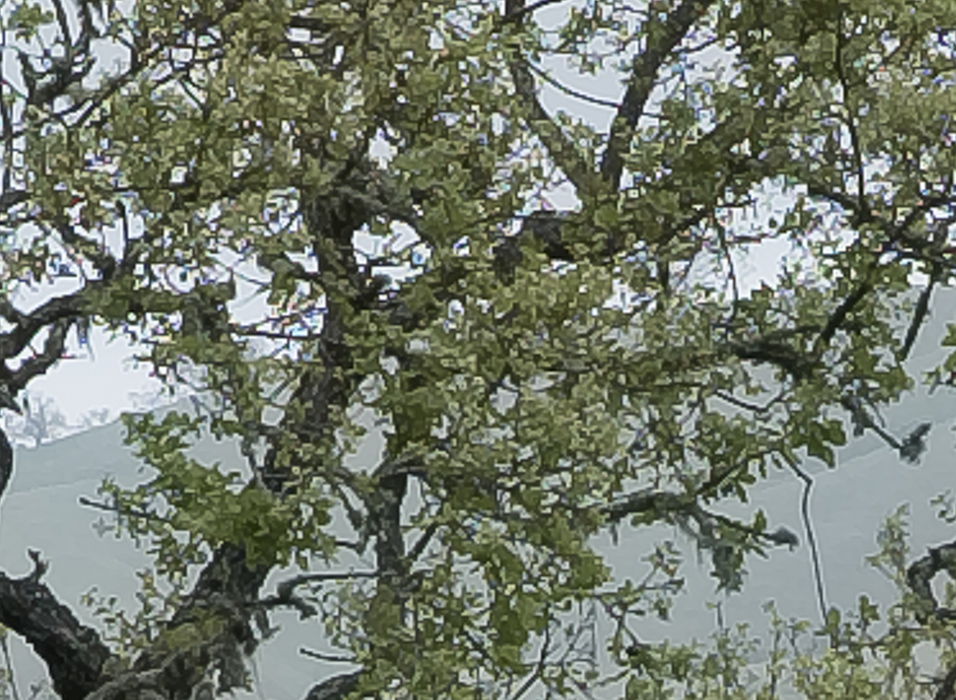
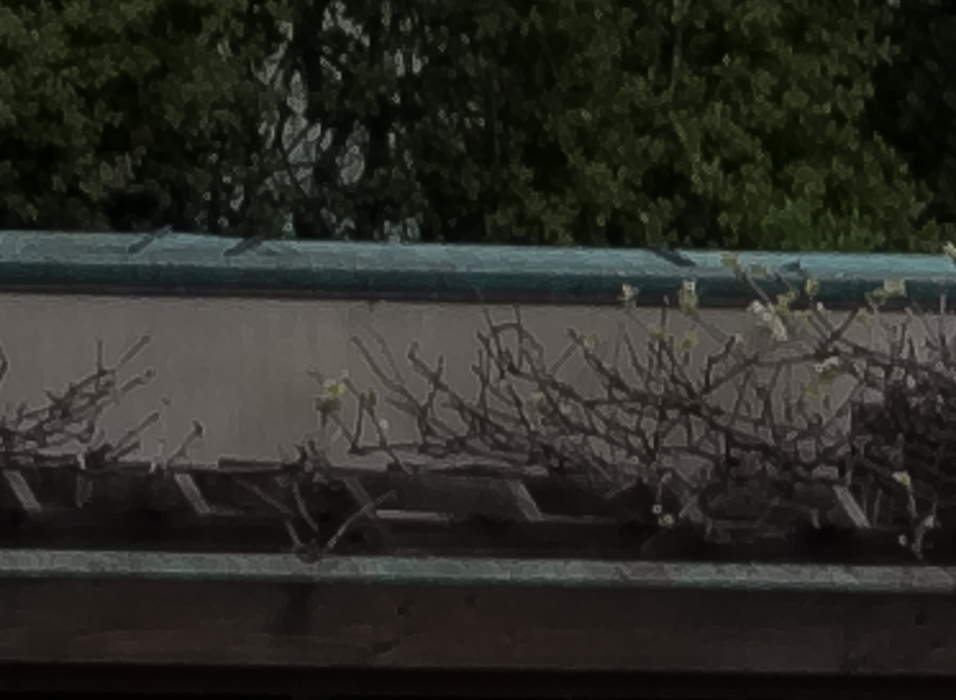

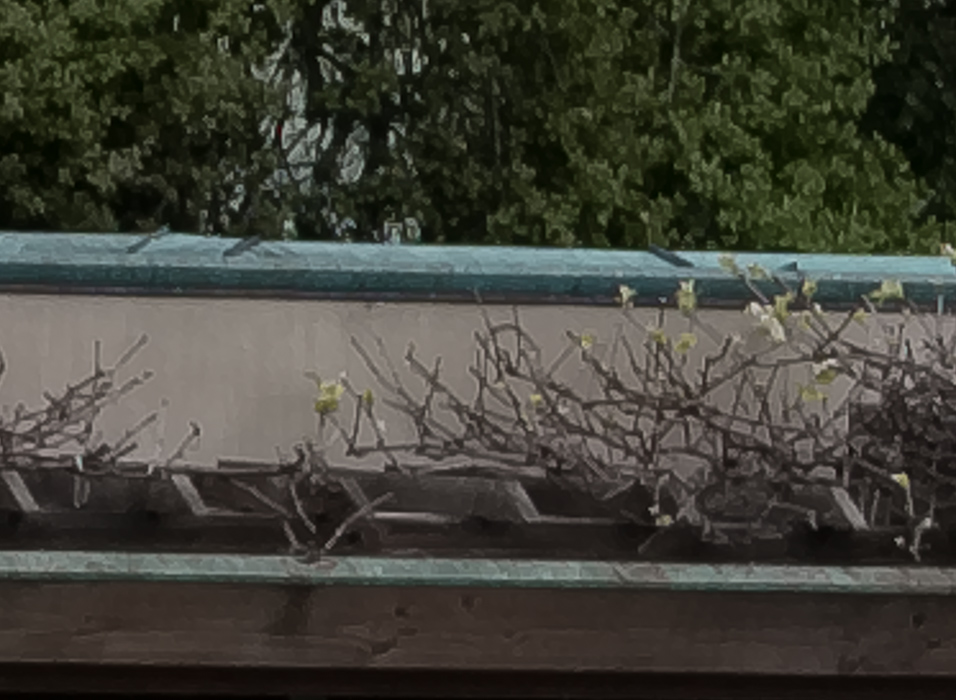
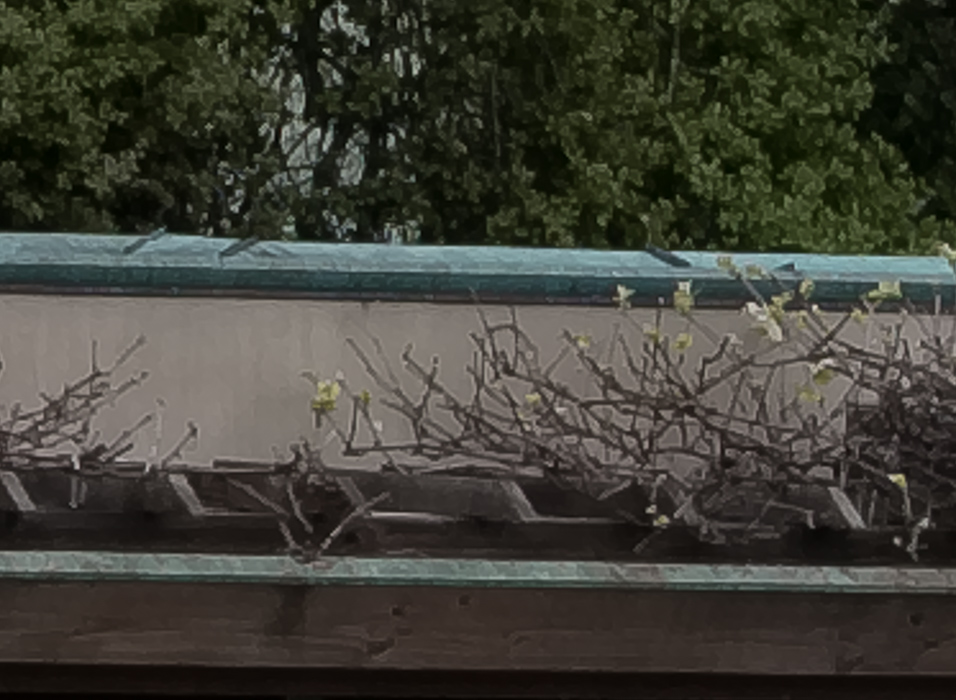

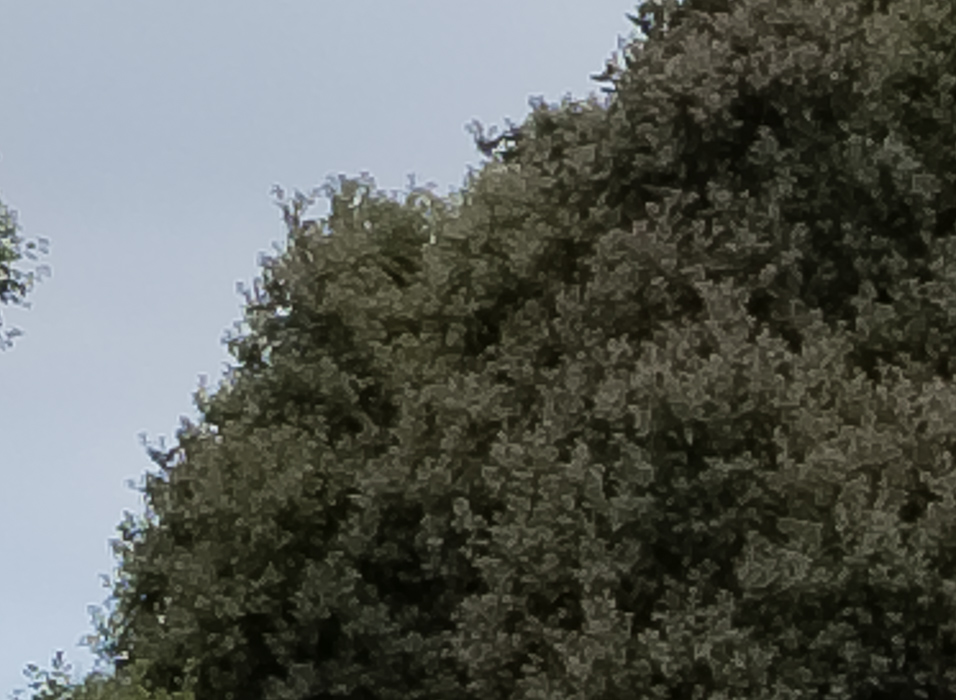

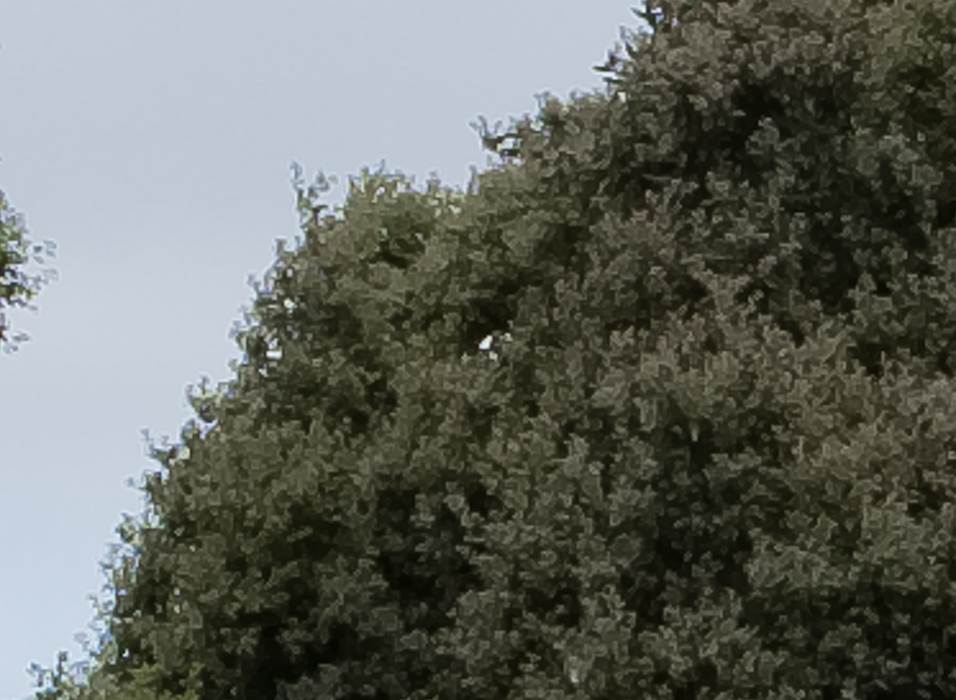


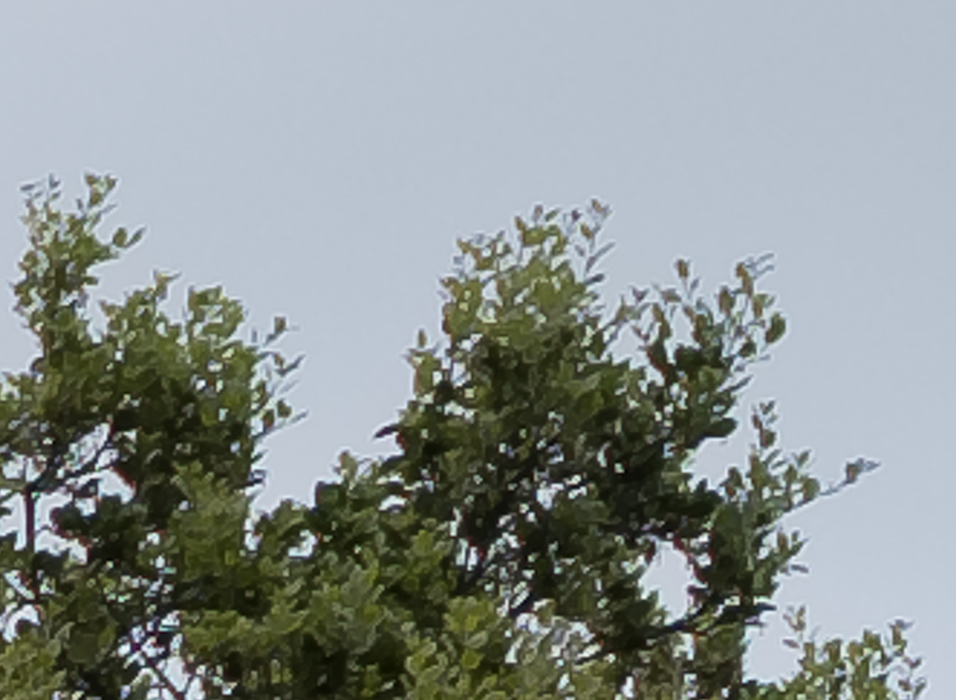
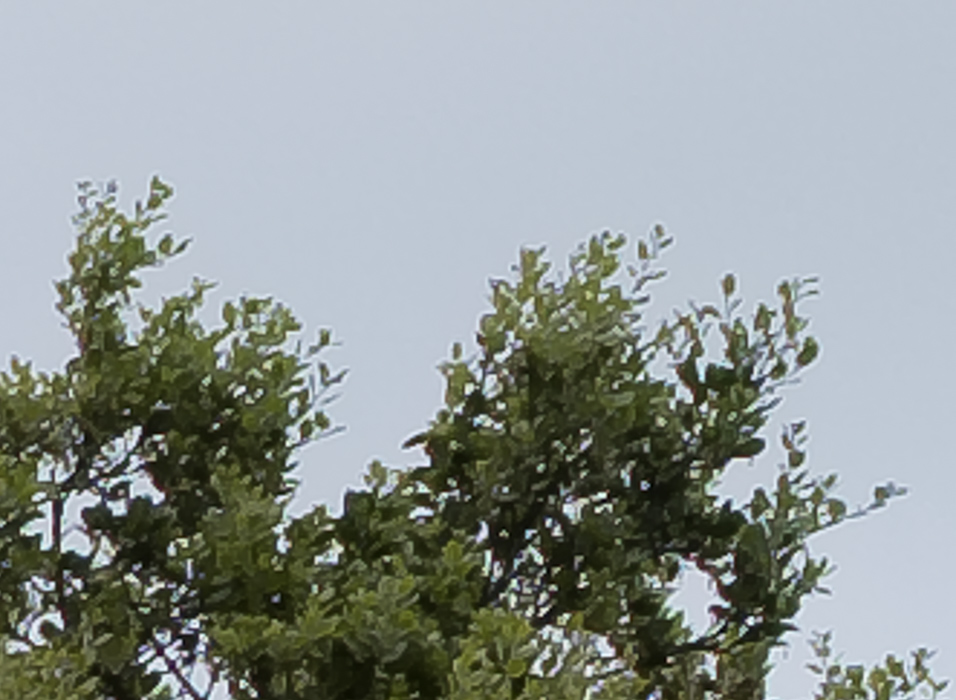
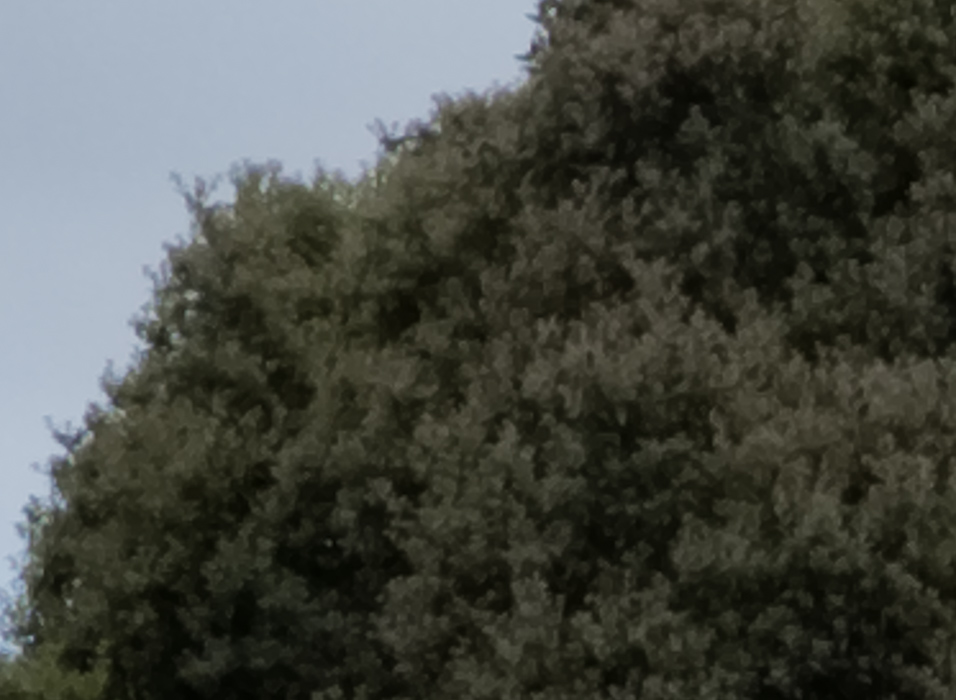
It also looks like the corners might be sharper with the lens corrections turned off. Here’s the image above from the series with lens corrections and the other demosaicing algorithm:

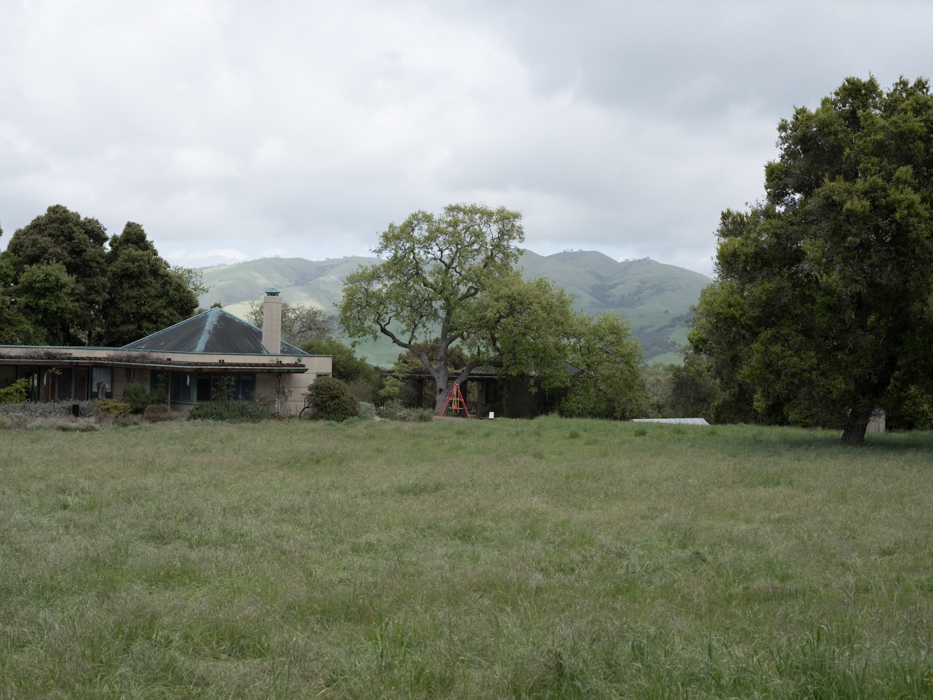
One thing you can see for sure; the lens distortion correction moves the location of the tree in the frame.
Leave a Reply