This is one in a series of posts on the Fujifilm GFX 100. You should be able to find all the posts about that camera in the Category List on the right sidebar, below the Articles widget. There’s a drop-down menu there that you can use to get to all the posts in this series; just look for “GFX 100”.
I did a quantitative analysis of the Fuji GFX 50S focus bracketing step sizes, and reported the results in terms of displacement of the plane of focus on the sensor in micrometers (um) and in the size of the implied circle of confusion (CoC), also in um. That scores well for precision, and for those of you willing to dust off the lensmaker’s equation and figure out what that means in terms of the object-field focal plane, was all you needed. But a lot of people are more visually than mathematically inclined, and I had nothing for them, in spite of the fact that the GFX cameras do all the hard work to compensate for lens focal length, f-stop, and subject distance to keep the amount of focus-induced blur constant as you change all those things.
After I created the images for the previous post, I realized that I had the material I need to provide a visual cheat sheet for those desiring an aid to picking the step size. I created ten images of a Siemens Star target using a step size of 1. So image #2 is one step away from the starting point if you pick a step size of 2, image #3 is one step away from the starting point if you pick a step size of 3, image #4 is one step away from the starting point if you pick a step size of 4, and so forth.
Here’s the series. Tips on how to use it are below the images.
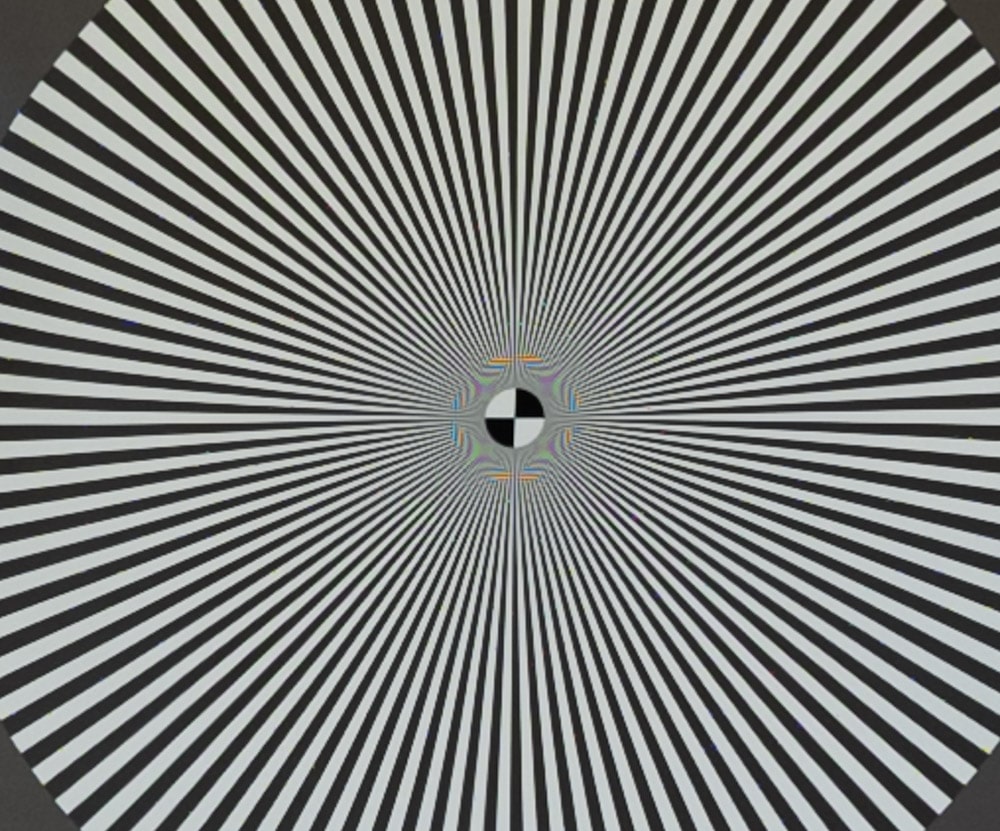
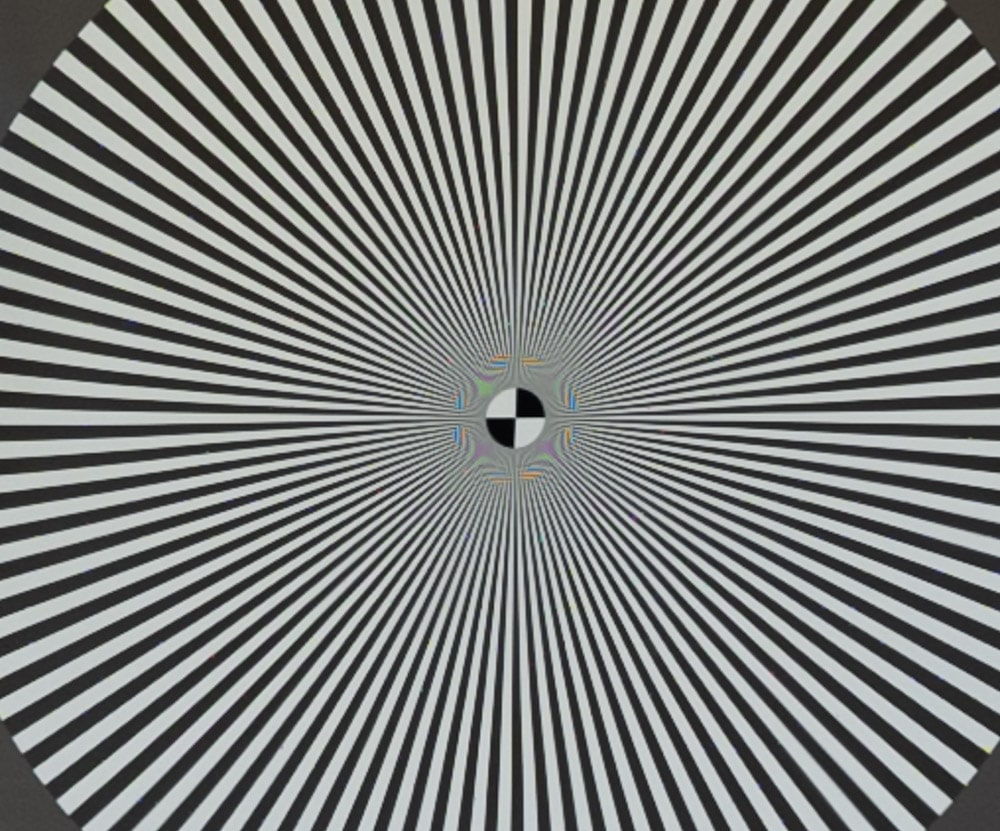

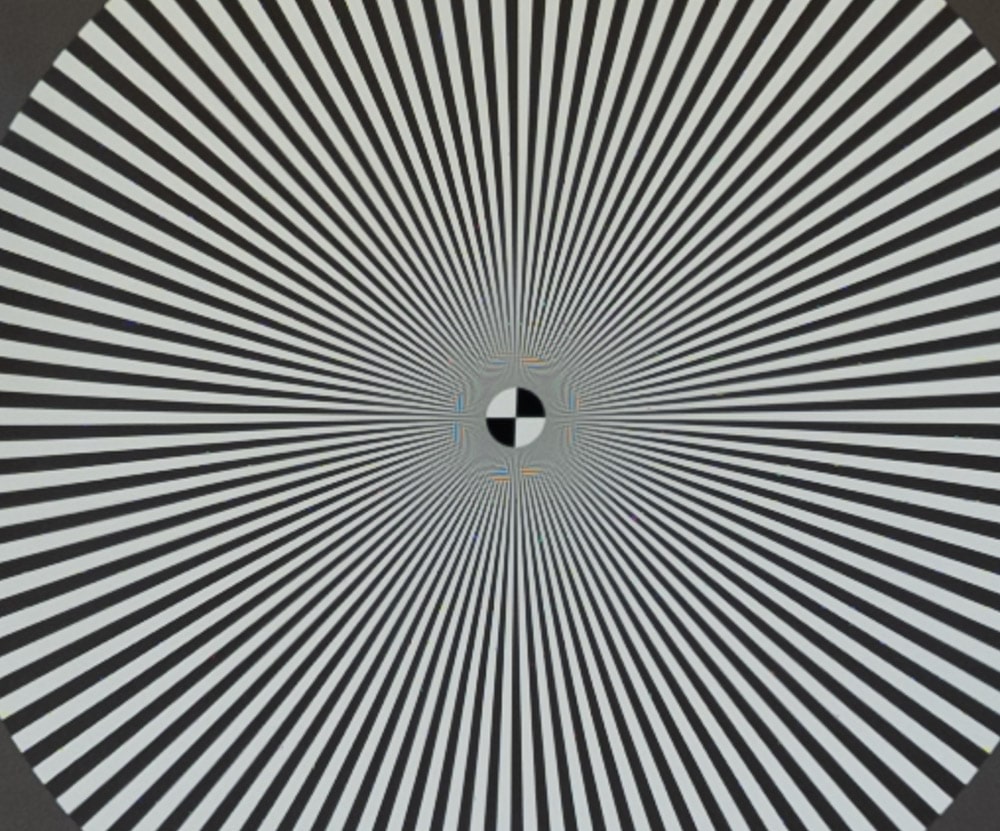
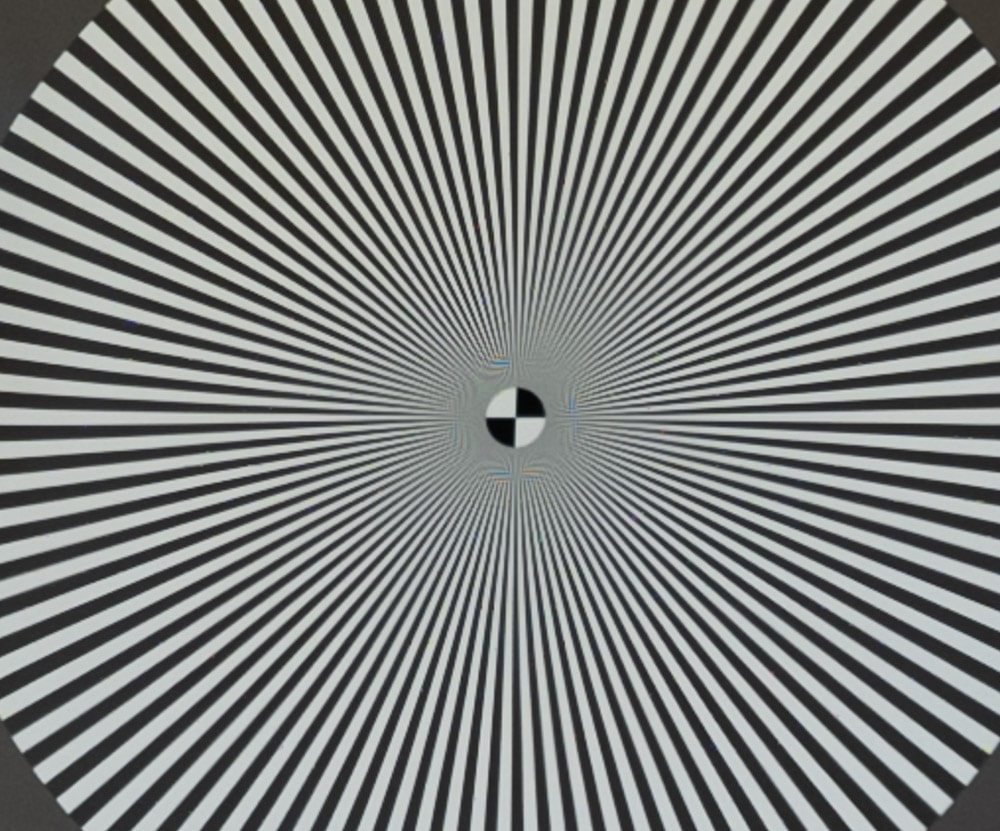
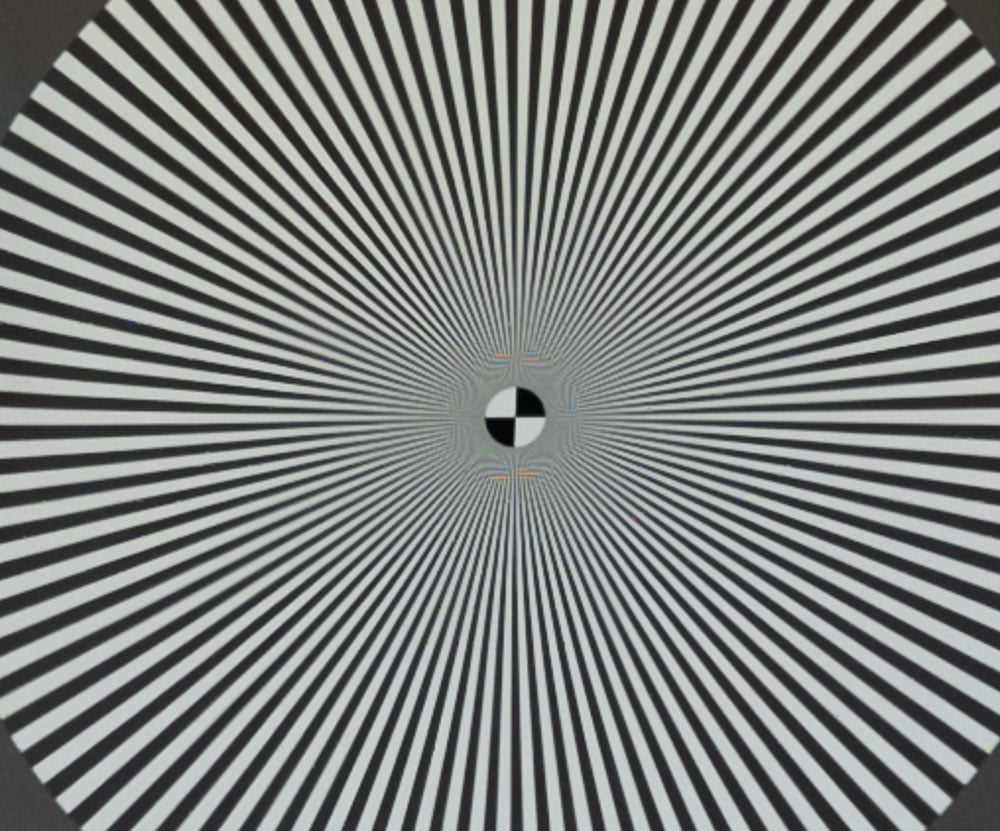
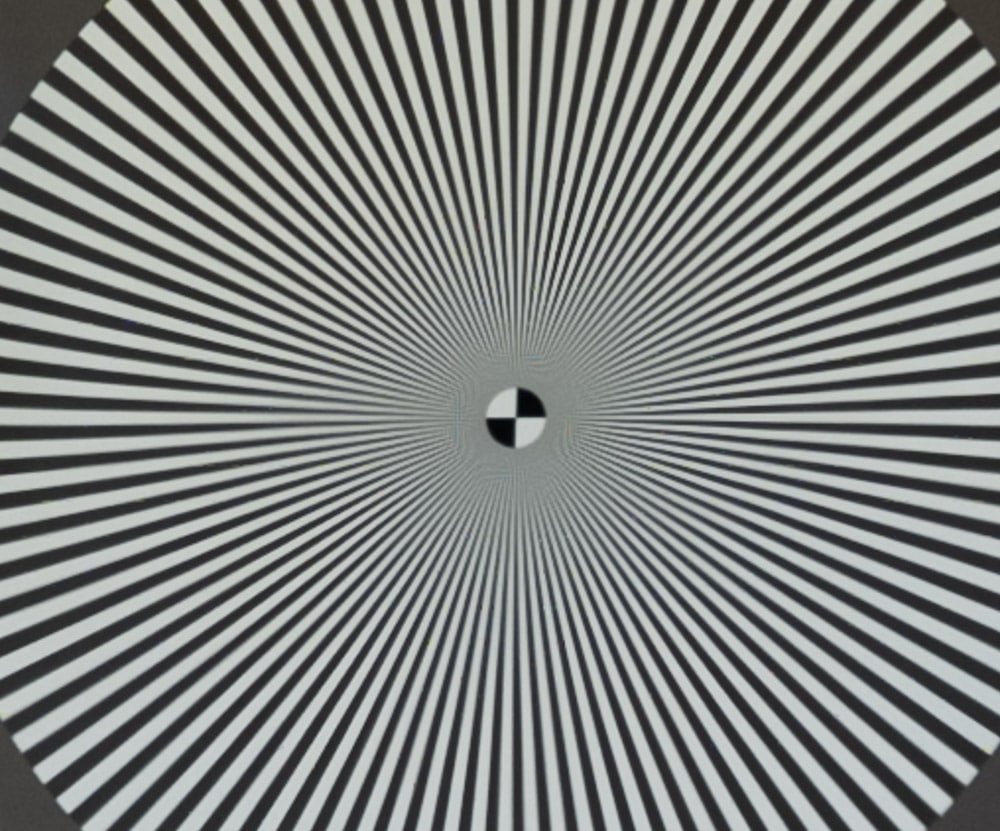
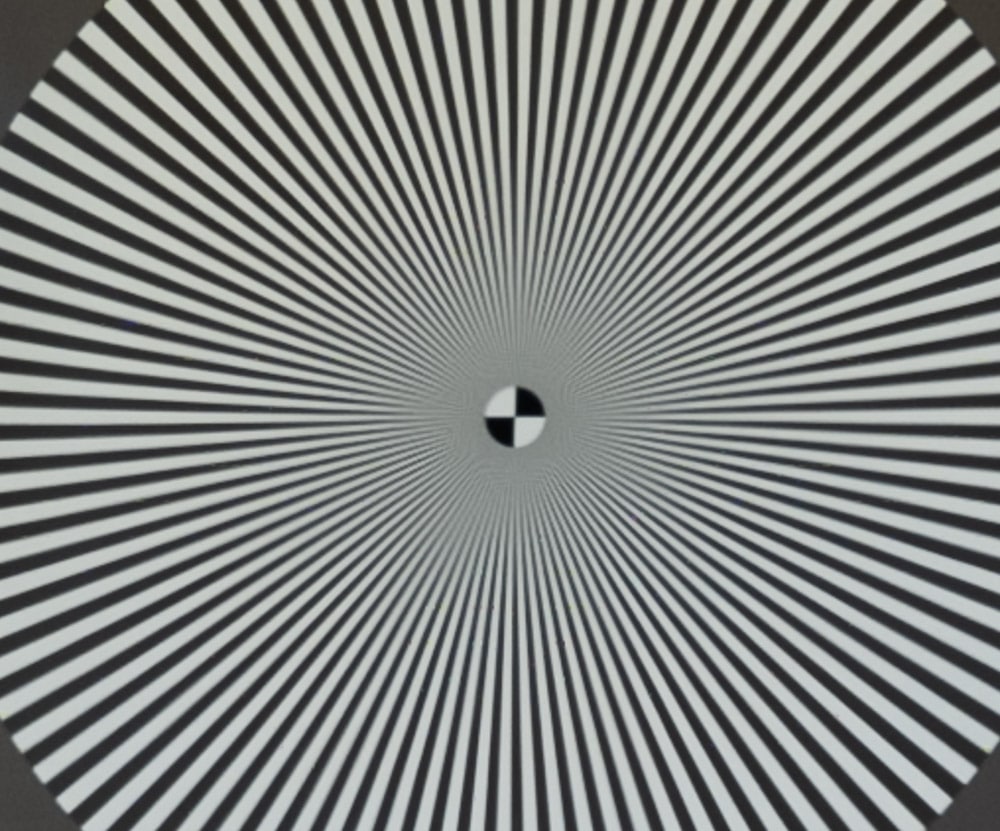
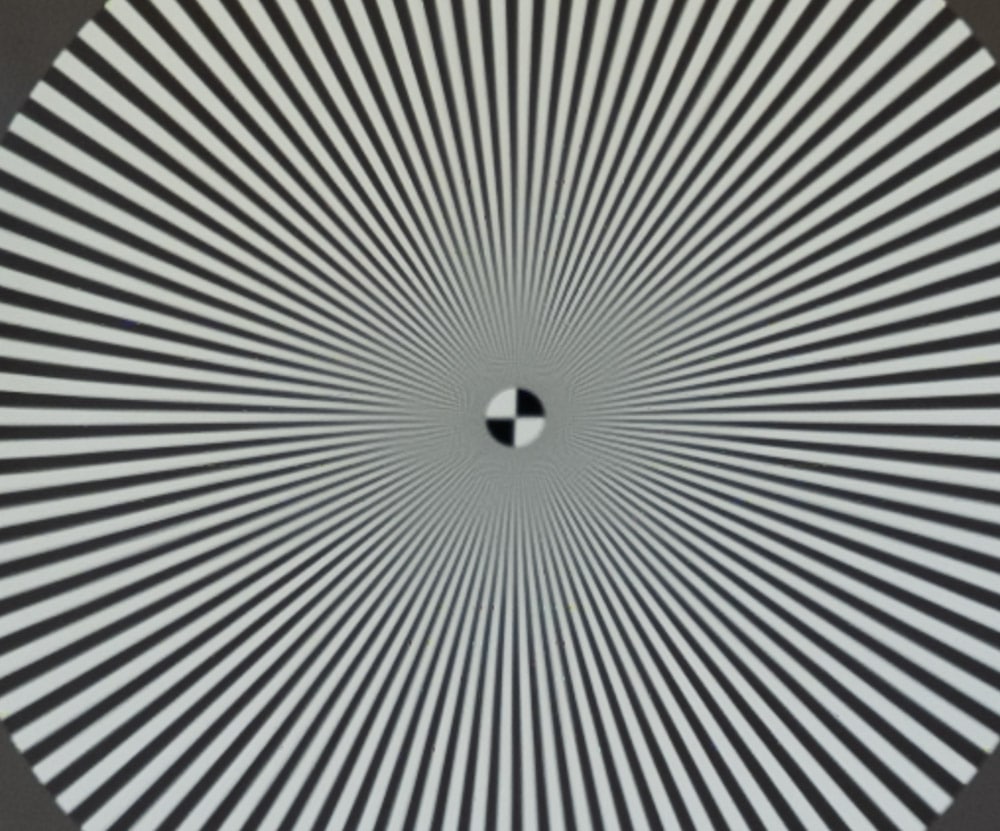

Say you’re doing focus bracketing. Decide how far out of focus is acceptable by picking a just-marginal image. set the step size to double that (assuming that the most out-of-focus area in a stack is half way in between the steps) or one unit less. If you’re doing stacking, decide how much softness the stacking program can manage, and pick that step size.
Enjoy!
Rico Pfirstinger says
Step 4 appears to missing, at least in my browser (Safari Mac)
JimK says
Thanks. Fixed now.
BT Hathaway says
I’m in no way an optical engineer, which means I have absolutely no way to tackle the math you speak of; but neither does focus bracketing on a two dimensional target help me visualize my shot, when I’m trying to figure out (at any given focal length and aperture) approximately how many steps of a certain size will move me all the way through the scene in front of me—whether that’s a product shot on a table, or a room for an interiors shot or the Grand Canon.
It would not surprise me if i’m oversimplifying the problem, but I’ve been thinking in terms of setting up my camera at a long railing or fence running perpendicular to the sensor and beginning to build a chart of step distances covered for any given lens and it’s settings. Brute force obviously, but for those of us who went to music school or art school rather than having an engineering degree, perhaps that will be a more visual and concrete approach.
If for instance I set up the 110mm in a space 20 ft deep at f5.6, how many steps and of what size will it take to make sure I have sharp focus from the minimum focus distance, to the far wall? Right now I’m just guessing and with a little trial and error I get by, but it seems like there should be a fairly reliable heuristic way for me to pre-visualize the movement of the focal plane through the 3D space I see in front of me, so I can work more quickly and consistently. There’s probably an app for this, but to be honest I’m tired of pulling my phone out every five minutes. I would much rather have a method I can work out in my head as I assess the shot.
I’m very new to focus stacking, so I welcome any help I can get.
Thank you.
JimK says
I think you’re trying to get more of that post than what I intended it to show. I merely offer it as a guide to picking the step size based on your tolerance for misfocusing. Figuring out the number of steps is beyond the scope of the post. If you want to do it with no math at all, pick the step size using the pictures in the post above, pick a huge number of steps, focus on the near, trigger the sequence, look at the pictures on the LCD as they are captured, and stop the sequence when you can see that the camera has gone too far.