This is one in a series of posts on the Fujifilm GFX 100. You should be able to find all the posts about that camera in the Category List on the right sidebar, below the Articles widget. There’s a drop-down menu there that you can use to get to all the posts in this series; just look for “GFX 100”.
In this post, I showed images of a Siemens Star as the GFX 100 stepped through a series of what we know from the last post were 2 micrometer image-plane steps. It wasn’t the point of the post, but it happened to serve as a useful demonstration of how effective defocus blur is as an anti-aliasing (AA) filter. The short answer: not very good.
Today’s post will examine the visual effect of stopping down the Fuji 110 mm f/ 2 lens in whole-stop steps from wide open through f/22. I’ll show you crops that are slightly larger than 500 pixels on a side, somewhat magnified for the web.
The scene:
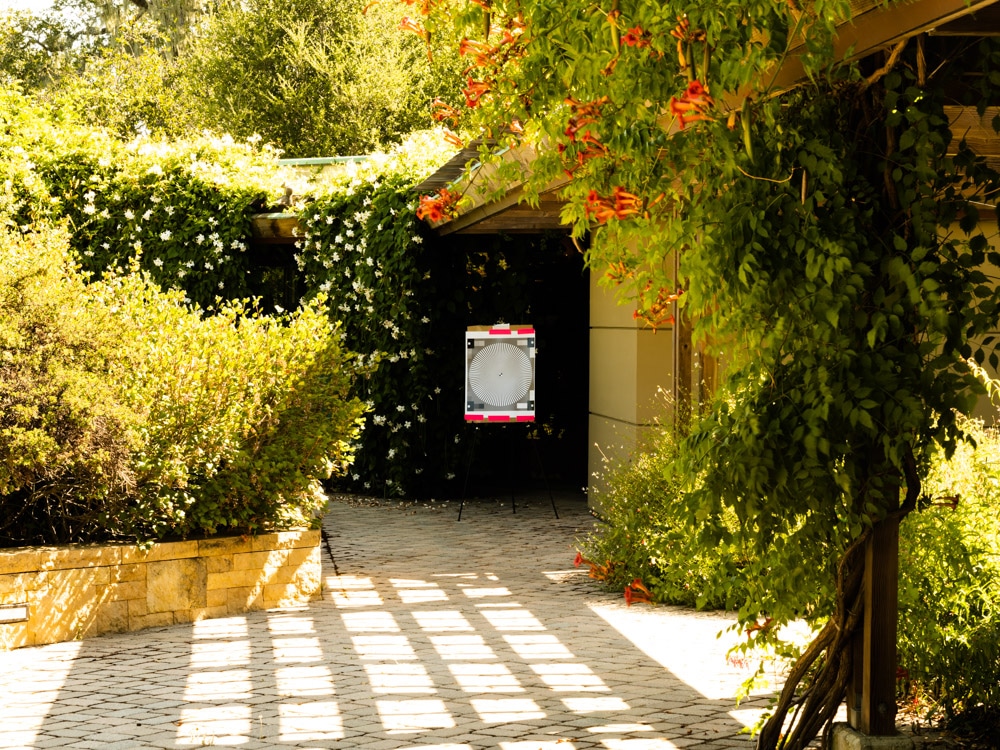
The camera was supported by RRS legs and a C1 head. I used a 2-second delay with the self timer. ISO was 100, the shutter was in ES mode, and focusing was performed for each image to eliminate focus shift. I took three images at each f-stop and picked the sharpest one four use here. I developed the images in Lightroom with exposure and contrast tweaks. I white balanced the f/2 image to the grey just outside the Siemens Star, and used that white balance for all the other images. I set the sharpening to amount = 20, radius = 1, and detail = 0, which is quite a bit less sharpening than the Lightroom default.
From testing that I have done previously, I know that the sharpest f-stop for the 110/2 is between f/2.8 and f/4.
The crops:
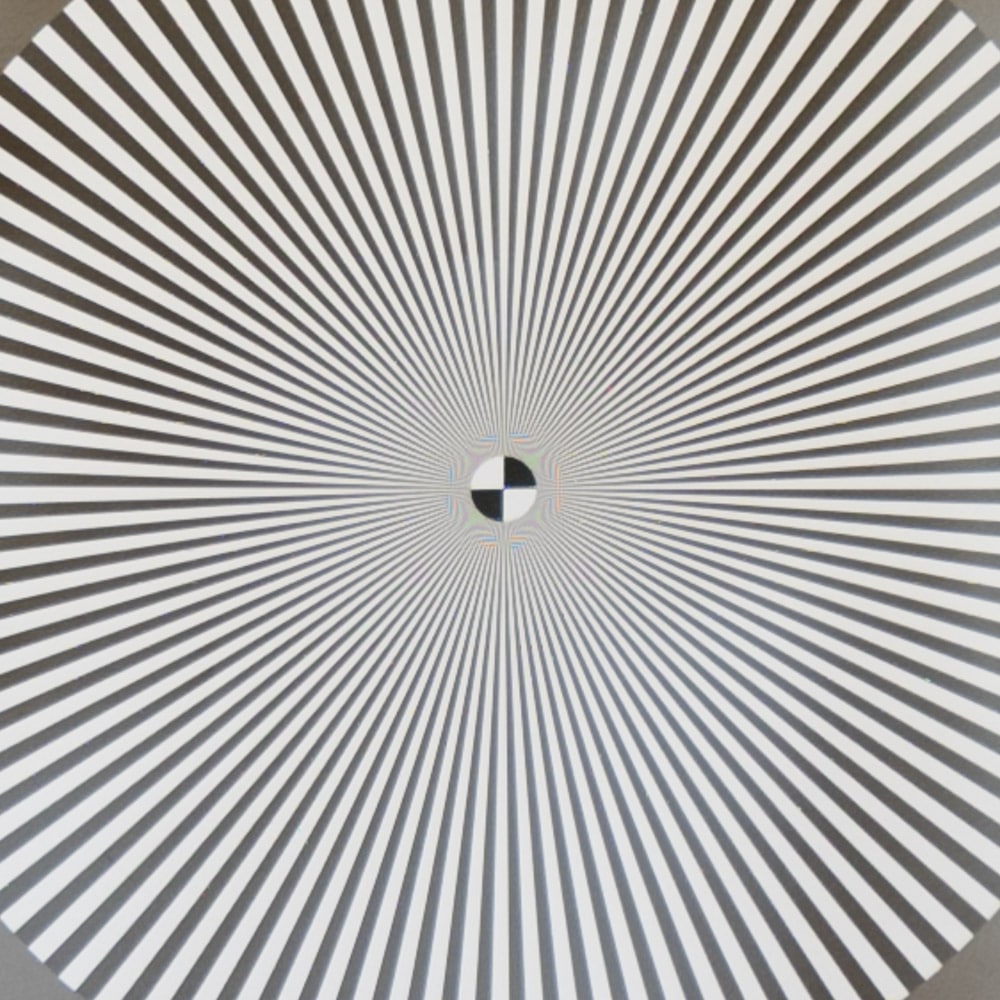
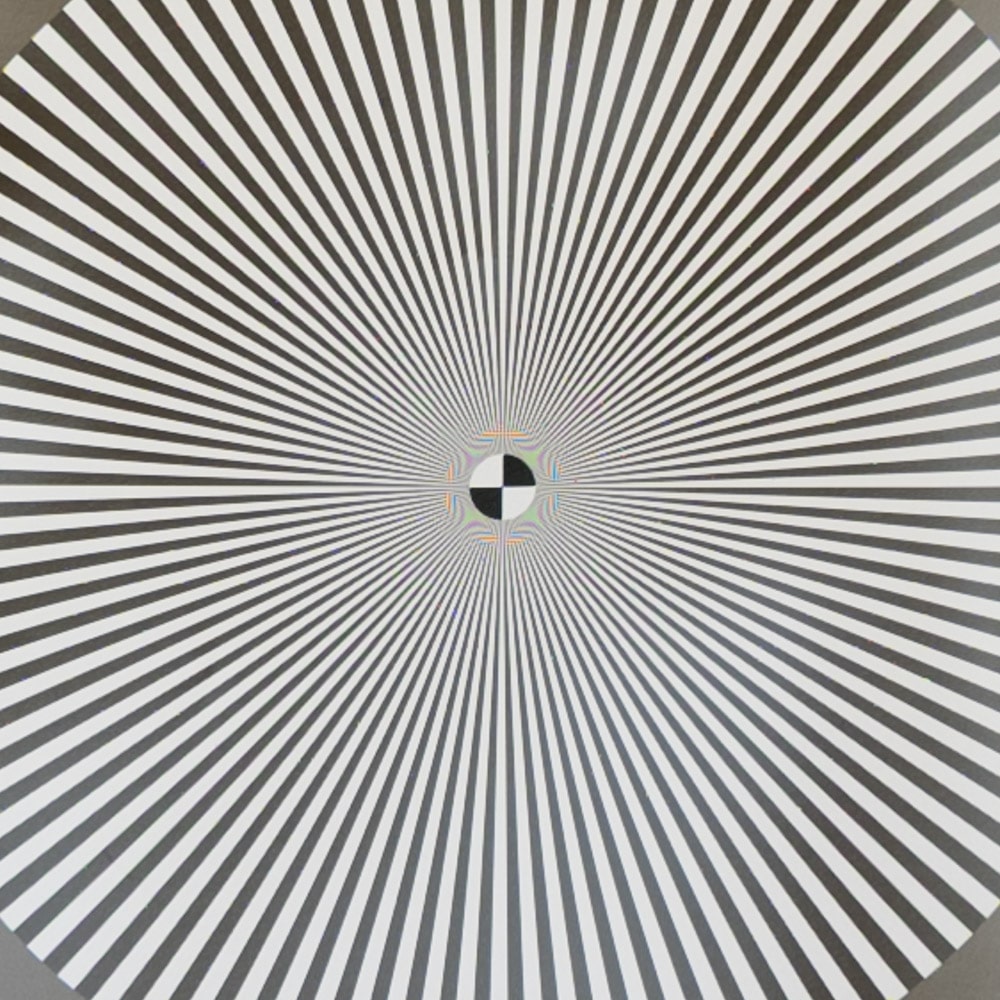
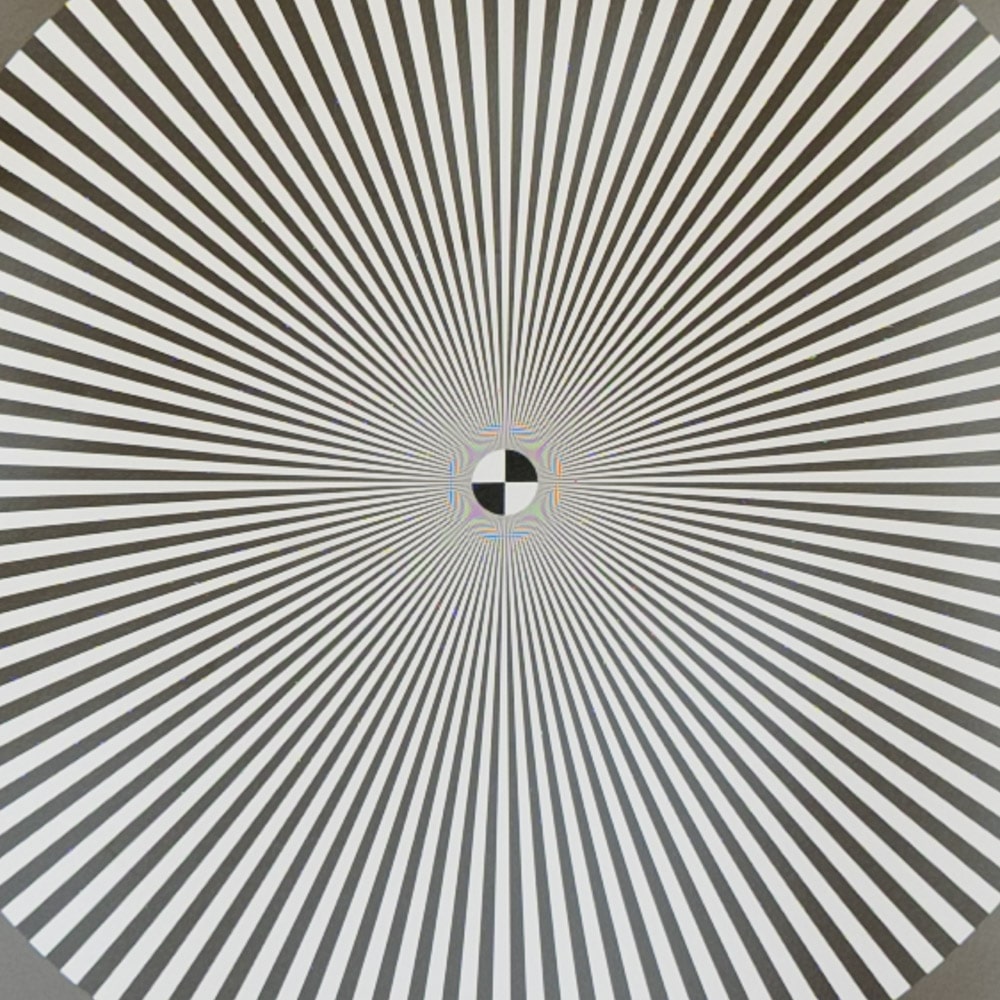
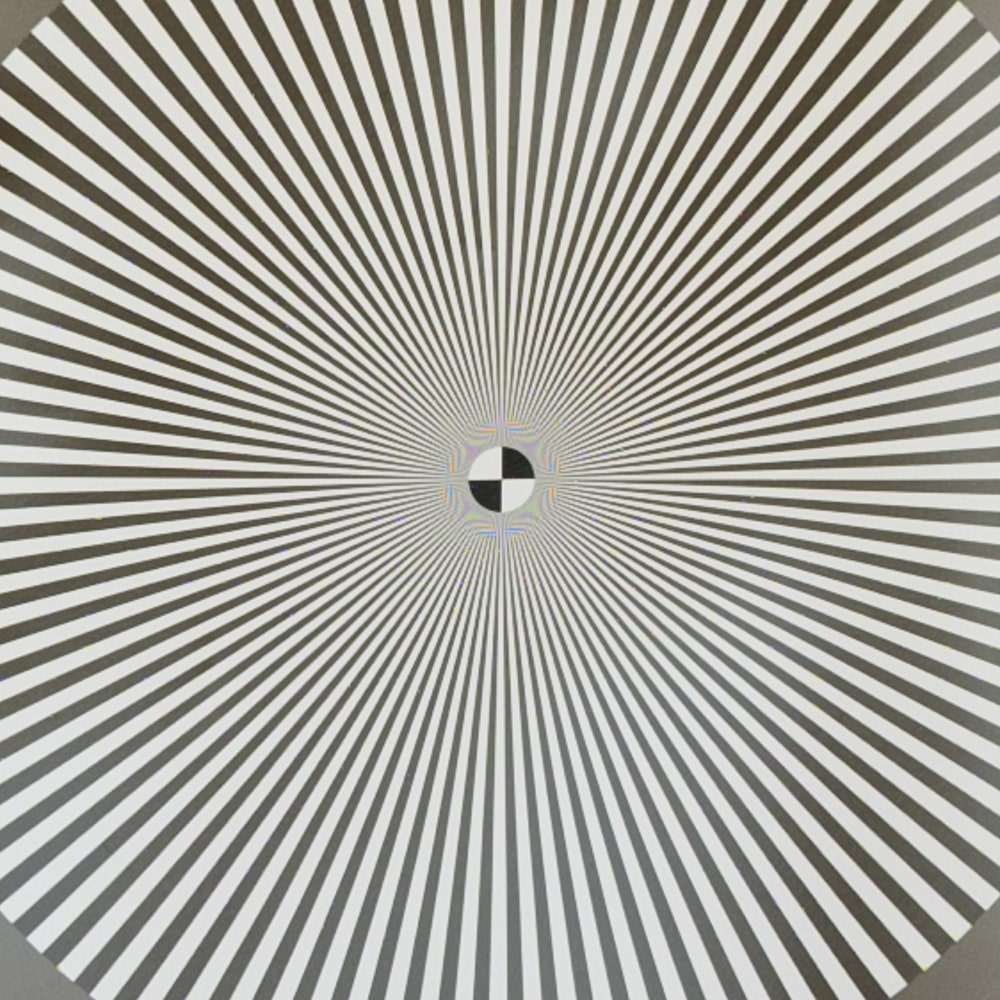
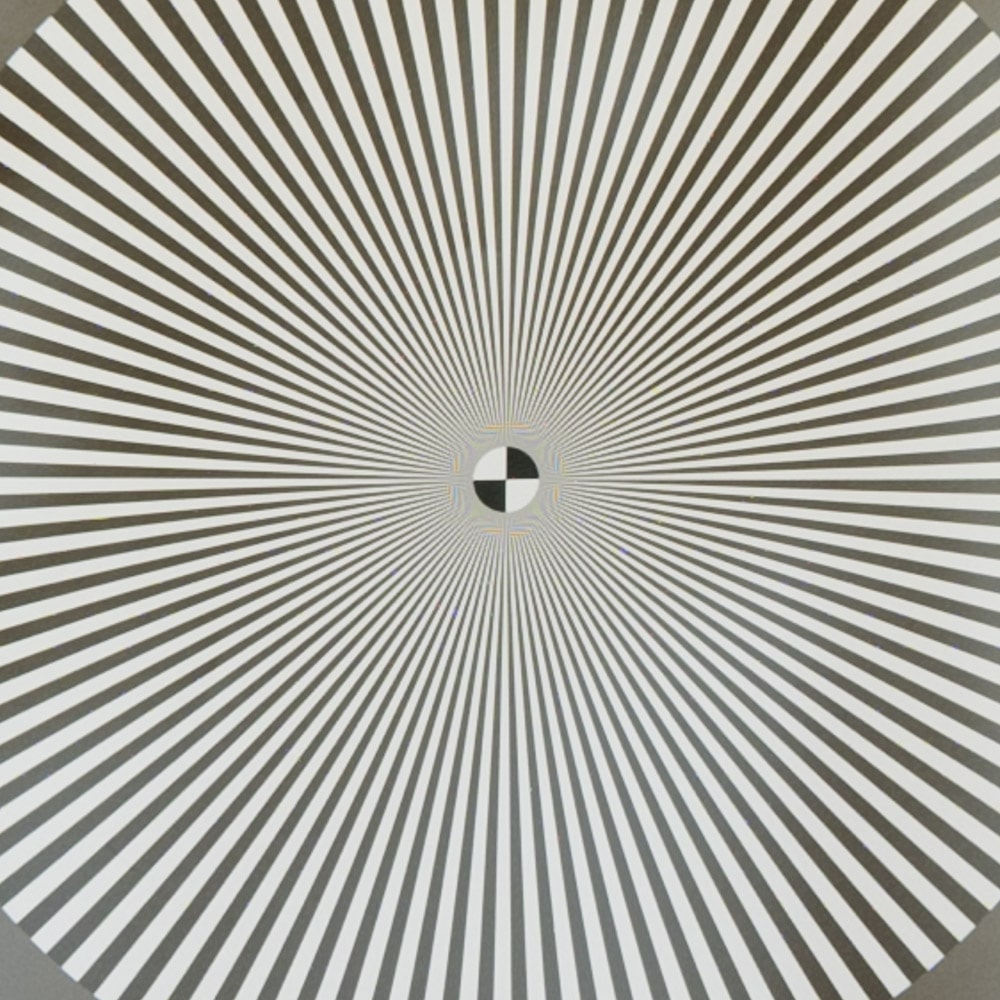
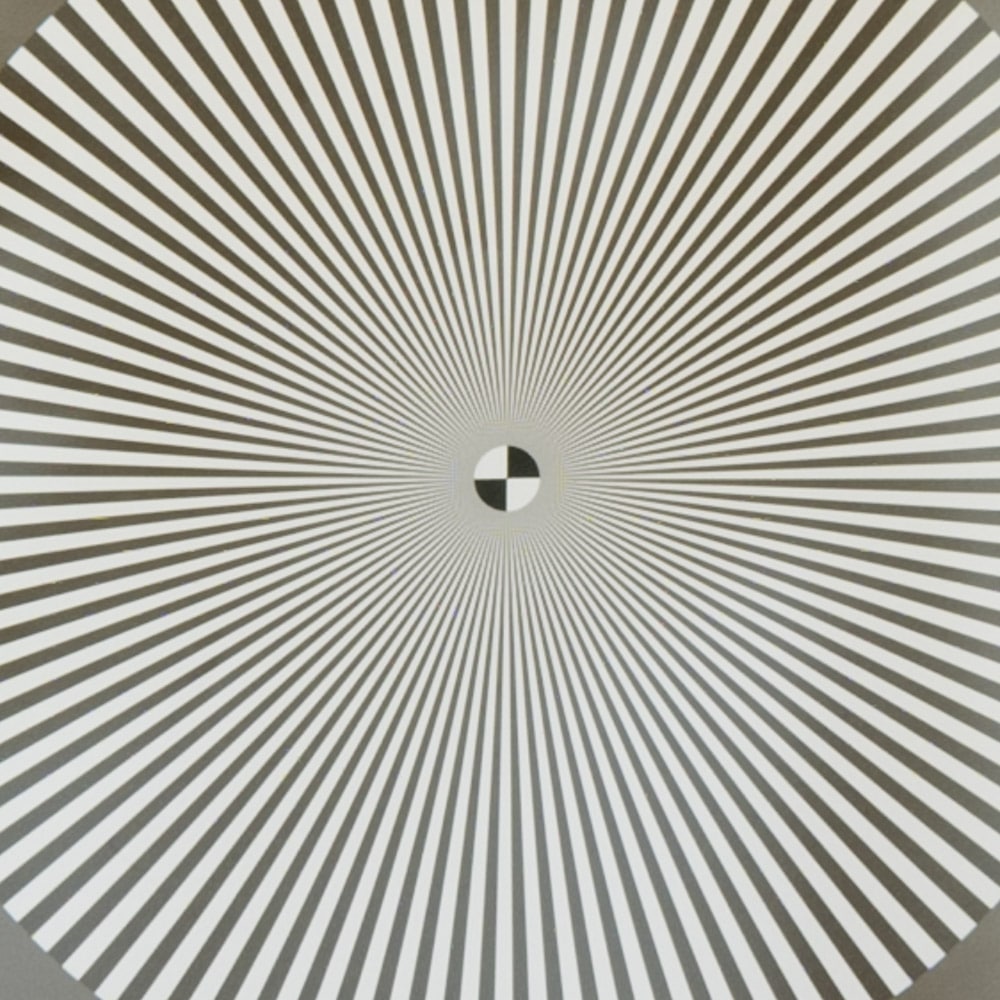
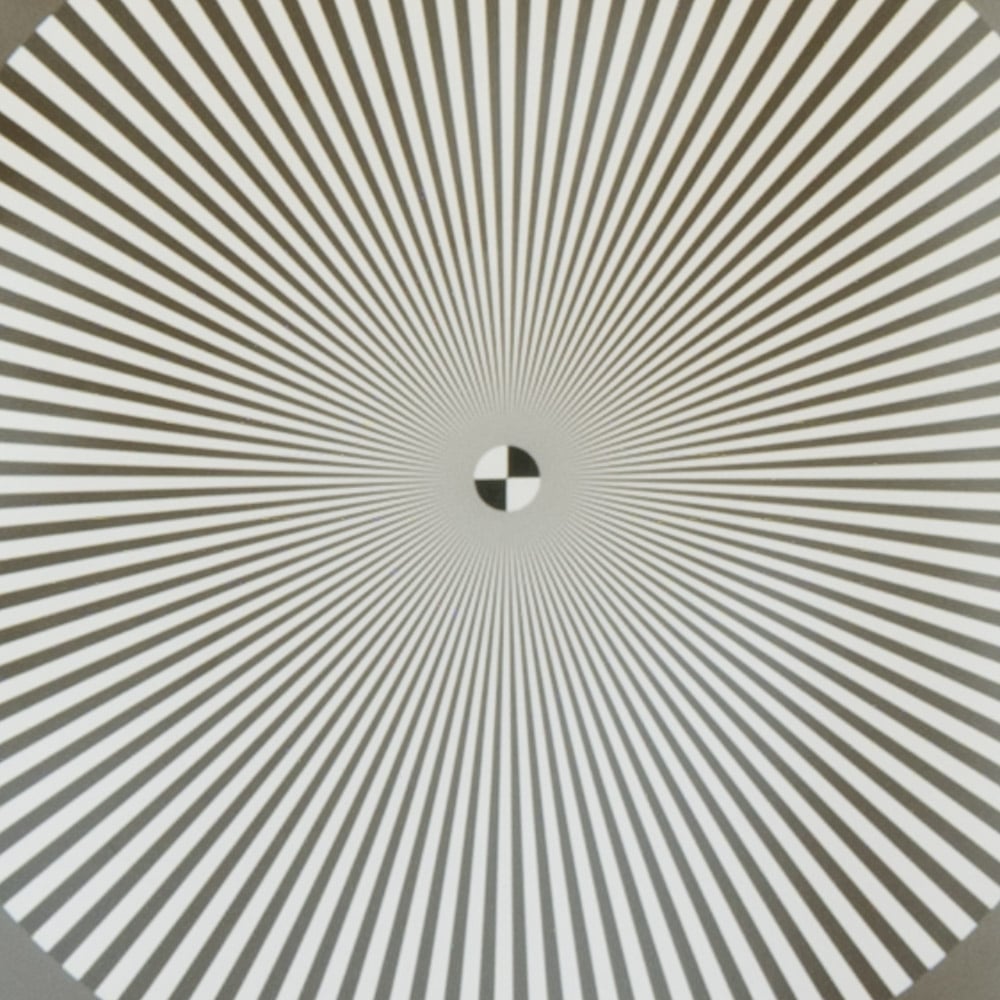

The first image with no trace of aliasing is the f/16 one, although the aliasing is quite low in the f/11 image. Aliasing is eliminated with less overall blur than in the defocused examples in the earlier post, indicating that diffraction blur is more effective at countering aliasing than defocusing.
f/16 makes sense for no aliasing with 3.766um pixels assuming mean light of 0.53um wavelength: diffraction extinction in that case is 0.444 c/p, less than the Nyquist frequency. Extinction occurs exactly at Nyquist at f/14.2
It’s not just no luminance aliasing. There’s no false color, in spite of the pitch of the CFA being double that.
Hello Jim, I appreciate your willingness to share your research and findings with the photographic community. My inquiry relates to practical, aesthetics choices you make in regard to sensors issues like aliasing referred to in this article. Digital cameras give us a powerful tool to aid in successful images making often superior to choices from the film era. However, I find myself liking a more ‘photographic’ look than a digitally perfect one. For example, I look at photo books by Walker Evans and Robert Frank when I convert my images to B@W. To try and mimic the feel of those images. So, how have aesthetics choices in your own body of work changed as it has evolved through years of practice from film to the dominance of digital photography?
Thank you, David
I no longer celebrate the defects in the process as much, although you could argue that Timescapes and Los Robles do that in a way. I no longer compromise as much on image quality for convenience. I work much more in color than I used to. I work much more in IR than I used to. I am more demanding of print quality. I print larger. I worry more about aliasing. I am more worried about going too far than not going far enough.
Jim, I wanted to thank you for doing hard work of evaluating medium format lenses. The information you provide can afford photographers the data to make informed decisions based on the equipment limitations. The esthetics are up to each photographer, but the knowledge you supply can maximize one’s vision. Thnx
Jack, coming from you, I consider that high praise. I’m flattered. Thanks for reading my posts, and for the complement.