• site home
  • blog home
  • galleries
  • contact
  • underwater
  • the bleeding edge

the last word

Photography meets digital computer technology. Photography wins -- most of the time.

You are here: Home / The Last Word / Specularity

Specularity

May 19, 2023 JimK Leave a Comment

In the last three posts I’ve dealt with photographic subjects that have some degree of specularity. It occurs to me that some readers may not understand the concept well, and if they do understand it, they may not be able to relate the concept to their photography.

Hence this post.

In general English, specularity is defined as “the state of resembling a mirror”. In photography, a surface is called specular if it’s shiny, and if light hits it at the right angle, you can see any reflection of the light source — called a specular reflection. The opposite of a specular reflection is a diffuse reflection, or, if you want to get technical Lambertian diffuse reflection. A Lambertian surface reflects light so that the apparent brightness of a Lambertian surface to an observer is the same regardless of the observer’s angle of view. A perfectly specular surface reflects light so that the angle of incidence equals the angle of reflection.


Diffuse reflection by GianniG46 – Own work, CC BY-SA 3.0, https://commons.wikimedia.org/w/index.php?curid=13263215


Specular reflection

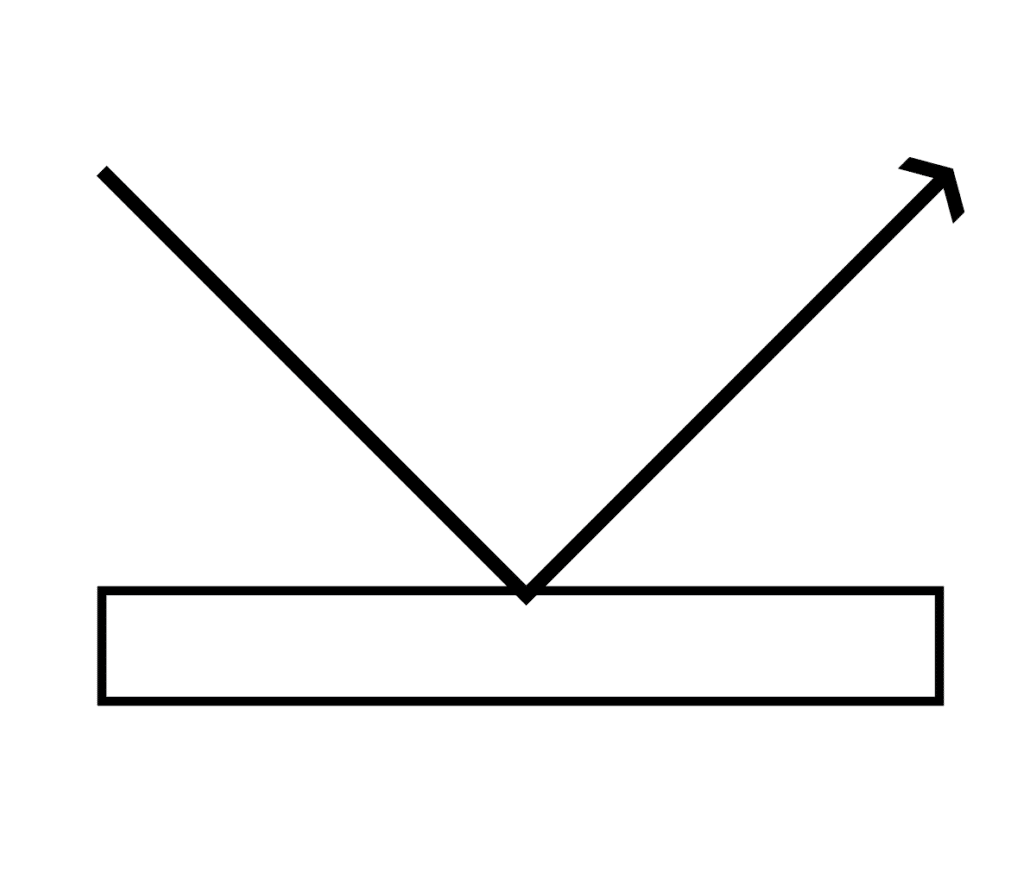
In normal photography, as opposed to the lab, reflections are rarely purely specular or purely reflective, but somewhere in between.

Let’s look at some examples.

Here is a book cover that doesn’t look shiny until you get your eyes and a bright light lined up right.


Here’s a object that shows a lot of specularity. See the vertical stripes where the light source is reflected.


This is a USB-C battery that shows considerable specularity.


This is a USB-C battery that shows little specularity, except where fingerprint oiliness is present.


Even normal printing paper shows some specularity.


This Hasselblad lens doesn’t appear very shiny in diffuse light, but with a light that subtends a small angle, the specularity is readily apparent. Note that there is some specularity in the nylon camera strap, too.


The glaze in this fired pottery piece shows moderate specularity.


Much, but not all, foliage shows specular reflections in the right circumstances.


Here’s another example of specular reflection from foliage.

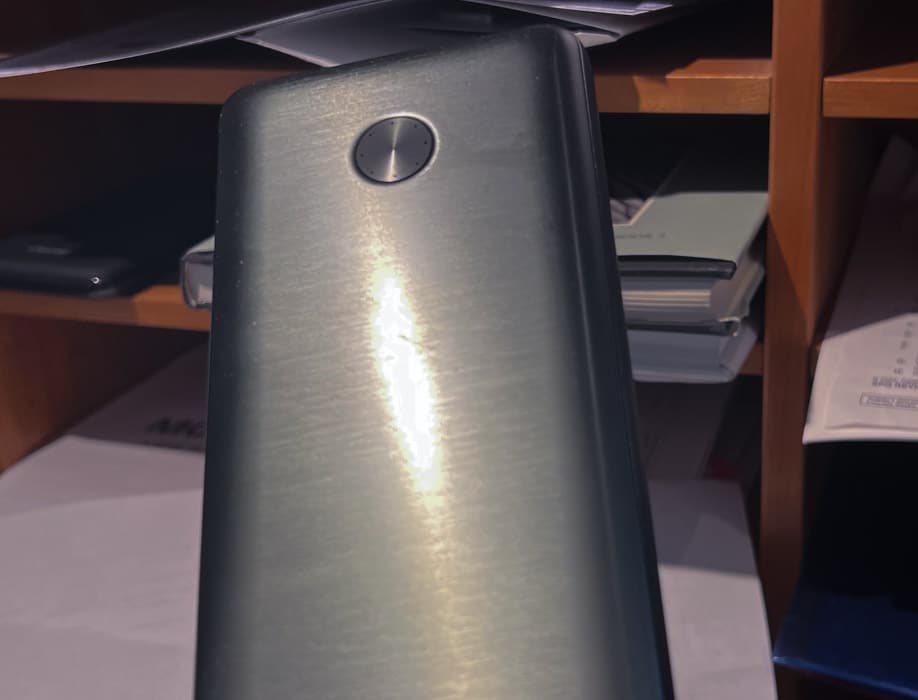
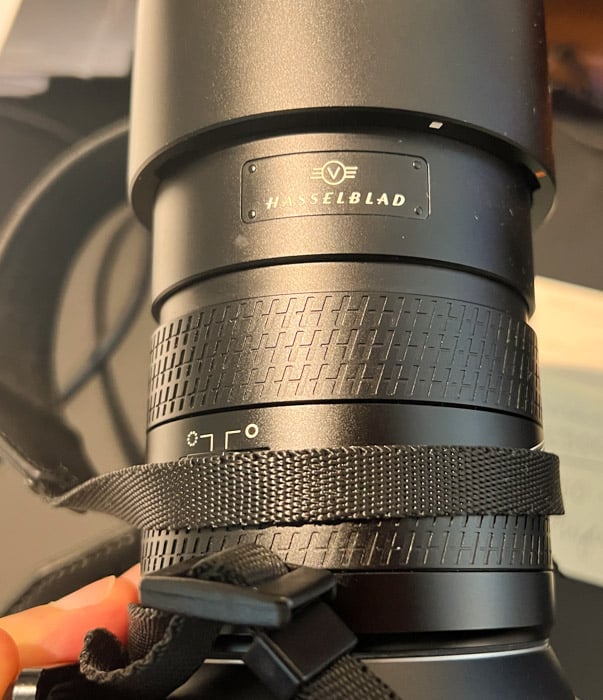
When you start looking for specular reflections, you see them everywhere, so you’re going to have to deal with them when you capture, process, or display photographs. Why do you need to pay attention to them?

The first reason is exposure. Normal light meter calibration is performed so that an diffuse 100% reflector in an evenly illuminated scene will be safely below clipping. But specular reflections can be as bright as the light source. The correct exposure for the sun at f/11 and ISO 100 is about 20 nanoseconds. The “Sunny 16” rule says you should use 1/200 second or 5 milliseconds, which will overexpose the sun by 18 f-stops. If strong specular reflections of the sun appear in your image, you can’t practically use exposures short enough to avoid clipping those reflections, and if you managed to do that, the rest of the image would be so dark and noisy as to be unusable.

So, if you’re shooting many outdoor scenes, you’re going to have to look at the histogram and the zebras and try to sort out what’s a specular highlight that you should let clip, and what’s a bright area in which you should strive to retain detail. It’s not easy, but paying attention to specularity whenever you photograph will eventually allow you to make better choices.

The next reason is reflections that aren’t blown, but contain image content that you may wish to emphasize or suppress. Water and glass surfaces are classics here. If you want to suppress such reflections, you can use a polarizing filter. But if you overdo it, the scene won’t look natural any more.

If you’re working in the studio where you can control the lighting, then you’ll find yourself creating, controlling, or suppressing specular reflections. Here’s an example that any portrait photographer can relate to. Imaging you’re photographing a person’s face. Human skin, unless covered liberally with powder, is a fine source of specular reflections. You can make those reflections less intense by diffusing and broadening your light source, so instead of getting a small very hot spot on someone’s cheek or nose, you get a wide modestly lightened area. If you’re photographing jewelry or other shiny objects, you may wish to employ cross-polarization  (one filter orientation over the light source, and another over the lens) to suppress reflections. But you’ll probably want to keep some reflections, and controlling the size, brightness, and orientation of your lights can do that.


The Last Word

← Histograms, high contrast scene Specularity, part 2 →

Leave a Reply Cancel reply

Your email address will not be published. Required fields are marked *

May 2025
S M T W T F S
 123
45678910
11121314151617
18192021222324
25262728293031
« Apr    

Articles

  • About
    • Patents and papers about color
    • Who am I?
  • How to…
    • Backing up photographic images
    • How to change email providers
    • How to shoot slanted edge images for me
  • Lens screening testing
    • Equipment and Software
    • Examples
      • Bad and OK 200-600 at 600
      • Excellent 180-400 zoom
      • Fair 14-30mm zoom
      • Good 100-200 mm MF zoom
      • Good 100-400 zoom
      • Good 100mm lens on P1 P45+
      • Good 120mm MF lens
      • Good 18mm FF lens
      • Good 24-105 mm FF lens
      • Good 24-70 FF zoom
      • Good 35 mm FF lens
      • Good 35-70 MF lens
      • Good 60 mm lens on IQ3-100
      • Good 63 mm MF lens
      • Good 65 mm FF lens
      • Good 85 mm FF lens
      • Good and bad 25mm FF lenses
      • Good zoom at 24 mm
      • Marginal 18mm lens
      • Marginal 35mm FF lens
      • Mildly problematic 55 mm FF lens
      • OK 16-35mm zoom
      • OK 60mm lens on P1 P45+
      • OK Sony 600mm f/4
      • Pretty good 16-35 FF zoom
      • Pretty good 90mm FF lens
      • Problematic 400 mm FF lens
      • Tilted 20 mm f/1.8 FF lens
      • Tilted 30 mm MF lens
      • Tilted 50 mm FF lens
      • Two 15mm FF lenses
    • Found a problem – now what?
    • Goals for this test
    • Minimum target distances
      • MFT
      • APS-C
      • Full frame
      • Small medium format
    • Printable Siemens Star targets
    • Target size on sensor
      • MFT
      • APS-C
      • Full frame
      • Small medium format
    • Test instructions — postproduction
    • Test instructions — reading the images
    • Test instructions – capture
    • Theory of the test
    • What’s wrong with conventional lens screening?
  • Previsualization heresy
  • Privacy Policy
  • Recommended photographic web sites
  • Using in-camera histograms for ETTR
    • Acknowledgments
    • Why ETTR?
    • Normal in-camera histograms
    • Image processing for in-camera histograms
    • Making the in-camera histogram closely represent the raw histogram
    • Shortcuts to UniWB
    • Preparing for monitor-based UniWB
    • A one-step UniWB procedure
    • The math behind the one-step method
    • Iteration using Newton’s Method

Category List

Recent Comments

  • JimK on Calculating reach for wildlife photography
  • Geofrey on Calculating reach for wildlife photography
  • JimK on Calculating reach for wildlife photography
  • Geofrey on Calculating reach for wildlife photography
  • Javier Sanchez on The 16-Bit Fallacy: Why More Isn’t Always Better in Medium Format Cameras
  • Mike MacDonald on Your photograph looks like a painting?
  • Mike MacDonald on Your photograph looks like a painting?
  • bob lozano on The 16-Bit Fallacy: Why More Isn’t Always Better in Medium Format Cameras
  • JimK on Goldilocks and the three flashes
  • DC Wedding Photographer on Goldilocks and the three flashes

Archives

Copyright © 2025 · Daily Dish Pro On Genesis Framework · WordPress · Log in

Unless otherwise noted, all images copyright Jim Kasson.