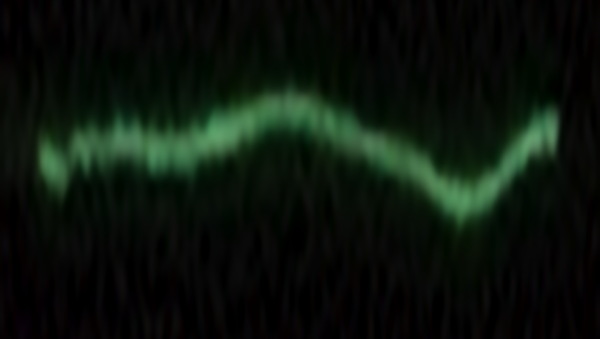
I’ve improved my “flying spot” shutter slap testing setup by adding a mirror.
The technique involved mounting a camera on a tripod and photographing a distant oscilloscope set up with its vertical input grounded, and the horizontal time base set to a value that gave four to eight divisions of movement in the time that the camera shutter was open. Any vertical movement was the result of the camera’s sensor motion affecting the captured image. Since I knew the shutter speed and time base setting, I could measure resonant frequencies and damping times. I could also see which shutter release regimes were the most effective. I got some useful results with this approach, but it suffered from resolution deficiencies. Specifically, with lenses longer than about 50 mm, the phosphor dot recorded on the sensor was over one pixel in diameter, even with the intensity turned way down and the ‘scope’s beam carefully focused. The solution was to get further away, but I couldn’t back up more than about 25 feet.
Enter the mirror. By standing next to the oscilloscope and shooting at a mirror mounted on the wall opposite, I more than double the distance. I have to reverse the resulting images left to right to keep time running in that direction, but that’s pretty simple.
I set up this gear: Leica 135mm f/3.4 APO Telyt on the a7R with a Novoflex adapter, RRS a7 L-bracket, Arca Swiss C1 Cube, RRS TVC-44 legs. Release with 2 second self-timer. ISO 100, lens set halfway between f5/6 and f/8. The resultant images are processed in Lightroom with default settings except for increased Exposure, exported to Photoshop where they are flipped, cropped, and magnified by increasing the resolution. There are two useful ways to do this.
- When you want to see the individual demosaiced pixels, use nearest neighbor interpolation with enlargement factors that are integer multiples of 100%, and use the same enlargement factors for both the vertical and the horizontal directions.
- When you want to get an idea of the waveform of the vibration, use the Photoshop Preserve Details interpolation option, and enlarge the raster image columns more than the rows.
Here’s a nearest-neighbor magnified look at the results with the camera’s shutter set at 1/25 second, and the time base set to 5 milliseconds per division, for an eight-division trace width:
And the same image with preserve details enlargement:
Oscillations at 600 and 80 Hz are apparent. The first curtain stops a little over an eighth of the way into the trace from the left. It is clear that the camera is already vibrating when that happens.
With the camera mounted in portrait mode using the RRS L-bracket with no extra hardware with the same shutter speed and time base setting:
Note that we are still looking at vertical movement here, even though, with the camera in portrait orientation, the principal direction of the shutter shock is now horizontal. We have seen in the past the ability of this tripod/head/bracket to turn horizontal motion into vertical and vice versa, and we can certainly see it here; the vertical movement from the horizontal excitation is larger than the vertical movement from the vertical excitation. We can also clearly see the effect of the stopping of the first curtain in the discontinuity about an eighth of the way in from the left. Eighty Hertz ringing is also present. It is the predominant motion during the last half of the exposure.
Looking at the preserve details version yields much the same information:
If we leave the camera in portrait orientation but set the shutter speed to 1/8 second and the time base to 20 milliseconds per division, we see the following using preserve details:
The variations in brightness are due to horizontal oscillations; when the image on the camera is moving in the same direction as the trace on the ‘scope, the waveform is brighter, and when they are moving in opposite directions, it’s dimmer. The waveform is also distorted by the camera’s horizontal motion, as the time base velocity is no longer constant as measured on the sensor. Looking at both the intensity changes and the vertical movement, we can see that the resonant frequency is about 70 Hz, and it appears to damp down to about half its initial value during the 1/8 second exposure interval.
It is clear that this much motion will prevent the sensor from recording all the resolution available to it when the camera is not vibrating.
I can now achieve about one-pixel spot size with lenses of 135mm or shorter. However, vibrations other than the ones I’m trying to measure often occur, causing me to have to discard and entire set of images. I have not tracked down all the sources of these vibrations, but they seem to include people walking in other parts of the house, and fans in appliances turning off and on. This is by no means a perfect test.


So it vibrates before the shutter slaps. Interesting because I believe you found that the d800 in mirror lock up did not vibrate before the shutter slaps, or at least not discernibly. I wonder what Nikon knows that Sony doesn’t.
Also this may make no sense but what about turning the oscilloscope on it’s side for the portrait shot and comparing with the vertical vibration?
Ferrell,
I’ll have to look again at the D800 now that I have the more sensitive instrument. I do think that the a7R shutter is accelerated faster than the D800 shutter because of the more limited space in the camera.
It’s a rack-mount scope, so turning it on its side is awkward. I do have a function generator that I can use for a vertical sweep, but it takes a while to set it up.
Jim