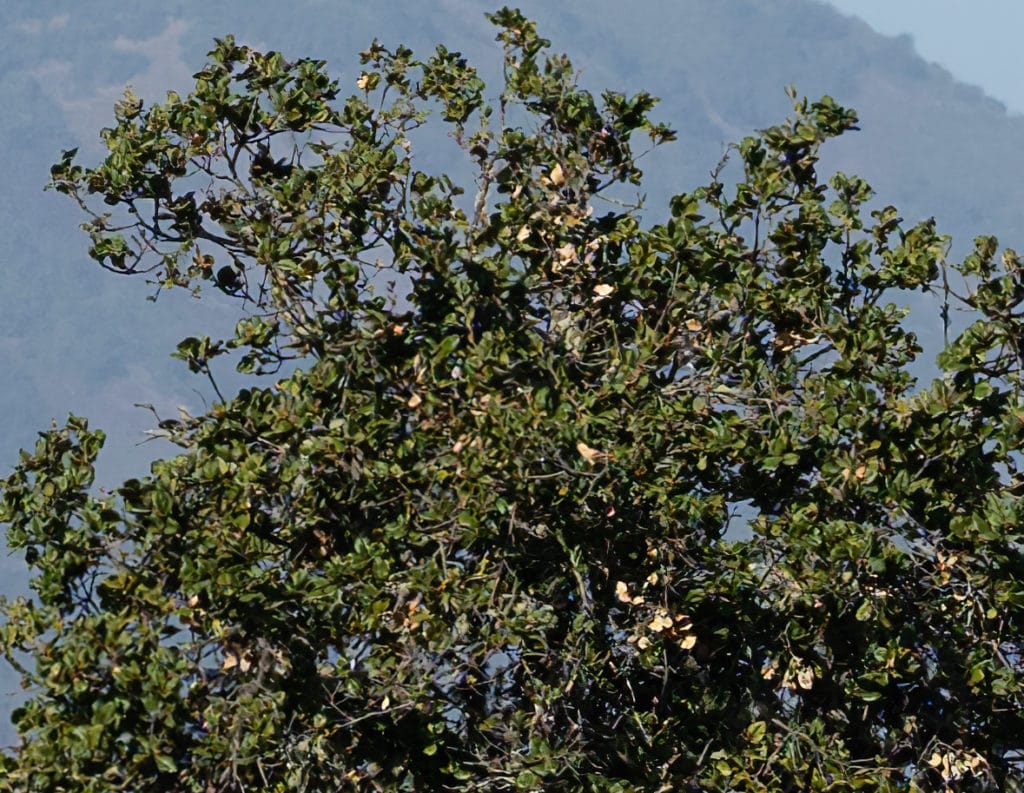
In the previous post, I looked at landscape images from the Fujifilm 110 mm f/2 on the GFX 100 and the Zeiss Otus 85 mm f/1.4 on the a7RIV. The crops were magnified to about 200% using Lightroom’s export feature. The Fuji images looked much better, even at f/11 on the Fuji lens and f/8 on the Zeiss one.
Note: these results are unequally affected by either
- Differences in the way that Lightroom sharpens raw files from the two cameras
- Anomalies in the Lightroom export resampling chain.
Please look at this post to see what happens with processing that avoids those two things.
What if we use a more sophisticated upsizing method than Lightroom export? If that’s interesting to you, read on.
I upsampled crops from the f/4 Sony/Zeiss file and the f/5.6 Fuji/Fuji file to the equivalent of about 20,000 pixels high using Topaz GigaPixel AI with the default settings. Here they are at 100% magnification:
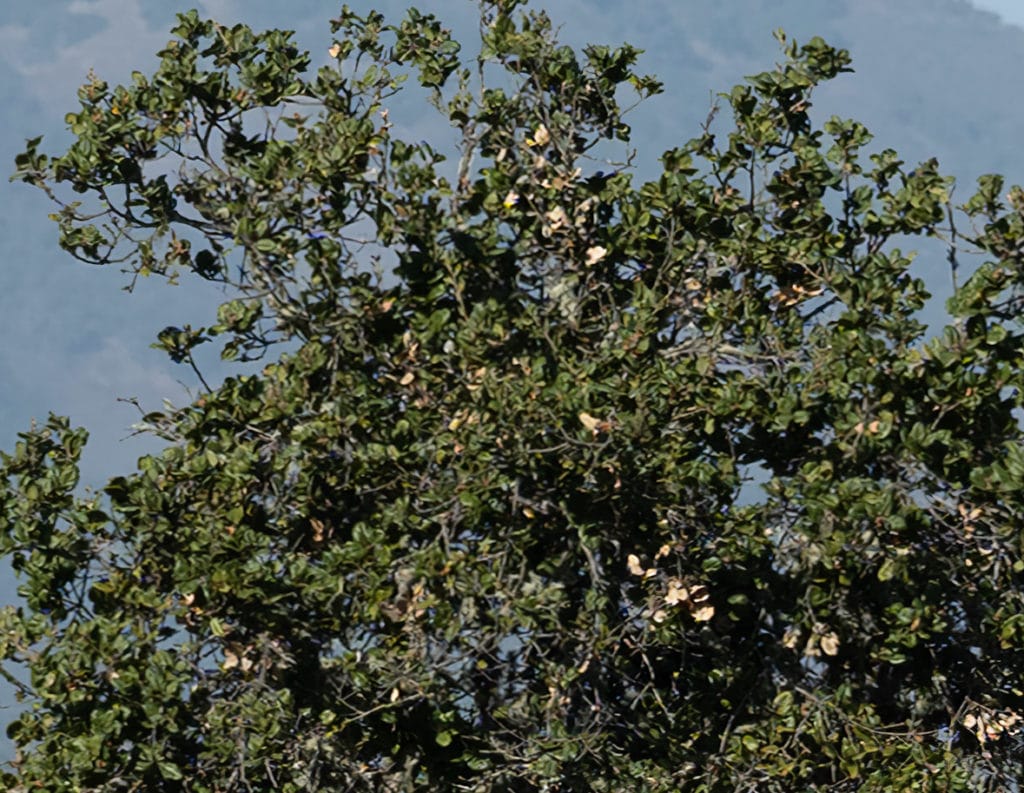
If anything, the Sony image looks slightly sharper! That’s because both images were slightly undershapened to start out with, and GigaPixel AI seems to sharpen more the more you ask it to magnify. To me, the result is that there’s not much to choose between these images.
Using Epson Legacy Baryta, I also printed crops of the images on an Epson P800, whose dimensions corresponded to the following full-frame image heights:
- 15 inches
- 24 inches
- 30 inches
- 36 inches
When I inspected the prints from about 12 inches away, the 15 and 24 inch images looked the same, and the Sony was slightly sharper in the 30 and 36 inch images.
We saw in earlier tests of GigaPixel AI that it couldn’t create detail that hadn’t been captured, but that it does an excellent job of preserving detail. I am frankly surprised that it performed as well as it did with the Sony image in this test.
[Added 11/23/19]
I’ve thought some more about the above results. The raw images received the same amount of sharpening on a per-pixel level in Lightroom: amount 20, radius 1, detail 0. If we’re trying to compensate for the light-sensitive area of the pixels, that’s appropriate. The pixel pitch of the two cameras is the same, the pixel design appears to be very similar, and so do the microlenses. But if we’re compensating for depth of field and for diffraction, the radius for the larger sensor should be about 1.4 times that of the smaller one. As it is, viewed in relation to the picture height, the Sony image is getting about 1.4 times the sharpening that we’re giving the Fuji one.
As I said above, GigaPixel AI seems to sharpen more the more it upsamples. That also would benefit the Sony image, since the two images were somewhat undersharpened. This is probably worth more experimentation using upsampling algorithms that are less of a black box than the Topaz software. Because the software is essentially inventing information, its efficacy will depend on the content of the image. As an example of that, as we saw with the Siemens Star target tests that I showed in an earlier post, at some point, GigaPixel AI — quite properly, in my opinion — gives up and stops trying to make up detail. So before drawing any general conclusions, we should look at disparate example crops.
Finally (at least finally for now), I earlier observed that I thought the biggest advantage of the GFX 100 over the GFX 50x was not increased sharpness, but decreased aliasing. There is no aliasing in the crops above that is immediately obvious to me, but I’m sure that there is aliasing there, and one of the functions of aliasing is to turn high spatial frequency hard-to-see small details into lower frequency easier-to-see — but wrong — details. That may be a partial reason for the Sony images surprising sharpness.
hi,
interesting but no surprise because I was about to write a comment explaining why I think your method puts a disantvantge on the lower res camera and exaggerates differences buy adding a layer of software introduced blur without compensation ( sharpening ). in real world nobody would use such a workflow. even with the same numbers we don’t know if LR applies the same amount sharpness to different cameras this could be another issue . so to make things more equal I would have suggested to start without sharpening us a better algorithm for upscaling like lanczos and apply a deconvolution sharpening after upscaling. even without the use of a special tool like gigapixel I´m very convinced the differences would be much smaller !
regards
christian
Thank you very much for demonstrating the effect of different brands/types of software. I started using Capture One instead of Lightroom several years ago because I thought the quality of the final product, print or on-screen, was better with C1. (Glad I switched, given the subscription payment method later introduced by LR .)
Using Topaz Giga Pixel AI seems to be a very good alternative to switching from a „full frame“ to a „medium format“ camera. And at much lower cost.
You have both LR and C1 and I keep wondering why you generally use LR more often than C1, at least for what you publish here. Better archive or just old habit?
I am a heck of a lot faster in Lr than C1. Maybe it’s just because I’ve used it longer, but for bulk operations, it’s great.
> The raw images received the same amount of sharpening on a per-pixel level in Lightroom: amount 20, radius 1, detail 0
this was probably asked already, but at least I can’t recall (sorry if I missed !) – Adobe products are using the different, behind the scenes, sharpening tuning parameter for different cameras (“DNG baseline sharpness tag” easily seen once you convert to DNG using Adobe’s products – the same approach is for NR)… just curious if you equalize that in your camera tests (by converting to DNG and if necessary making tag value the same)… otherwise what is the point to use “same amount of sharpening” in UI ? real life users won’t use the same sharpening parameters for much different cameras in UI
I do not. I have found that, with the two cameras under test, the same UI values give about the same sharpening on a per-pixel basis. I suppose I could do slanted-edge testing, but that’s not a priority for me now.
from my experience C1 produces files which are a little better than those from LR, this may play a roll when doing extrem enlargements. C1 renders files with higher micro contrast and in some cases less stair stepping artefacts compared to LR. it also offers a very useful and unique feature you can preview the file scaled to the selected output dimension but upscaling is limited to 250%.