This is the eleventh in a series of posts on the Fujifilm GFX-50S. The series starts here.
I put the Sony 90mm f/4 G macro lens (Sony macro) on a Sony alpha 7 R, Mark II (aka a7RII), and the Fujinon GF 120 mm f/4 macro lens on the Fujifilm GFX-50S (GFX). Shutter set to EFCS for both cameras, which meant it really was EFCS for all the pictures with the Sony, and was EFCS at the narrower apertures for the GFX. Exposure compensation set to zero. AF-S used in both cases. I compared manual focusing with AF-S for this situation, and it averaged about the same for the Sony, and was a bit worse for the GFX, and, of course is much more consistent than manual focusing. 2-second self-timer used in both cases. Arca-Swiss C1 cube on RRS sticks. The Fuji images were about 1/3 of a stop darker than the Sony ones at the same exposures. I don’t think this is due to lens transmission; I think it’s actually the result of the way that Fuji set up the GFX. I think that, set up the same way the a7RII is, the GFX base ISO would be 80. Focus was in the center of the image, and all images were refocused at each aperture. Tripod and head were not moved between series.
I developed all the images in Lightroom with default settings, except for Exposure. I adjusted that to roughly equalize brightness. ACR/Lr force lens distortion corrections for the Fuji 63, which probably reduce corner sharpness. As a check on what sharpening Lr is doing and what’s going on with the lens corrections, I converted all the GFX images to DNG using Iridient X-Transformer, with sharpening tunred off and lens corrections defeated. I used the “More Detailed” demosaicing option.
The scene:
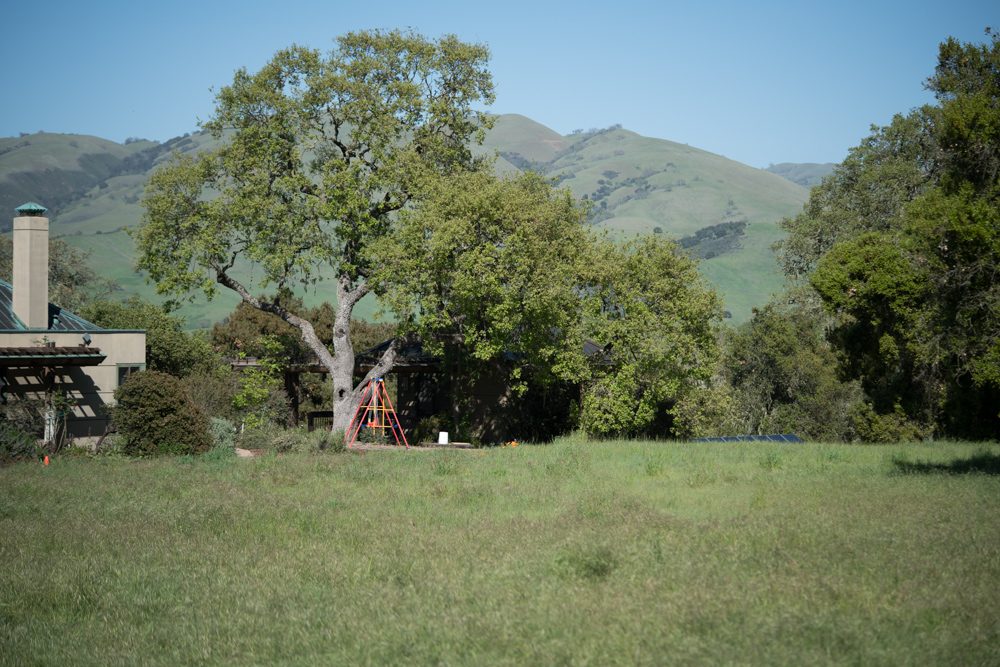
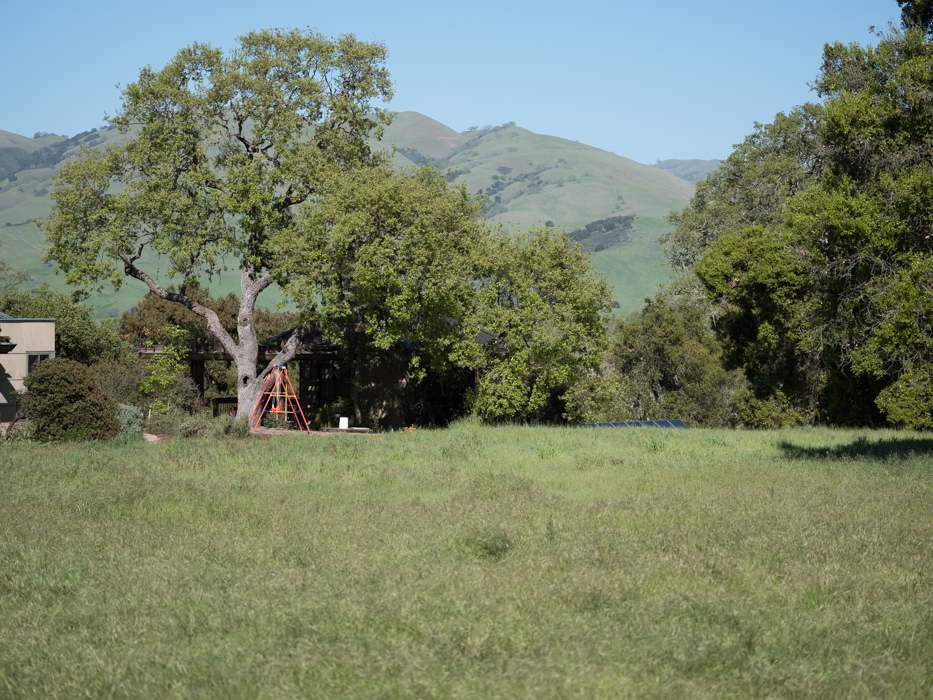

The thing that’s the most obvious about the lens correction is the vignetting compensation. The fields of views are roughly matched, but of couse it’s not going to be possible to get them really close no matter ehat the focal lengths of the lenses because of the aspect ratio differences between the two cameras.
In the center, at roughly 250% magnification for the GFX, and the same vertical sensor extent for the lower-resolution a7RII. This would give the same vertical field of view if the lenses were vertically equivalent focal lengths. Details: the GFX crops are 357×277 pixels, and the Sony crops are 306×237 pixels. All are enlarged to 700 pixels high on export from Lightroom.


The Lightroom default images appear to be correctly sharpened. There is no haloing, and the details look natural.
Here’s how to use these highly-magnified crops. The dimensions of the GFX sensor are 8256×6192 pixels. If we make a full-frame print from the GFX on a printer with 360 pixels per inch native driver-level resolution, like the Epson inkjet printers, we’ll end up with a 23×17 inch (58×44 cm) print. The 318×246 pixel crop you’re looking at will end up 0.8333×0.6833 inches (2.12×1.74 cm). Let’s imagine that you or your viewers are critical, and will look at the 22×17 inch print from about 18 inches (conventional wisdom is that the distance would be a little greater than that, or 28 inches (the diagonal), but you did buy a high-resolution camera for a reason, didn’t you?).
The next step is dependent on your monitor pitch, which you may or may not know. Turns out, you don’t have to know it. Just take the 253% crops and view then at 1:1. How high are they? Get out your ruler and measure, or just guess. Let’s say they are 6 inches high. 6 inches is about 7 times 0.8333, so in order to view the crops the way they’d look from 18 inches on the print is to view them from 7 times as far away, or 10.5 feet.
Everything here scales proportionately. If the image on your screen is bigger than 6 inches, increase your viewing distance by the ratio of your image height to 6 inches. If you thin your viewers are going to almost get their nose to that print and look at it from six inches, divide that 10.5 feet by 3, and look at the image on the monitor from three and a half feet away.
The images from the a7RII are scaled to the same print height of 17 inches. Because it has fewer pixels vertically, that requires slightly greater magnification.
Should we compare the GFX f/4 image to the Sony f/2.8 one? We should if you want the same signal to noise ratio in the images, and also if you want the same diffraction. But if there’s plenty of light and you can increase the length of the exposure at will, and if diffraction is not the dominant source of lens blur, then you chould compare the two f/4 images.


Both the Sony and the Fuji lenses are quite sharp in the center. I’d give the nod to the Fuji in general. It’s also clear that the f/11 Fuji images suffers from diffraction a lot less than the f/11 Sony one, which is just as theory predicts.
Near the the left-center edge:


The GFX is miles ahead with the diaphragm open near the edge.


Pretty amazing. The unsharpened GFX image is quite a bit better than the sharpened Sony one.


I’m impressed. This is turning out to be a long post. I’ll do the upper left corner in the next one.
Joel Richards says
A much bigger difference than I would have expected.
JimK says
Me, too.
Erik Kaffehr says
Hi Jim,
My sample of the Sony 90/2.8 G macro has a tilted focal plane. Unfortunately, I think that is a quiet common case. Lens rentals has tested some sample that was really bad.
In my opinion a tilted focal plane is a very bad thing, but in some photography it may not matter all. Shoot some flowers and it will work great! Shoot some repro and it may fail miserably.
At this stage I like A7rII, mostly. But I feel the native lenses may have far to many issues and they are a bit pricey, too.
JimK says
My copy of the Sony 90 macro seems to be pretty well-aligned. If you think the Sony FE lenses are pricey, take a look at the Fuji GFX lenses. If you think the Sony FE lenses are thin on the ground, take a look at the Fuji GFX lenses.
Ilias says
Jim thanks for the excelent evaluation.
As I read many objections at the forums about unfair comparisons .. when we have to compare between 4/3 vs 3/2 formats, I think we should try “fair framing”. Not easy for landscapes, but easy for studio/wall shots ..
“Fair framing” is the one that utilizes equal proportions of the frame area for comparisons. For this we need to cover a frame with intermediate aspect ratio.
For 4/3 vs 3/2 we need as target frame a frame with aspect w = h * sqrt(2), which also happens to be exactly the aspect ration of common papers (A, B)
( h^2 * 2/3) = (w^2 * 4/3 ) = > w^2/h^2 = 2 => w/h = sqrt(2)
The framing strategy is to exactly cover the target frame’s height for the 3/2 shot and the width for the 4/3 shot, while there will be “dead space” at the sides with 3/2 and at the top/bottom with the 4/3.
This, except from fair utilization of pixel quantity and sensor size, will also make the calculation of resizing to common size easier .. 😉
JimK says
I like formats that are 4:3 or squarer, so this is easy for me: normalize to picture height. However, I admire the intellectual purity of your approach.