• site home
  • blog home
  • galleries
  • contact
  • underwater
  • the bleeding edge

the last word

Photography meets digital computer technology. Photography wins -- most of the time.

You are here: Home / GFX 50S / a7RII/GFX comparisons with no demosacing

a7RII/GFX comparisons with no demosacing

March 28, 2017 JimK 1 Comment

This is the tenth in a series of posts on the Fujifilm GFX-50S. The series starts here.

Warning: this post will descend into the depths of nerd-dom. Unless you like that kind of thing, it’s best to move on. Also, this post yields almost no information useful to anyone trying to decide between an a7RII and a GFX.

OK, is anybody left? Jack, I knew I could count on you. Read on for an attempt to take demosaicing out of the picture when visually comparing different senors and lenses. And, for a bonus for those of you willing to scroll down to the bottom of this post, a discussion of how I compare sensors and lenses on cameras of differing aspect ratio and resolution.

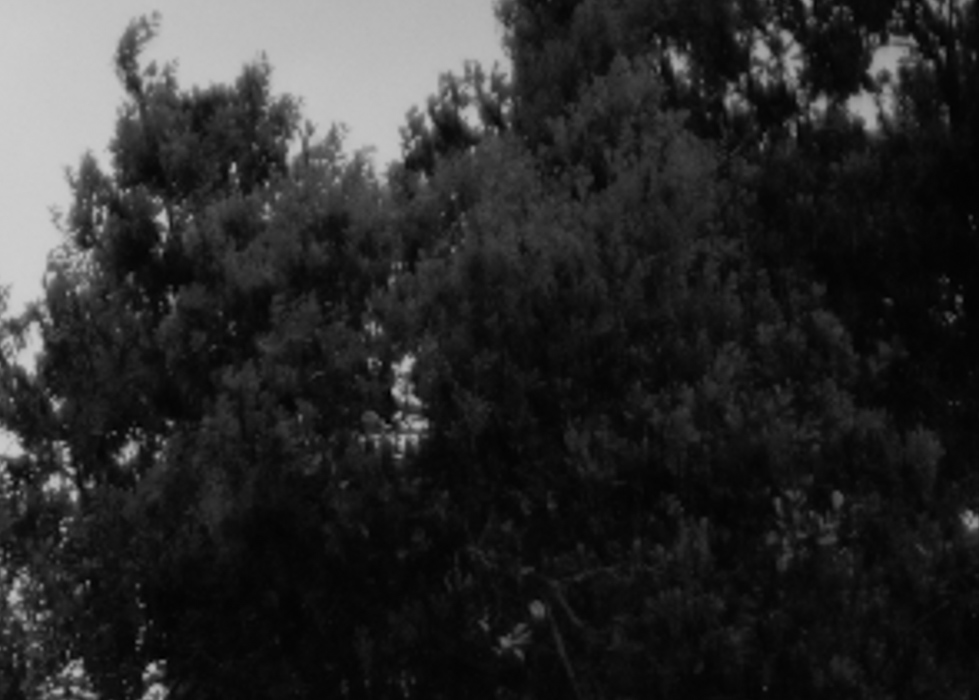
One way to take demosaicing out of the picture is to look at raw color planes. Unfortunately, for subjects other than monochromatic ones, that means that we have to look at the planes one at a time. I brought the images for the last two posts into RawDigger, and exported the first green raw plane. Then I made my crops. Since the exported images have half as many pixels in each direction at the complete raw image, the field of view of each of the crops is doubled, and the image cast by the lens is sampled more coarsely by a factor of two.

These are approximately 200% crops of the GFX images, with the a7RII images normalized to the same print size. More on just how I did that at the bottom of this page.


A7RII f/2


A7RII f/2.8


GFX f/2.8


A7RII f/4


GFX f/4


A7RII f/5.6


GFX f/5.6


A7RII f/8


GFX f/8

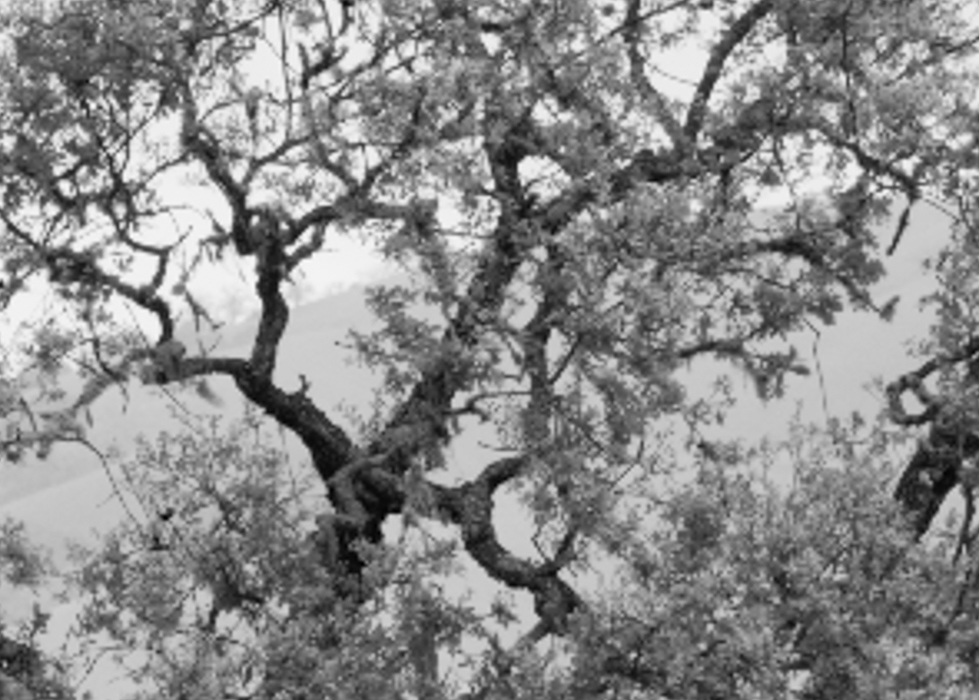
I don’t know about you, but I didn’t learn much from that. The sampling pitch is so coarse that we’re not really getting to what the lens can or can’t do. I guess it shows that the GFX has a bit better contrast. 

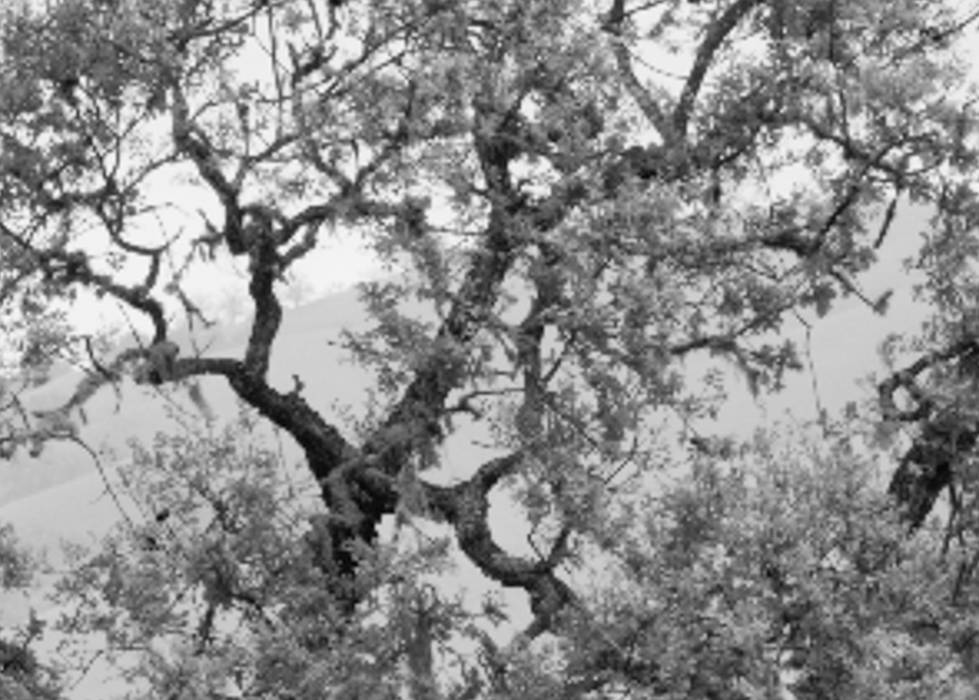
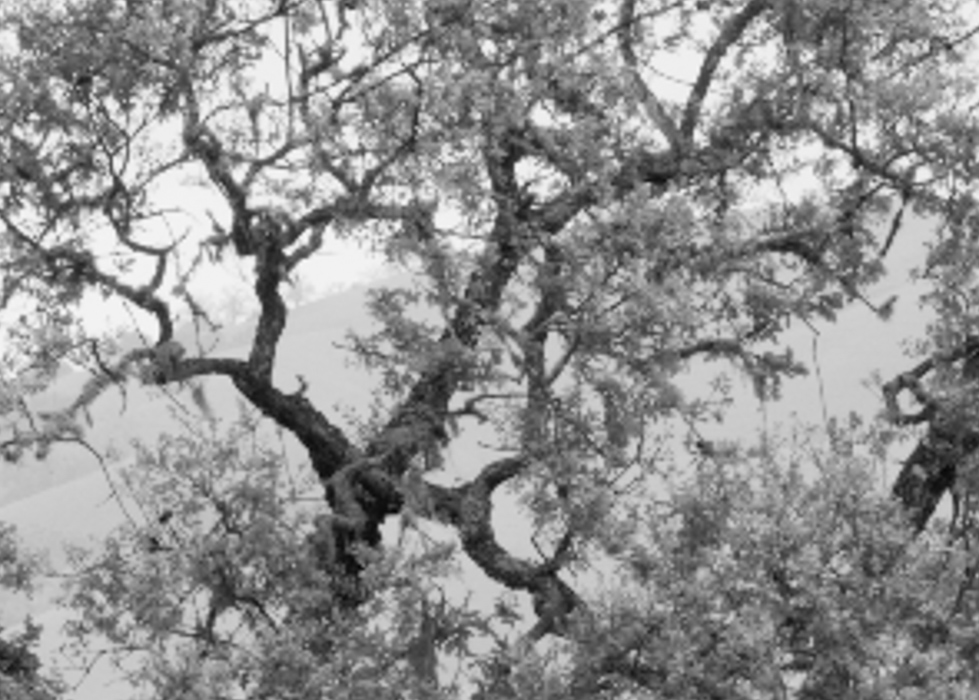
The lens performance is weaker in the corners. Maybe we can learn something there.

A7RII f/2


A7RII f/2.8


GFX f/2.8

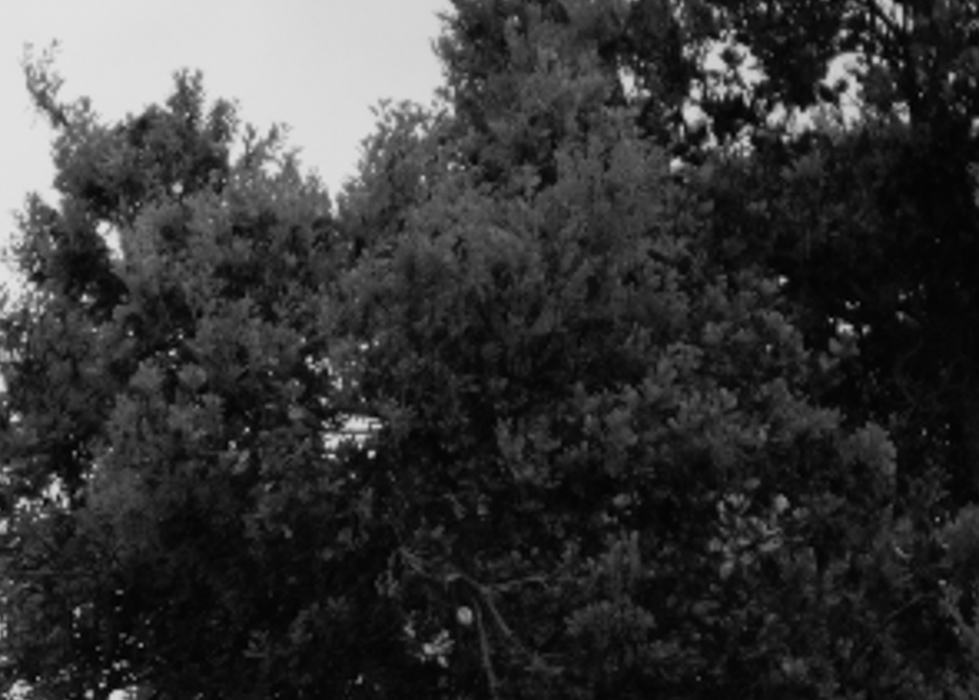
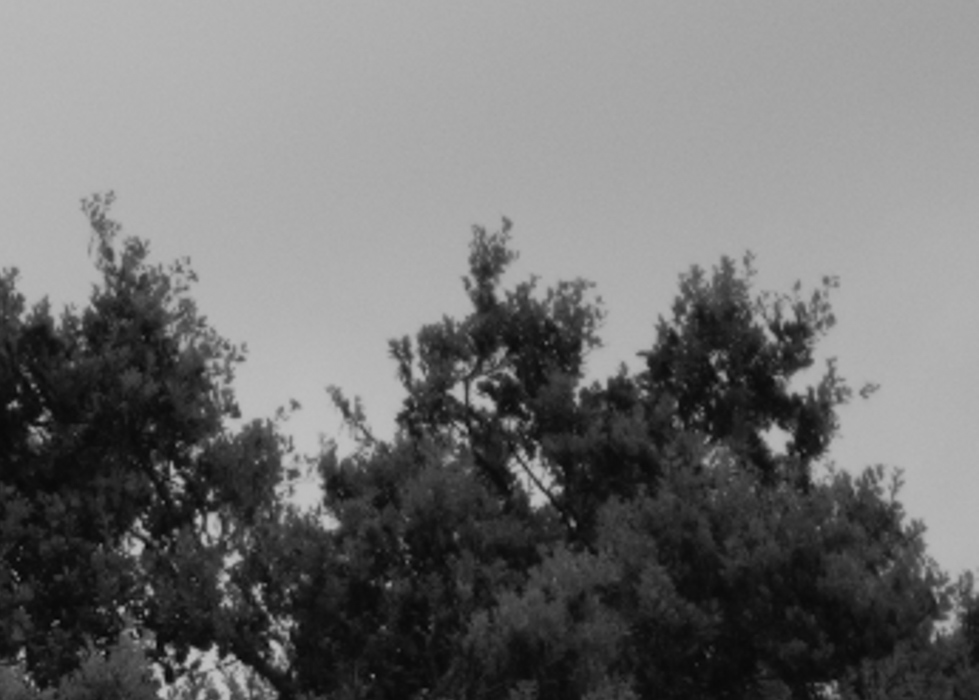
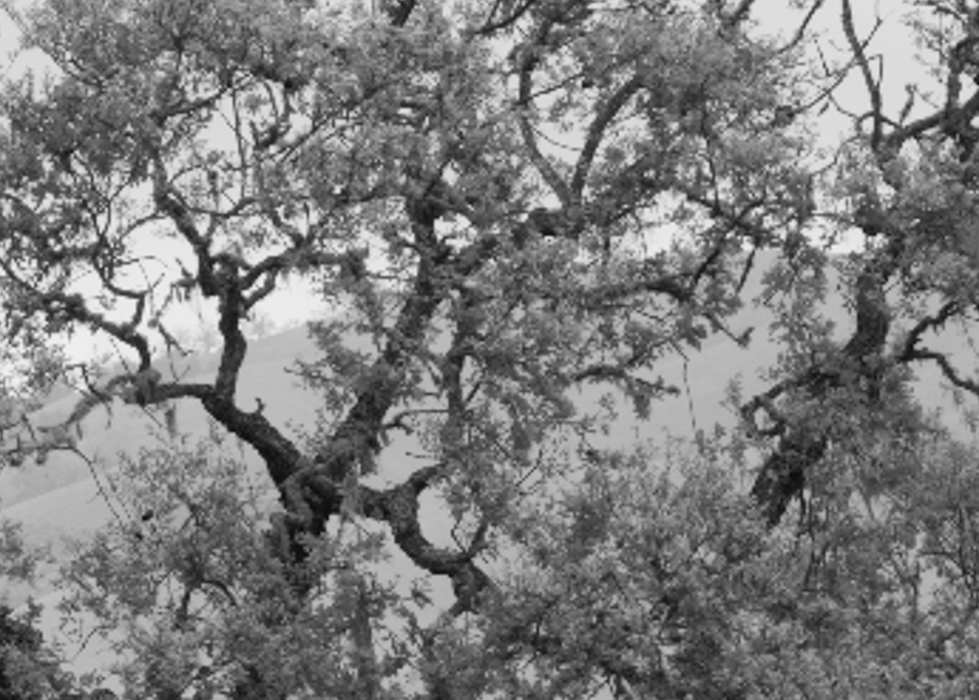
The a7RII f/2 shot shows the lens substantially worse than the sensor, but in both f/2.8 shots the sensor is not really keeping up with the lens.

A7RII f/4


GFX f/4

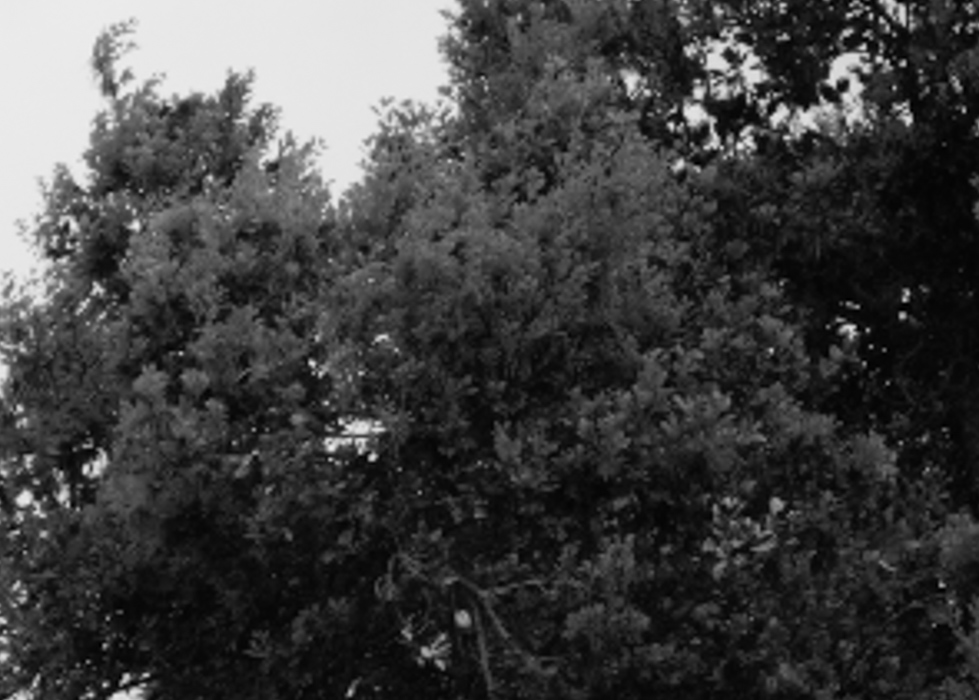
I’m going to stop here. It’s plain that we can’t learn much from this exercise. Too bad, because it’s “pure” from an absence-of-processing point of view. 

OK. Now, as promised, a description of how I normalize images of dissimilar aspect ratios and resolutions. 

I used to do it all in Photoshop, using layers, image size changes, and Excel spreadsheets for the calculations. Then I discovered that, if you copy a crop setting in Lightroom and paste it into an image with the same aspect ratio but dissimilar resolution, Lightroom scales the crop so that its extent, as measured in percent of picture height and percent of picture width, is the same in both images. That’s perfect. Now, when you compare such images, you don’t want to do it at the native resolution of either camera, so I select a crop extent of the higher-resolution image of around 240 pixels talland export the images as 700 pixel-high JPEGs. Thus the higher-resolution image is about, but not exactly, a 250% magnification, and the lower resolution image is a greater magnification. 

What if the images have different aspect ratios? I didn’t know this until yesterday, because I’d never used this trick on such images. I’m smarter today, and I’ll share with you that Lightroom uses the image height when it does its calculations. In this case, that favors the GFX over using the image width or the image diagonal. That’s fine with me, because I like square, 4:5, and 4:3 images. If you like 3:2 or 16:9 images, you’d prefer another scaling. It turns out in the example that I worked on yesterday and earlier today, that the differences between the two camera/lens systems was sufficiently large that it didn’t make much difference which of the three possible scalings Lightroom picked.


GFX 50S

← Lightroom sharpening of Fujifilm GFX-50S/63mm images Sony 90mm macro on the a7RII, Fuji 120mm macro on the GFX-50S →

Trackbacks

  1. Fujifilm GFX 50S Dead Beauty, Adapted Glass, and Unboxing/AF | Fuji Addict says:
    March 29, 2017 at 6:14 pm

    […] The Last Word – a7RII/GFX comparisons with no demosacing […]

    Reply

Leave a Reply Cancel reply

Your email address will not be published. Required fields are marked *

May 2025
S M T W T F S
 123
45678910
11121314151617
18192021222324
25262728293031
« Apr    

Articles

  • About
    • Patents and papers about color
    • Who am I?
  • How to…
    • Backing up photographic images
    • How to change email providers
    • How to shoot slanted edge images for me
  • Lens screening testing
    • Equipment and Software
    • Examples
      • Bad and OK 200-600 at 600
      • Excellent 180-400 zoom
      • Fair 14-30mm zoom
      • Good 100-200 mm MF zoom
      • Good 100-400 zoom
      • Good 100mm lens on P1 P45+
      • Good 120mm MF lens
      • Good 18mm FF lens
      • Good 24-105 mm FF lens
      • Good 24-70 FF zoom
      • Good 35 mm FF lens
      • Good 35-70 MF lens
      • Good 60 mm lens on IQ3-100
      • Good 63 mm MF lens
      • Good 65 mm FF lens
      • Good 85 mm FF lens
      • Good and bad 25mm FF lenses
      • Good zoom at 24 mm
      • Marginal 18mm lens
      • Marginal 35mm FF lens
      • Mildly problematic 55 mm FF lens
      • OK 16-35mm zoom
      • OK 60mm lens on P1 P45+
      • OK Sony 600mm f/4
      • Pretty good 16-35 FF zoom
      • Pretty good 90mm FF lens
      • Problematic 400 mm FF lens
      • Tilted 20 mm f/1.8 FF lens
      • Tilted 30 mm MF lens
      • Tilted 50 mm FF lens
      • Two 15mm FF lenses
    • Found a problem – now what?
    • Goals for this test
    • Minimum target distances
      • MFT
      • APS-C
      • Full frame
      • Small medium format
    • Printable Siemens Star targets
    • Target size on sensor
      • MFT
      • APS-C
      • Full frame
      • Small medium format
    • Test instructions — postproduction
    • Test instructions — reading the images
    • Test instructions – capture
    • Theory of the test
    • What’s wrong with conventional lens screening?
  • Previsualization heresy
  • Privacy Policy
  • Recommended photographic web sites
  • Using in-camera histograms for ETTR
    • Acknowledgments
    • Why ETTR?
    • Normal in-camera histograms
    • Image processing for in-camera histograms
    • Making the in-camera histogram closely represent the raw histogram
    • Shortcuts to UniWB
    • Preparing for monitor-based UniWB
    • A one-step UniWB procedure
    • The math behind the one-step method
    • Iteration using Newton’s Method

Category List

Recent Comments

  • bob lozano on The 16-Bit Fallacy: Why More Isn’t Always Better in Medium Format Cameras
  • JimK on Goldilocks and the three flashes
  • DC Wedding Photographer on Goldilocks and the three flashes
  • Wedding Photographer in DC on The 16-Bit Fallacy: Why More Isn’t Always Better in Medium Format Cameras
  • JimK on Fujifilm GFX 100S II precision
  • Renjie Zhu on Fujifilm GFX 100S II precision
  • JimK on Fuji 20-35/4 landscape field curvature at 23mm vs 23/4 GF
  • Ivo de Man on Fuji 20-35/4 landscape field curvature at 23mm vs 23/4 GF
  • JimK on Fuji 20-35/4 landscape field curvature at 23mm vs 23/4 GF
  • JimK on Fuji 20-35/4 landscape field curvature at 23mm vs 23/4 GF

Archives

Copyright © 2025 · Daily Dish Pro On Genesis Framework · WordPress · Log in

Unless otherwise noted, all images copyright Jim Kasson.