While not directly about the camera, this is one in a series of posts that relates to the Nikon Z6. You should be able to find all the posts about that camera in the Category List on the right sidebar, below the Articles widget. There’s a drop-down menu there that you can use to get to all the posts in this series; just look for “Nikon Z6/7”. This is also relevant to the Fuji GFX 100; for other posts about that camera, look at Category “GFX 100”. This is also a continuation of testing that I’ve been doing on the Epson P800 printer. I’ve created a category called “Printers”, and put this post in that category. If you go to the Category List (on the right in the desktop formatting), find “Printers” and click on it, you’ll see all the posts in that series.
In the previous set of posts, we looked at the results of resizing files from three different camera/lens combinations:
- Fujifilm GFX 100, Fuji 110 mm f/2 lens, set to f/5.6. That’s not the sharpest aperture for that lens, but the sharpness is not far down from its best there. Lightroom sharpening amount = 20, radius = 1, detail = 0. Image height is 8776 pixels and image area is 101 megapixels.
- Nikon Z6, FX mode, Zeiss Otus 85 mm f/1.4 lens, set to f/4. That’s not the sharpest aperture for that lens, but the sharpness is not far down from its best there. Lightroom sharpening amount = 30, radius = 1, detail = 0. The increase sharpening is to compensate for the (weak) AA filter on the Z6. Image height is 4000 pixels and image area is 24 megapixels.
- Nikon Z6, DX mode, Zeiss Otus 55 mm f/1.4 lens, set to f/2.8. That’s pretty close to the sharpest aperture for that lens. Lightroom sharpening amount = 30, radius = 1, detail = 0. The increase sharpening is to compensate for the (weak) AA filter on the Z6. Image height is 2780 pixels and image area is a bit less than 12 megapixels.
If you haven’t already done so, please at least skim the earlier posts. Here’s the first one. Here’s the second one, in which Gigapixel AI came out on top. Here’s the third one, which looked at Alien Skin Blow Up. Here’s one that used PhotoZoom Pro 8. Here’s one that looked at the ability of printers to resolve fine detail, and some viewing distance issues.
To review the bidding, the differences between the 100 MP captures from the GFX 100 and the 12 and 24 MP ones from the Z6 were readily apparent at considerable distance with 40-inch-high prints. In smaller prints, and close viewing distances, differences between 180, 240, and 360 ppi were easily visible even at arm’s length with the Epson P800 and Premium Glossy Photo Paper. However, when using the printer’s 720 ppi mode, the differences between 720, 540, and 360 ppi images was subtle.
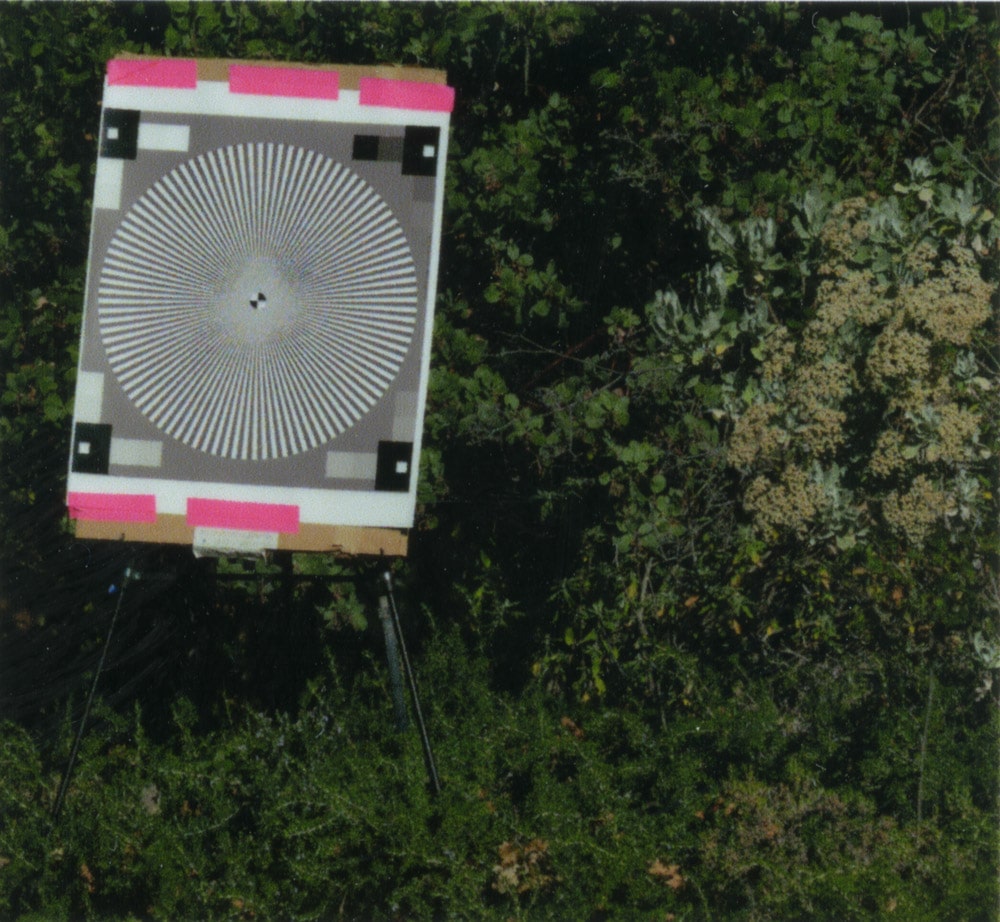
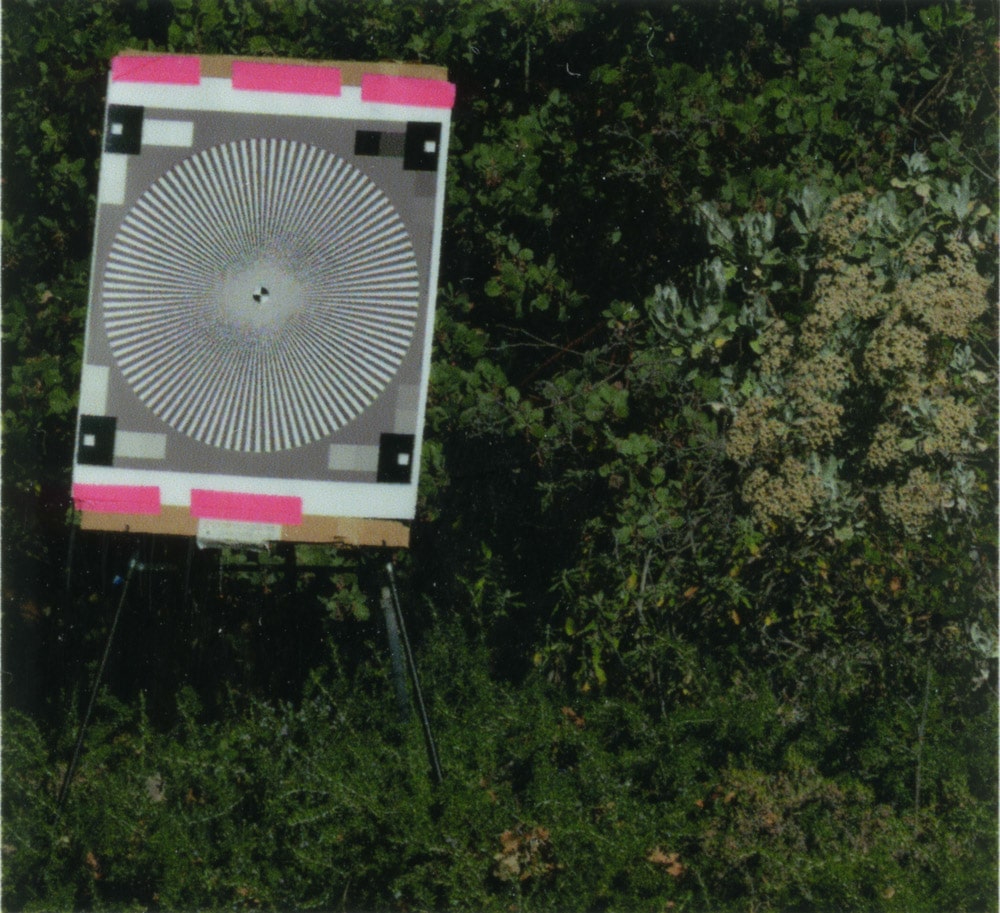
I looked for a way to show you the differences in the small print tests, so you wouldn’t have to just take my word for what I was seeing. I decided to scan the prints with an Epson V700 Photo flatbed scanner and show you some crops from the scans.
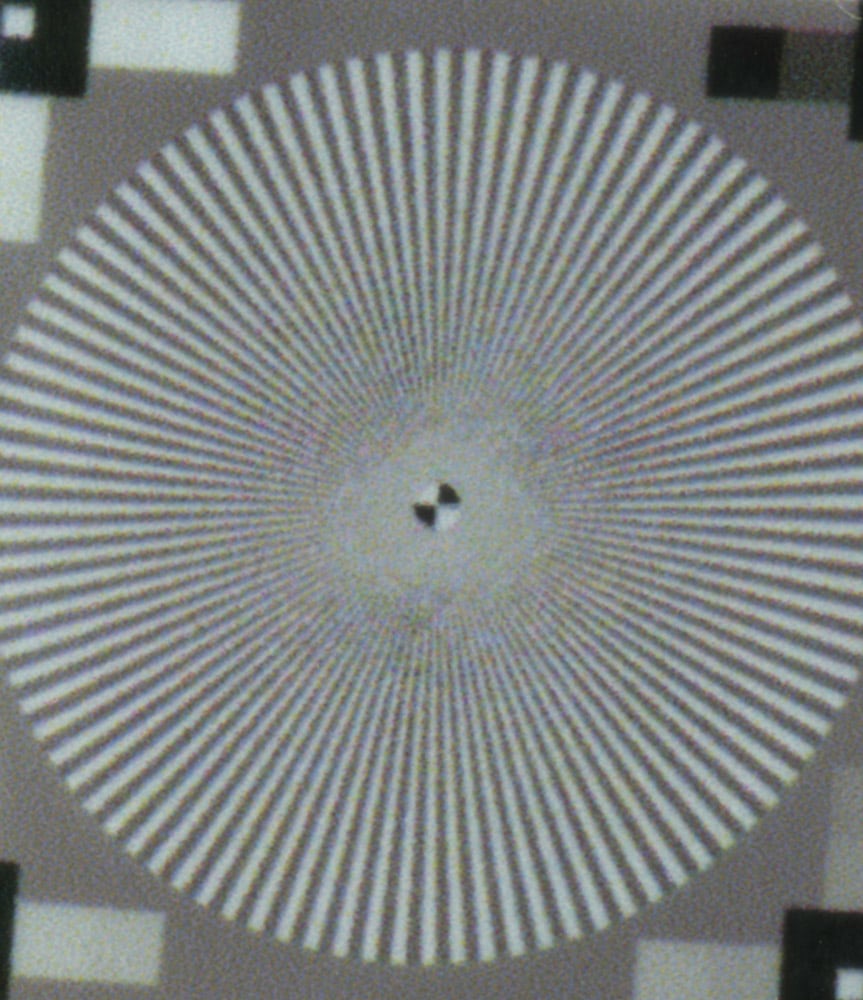
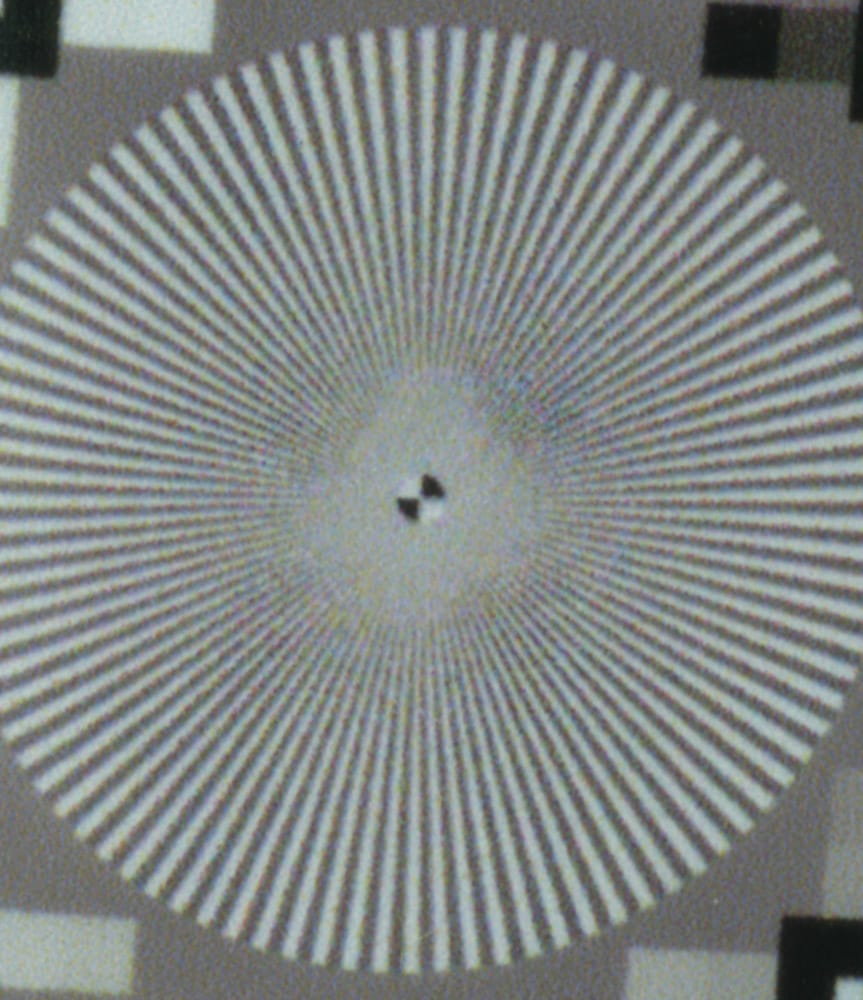
The first set of three images was created to answer the question: could a human with ordinary sight see the difference between a 360 pixel per inch (ppi) print and a print of lower resolution. I took the GFX 100 image, resized it to 240 ppi and back to 360 ppi with Photoshop, using “Automatic” for the interpolation method. Then I created another copy, resized it to 180 ppi and back to 360 ppi. I printed all three with an Epson P800 printer on Premium Glossy Photo Paper.
Here are 1.4×1.4 inch crops from that set of images, using the center of the Siemens Star as the subject, since that is the place where it is easiest to see the differences:
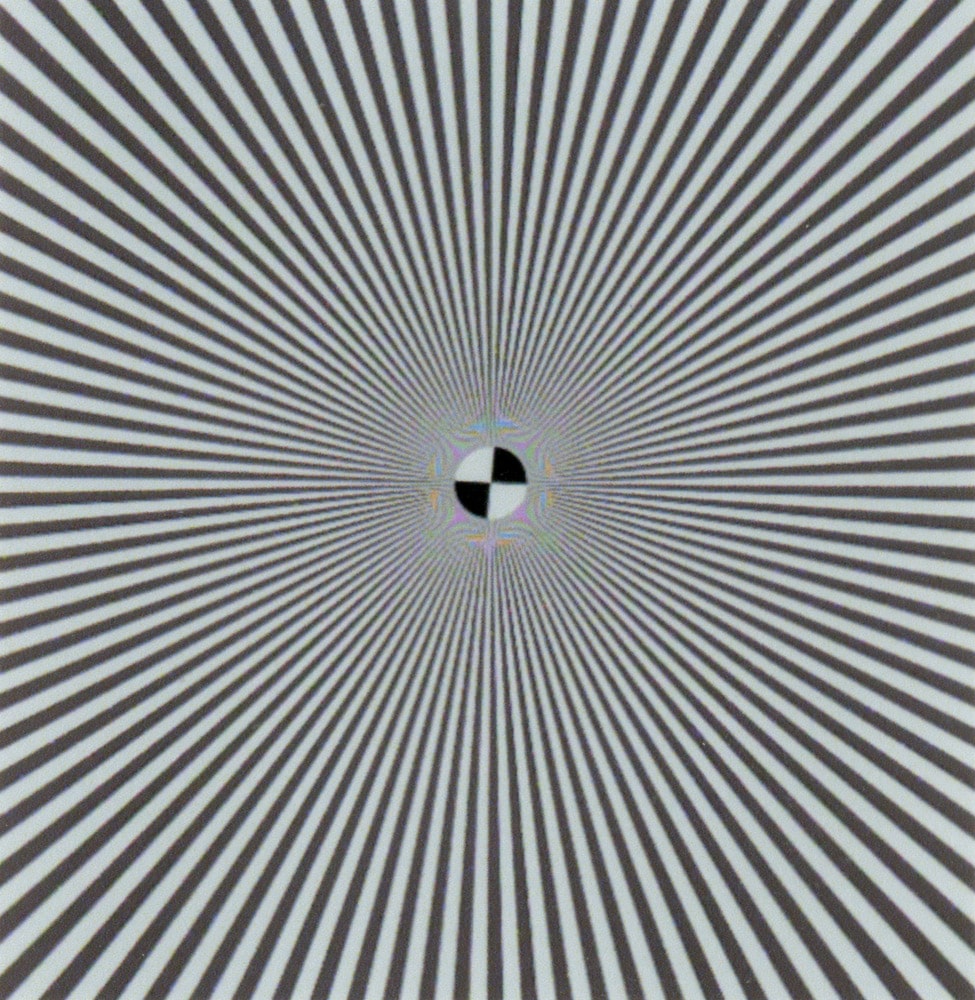
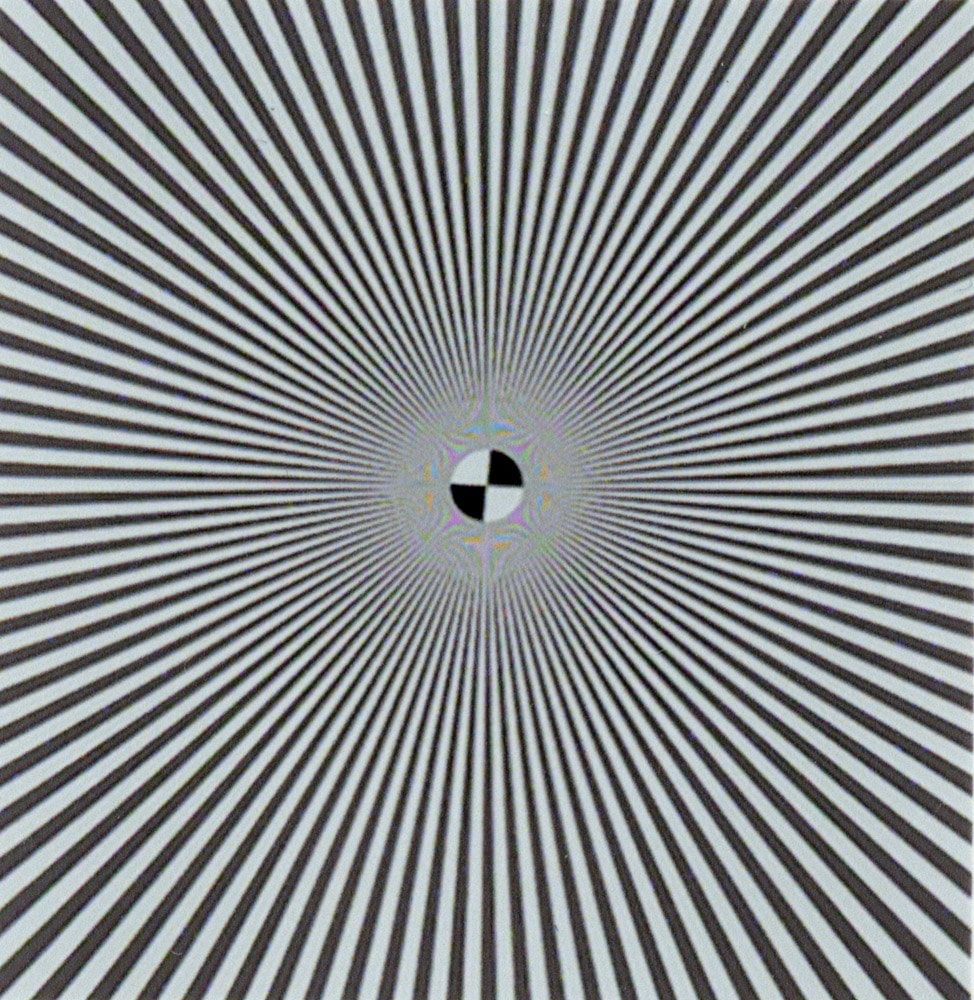
Of course, you can easily see the differences in these blowups. I’m including them to show you how the differences express themselves; you’d haave to back up from your monitor a lot to see what the prints look like at arm’s length.
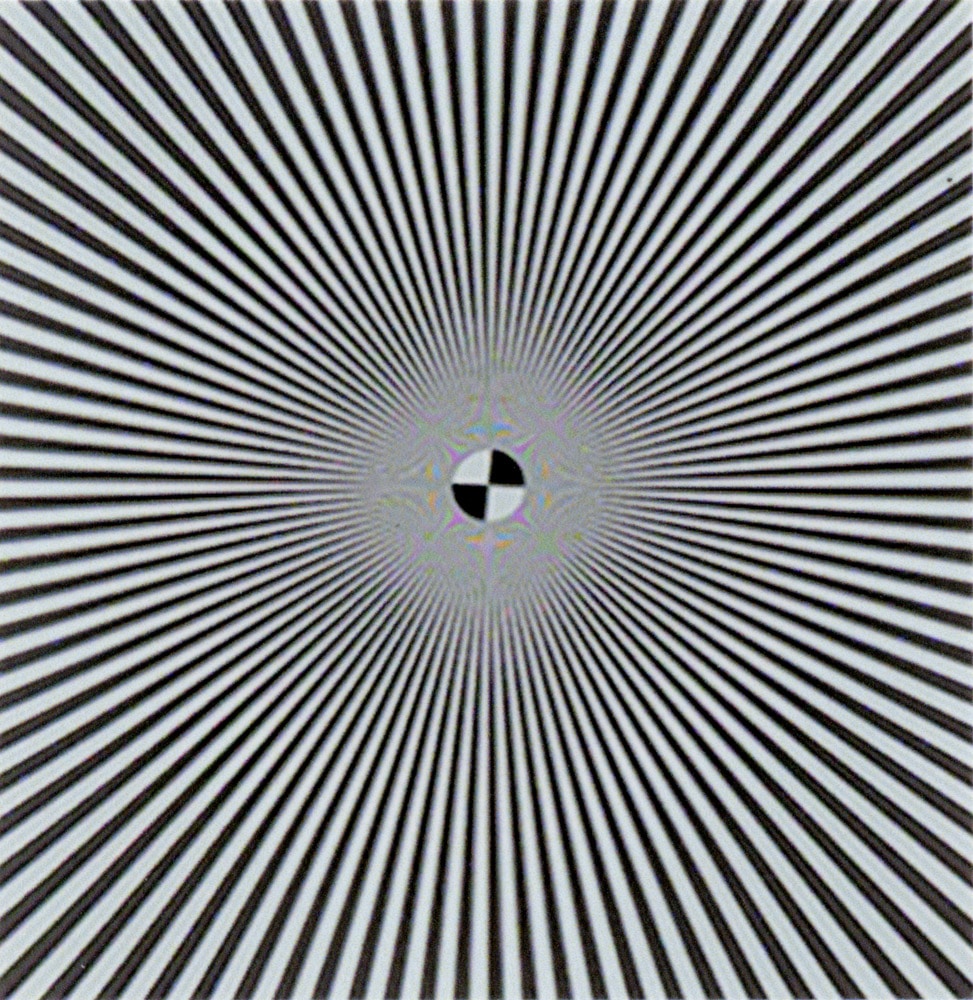
The next test was to make a set of prints at 720 ppi from captures that have been downsized from a 720 ppi original. Here are some 1.7×1.7 inch crops:

Now the differences are much more subtle, since we’re approaching the limits of the marking engine in the P800. Here are some extreme crops:
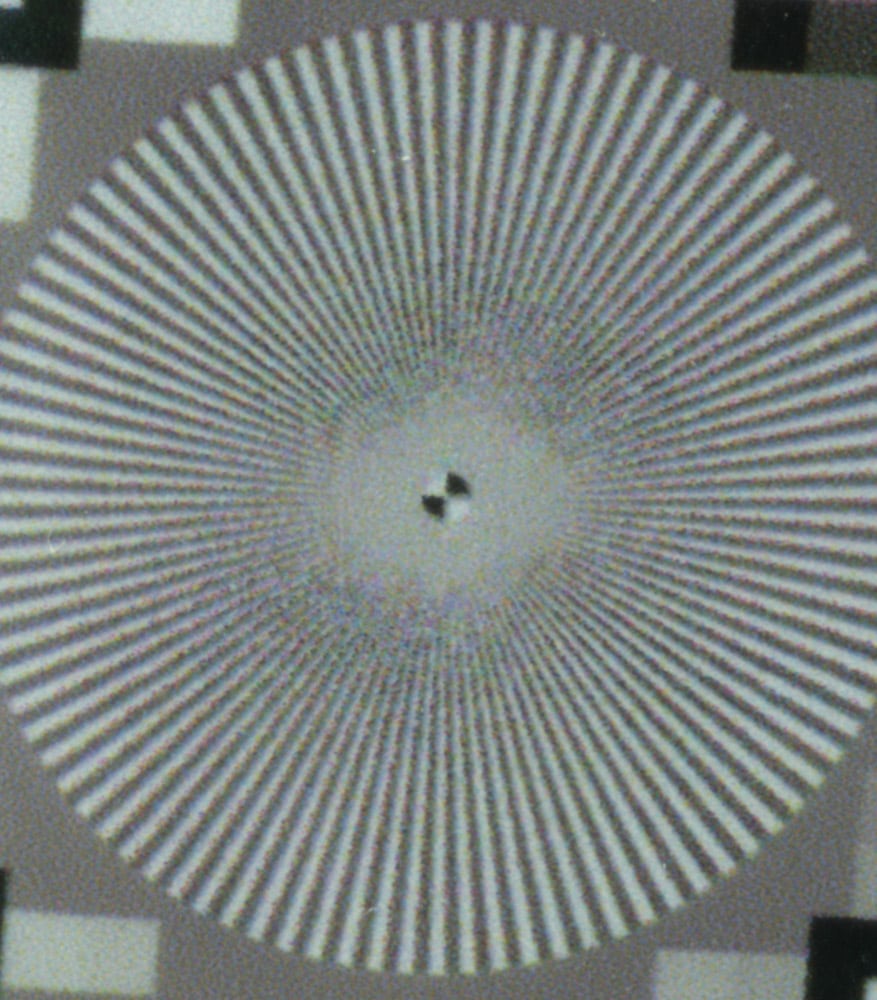
Yes, there are differences. They aren’t striking here. They are even less striking when you’re not using a loupe to look at the prints.
Leave a Reply