• site home
  • blog home
  • galleries
  • contact
  • underwater
  • the bleeding edge

the last word

Photography meets digital computer technology. Photography wins -- most of the time.

You are here: Home / GFX 50S / Zeiss 135/2 Apo-Sonnar on GFX

Zeiss 135/2 Apo-Sonnar on GFX

April 1, 2017 JimK 2 Comments

This is the nineteenth in a series of posts on the Fujifilm GFX-50S. The series starts here. You should be able to find all the posts about that camera in the Category List on the right sidebar, below the Articles widget. There’s a drop-down menu there that you can use to get to all the posts in this series; just look for “GFX 50S”.

This is another one of my informal lens tests, this one with the Zeiss Apo-Sonnar 135 mm f/2 ZF.2 mounted on the Fujifilm GFX-50S with a Fotodiox adapter. I don’t have a comparable lens to mount on the Sony a7RII, so there will be no comparison here. The question before the house is: how much of the GFX sensor is usable with the 135 Apo?

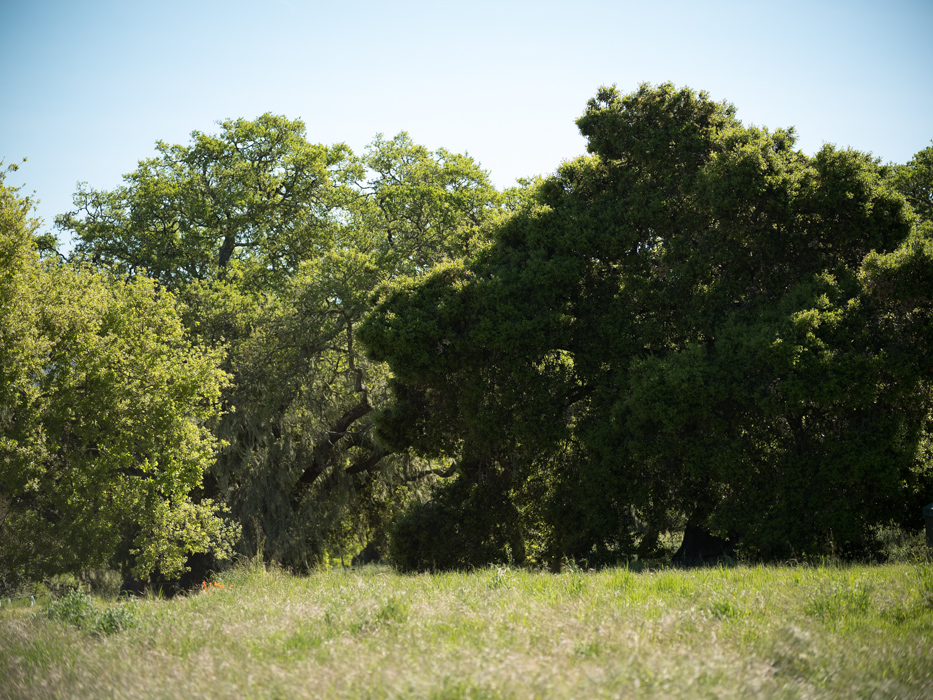
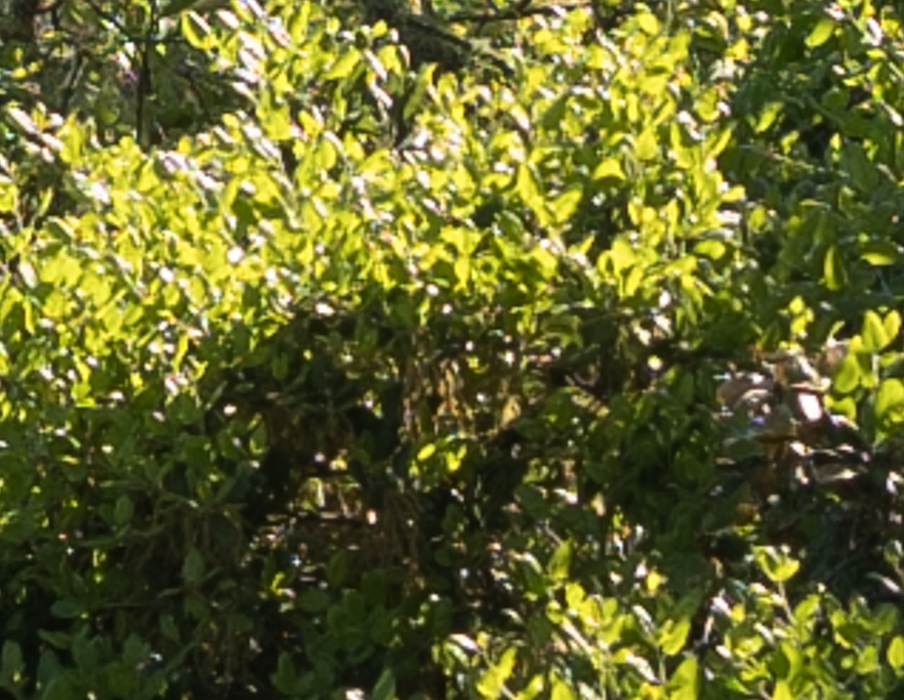
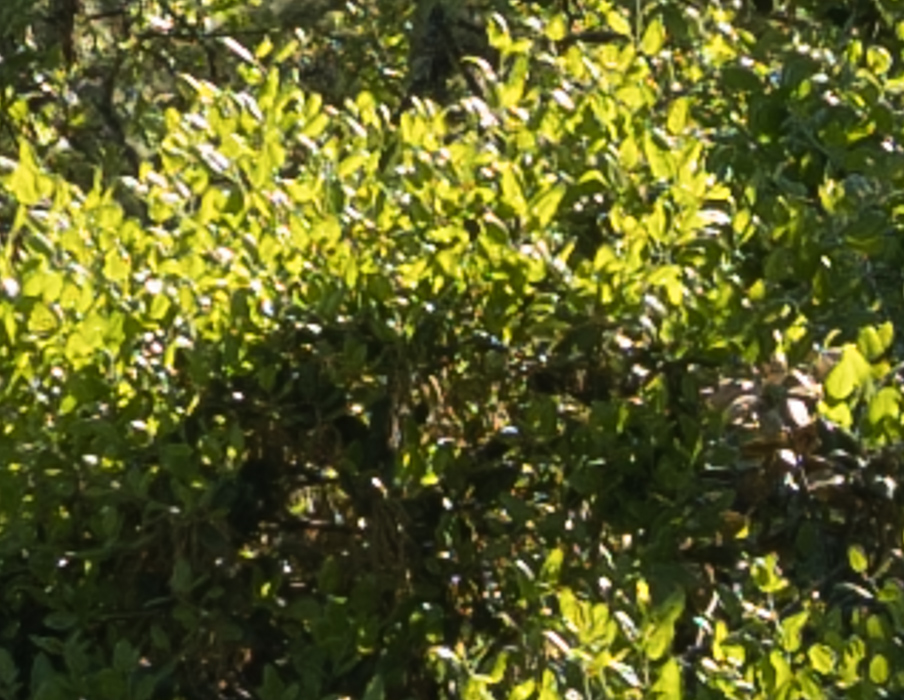
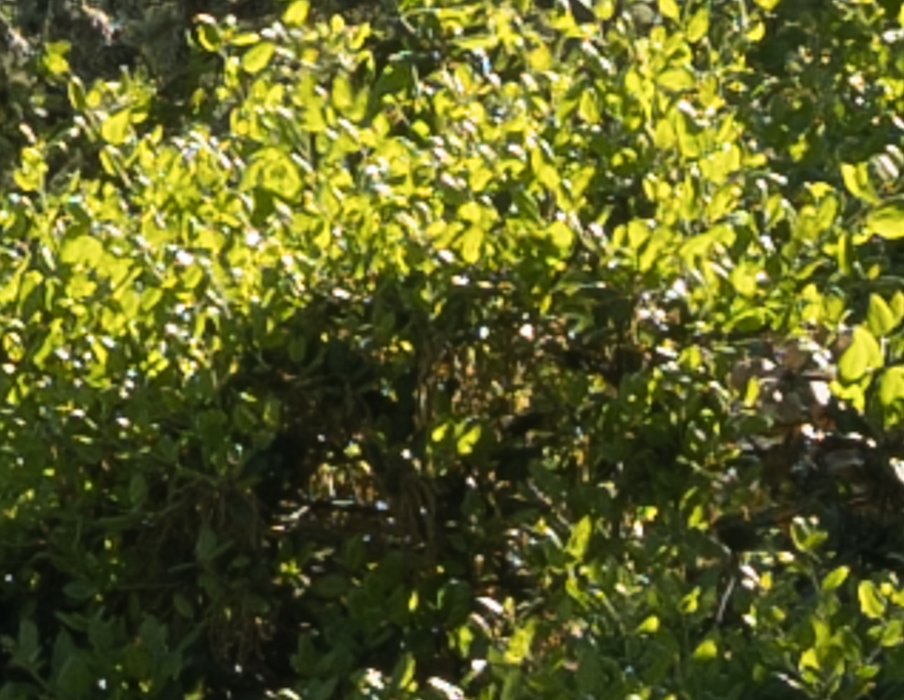
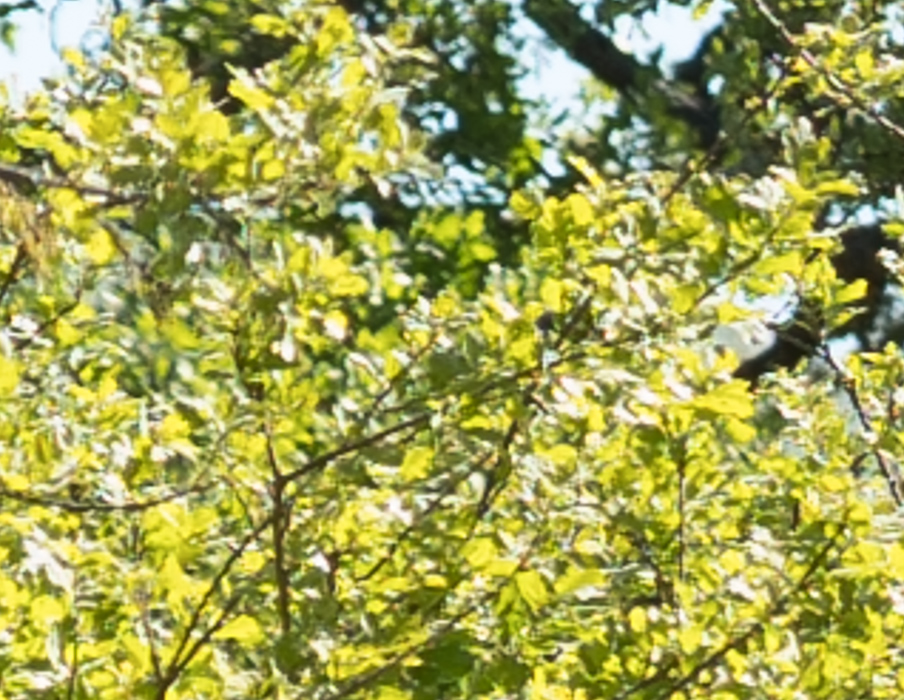
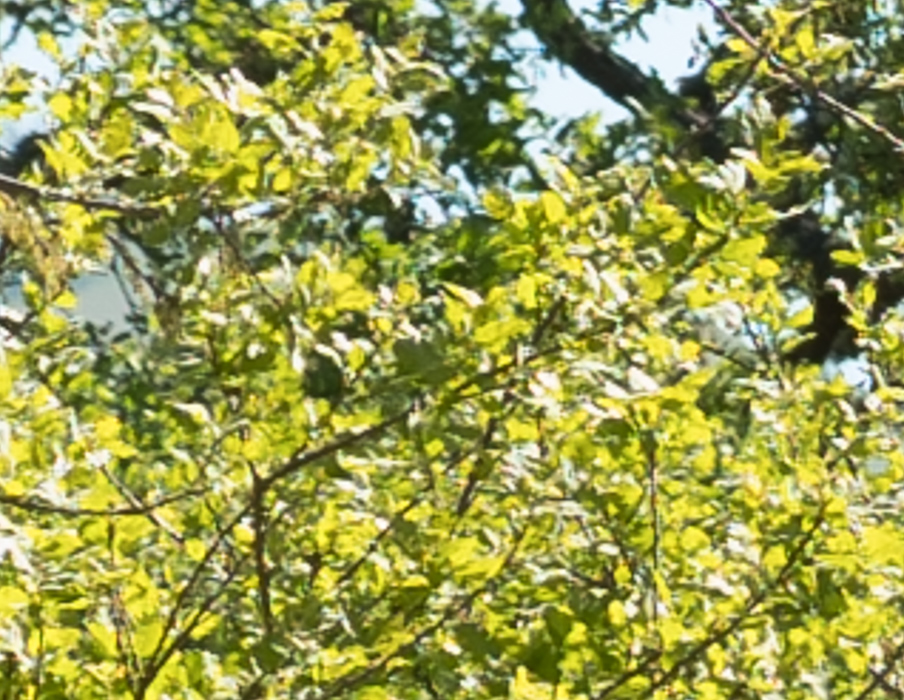
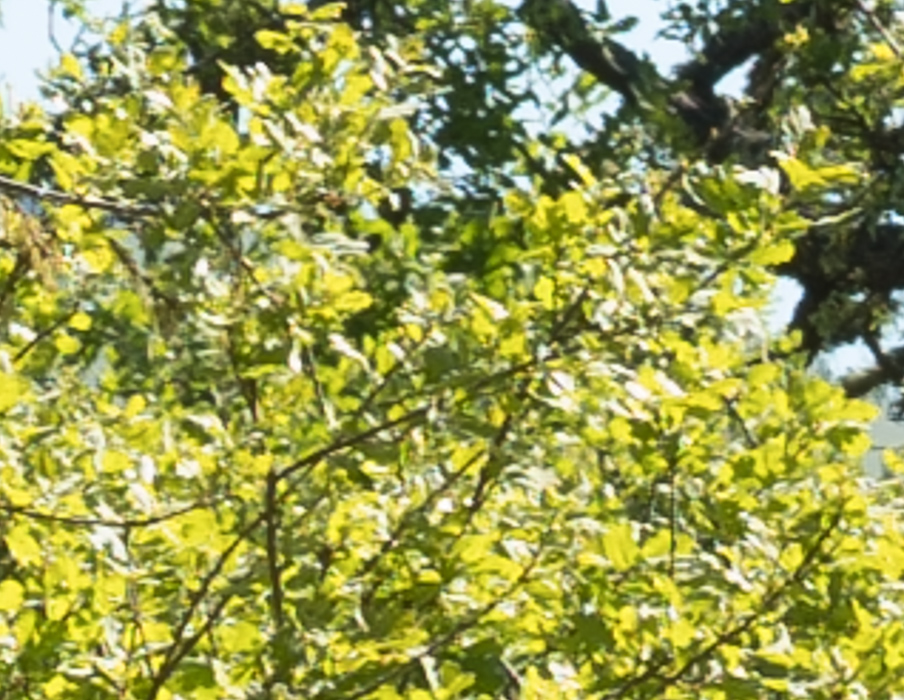
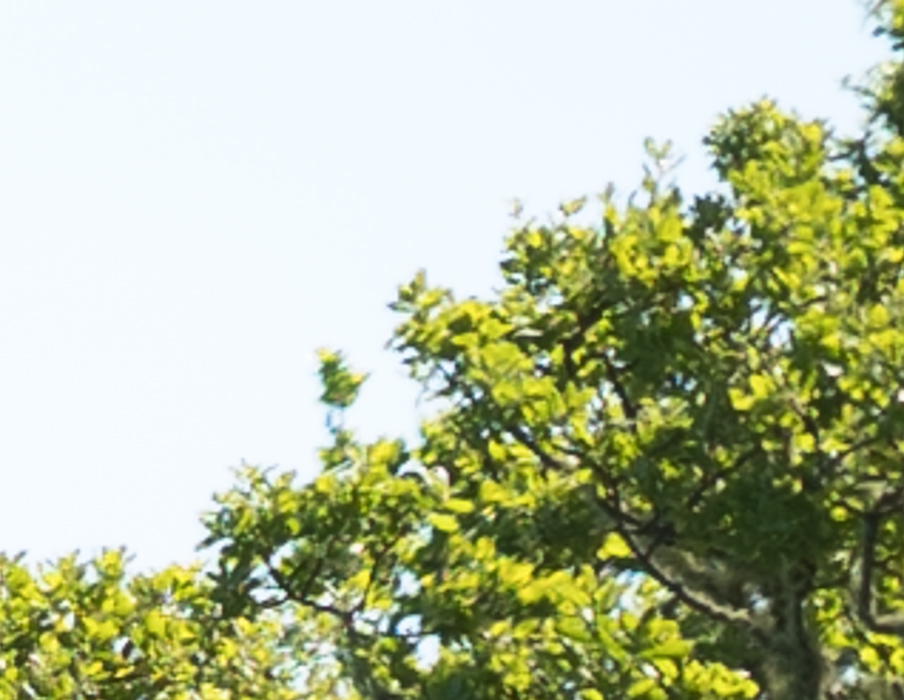
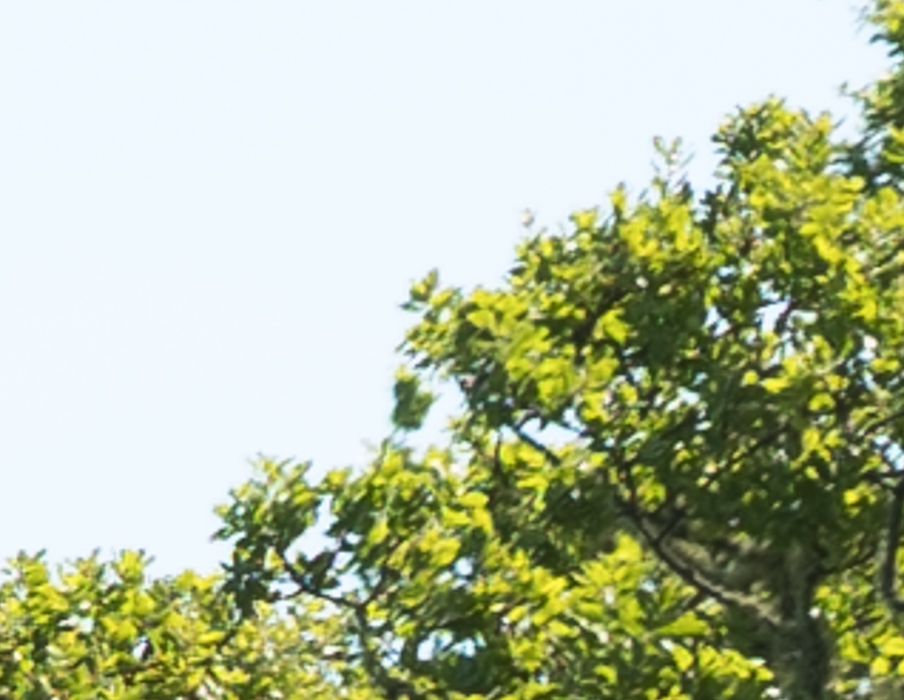
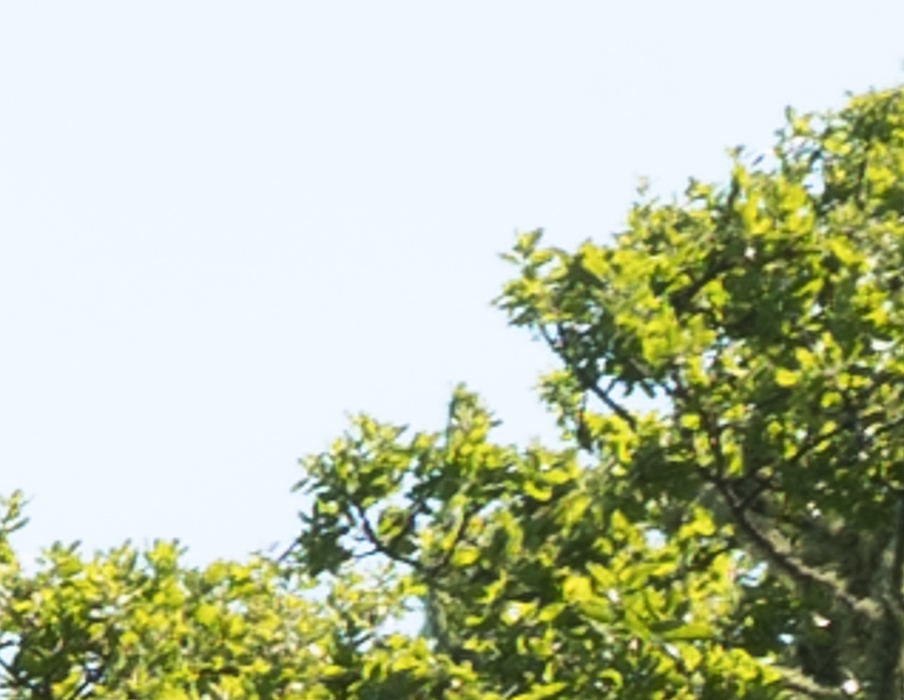
Shutter set to EFCS.  Apertures from f/2.8 to f/8 in whole stops. I focused three times at each aperture and picked the sharpest images.  2-second self-timer used. Arca-Swiss C1 cube on RRS sticks. The focus was near the center of the image, and all images were refocused at each aperture. Tripod and head were not deliberately moved between series, though there appears to have been some shift during the camera and lens changes. Small exposure corrections in Lr. Daylight white balance selected in Lightroom.  The scene, first with the full frame 4:3 format, than with a centered 4:5 crop, and finally with a centered 1:1 crop. The 1:1 image circle on the GFX is slightly bigger than the 24×36 mm image circle. The lens was set to f/2.8, which is as wide as I’d ever use for landscapes and is thus the worst case for vignetting here.

4:3

The 135 Apo actually covers pretty well. There is a bit of vignetting. Lr’s vignetting tool doesn’t deal well with it at any setting that I’ve found, though.

4:5

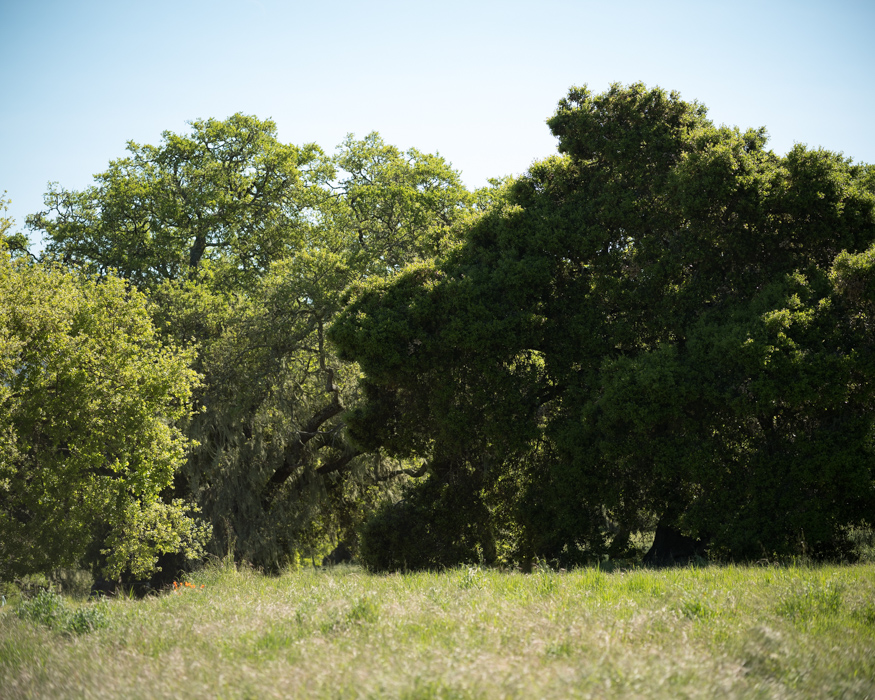
Not much vignetting at 4:5.


1:1

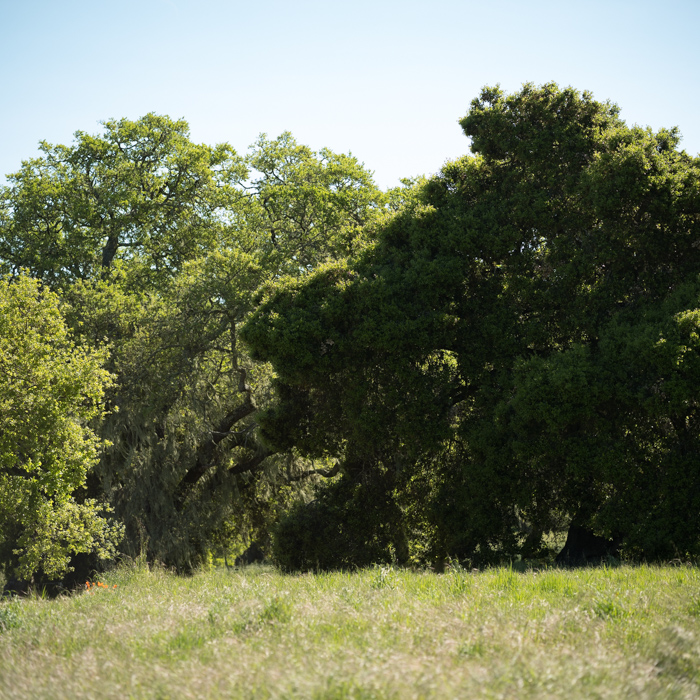
Very little falloff at 1:1.

Center crops, at 253% magnification:

f/2.8

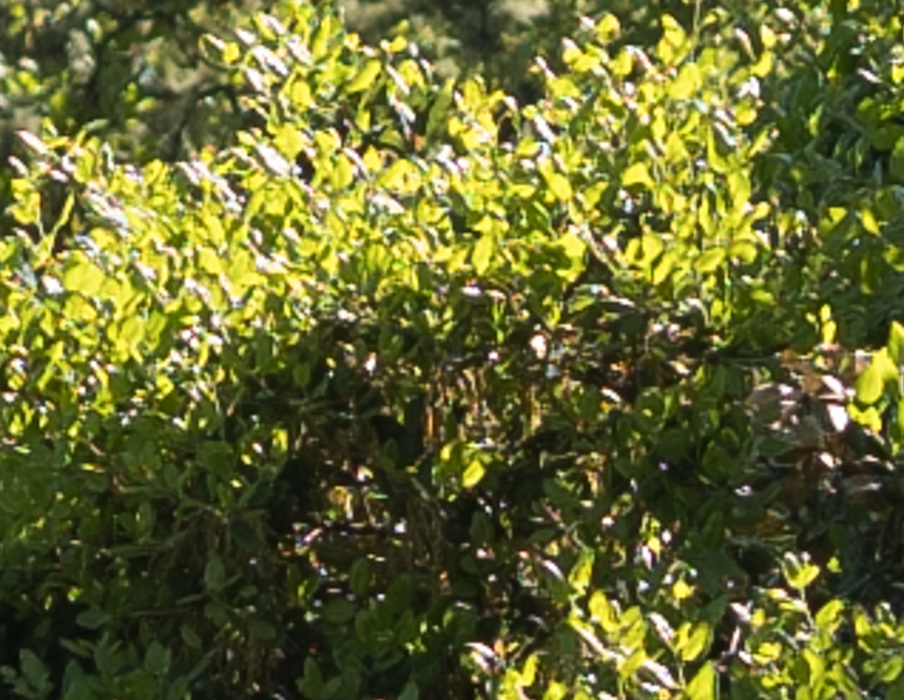
Here’s how to use these highly-magnified crops. The dimensions of the GFX sensor are 8256×6192 pixels. If we make a full-frame print from the GFX on a printer with 360 pixels per inch native driver-level resolution, like the Epson inkjet printers, we’ll end up with a 23×17 inch (58×44 cm) print. The 318×246 pixel crop you’re looking at will end up 0.8333×0.6833 inches (2.12×1.74 cm). Let’s imagine that you or your viewers are critical, and will look at the 22×17 inch print from about 18 inches (conventional wisdom is that the distance would be a little greater than that, or 28 inches (the diagonal), but you did buy a high-resolution camera for a reason, didn’t you?).

The next step is dependent on your monitor pitch, which you may or may not know. Turns out, you don’t have to know it. Just take the 253% crops and view then at 1:1. How high are they? Get out your ruler and measure, or just guess. Let’s say they are 6 inches high. 6 inches is about 7 times 0.8333, so in order to view the crops the way they’d look from 18 inches on the print is to view them from 7 times as far away, or 10.5 feet.

Everything here scales proportionately. If the image on your screen is bigger than 6 inches, increase your viewing distance by the ratio of your image height to 6 inches. If you thin your viewers are going to almost get their nose to that print and look at it from six inches, divide that 10.5 feet by 3, and look at the image on the monitor from three and a half feet away.


f/4


f/5.6


f/8

The sensor is having a hard time keeping up here.

Off axis about as far as the corner of the 1:1 crop:


f/2.8


f/4


f/5.6


f/8


Those all look pretty good to me.

Now to a distance off the axis near the corner of the 4:5 crop:


f/2.8


f/4


f/5.6


f/8

I think everything but the f/2.8 shot is pretty good. Even f/2.8 isn’t bad.


GFX 50S

← Otus 55/1.4 on GFX HC 120/4 macro & Fuji 120/4 macro on Fuji GFX →

Comments

  1. Max says

    April 2, 2017 at 10:39 am

    The Apo-Sonnar was my first Otus lens – still a favorite if I can just get living objects to not move around so much.

    The Apo has been discounted to as low as $1600 and people should really kink themselves if they didn’t take advantage. It’s a lens for life.

    Reply

Trackbacks

  1. Otus 85 f/1.4, Zeiss & Nikon 135 f/2 FF lenses on Fuji GFX-50S says:
    April 4, 2017 at 8:41 am

    […] Zeiss 135/2 Apo-Sonnar on GFX […]

    Reply

Leave a Reply Cancel reply

Your email address will not be published. Required fields are marked *

May 2025
S M T W T F S
 123
45678910
11121314151617
18192021222324
25262728293031
« Apr    

Articles

  • About
    • Patents and papers about color
    • Who am I?
  • How to…
    • Backing up photographic images
    • How to change email providers
    • How to shoot slanted edge images for me
  • Lens screening testing
    • Equipment and Software
    • Examples
      • Bad and OK 200-600 at 600
      • Excellent 180-400 zoom
      • Fair 14-30mm zoom
      • Good 100-200 mm MF zoom
      • Good 100-400 zoom
      • Good 100mm lens on P1 P45+
      • Good 120mm MF lens
      • Good 18mm FF lens
      • Good 24-105 mm FF lens
      • Good 24-70 FF zoom
      • Good 35 mm FF lens
      • Good 35-70 MF lens
      • Good 60 mm lens on IQ3-100
      • Good 63 mm MF lens
      • Good 65 mm FF lens
      • Good 85 mm FF lens
      • Good and bad 25mm FF lenses
      • Good zoom at 24 mm
      • Marginal 18mm lens
      • Marginal 35mm FF lens
      • Mildly problematic 55 mm FF lens
      • OK 16-35mm zoom
      • OK 60mm lens on P1 P45+
      • OK Sony 600mm f/4
      • Pretty good 16-35 FF zoom
      • Pretty good 90mm FF lens
      • Problematic 400 mm FF lens
      • Tilted 20 mm f/1.8 FF lens
      • Tilted 30 mm MF lens
      • Tilted 50 mm FF lens
      • Two 15mm FF lenses
    • Found a problem – now what?
    • Goals for this test
    • Minimum target distances
      • MFT
      • APS-C
      • Full frame
      • Small medium format
    • Printable Siemens Star targets
    • Target size on sensor
      • MFT
      • APS-C
      • Full frame
      • Small medium format
    • Test instructions — postproduction
    • Test instructions — reading the images
    • Test instructions – capture
    • Theory of the test
    • What’s wrong with conventional lens screening?
  • Previsualization heresy
  • Privacy Policy
  • Recommended photographic web sites
  • Using in-camera histograms for ETTR
    • Acknowledgments
    • Why ETTR?
    • Normal in-camera histograms
    • Image processing for in-camera histograms
    • Making the in-camera histogram closely represent the raw histogram
    • Shortcuts to UniWB
    • Preparing for monitor-based UniWB
    • A one-step UniWB procedure
    • The math behind the one-step method
    • Iteration using Newton’s Method

Category List

Recent Comments

  • JimK on Goldilocks and the three flashes
  • DC Wedding Photographer on Goldilocks and the three flashes
  • Wedding Photographer in DC on The 16-Bit Fallacy: Why More Isn’t Always Better in Medium Format Cameras
  • JimK on Fujifilm GFX 100S II precision
  • Renjie Zhu on Fujifilm GFX 100S II precision
  • JimK on Fuji 20-35/4 landscape field curvature at 23mm vs 23/4 GF
  • Ivo de Man on Fuji 20-35/4 landscape field curvature at 23mm vs 23/4 GF
  • JimK on Fuji 20-35/4 landscape field curvature at 23mm vs 23/4 GF
  • JimK on Fuji 20-35/4 landscape field curvature at 23mm vs 23/4 GF
  • Ivo de Man on Fuji 20-35/4 landscape field curvature at 23mm vs 23/4 GF

Archives

Copyright © 2025 · Daily Dish Pro On Genesis Framework · WordPress · Log in

Unless otherwise noted, all images copyright Jim Kasson.