While not directly about the camera, this is one in a series of posts that relates to the Nikon Z6. You should be able to find all the posts about that camera in the Category List on the right sidebar, below the Articles widget. There’s a drop-down menu there that you can use to get to all the posts in this series; just look for “Nikon Z6/7”. This is also relevant to the Fuji GFX 100; for other posts about that camera, look at Category “GFX 100”. This is also part of a series that I’ve been doing involving testing the Epson P800 printer. I’ve created a category called “Printers”, and put this post in that category. If you go to the Category List (on the right in the desktop formatting), find “Printers” and click on it, you’ll see all the posts in that series.
The advent of two new cameras with a bump up in resolution over their predecessors, the Sony a7RIV and the Fujifilm GFX 100, have brought out a group of people who are saying that nobody needs the extra detail. There is a group of people who have proclaimed that 12 megapixels is all you need, even for 40-inch-high landscape orientation prints. Part of their argument rests on the assertion that modern image enlargement programs are so good that you don’t need more detail in the image than you can get with 12 MP, since it will be taken care of by the image resizing program. I’m an old-fashioned it-oughta-be-in-the-scan kind of guy who doesn’t think ex-post-facto detail is as convincing as the real thing, but it has been many years since I looked at image resizing programs capability with big enlargement ratios, so I thought an experiment might be in order.
There are many problems in doing a test that compares sensors of greatly differing resolution. Ideally, all the sensors in the test would be the same physical size, be tested with the same lens, have the same microprism design scaled to match the pitch, and have the same kind of anti-aliasing filter or all lack an antialiasing filter. I don’t have a range of such sensors at my disposal, nor do I know of a set of sensors that can span the range from 12 MP to 100 MP. And even if I did have them, of what practical use would they be? It’s impossible to find a 100 MP, 61 MP, 45 MP, or 42 MP sensor with an AA filter, and quite rare to find a 24 MP full frame sensor without one (I acknowledge Leica cameras as an exception).
And what do we do about the f-stop? If we use equivalent stops, we’ll probably be operating at least one of the lenses away from its best stop. If we use the lenses best stops, diffraction will be different, and the subject is three dimensional, we’re going to have different DOF to deal with. The whole issue is a conundrum. Case in point: yesterday, I set up some cameras and lenses, made the captures for such a test, and spent a long time doing the processing. Today, I threw all that out and started over.
I went for equivalence. I chose some of the sharpest lenses I had to try to make the test about the sensor characteristics, not the lenses. I used the lenses nearly on-axis for the same reason.
I used three setups:
- Fujifilm GFX 100, Fuji 110 mm f/2 lens, set to f/5.6. That’s not the sharpest aperture for that lens, but the sharpness is not far down from its best there. Lightroom sharpening amount = 20, radius = 1, detail = 0. Image height is 8776 pixels and image area is 101 megapixels.
- Nikon Z6, FX mode, Zeiss Otus 85 mm f/1.4 lens, set to f/4. That’s not the sharpest aperture for that lens, but the sharpness is not far down from its best there. Lightroom sharpening amount = 30, radius = 1, detail = 0. The increase sharpening is to compensate for the (weak) AA filter on the Z6. Image height is 4000 pixels and image area is 24 megapixels.
- Nikon Z6, DX mode, Zeiss Otus 55 mm f/1.4 lens, set to f/2.8. That’s pretty close to the sharpest aperture for that lens. Lightroom sharpening amount = 30, radius = 1, detail = 0. The increase sharpening is to compensate for the (weak) AA filter on the Z6. Image height is 2780 pixels and image area is a bit less than 12 megapixels.
I developed the images in Lightroom CC with the Adobe Color Profile, slight exposure tweaks, and white balancing to the grey area on the Siemens Star. Except for sharpening (see above) everything else was set to the defaults.
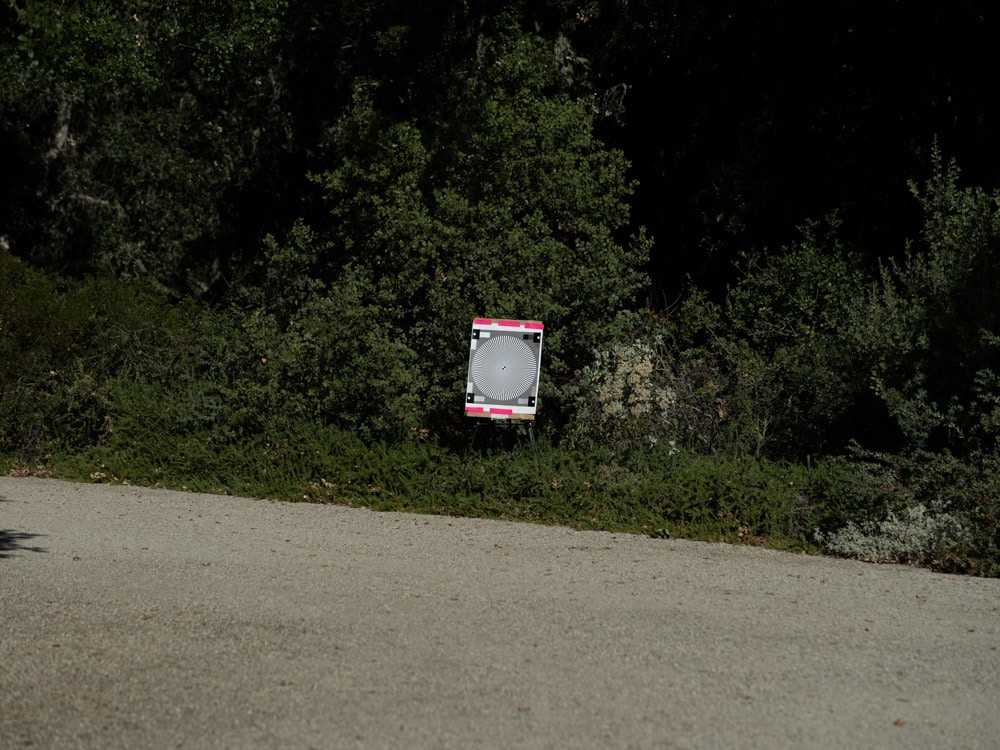
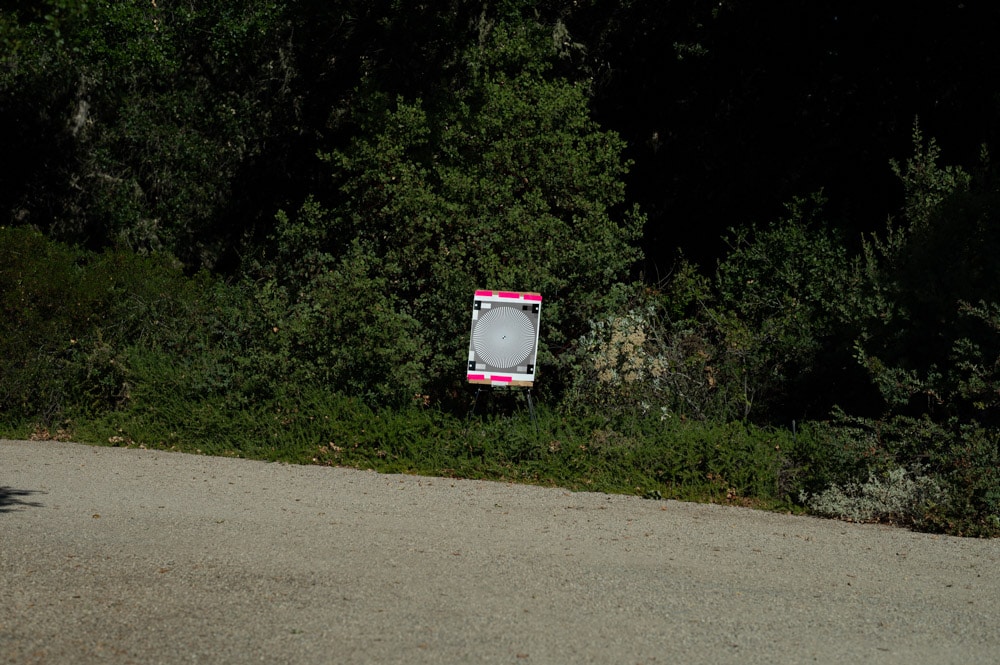
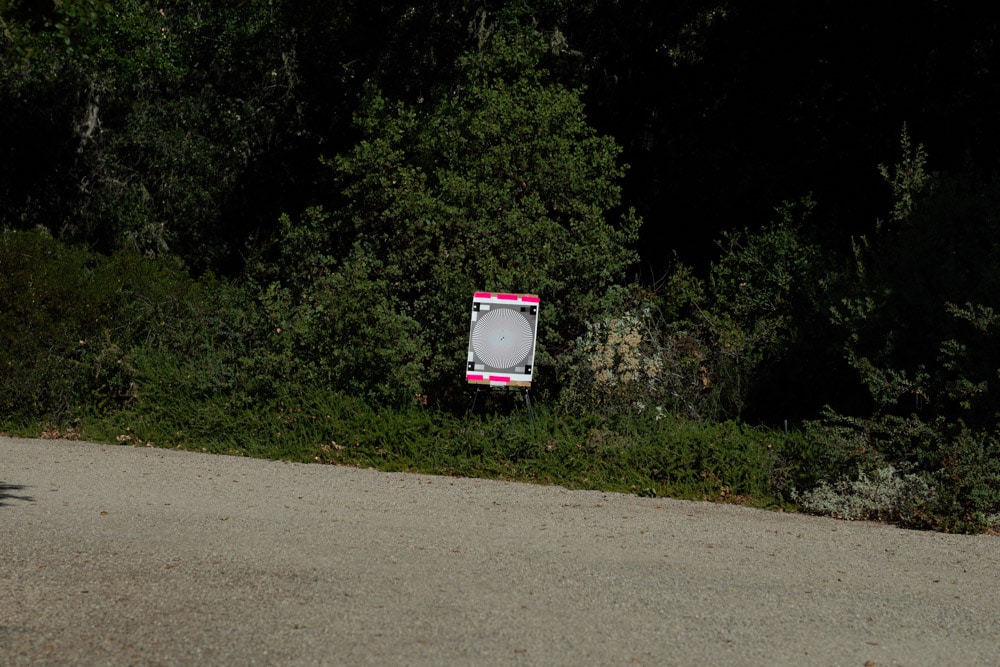
Here’s the scene full frame with each of the camera/lens combinations:
Now we’ll look at Lightroom exports of the Siemens Star at the same angle of view for all three cases. You’ll be looking at about 1000×1000 images if you view them at 1:1, and the original size was 173×168 pixels for the APS-C/DX shot, 250×243 pixels for the FX image, 512×528 pixels for the GFX exposure.
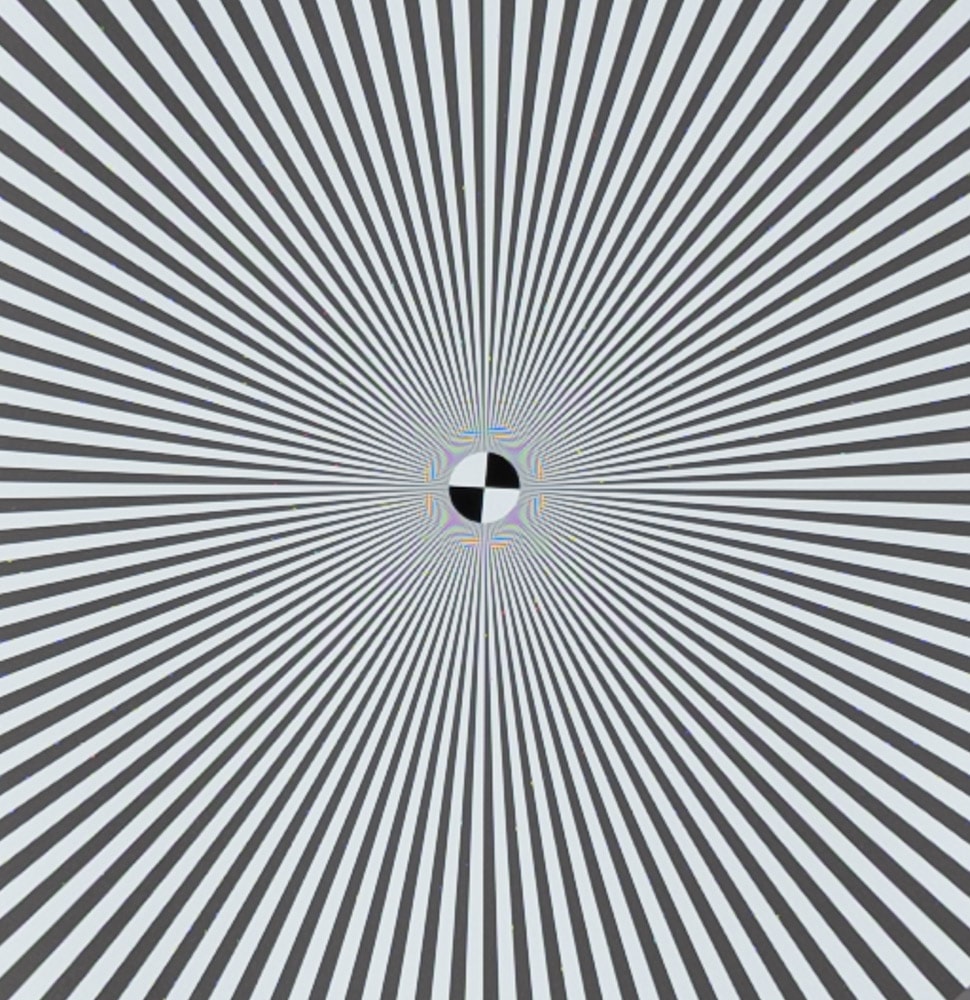
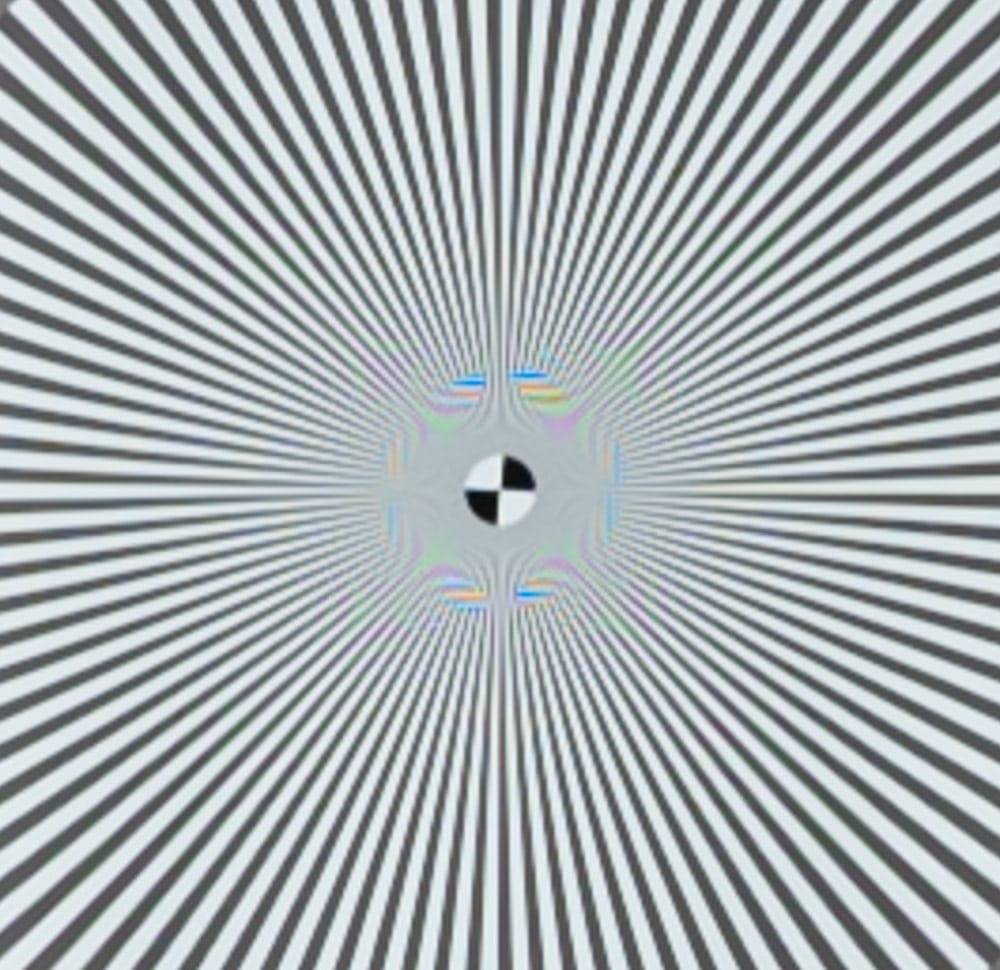
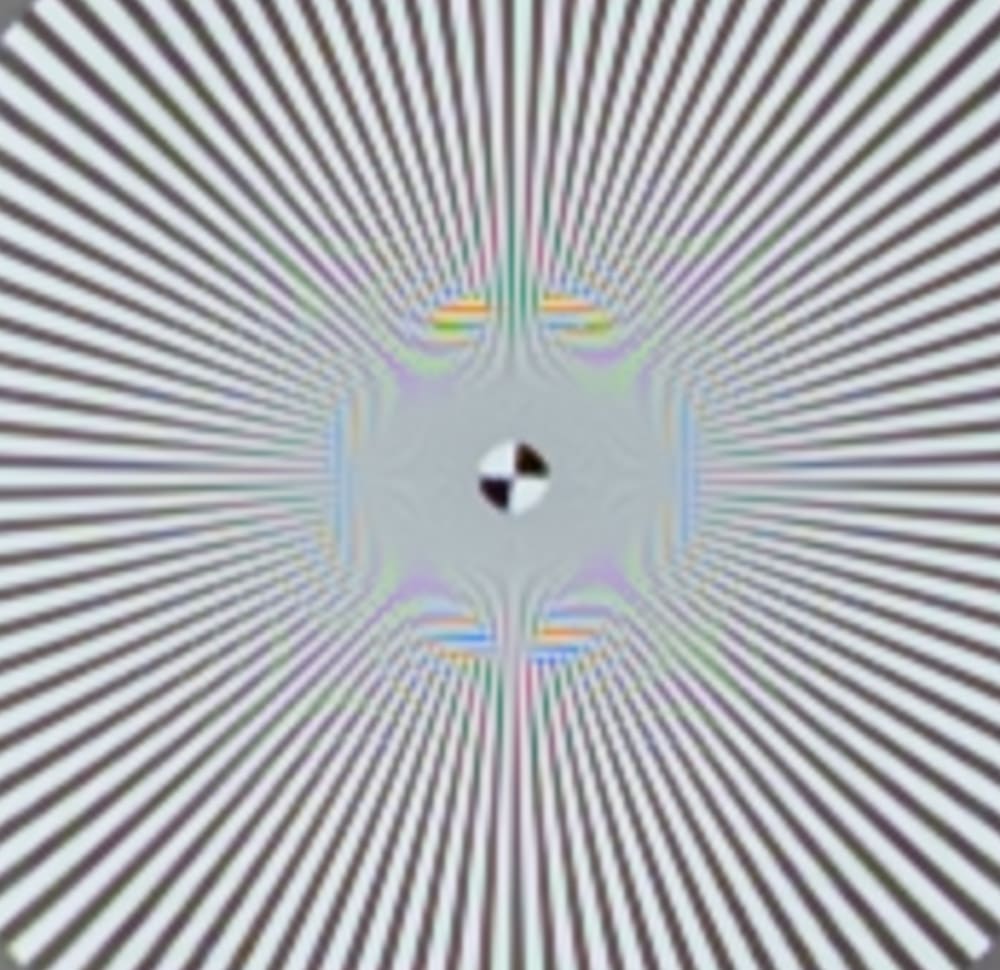
These images are all about 1/17 of the image heights of their sensors. To simulate a 40-inch-high print, size the images to about 2.4 inches high and view them from the distance from which you’d like to observe a 40-inch-high print. Or make them 5 inches high and view them from twice that far away.
A couple of comments:
- It is clear that the antialiasing in the Z6 is more effective for horizontal features than for vertical ones. In fact, I’d go so far as to say that there appears to be no antialiasing filtering at all for vertical lines.
- In each case, the lens is supplying a lot more high-frequency energy than the sensors are capable of resolving without aliasing. This is true even with the Z6 images in the direction where the AA filter is effective.
- The lens focal lengths aren’t quite equivalent. The 85 mm lens should be an 80 mm one.
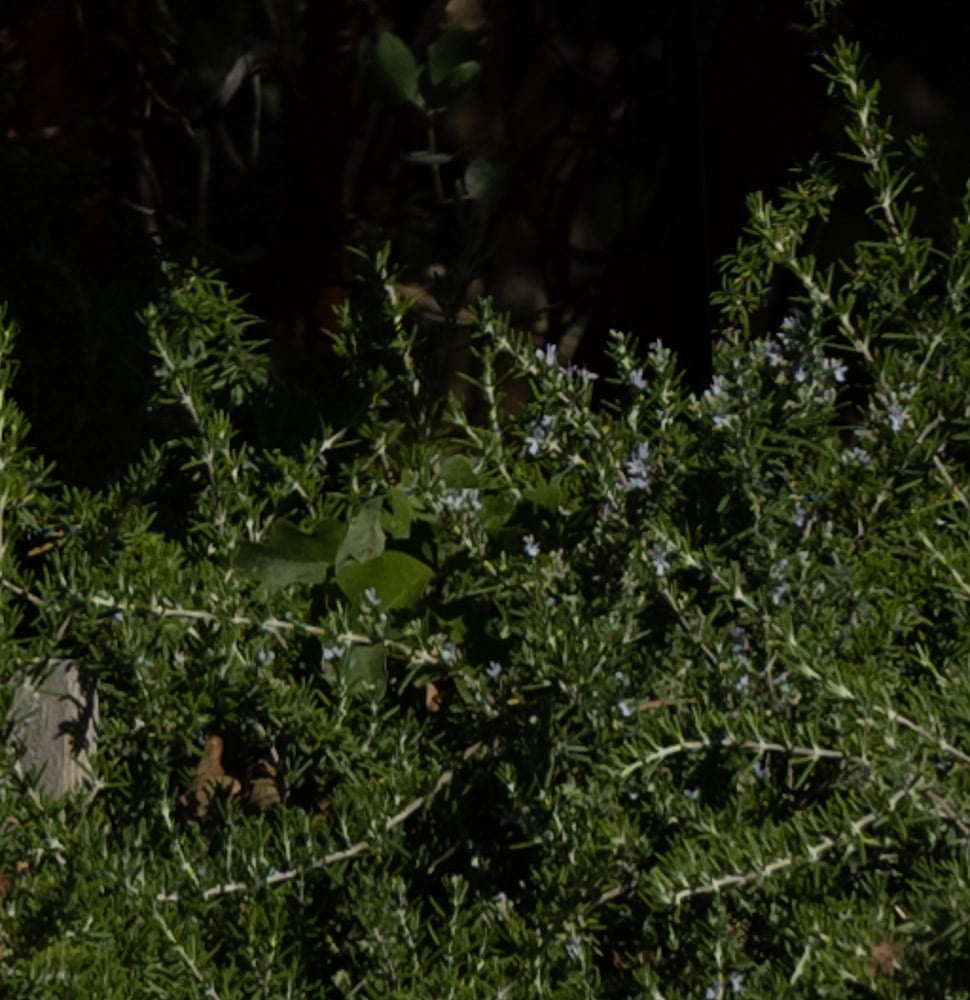
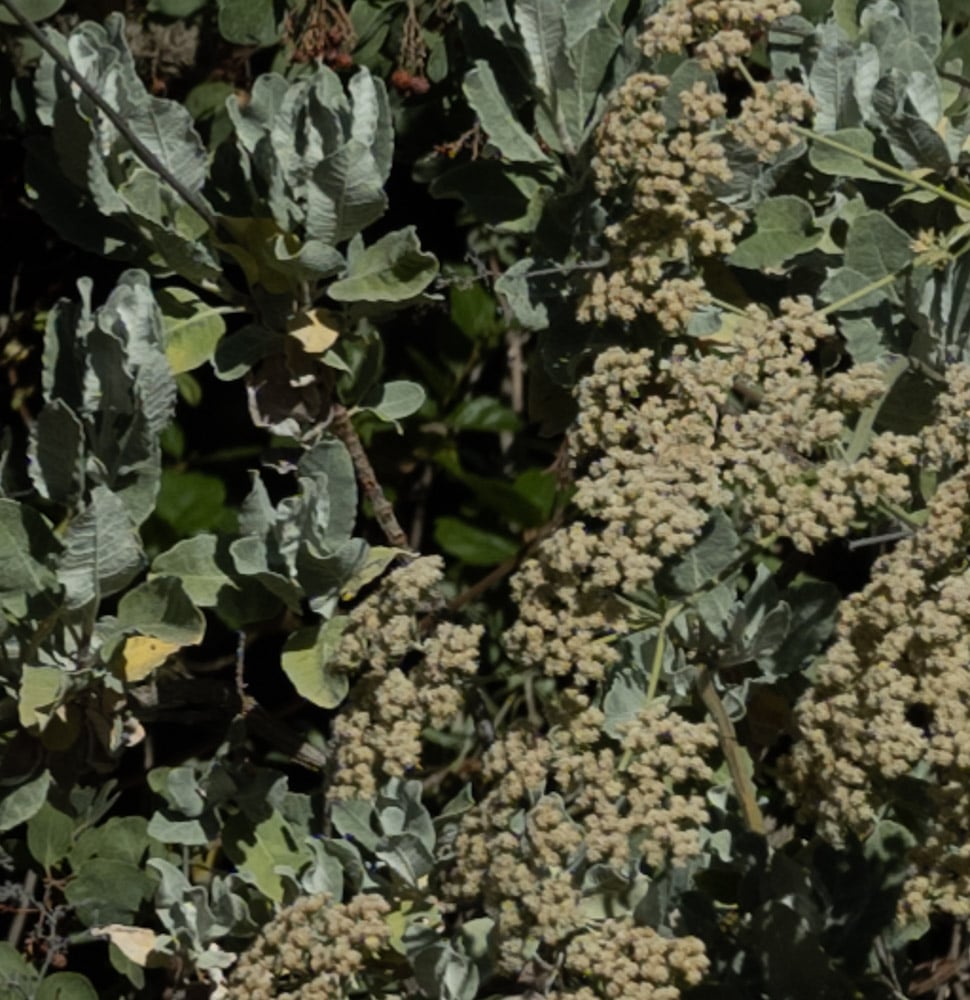
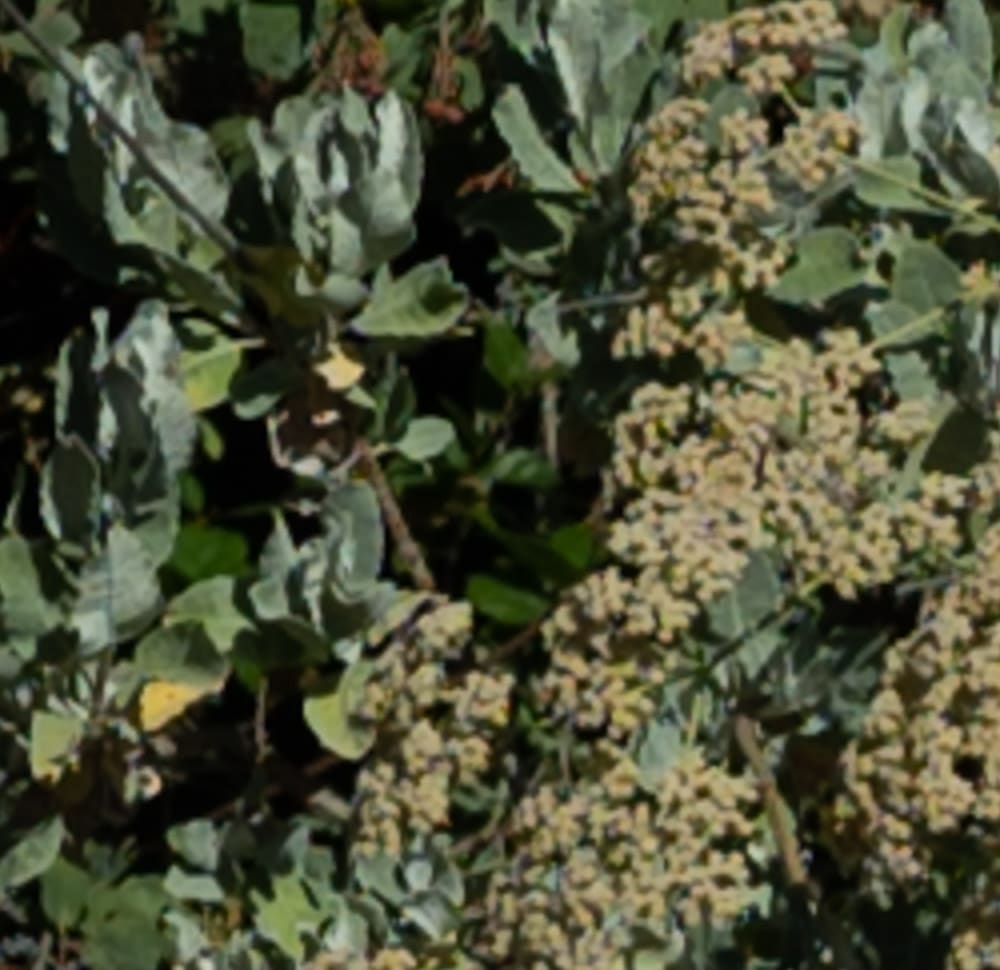
Now we’ll look at some natural features in the scene:
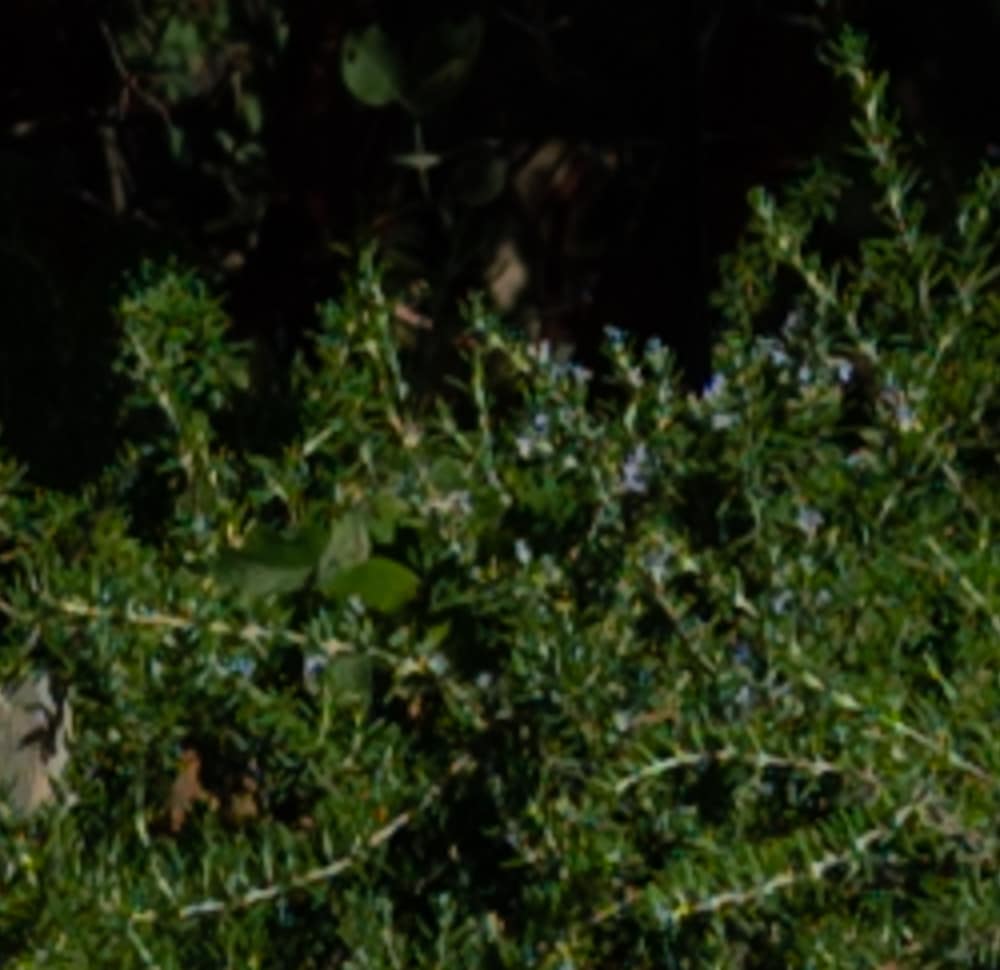
Here’s another set:

That’s enough for this post. In the next one, I’ll try out some fancy resizing programs.
Yes, I think pretty well all 24MP Full Frame cameras I can think of with sensors made by Sony over the last 5 years or so have anti-aliasing filters that act in one direction only.
Right. Complicates deconvolution sharpening, doesn’t it?
Yeah. Now that my D610 is gone, the one thing that’s holding me back from buying a Z6 is the uneven AA – which always bugged me in the D610. Not that I ever noticed if I didn’t look for it. I think I don’t need 45MP for my purposes but I may end up with a Z7 anyways just because something in my head says that it is more ‘balanced’. Silly, right?
I haven’t tested, but it’s possible that you’ll see no more aliasing with an AA-less D7 than with the D6. One-dimensional AA filters may be the worst of both worlds.