This is one in a series of posts on the Nikon Z7. You should be able to find all the posts about that camera in the Category List on the right sidebar, below the Articles widget. There’s a drop-down menu there that you can use to get to all the posts in this series; just look for “Nikon Z6/7”.
Here’s an informal, quantitative test of the Nikkor S 35 mm f/1.8 on the Nikon Z7. In order to have something to compare it to, I’ve included images from the Sigma 35 mm f/1.4 ART lens, Nikon F mount version, attached to a Sony a7RIII with a Novoflex G adapter. That adapter is a bit shorter than it should be, but I couldn’t find a Kipon G adapter, and I needed to be able to control the diaphragm so I couldn’t use a simple F-to-E adapter.
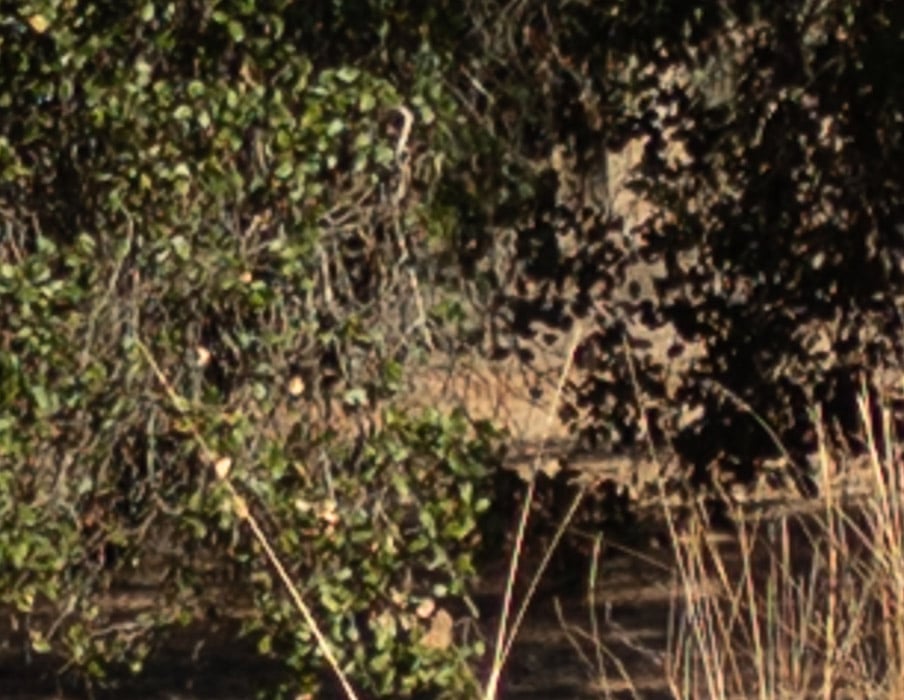
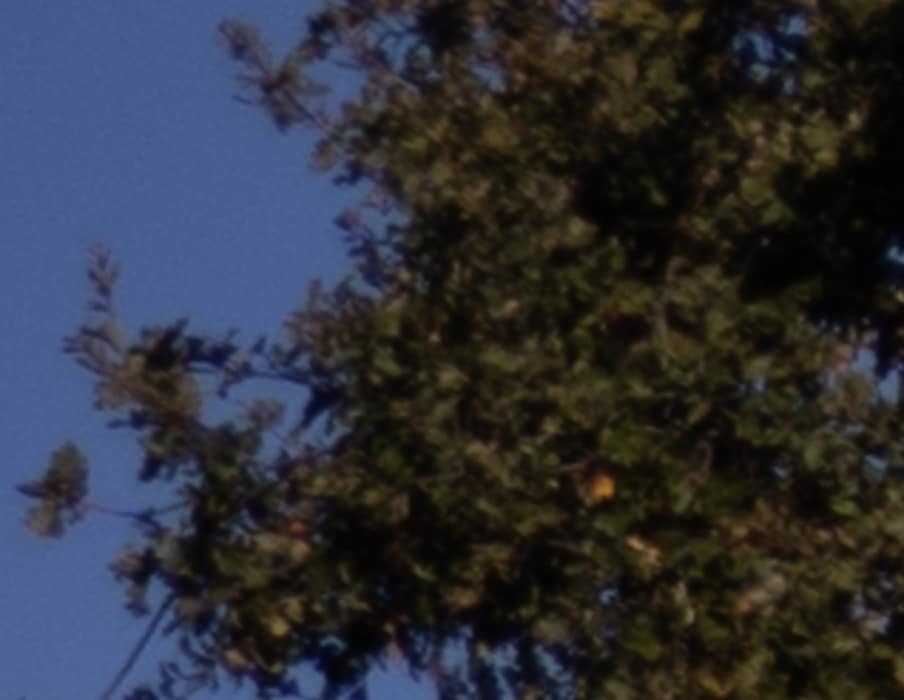
Here’s the scene with the Nikkor wide open:
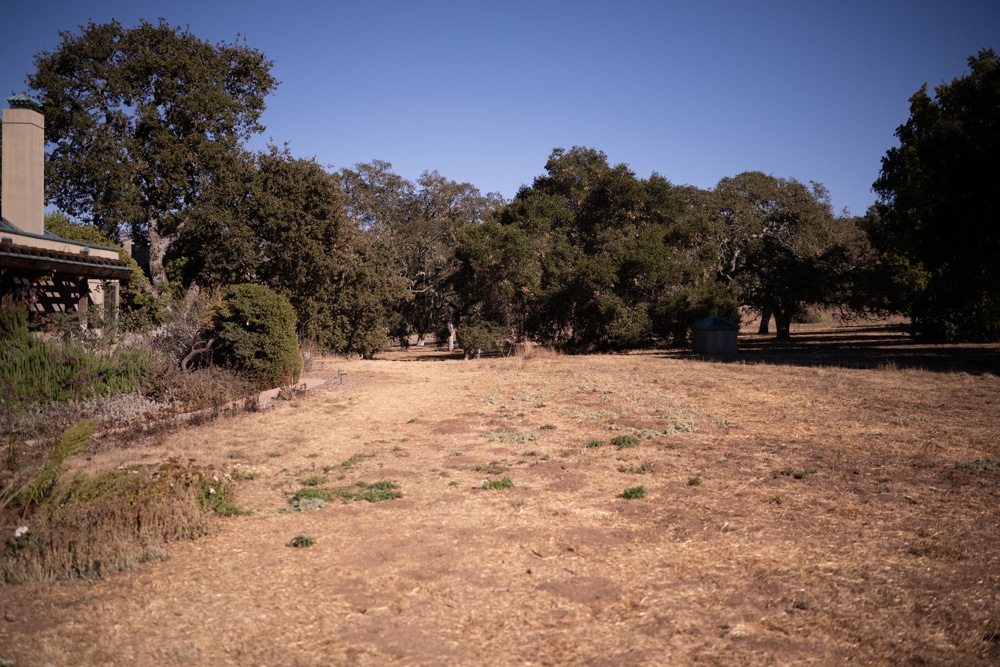
Distance to the trees in the middle of the shot is about 50 meters. I used ISO 64 for the Nikkor shots and ISO 100 for the Sigma. I employed Lightroom to develop these images, and thus I can’t turn off all lens corrections. I did turn off all the corrections, including vignetting, in the camera. There is a moderate amount of vignetting here.
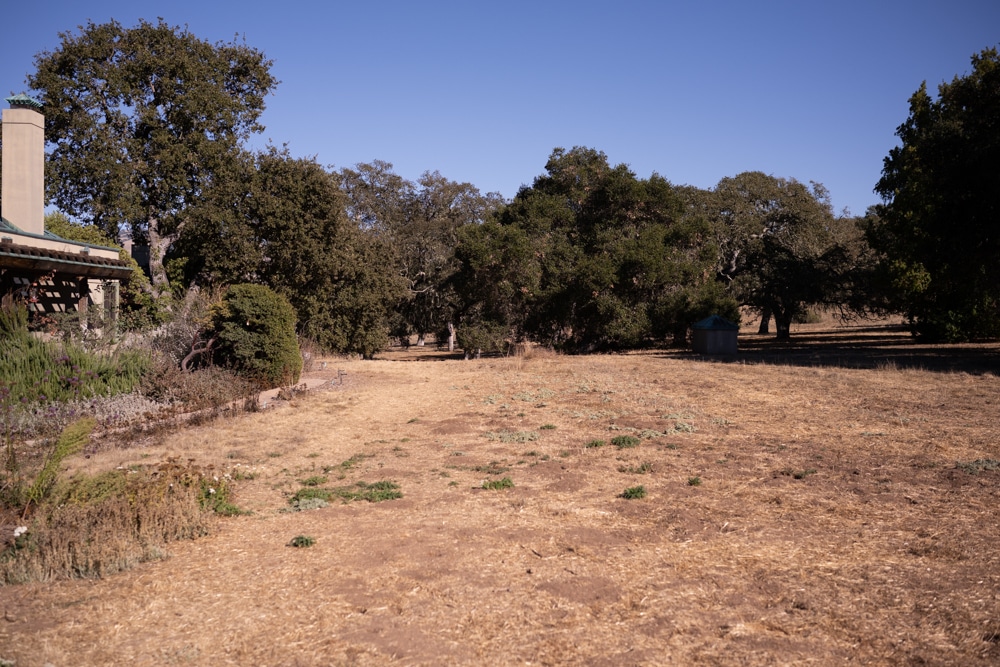
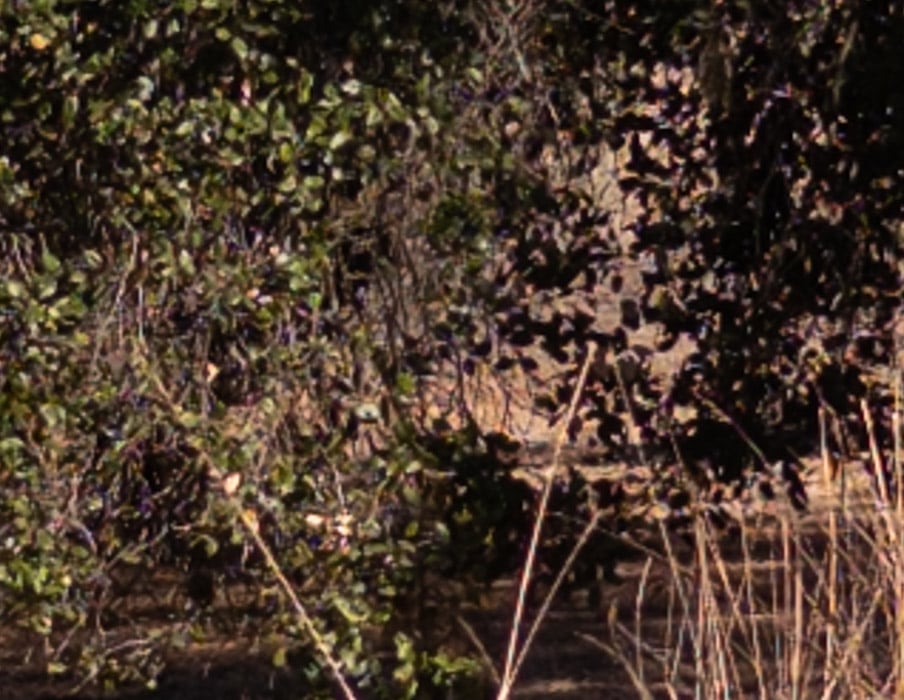
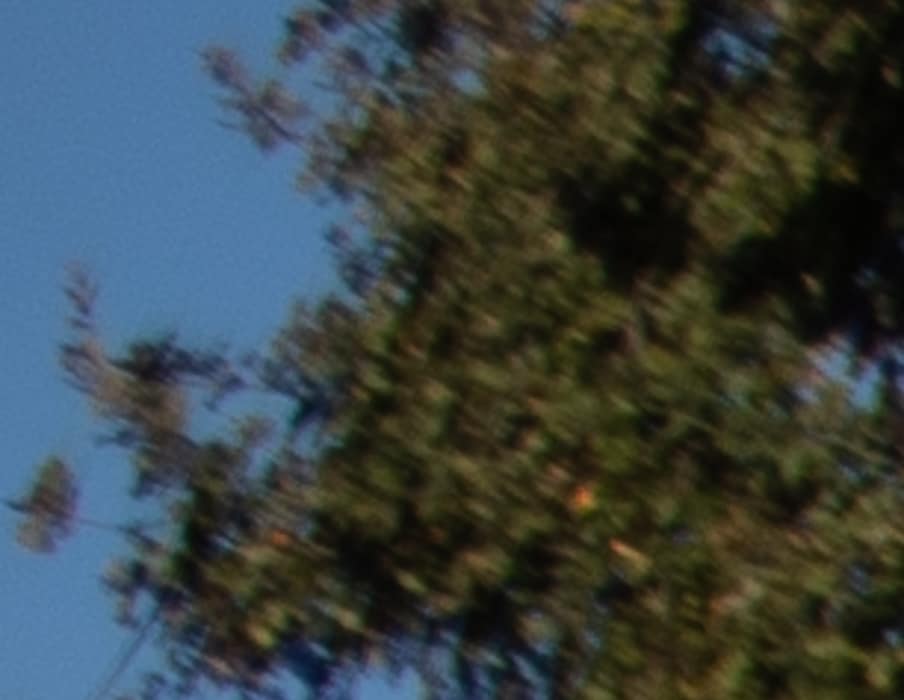
Stopping down to f/2.8 helps.
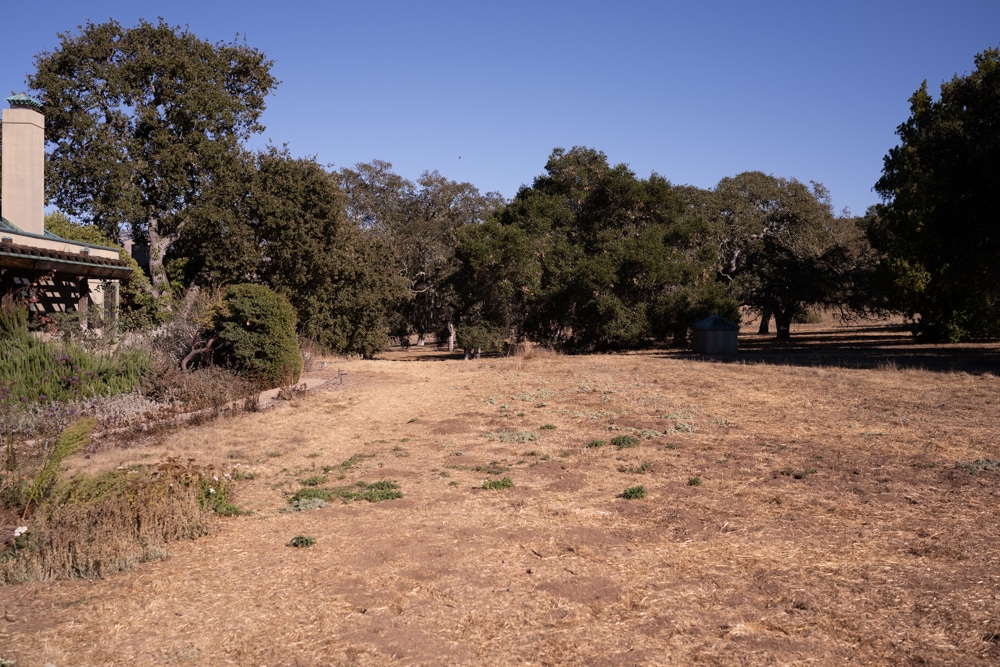
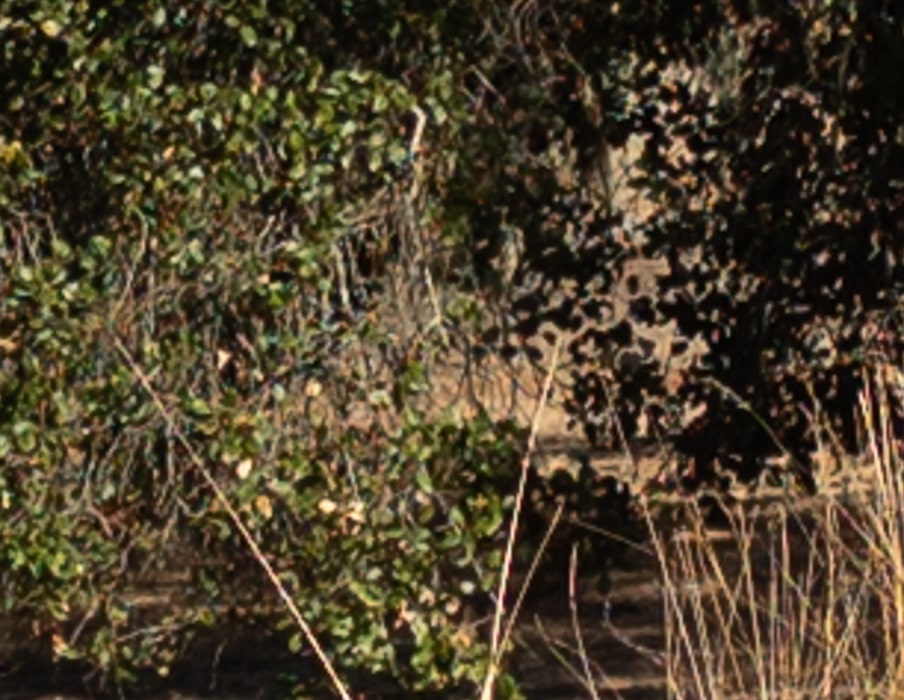
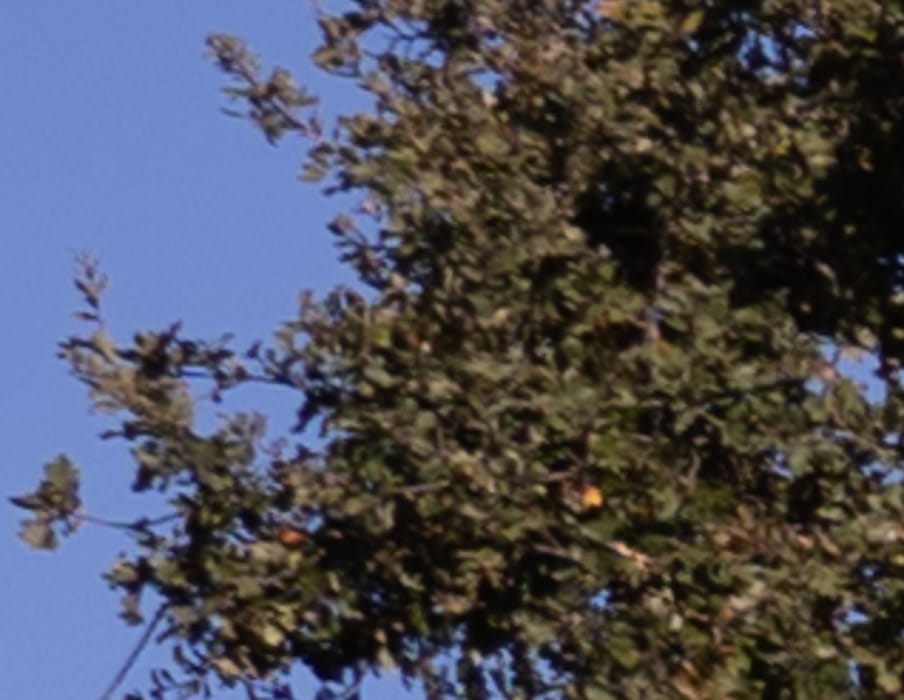
Stopping down to f/4 helps even more.
Now I’m going to show you some highly magnified crops. If you’ve seen these here before, just jump to the images. If not, I need to spend some time telling you how to interpret them. They’re at roughly 250% magnification, enlarged to 700 pixels high on export from Lightroom. If you just want a rough idea of the differences, just look at the images as displayed in-line in the posts. However, if you wish to compare these images in detail, you should view these images by clicking on them to see the source files, then set your browser for 100% zooming. Even better, download them and make Photoshop stacks.
No matter what you do, these crops are all going to look horrible. I’m blowing them up so much so that they will represent the original file after JPEG’s discrete cosine transform has had its way with them. If you want to get a good idea of what the images would look like printed, get far away from your monitor. No, farther than that. Put a bunch of the images up on the screen and back up until the best one starts to look good. Then look at the others. There’s another reason why these images won’t look like the best thing the camera/lens combination can deliver. They’re demosaiced with Lightroom. Lightroom is not awful, but for a particular image, there are usually better raw processors. I use Lr because it’s a de facto standard, because I know it well, and because it’s got good tools for dealing with groups of images.
Here’s how to use these highly-magnified crops. The dimensions of the Z7 and D850 sensors are 8256×5504 pixels. If we make a full-frame print from the Z7 on a printer with 360 pixels per inch native driver-level resolution, like the Epson inkjet printers, we’ll end up with a 23×15 inch (58×39 cm) print. The 318×246 pixel crop you’re looking at will end up 0.8333×0.6833 inches (2.12×1.74 cm). Let’s imagine that you or your viewers are critical, and will look at the 22×15 inch print from about 18 inches (conventional wisdom is that the distance would be a little greater than that, or 28 inches (the diagonal), but you did buy a high-resolution camera for a reason, didn’t you?).
The next step is dependent on your monitor pitch, which you may or may not know. Turns out, you don’t have to know it. Just take the 253% crops and view then at 1:1. How high are they? Get out your ruler and measure, or just guess. Let’s say they are 6 inches high. 6 inches is about 7 times 0.8333, so in order to view the crops the way they’d look from 18 inches on the print is to view them from 7 times as far away, or 10.5 feet.
Everything here scales proportionately. If the image on your screen is bigger than 6 inches, increase your viewing distance by the ratio of your image height to 6 inches. If you think your viewers are going to almost get their nose to that print and look at it from six inches, divide that 10.5 feet by 3, and look at the image on the monitor from three and a half feet away.
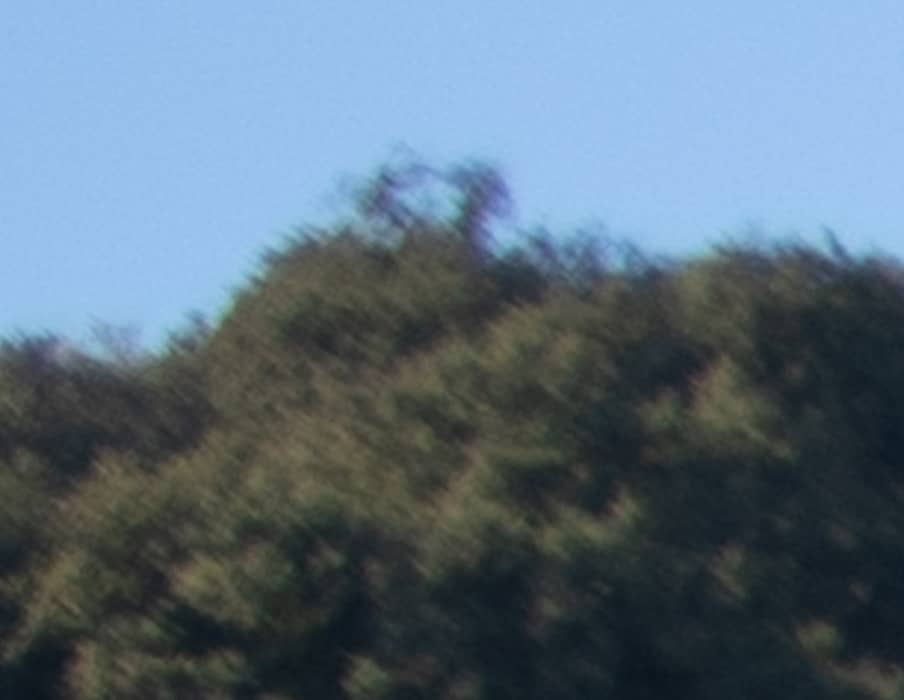
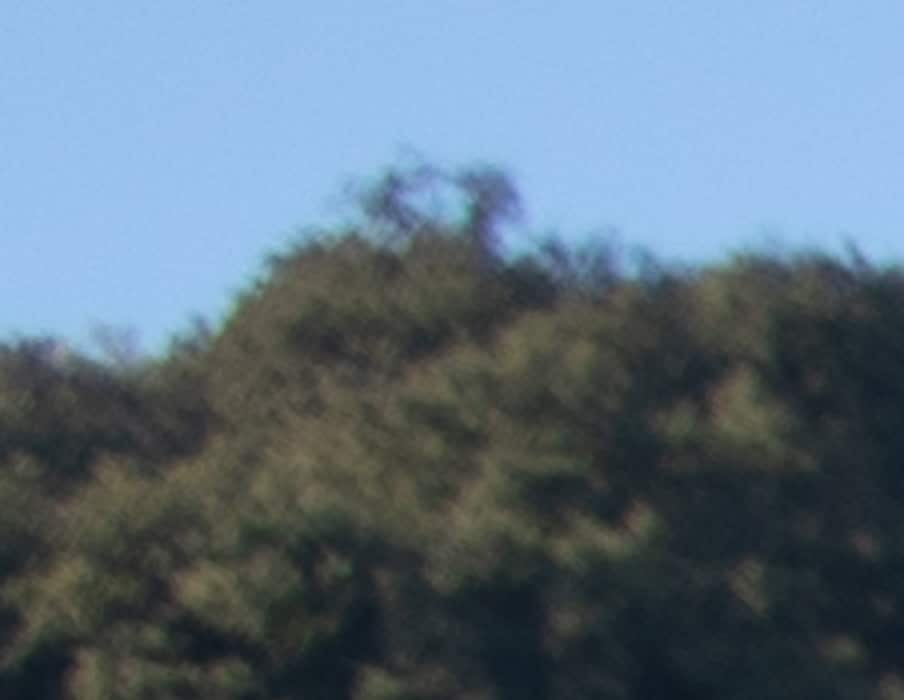
OK, here we go. In the center:
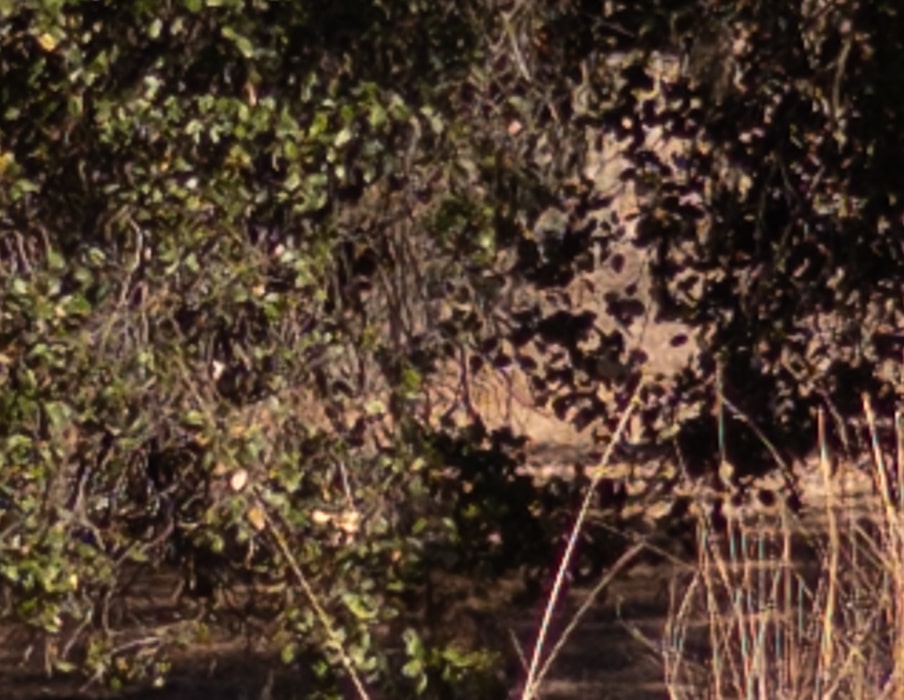
Both of these are incredibly sharp for wide open. Note the aliasing on the grass. I’ll show you a few more, but you’re not really going to see much in the way of differences until we get to the corners.

OK, OK. I hear ya. You’re bored to tears, right? I’ll stop with the center crops.
Quite a bit of vignetting in both cases. The Nikkor definitely looks better, but it’s soft, too. Still, who’s gonna shot landscapes at f/1.8?


Stopping down to f/2.8 helps both lenses a lot, and the Nikkor is still in the lead.
Both of these are looking pretty good. The Nikkor is better.
Both lenses are improving, and it is a virtual tie at this point.
Sigma f/8Now things are showing signs of the onset of diffraction overriding lens aberrations.
We are losing the battle with diffraction. Surprisingly, the Sigma has managed to win this round, though.
The Sigma has a great reputation, but I’m really impressed with the Nikkor S lens.
Testing notes:
- The Nikkor is so light that it’s shocking when you pick it up. If the Sigma were a paperweight, it would be rated for Category 3 hurricanes.
- The focus by wire (FBW) algorithms in the Z7 work much better for the 35/1.8 than they do for the 24-70 zoom. The dead spot for slow movements of the ring is much reduced.
- This lens is much sharper in the center than the 24-70 zoom. I haven’t done measurements yet, but at full magnification and peaking set to its most sensitive, I was having some difficulty getting anything to light up when focusing the zoom. Not so at all with the 35/1.8 S.
Addition
Brandon Dube, who I always listen to, thought that the Sigma’s corner performance might have been affected by the short Novoflex adapter. That adapter measures 28.382 mm, which is 118 micrometers (um) too short. I set up on this scene this morning, using the Novoflex adapter, and a Vello adapter that I measure as being 1 um too short (truthfully, I can’t measure to 1 um repeatability).

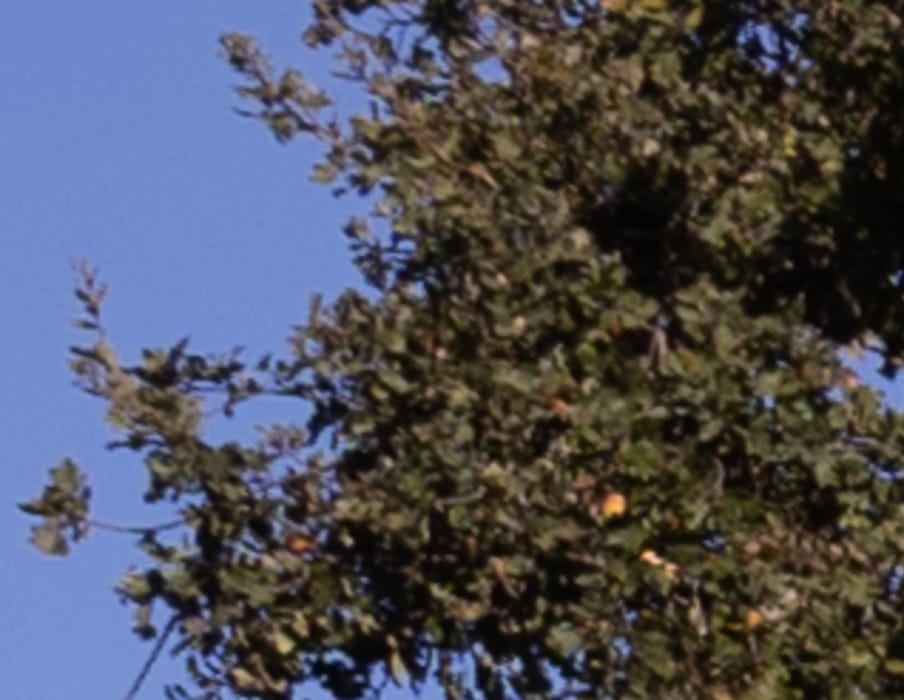
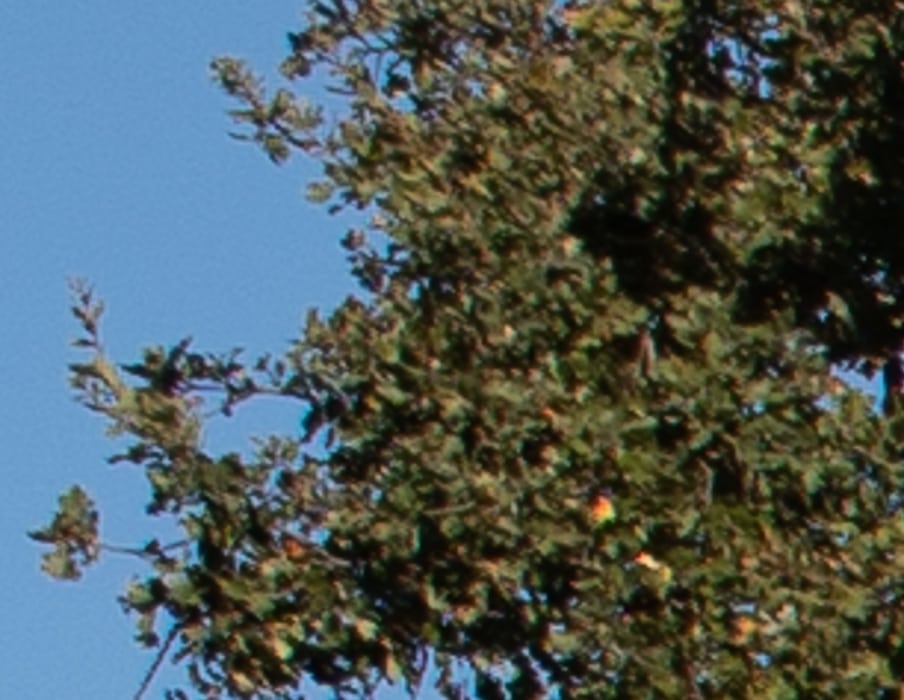
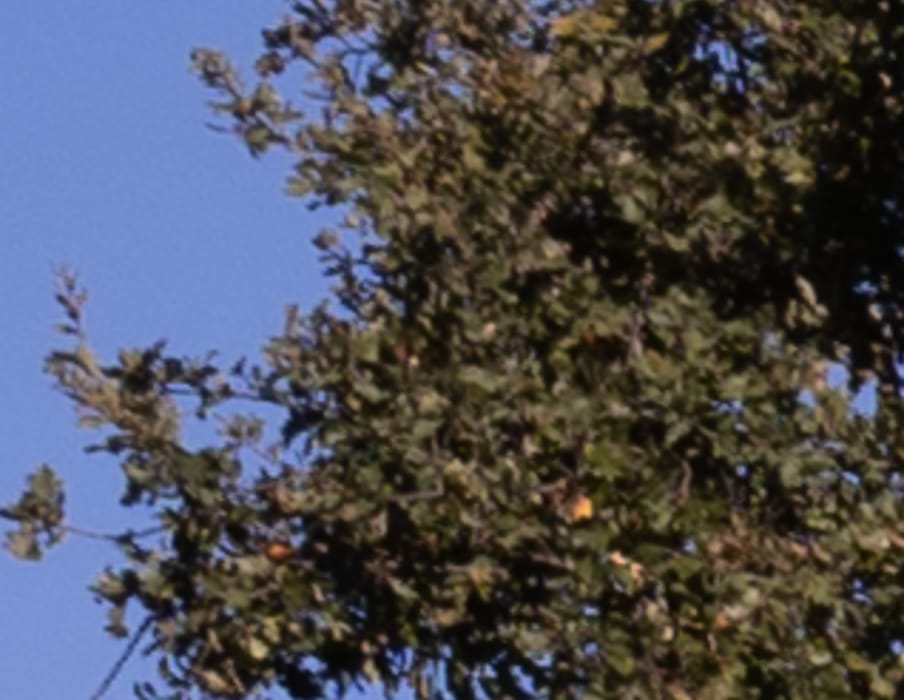
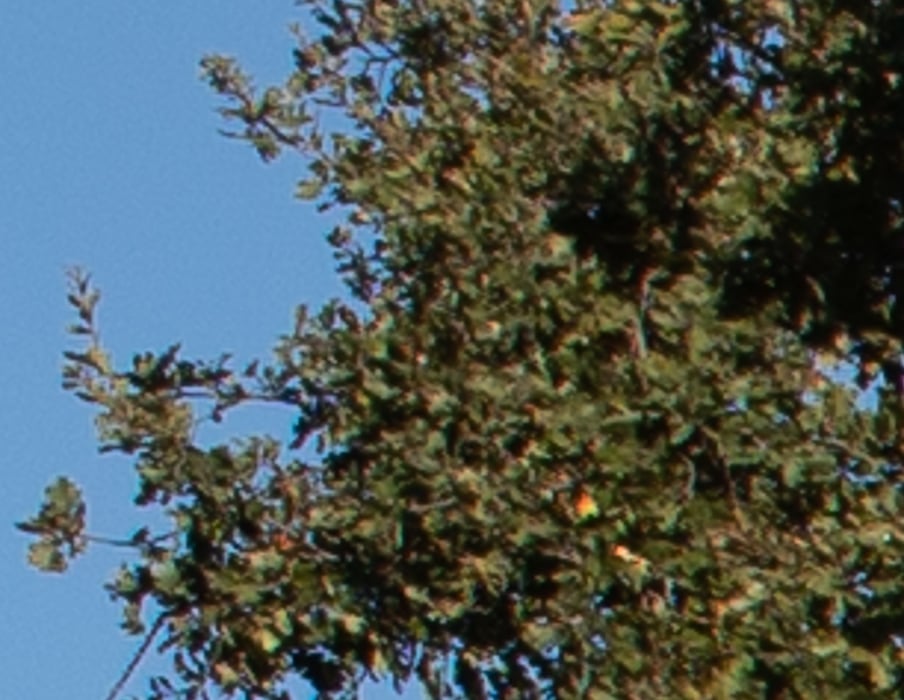
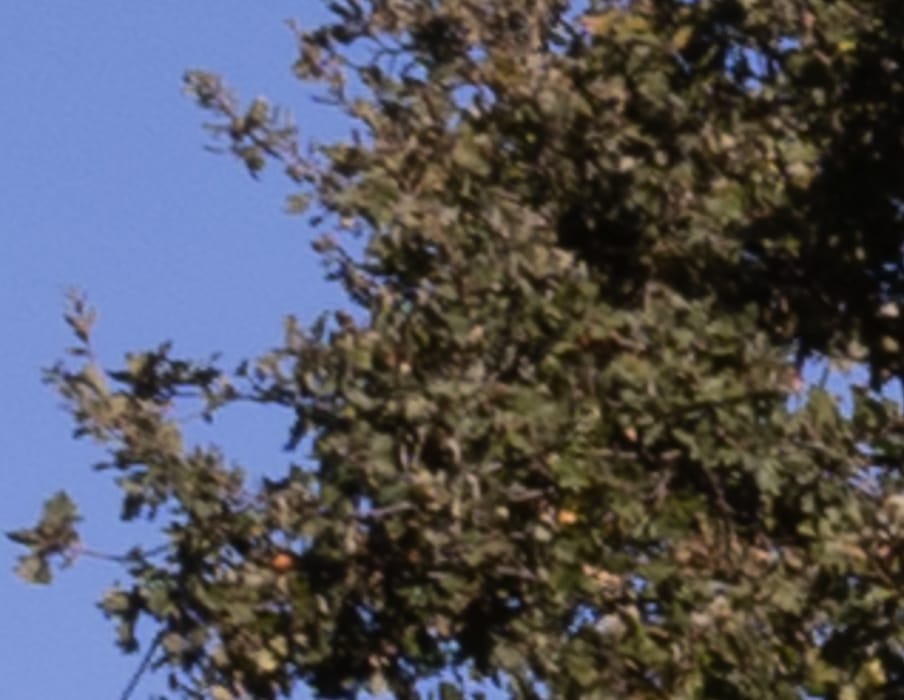
In the upper left corner with the Novoflex adapter:
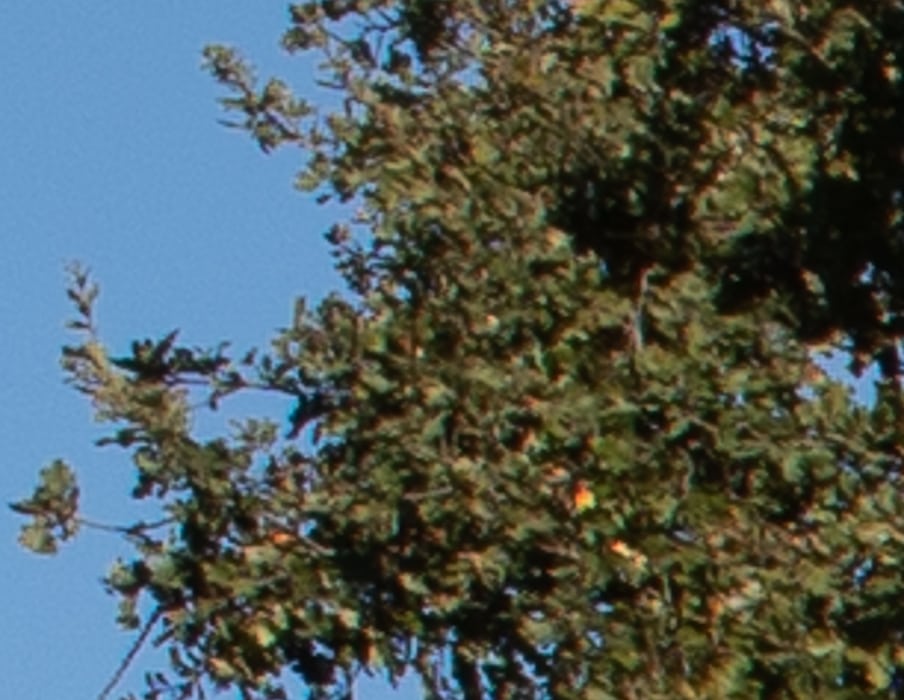
And with the Vello adapter:
I don’t see a material difference.
The 35/1.4A has a lot more astigmatism in the corners than I expect to see. I think your short adapter is selling it short.
I’ll try it on the D850.
Hi Jim, it seems to me that the Nikkor isn’t getting any sharpening love from LR while the Sigma is. That would also explain your ‘softness’ comment.
I saw your addition with the two adapters. It’s curious that changing the back focus distance by > 100 um didn’t affect performance — in my experience with wide aperture wide angle lenses, performance (MTF) is extremely sensitive to BFD.
Another curiosity — when I view the images inline on my laptop (2880×1800, 220ppi) I couldn’t see any difference at all. Opening the originals, I see the Novoflex is marginally better (!) which is the same as I saw on my phone (458ppi) inline.
I looked at my data again and it didn’t jive with the original photos you posted, but the crops from the two adapters looked much better. I looked closer at the original photos, and the branch oriented at about 45* in the lower right had tricked me into thinking the lens had quite extreme astigmatism.
Nice comparison on these two great lenses. Not very easy to leave sigma lense, they ‘ve made a great job and the Art lenses which remain very accurates and pleasants to use even on mirrorless cameras.