This is one in a series of posts on the Nikon Z6 and Z7. You should be able to find all the posts about that camera in the Category List on the right sidebar, below the Articles widget. There’s a drop-down menu there that you can use to get to all the posts in this series; just look for “Nikon Z6/7”.
Yesterday, I received a Nikon 50 mm f/1.8 Nikkor S lens, tested it for sample variation, and reported on the results. Today, I’m going to show you the results of an informal comparison of that lens to the excellent Sigma 50 mm f/1.4 ART, in Nikon F mount, attached to a Z7 with the Nikon FTZ adapter.
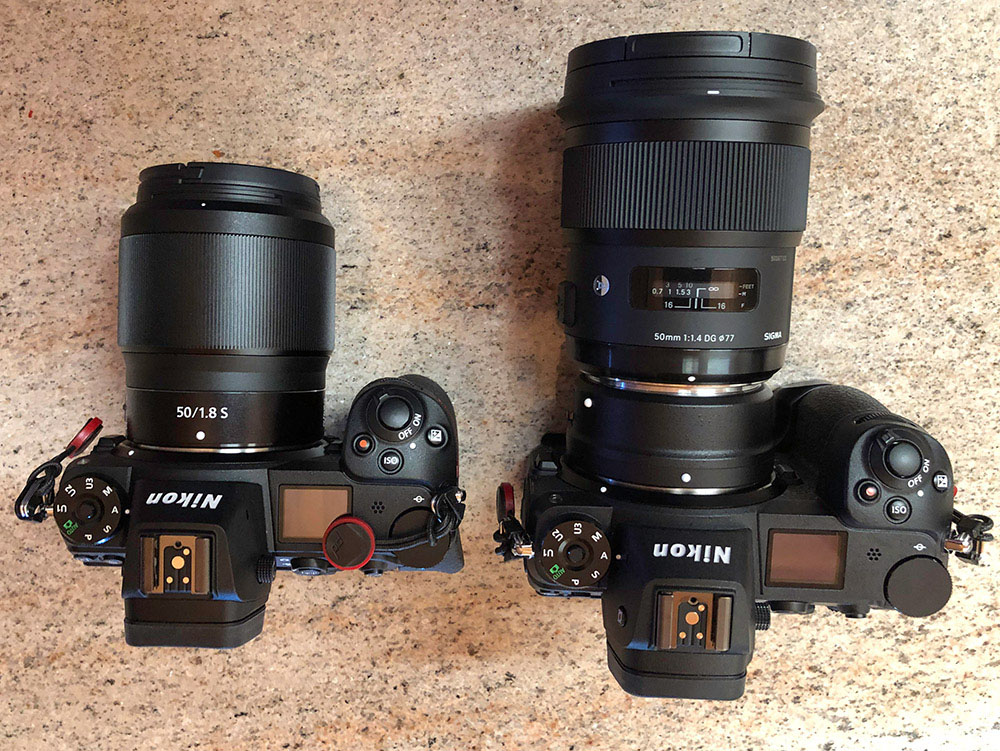
The two lenses are quite different in size and weight:
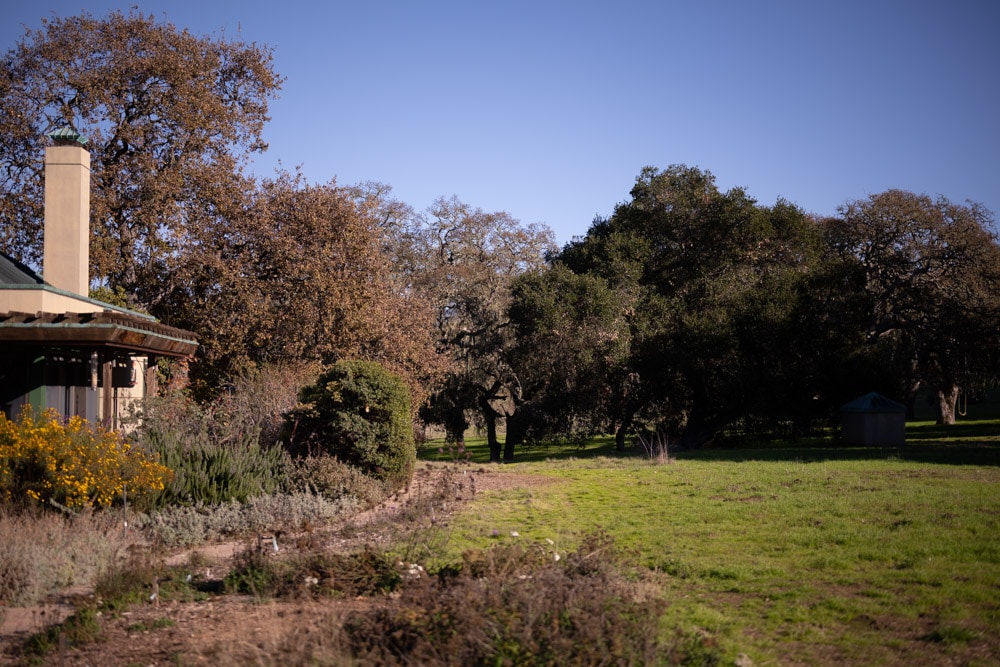
Here’s the test scene with the Nikkor:
And with the Sigma:
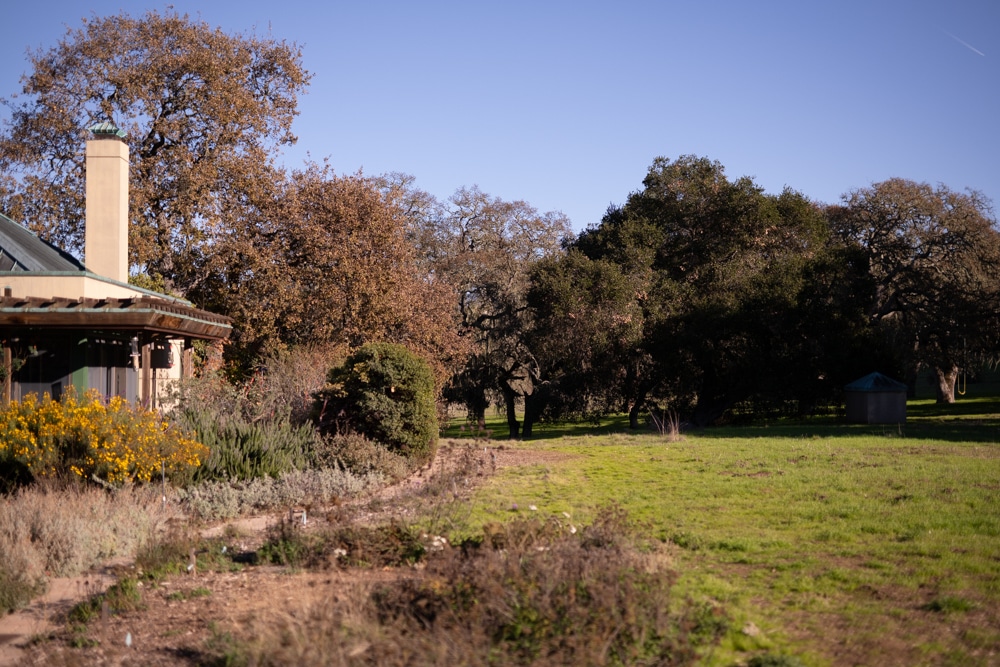
There is more light falloff with the Nikkor.
I used ISO 64, and put the camera on a set of solid RRS carbon fiber legs, with an Arca Swiss C1 on top. I focused in the center for the images that formed the basis for the center crops, and in the upper left for the ones that got cropped that way. Hence, focus curvature is nulled out. I made three sets of images at each setting, and picked the best one — that was hard because they were all about the same. I developed the images in Lightroom, and thus I can’t turn off all lens corrections. I did turn off all the corrections, including vignetting, in the camera. I used Lr default sharpening after making sure that it was the same for both lenses. I used the Adobe Color profile, tweaked the exposure setting, and set the white balance to Daylight.
Now I’m going to show you some highly magnified crops. If you’ve seen
No matter what you do, these crops are all going to look horrible. I’m blowing them up so much so that they will represent the original file after JPEG’s discrete cosine transform has had its way with them. If you want to get a good idea of what the images would look like printed, get far away from your monitor. No, farther than that. Put a bunch of the images up on the screen and back up until the best one starts to look good. Then look at the others. There’s another reason why these images won’t look like the best thing the camera/lens combination can deliver. They’re demosaiced with Lightroom. Lightroom is not awful, but for a particular image, there are usually better raw processors. I use Lr because it’s a de facto standard, because I know it well, and because it’s got good tools for dealing with groups of images.
Here’s how to use these highly-magnified crops. The dimensions of the Z7 sensor is 8256×5504 pixels. If we make a full-frame print from the Z7 on a printer with 360 pixels per inch native driver-level resolution, like the Epson inkjet printers, we’ll end up with a 23×15 inch (58×39 cm) print. The 318×246 pixel crop you’re looking at will end up 0.8333×0.6833 inches (2.12×1.74 cm). Let’s imagine that you or your viewers are critical, and will look at the 22×15 inch print from about 18 inches (conventional wisdom is that the distance would be a little greater than that, or 28 inches (the diagonal), but you did buy a high-resolution camera for a reason, didn’t you?).
The next step is dependent on your monitor pitch, which you may or may not know. Turns out, you don’t have to know it. Just take the 253% crops and view then at 1:1. How high are they? Get out your ruler and measure, or just guess. Let’s say they are 6 inches high. 6 inches is about 7 times 0.8333, so in order to view the crops the way they’d look from 18 inches on the print is to view them from 7 times as far away, or 10.5 feet.
Everything here scales proportionately. If the image on your screen is bigger than 6 inches, increase your viewing distance by the ratio of your image height to 6 inches. If you think your viewers are going to almost get their nose to that print and look at it from six inches, divide that 10.5 feet by 3, and look at the image on the monitor from three and a half feet away.
OK, here we go. In the center:


Not a lot to choose between, is there? Both lenses are resolving detail that the sensor can’t handle, so the images look pretty much the same.
Stopping down to F/2.8:

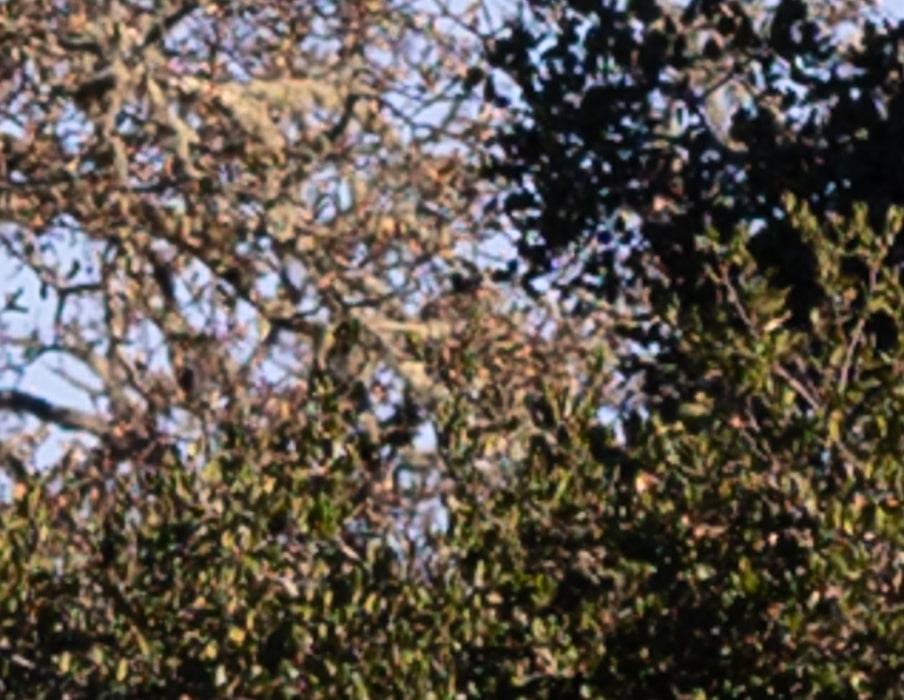
We picked up some contrast in both cases.
I’m not going to try your patience by showing you the whole aperture series. Both lenses are excellent here.
In the upper left corner at f/1.8:


Now there’s quite a bit of difference. The Sigma is lower in contrast, and is smeared. The Nikkor is excellent, if you don’t mind the falloff.
At f/2.8:


The falloff is pretty much gone with both lenses, and the softness of the f/1.8 setting on the Sigma is diminished. It’s not quite as punchy as the Nikkor.


Even at f/4, the Nikkor looks slightly better.
At f/5.6:


Now they’re essentially the same. I call this a surprisingly good performance by the Nikon lens against a renowned standard. By the way, I have two copies of the Sigma, and I can’t tell them apart by looking at the pictures even in a laboratory environment.
Oskar Ojala says
I’m curious if cover glass thickness and the adapter could have a negative impact on the Sigma. Have you considered trying the Sigma on a D850 and a Z7 to see if there is any perceptible degradation when using with the Z7?
DavideoPhotographie says
The FTZ adapter does not cause a fault, there is no glass it is just an empty hole.
CAT Productions says
Hi Jim, have you had the opportunity to do some testing with the 40mm 1.4 Art? I recently purchased one and it’s an phenomenal lens. My guess is it show quite a bit better overall performance compared with the older (but still excellent) Sigma 50 1.4 Art. Thanks.
JimK says
Haven’t tested that lens. Sorry.