• site home
  • blog home
  • galleries
  • contact
  • underwater
  • the bleeding edge

the last word

Photography meets digital computer technology. Photography wins -- most of the time.

You are here: Home / The Bleeding Edge / Sharpness testing, part 2

Sharpness testing, part 2

November 2, 2013 JimK 4 Comments

I wrote a little Matlab program to generate the targets:

sharp target matlab code

And, yes, all you Matlab experts, I know it can be coded a lot more efficiently, even by me. I wrote it this way so that any Java or C programmer could figure it out.

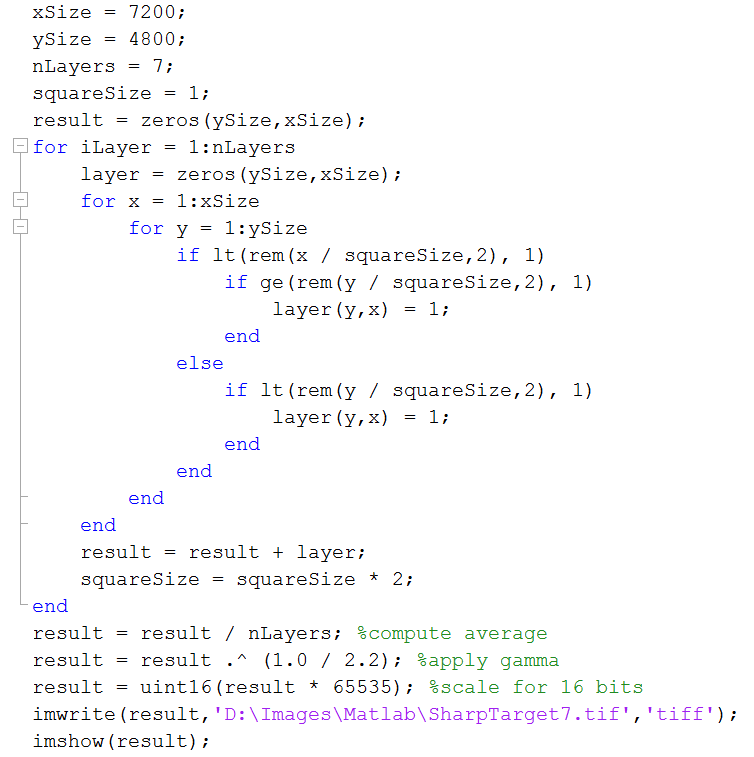
Here’s what a close up of the first four layers looks like:
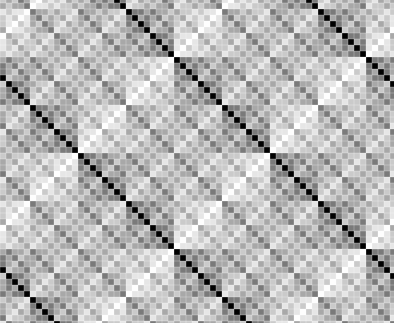
4 layers

Here’s five layers:


5 layers

Six:

6 layers

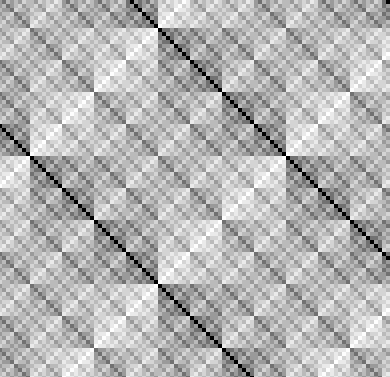
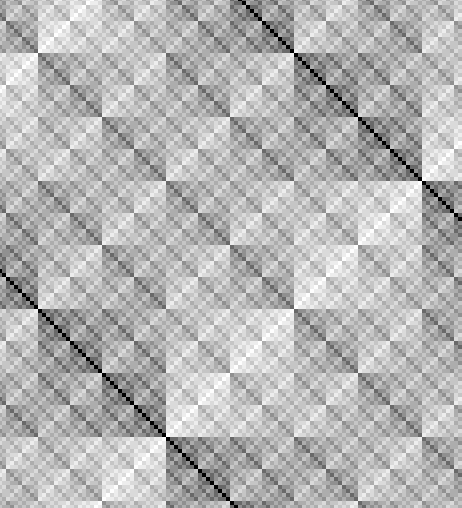
And, finally, seven, which is what I’m going to start with because it makes it easier to focus:

7 layers


The Bleeding Edge, The Last Word

← Sharpness testing Auto-bracketing on the M240 →

Comments

  1. Herb Sennet says

    November 3, 2013 at 6:01 am

    Jim,
    Recently I did some testing because I suspected shutter vibration of the Leica M causing blurred images. This was with adapted lenses and a adapter collar fitted.
    Shooting banknotes at 4 meters distance from a tripod confirmed this for shutter speeds between roughly 1/125 s and 1/4 s. The test results also showed and advantage for Classic mode, in favour of Advanced mode for the Leica M (240).
    With a 75mm M lens and the body attached to the tripod I could not detect any blurring effect.
    The weakest point seems to be the lens collar / adapter collar, in some way bouncing and increasing vibration. Maybe this is something to look for in your setup.
    Thanks for all your very interesting postings.
    With kind regards,
    Herb

    Reply
  2. Jim says

    November 3, 2013 at 6:47 am

    Thanks, Herb, I’ll check into it, providing the test methodology I’m developing is up to the task. I have a Novaflex Nikon F lens to M body adapter on order. I don’t have the Leica R adapter or any R-series lenses, so I won’t be testing those.

    Jim

    Reply
    • Herb Sennet says

      November 3, 2013 at 7:55 am

      Jim, just for your information. I also use the Novoflex LEM / NIK NT adapter. I modified the Novoflex ASTAT MFT collar a bit so it will fit on this adapter.
      Novoflex told me that they have a dedicated collar in development for the LEM /NIK NT.

      Reply
  3. Jim says

    November 3, 2013 at 8:22 am

    Herb, that’s the adapter I have on order. A collar would be a good thing for the intermediate focal lengths, say from 85mm to 135mm. Lenses longer than 135 will probably have their own rotating collar.

    Jim

    Reply

Leave a Reply Cancel reply

Your email address will not be published. Required fields are marked *

May 2025
S M T W T F S
 123
45678910
11121314151617
18192021222324
25262728293031
« Apr    

Articles

  • About
    • Patents and papers about color
    • Who am I?
  • How to…
    • Backing up photographic images
    • How to change email providers
    • How to shoot slanted edge images for me
  • Lens screening testing
    • Equipment and Software
    • Examples
      • Bad and OK 200-600 at 600
      • Excellent 180-400 zoom
      • Fair 14-30mm zoom
      • Good 100-200 mm MF zoom
      • Good 100-400 zoom
      • Good 100mm lens on P1 P45+
      • Good 120mm MF lens
      • Good 18mm FF lens
      • Good 24-105 mm FF lens
      • Good 24-70 FF zoom
      • Good 35 mm FF lens
      • Good 35-70 MF lens
      • Good 60 mm lens on IQ3-100
      • Good 63 mm MF lens
      • Good 65 mm FF lens
      • Good 85 mm FF lens
      • Good and bad 25mm FF lenses
      • Good zoom at 24 mm
      • Marginal 18mm lens
      • Marginal 35mm FF lens
      • Mildly problematic 55 mm FF lens
      • OK 16-35mm zoom
      • OK 60mm lens on P1 P45+
      • OK Sony 600mm f/4
      • Pretty good 16-35 FF zoom
      • Pretty good 90mm FF lens
      • Problematic 400 mm FF lens
      • Tilted 20 mm f/1.8 FF lens
      • Tilted 30 mm MF lens
      • Tilted 50 mm FF lens
      • Two 15mm FF lenses
    • Found a problem – now what?
    • Goals for this test
    • Minimum target distances
      • MFT
      • APS-C
      • Full frame
      • Small medium format
    • Printable Siemens Star targets
    • Target size on sensor
      • MFT
      • APS-C
      • Full frame
      • Small medium format
    • Test instructions — postproduction
    • Test instructions — reading the images
    • Test instructions – capture
    • Theory of the test
    • What’s wrong with conventional lens screening?
  • Previsualization heresy
  • Privacy Policy
  • Recommended photographic web sites
  • Using in-camera histograms for ETTR
    • Acknowledgments
    • Why ETTR?
    • Normal in-camera histograms
    • Image processing for in-camera histograms
    • Making the in-camera histogram closely represent the raw histogram
    • Shortcuts to UniWB
    • Preparing for monitor-based UniWB
    • A one-step UniWB procedure
    • The math behind the one-step method
    • Iteration using Newton’s Method

Category List

Recent Comments

  • JimK on Goldilocks and the three flashes
  • DC Wedding Photographer on Goldilocks and the three flashes
  • Wedding Photographer in DC on The 16-Bit Fallacy: Why More Isn’t Always Better in Medium Format Cameras
  • JimK on Fujifilm GFX 100S II precision
  • Renjie Zhu on Fujifilm GFX 100S II precision
  • JimK on Fuji 20-35/4 landscape field curvature at 23mm vs 23/4 GF
  • Ivo de Man on Fuji 20-35/4 landscape field curvature at 23mm vs 23/4 GF
  • JimK on Fuji 20-35/4 landscape field curvature at 23mm vs 23/4 GF
  • JimK on Fuji 20-35/4 landscape field curvature at 23mm vs 23/4 GF
  • Ivo de Man on Fuji 20-35/4 landscape field curvature at 23mm vs 23/4 GF

Archives

Copyright © 2025 · Daily Dish Pro On Genesis Framework · WordPress · Log in

Unless otherwise noted, all images copyright Jim Kasson.