I thought it might help to get a handle on the M240 green shift when pushed in post to look at the M240’s performance compared to another camera. Was this something that all cameras did, and I’d just never set up the right test conditions? I decided to construct a test image set calculated to show the green shift in the shadows and compare the M240 to the Sony RX1. It’s a reasonable comparison. Both full frame. Both 24 megapixels (but the Leica image is slightly smaller, at 5984×3992, versus 6000×4000 for the Sony). I put the Zeiss 35mm f/2 Biogon on the Leica. It seemed like a fair comparison to the fixed Zeiss 35mm f/2 lens on the RX1. As it turned out, both lenses were up to the task.
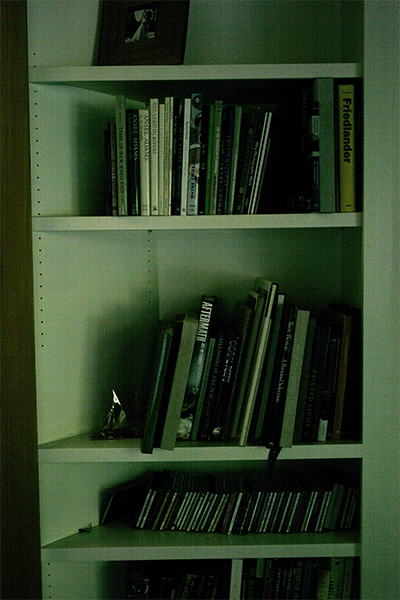
I went back to the bookcase, and made exposures with both cameras at ISO 3200 that were about four stops down from ETTR. It wasn’t as simple as it sounds. Turns out the RX1 is about one stop more sensitive than the M240 when the two camera are set to identical ISOs. I guess that’s not a surprise. There’s no standard for ISO setting in a digital camera. [Historical footnote: ISO was once a standard that meant something, with a rigorous procedure; it was used to define film speed. In the digital era, it means whatever the camera manufacturer wants it to mean.]
I picked an exposure that wouldn’t clip in either camera: f/8 at 1/125 at ISO 3200. With each camera, I made the above exposure, then made four more pictures at the same exposure at ISO 1600, 800, 400, and 200.
I brought all ten images into Lightroom. I turned off all noise suppression. I applied a +1 EV Exposure boost to the ISO 1600 images, +2 EV to the ISO 800 images, +3 EV to the ISO 400 images, and +4 Ev to the ISO 200 images.
The color balance of the M240 and the RX1 images were different. I had been using Auto WB. I turned it off, and set the WB for all 10 images to 4200K, +10 tint.
I exported the files as layers to Photoshop. I added an exposure adjustment layer to bring the values up to near that of the original scene, but remember, we’re looking at shadow detail and shadow color balance in all the images. I also added a +1EV Exposure layer for use with the M240 images; that brought their values into the same ballpark as the RX1.
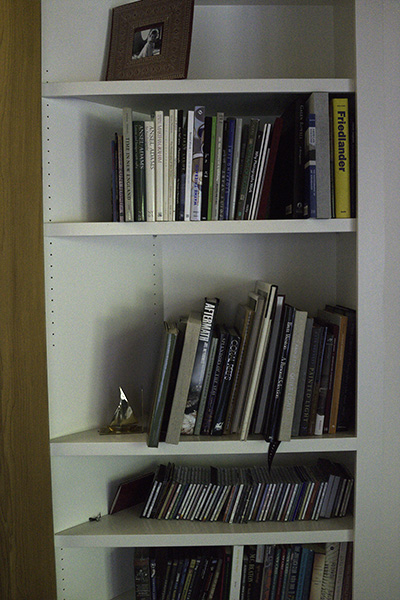
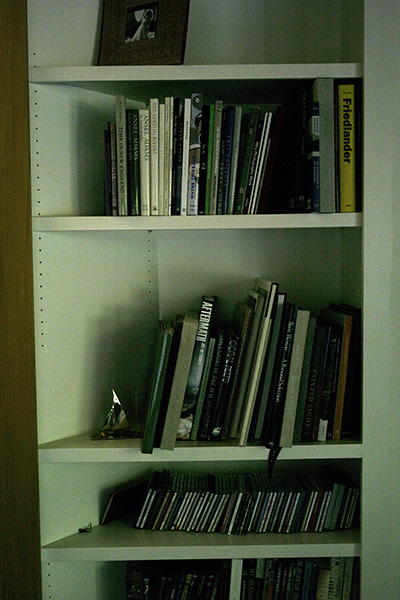
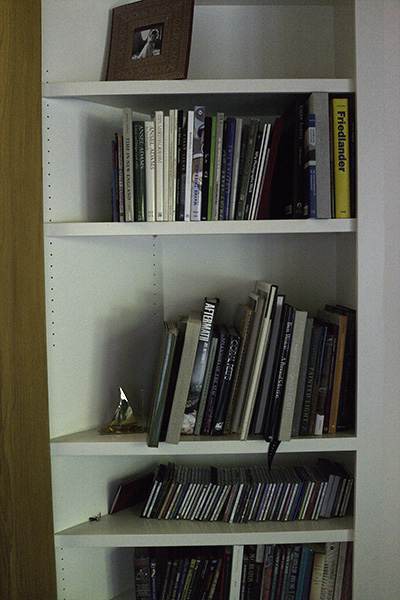
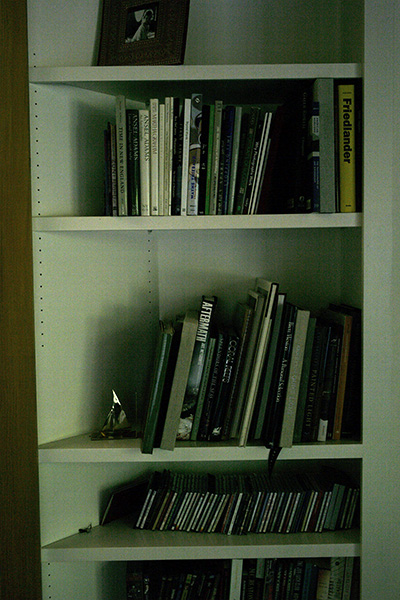
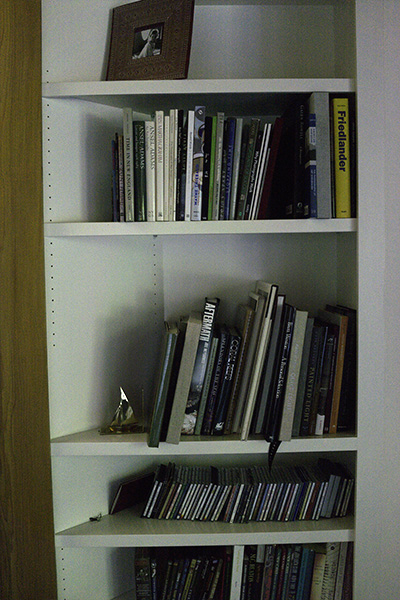
We’ll look at the overall scene first, res’d down to 600×400 for the web.
RX1, ISO 3200:
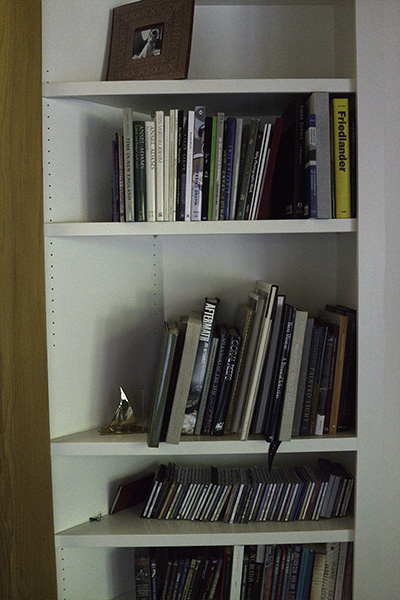
M240, ISO 3200:

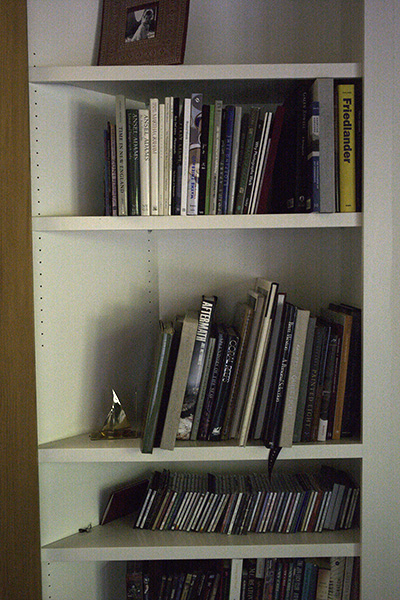
RX1, ISO 1600 + 1 EV:
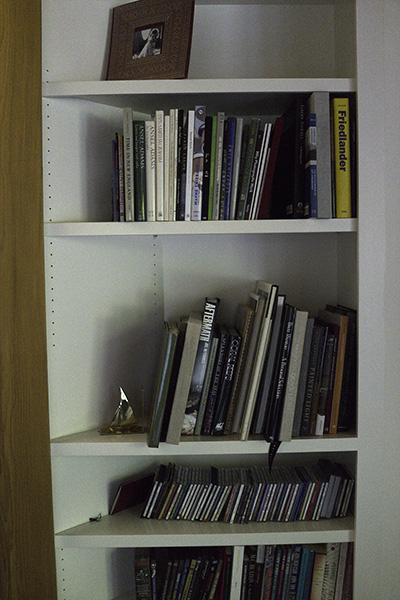
M240, ISO 1600 + 1 EV:
RX1, ISO 800 + 2 EV:
M240, ISO 800 + 2 EV:
RX1, ISO 400 + 3 EV:
M240, ISO 400 + 3 EV:
RX1, ISO 200 + 4 EV:
M240, ISO 200 + 4 EV:
As you can see, the green shift when the raw image is pushed in post is an M240 problem that doesn’t show up in the RX1. Is this the way all M240s behave, or do I have a bad one? Hmm. this needs some more work.
I have an underexposed ISO 200 M240 DNG file from someone who shared images on a photo forum early in the M240’s release. It requires a 5-stop push in LR and definitely reveals a green cast in darker values. Lighter mid tones and highlights look decent. Playing with the Shadow Tint slider in the Camera Calibration section of LR4 and moving it slightly to the magenta side somewhat compensates for the green cast. The image still doesn’t look quite right, but can be salvaged to an acceptable appearance by tweaking WB and tint along with the shadow tint values.
Thanks, Ron. I’m in contact with someone who is sending me a series similar to the one in this post, but made with another M240.
Jim