• site home
  • blog home
  • galleries
  • contact
  • underwater
  • the bleeding edge

the last word

Photography meets digital computer technology. Photography wins -- most of the time.

You are here: Home / The Last Word / a7II Lr push processing with no NR

a7II Lr push processing with no NR

January 9, 2015 JimK 8 Comments

From the mail bag:

Good ISOless pictures today.  The only question that comes to mind is whether LR’s default noise reduction parameters are fine tuned for the given ISO.  I thought I read somewhere that they do that sometimes.

Good point. Here are the images with sharpening and noise reduction turned off.

ISO 3200
ISO 3200
ISO 1600
ISO 1600
ISO 800
ISO 800
ISO 400
ISO 400
ISO 200
ISO 200
ISO 100
ISO 100

But then there’s this:

Take a look at the bottom images of this current post for an example of ACR/LR noise reduction even with all relevant sliders supposedly at zero.

Hmm…

The Last Word

← Sony a7II pushed-processed images Tripod-mounted Sony a7II IBIS performance →

Comments

  1. david stock says

    January 9, 2015 at 12:55 pm

    Hmm indeed. I’d love to know what ACR is doing.

    Looking at both sets of images, I see a definite color shift between ISO 100 and 200 caused by noise. In the latest set, the “lifted” ISO 100 definitely looks noisier. The high ISO images actually look better. So what’s the practical take-away? ISO-less starting at ISO 200?

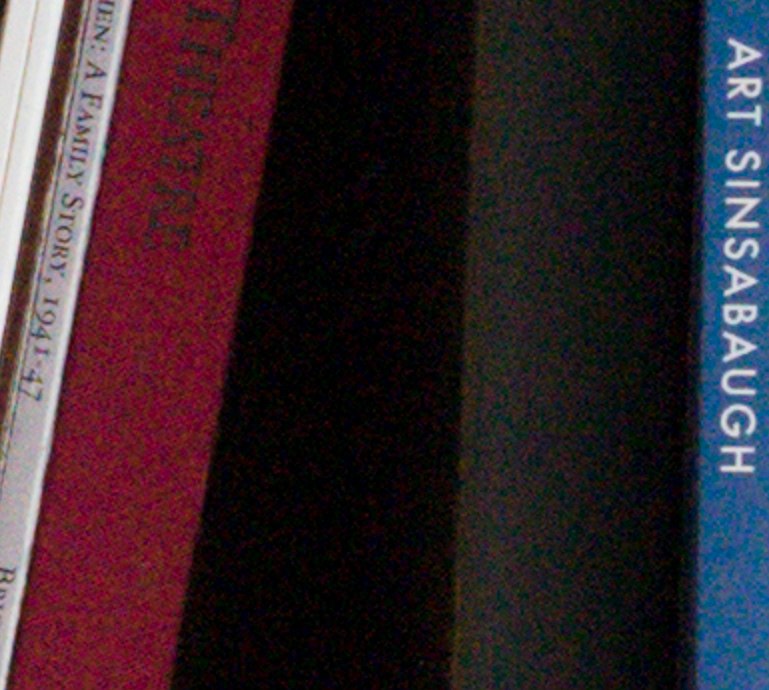
    p.s. I love Art Sinsabaugh’s work…

    Reply
    • Jim says

      January 9, 2015 at 5:16 pm

      If you look at the curves on this page:

      http://blog.kasson.com/?p=8280

      ISO 200 is the breakpoint.

      However, I provide the images for those few readers who are graph-averse. Besides, I like to look at real images.

      Jim

      Reply
    • Jean Pierre says

      January 10, 2015 at 7:21 am

      David, my experience is following:
      I take images without lens from ISO 50/100 to 6400 in a dark room! Then I take DCRAW, Rawtherapee or darktable! It is important to find the right democaising-code for your digicam! Then, democaise all without sharpen to 16bitTIFF !!!
      After, compare all under Photoshop and you will see which max. ISO value you can develop for good image, that color and noise is useable.

      Reply
  2. Chris Livsey says

    January 10, 2015 at 6:00 am

    Not only what is ACR doing but are RAWS really RAW?

    Reply
    • Jim says

      January 10, 2015 at 8:35 am

      Well, we know, in Sony’s case, that they’re not. I don’t think that the Sony raw compression is affecting things here, though.

      Jim

      Reply
  3. Jean Pierre says

    January 10, 2015 at 7:07 am

    I am disappointed by the visible noise of the a7II, with or without sharpen or denoising in Lr !!
    Do you know that the algorithm of Camera Raw is not optimal? Especially for the camera which have more than 18 MP.
    Therefore, for better results you should take another RAW Converter, such as Rawtherapee, DCRAW or darktable. These have better algorithms for democaising (you can choise). And give better results by denoising or not!
    I do not understand why so many rely on CameraRaw / Lightroom.
    Jim, do you take your test-image with lens or without? If you want to have the result from the sensor, then without lens!!!!

    Reply
    • Jim says

      January 10, 2015 at 8:41 am

      Jean Pierre, I use ACR and Lr for the image comparisons because they are the dominant raw converters in the marketplace, and I want the visual comparisons to be what most people will see on thir raw converter of choice.

      I use DCRAW in document mode for conversions that will be subject to numerical analysis.

      I use a lens (and then calibrate it out with paired subtraction), because it gives me the ability to use multi-valued targets and get 20 samples per exposure. Even looking for a single value, there’s is issue of shadowing from the lens mount. Then there’s dust.

      Jim

      Reply
      • Jean Pierre says

        January 10, 2015 at 9:30 am

        OK Jim. Please mention it, because there are more and more people who adopt a other RAW-converter for democaising!

        Reply

Leave a Reply Cancel reply

Your email address will not be published. Required fields are marked *

May 2025
S M T W T F S
 123
45678910
11121314151617
18192021222324
25262728293031
« Apr    

Articles

  • About
    • Patents and papers about color
    • Who am I?
  • How to…
    • Backing up photographic images
    • How to change email providers
    • How to shoot slanted edge images for me
  • Lens screening testing
    • Equipment and Software
    • Examples
      • Bad and OK 200-600 at 600
      • Excellent 180-400 zoom
      • Fair 14-30mm zoom
      • Good 100-200 mm MF zoom
      • Good 100-400 zoom
      • Good 100mm lens on P1 P45+
      • Good 120mm MF lens
      • Good 18mm FF lens
      • Good 24-105 mm FF lens
      • Good 24-70 FF zoom
      • Good 35 mm FF lens
      • Good 35-70 MF lens
      • Good 60 mm lens on IQ3-100
      • Good 63 mm MF lens
      • Good 65 mm FF lens
      • Good 85 mm FF lens
      • Good and bad 25mm FF lenses
      • Good zoom at 24 mm
      • Marginal 18mm lens
      • Marginal 35mm FF lens
      • Mildly problematic 55 mm FF lens
      • OK 16-35mm zoom
      • OK 60mm lens on P1 P45+
      • OK Sony 600mm f/4
      • Pretty good 16-35 FF zoom
      • Pretty good 90mm FF lens
      • Problematic 400 mm FF lens
      • Tilted 20 mm f/1.8 FF lens
      • Tilted 30 mm MF lens
      • Tilted 50 mm FF lens
      • Two 15mm FF lenses
    • Found a problem – now what?
    • Goals for this test
    • Minimum target distances
      • MFT
      • APS-C
      • Full frame
      • Small medium format
    • Printable Siemens Star targets
    • Target size on sensor
      • MFT
      • APS-C
      • Full frame
      • Small medium format
    • Test instructions — postproduction
    • Test instructions — reading the images
    • Test instructions – capture
    • Theory of the test
    • What’s wrong with conventional lens screening?
  • Previsualization heresy
  • Privacy Policy
  • Recommended photographic web sites
  • Using in-camera histograms for ETTR
    • Acknowledgments
    • Why ETTR?
    • Normal in-camera histograms
    • Image processing for in-camera histograms
    • Making the in-camera histogram closely represent the raw histogram
    • Shortcuts to UniWB
    • Preparing for monitor-based UniWB
    • A one-step UniWB procedure
    • The math behind the one-step method
    • Iteration using Newton’s Method

Category List

Recent Comments

  • JimK on Goldilocks and the three flashes
  • DC Wedding Photographer on Goldilocks and the three flashes
  • Wedding Photographer in DC on The 16-Bit Fallacy: Why More Isn’t Always Better in Medium Format Cameras
  • JimK on Fujifilm GFX 100S II precision
  • Renjie Zhu on Fujifilm GFX 100S II precision
  • JimK on Fuji 20-35/4 landscape field curvature at 23mm vs 23/4 GF
  • Ivo de Man on Fuji 20-35/4 landscape field curvature at 23mm vs 23/4 GF
  • JimK on Fuji 20-35/4 landscape field curvature at 23mm vs 23/4 GF
  • JimK on Fuji 20-35/4 landscape field curvature at 23mm vs 23/4 GF
  • Ivo de Man on Fuji 20-35/4 landscape field curvature at 23mm vs 23/4 GF

Archives

Copyright © 2025 · Daily Dish Pro On Genesis Framework · WordPress · Log in

Unless otherwise noted, all images copyright Jim Kasson.