• site home
  • blog home
  • galleries
  • contact
  • underwater
  • the bleeding edge

the last word

Photography meets digital computer technology. Photography wins -- most of the time.

You are here: Home / The Last Word / Building a bokeh simulator

Building a bokeh simulator

May 2, 2017 JimK 12 Comments

This is the first in a series of posts about constructing and using a bokeh simulator. If you want to easily navigate to the other parts, at the bottom of this post (below the comments) you’ll find pingback links to each of them.

I’ve been reading a lot of controversy about lens bokeh, and it occurred to me that it wouldn’t be too hard to build a program that simulated the effect of  a lens with arbitrary bokeh on a real scene captured in focus. The inputs to the code would be the sharp image, a idealized or real out-of-focus (OOF) blur circle, and directions for scaling the blur circle. Eventually, the blur circle could be scaled with a depth map image, but initially, it would be sufficient to render the entire output image with a uniform blur circle. 

The idea would be to allow people to see how real or imagined lenses rendered a wide variety of OOF backgrounds, so that they could select lenses appropriate for their chosen subject matter.

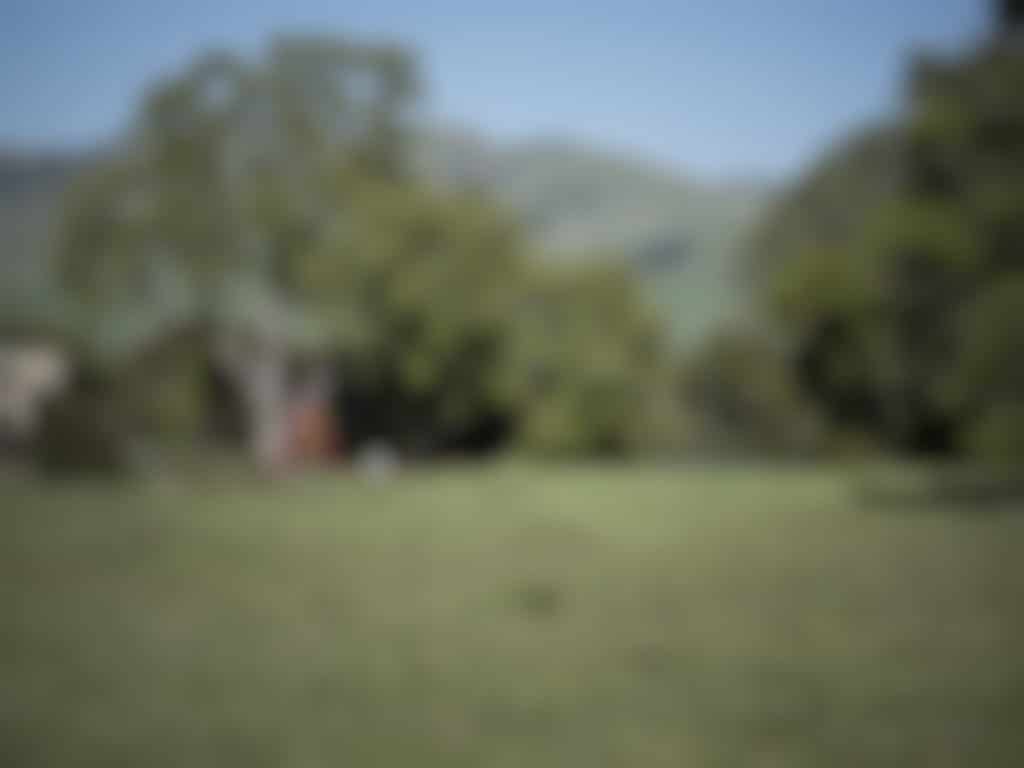
I limbered up my typing fingers today and wrote come Matlab code to implement a first cut at the project. I’ll show you some images, then I’ll discuss the limitations of what I’ve done. 

Sharp Image. Original is 2000×1500 pixels


Circular disk blur with a 50 pixel blur circle.


Gaussian apodization with a 50 pixel blur circle, 1 sigma falloff


Gaussian apodization with a 50 pixel blur circle, 2 sigma falloff


Circular disk blur with a 100 pixel blur circle.


Gaussian apodization with a 100 pixel blur circle, 1 sigma falloff


Gaussian apodization with a 100 pixel blur circle, 2 sigma falloff


Here’s what I mean by 2-sigma and 1-sigma falloff in the above. In the former case, the outermost edge of the apodizing element is one sigma out from the mean of the distribution in its center. With a 2-sigma falloff, the edge of the apodizer is two sigma away from the mean. 1-sigma falloff is subtly different from the perfect blur circle which was simulated for the images with the word “disk” in their captions. I have corrected for the different exposures required by the simulated apodized lenses. 

What are the limitations?

  • I can’t simulate accurately blur circles so small that they are close to the diffraction and aberration blurring. The above simulation assumes that all the blurring performed on the putative sharp image is from defocusing.
  • I’m assuming that the nature of the OOF blur circle changes only by scaling as the lens is defocused. That appears to be materially the case in my testing of real lenses.
  • The simulation is only accurate if the original image is sharp.

Where to do from here?

  • I’m going to do some work with real lens OOF point spread functions.
  • I’m going to try some other sharp images.
  • If anyone has sharp images they’d like me to use, please get in touch with me. 
  • Eventually, I may get around to depth mapping. It’ll be crude at first.

I am open to suggestions.


The Last Word

← Macro slit scans Simulating Sony 135 STF bokeh with real and idealized PSFs →

Comments

  1. CarVac says

    May 2, 2017 at 3:35 pm

    Your gaussian-blur-with-1-sigma “falloff” (windowing?) produces noticeable squares, because the farther you get from a true gaussian the less separable it is.

    Reply
    • JimK says

      May 2, 2017 at 4:24 pm

      I bet that’s because I forgot to apply a circular window. I’ll have a look. Thanks.

      Reply
      • JimK says

        May 2, 2017 at 4:58 pm

        That was it. Fixed now.

        Reply
  2. Mike Carper says

    May 2, 2017 at 3:36 pm

    Have you tried this http://dofsimulator.net/en/

    Reply
    • JimK says

      May 2, 2017 at 4:27 pm

      No, thanks. This look like it always uses a disk. Thanks!

      Reply
  3. Brandon Dube says

    May 2, 2017 at 9:13 pm

    I open sourced an aberration simulation module that would be useful here — https://github.com/brandondube/AberrationSwissArmyKnife

    Because the sampling is defined in the exit pupil plane instead of the image plane, it would be somewhat a pain to use it to generate PSFs to convolve with an image. It could be modified to be given the PSF-plane sampling and generate the pupil sampling from that, but you risk either missing a portion of the pupil entirely in the case of extreme undersampling, or inadequate 0 padding to avoid the gibbs phenomenon.

    The relationship between defocus in the pupil/wavefront and the image plane is:
    image_plane_defocus = 8*(F#)^2 * lambda * W020, when W020 is in units of waves (as is the case in my sim tool).

    Because the link between the pupil and the image plane units contains a factor of lambda, it is also very messy to do multi-wavelength simulation. Defined/given PSF plane sampling would also be useful in that regard.

    These simulations tend to have very good sampling in the PSF plane – roughly nm domain rather than um domain. Because the pixel size in the PSF and image must share common sampling, it is not clear to me how to make them match. I think you are stuck grossly undersampling/oversampling one or the other.

    You could add features like apodization, vignetting, etc. They are quite straightforward to do by modifying the XP.

    Reply
  4. Jerry Fusselman says

    May 3, 2017 at 6:07 pm

    Very interesting. I’ll love to see your results.

    What this method can’t easily deal with, it seems, is the following:

    1. OOF point light sources. In particular, the look when wells are full. This shows perhaps the biggest problem with your assumption that “the nature of the OOF blur circle changes only by scaling as the lens is defocused.” I mentioned this briefly in a reply to you a few hours ago on DPR.

    2. Different defocusing at different distances from the camera, which is the sort of thing that can give a feeling of depth.

    3. Being able to “see around” OOF objects in the foreground, because objects that would be in the plane of focus are being blurred too, so they won’t stand out.

    Reply

Trackbacks

  1. Simulating Sony 135 STF bokeh with real and idealized PSFs says:
    May 3, 2017 at 12:54 pm

    […] This is the second in a series of posts about building a bokeh simulator. This series starts here. […]

    Reply
  2. Comparing real and simulated defocus blur — Sony 135 STF says:
    May 5, 2017 at 2:40 pm

    […] This is the fourth in a series of posts about building a bokeh simulator. This series starts here. […]

    Reply
  3. Adding off-axis imaging to the bokeh simulator says:
    May 6, 2017 at 3:03 pm

    […] This is the sixth in a series of posts about building a bokeh simulator. This series starts here. […]

    Reply
  4. Off-axis OOF PSFs of the Sony 135/2.8 STF says:
    May 7, 2017 at 12:50 pm

    […] This is the seventh in a series of posts about building a bokeh simulator. This series starts here. […]

    Reply
  5. OOF PSFs with the Lomography 58/1.9 Petzval lens says:
    May 13, 2017 at 4:34 pm

    […] This is the seventh in a series of posts that started out to be about building a bokeh simulator, and is now morphing into a broader discussion of bokeh. This series starts here. […]

    Reply

Leave a Reply Cancel reply

Your email address will not be published. Required fields are marked *

May 2025
S M T W T F S
 123
45678910
11121314151617
18192021222324
25262728293031
« Apr    

Articles

  • About
    • Patents and papers about color
    • Who am I?
  • How to…
    • Backing up photographic images
    • How to change email providers
    • How to shoot slanted edge images for me
  • Lens screening testing
    • Equipment and Software
    • Examples
      • Bad and OK 200-600 at 600
      • Excellent 180-400 zoom
      • Fair 14-30mm zoom
      • Good 100-200 mm MF zoom
      • Good 100-400 zoom
      • Good 100mm lens on P1 P45+
      • Good 120mm MF lens
      • Good 18mm FF lens
      • Good 24-105 mm FF lens
      • Good 24-70 FF zoom
      • Good 35 mm FF lens
      • Good 35-70 MF lens
      • Good 60 mm lens on IQ3-100
      • Good 63 mm MF lens
      • Good 65 mm FF lens
      • Good 85 mm FF lens
      • Good and bad 25mm FF lenses
      • Good zoom at 24 mm
      • Marginal 18mm lens
      • Marginal 35mm FF lens
      • Mildly problematic 55 mm FF lens
      • OK 16-35mm zoom
      • OK 60mm lens on P1 P45+
      • OK Sony 600mm f/4
      • Pretty good 16-35 FF zoom
      • Pretty good 90mm FF lens
      • Problematic 400 mm FF lens
      • Tilted 20 mm f/1.8 FF lens
      • Tilted 30 mm MF lens
      • Tilted 50 mm FF lens
      • Two 15mm FF lenses
    • Found a problem – now what?
    • Goals for this test
    • Minimum target distances
      • MFT
      • APS-C
      • Full frame
      • Small medium format
    • Printable Siemens Star targets
    • Target size on sensor
      • MFT
      • APS-C
      • Full frame
      • Small medium format
    • Test instructions — postproduction
    • Test instructions — reading the images
    • Test instructions – capture
    • Theory of the test
    • What’s wrong with conventional lens screening?
  • Previsualization heresy
  • Privacy Policy
  • Recommended photographic web sites
  • Using in-camera histograms for ETTR
    • Acknowledgments
    • Why ETTR?
    • Normal in-camera histograms
    • Image processing for in-camera histograms
    • Making the in-camera histogram closely represent the raw histogram
    • Shortcuts to UniWB
    • Preparing for monitor-based UniWB
    • A one-step UniWB procedure
    • The math behind the one-step method
    • Iteration using Newton’s Method

Category List

Recent Comments

  • JimK on Goldilocks and the three flashes
  • DC Wedding Photographer on Goldilocks and the three flashes
  • Wedding Photographer in DC on The 16-Bit Fallacy: Why More Isn’t Always Better in Medium Format Cameras
  • JimK on Fujifilm GFX 100S II precision
  • Renjie Zhu on Fujifilm GFX 100S II precision
  • JimK on Fuji 20-35/4 landscape field curvature at 23mm vs 23/4 GF
  • Ivo de Man on Fuji 20-35/4 landscape field curvature at 23mm vs 23/4 GF
  • JimK on Fuji 20-35/4 landscape field curvature at 23mm vs 23/4 GF
  • JimK on Fuji 20-35/4 landscape field curvature at 23mm vs 23/4 GF
  • Ivo de Man on Fuji 20-35/4 landscape field curvature at 23mm vs 23/4 GF

Archives

Copyright © 2025 · Daily Dish Pro On Genesis Framework · WordPress · Log in

Unless otherwise noted, all images copyright Jim Kasson.