Today I’m taking a break from writing about camera testing to talk about actual photography. Those of you who came here for the tech talk: don’t worry; it’ll be back tomorrow.
There’s going to be a ImageMakers-produced exhibition at the Museum of Monterey starting in early September, and running ’til January. That’s an unusually long run, which is nice.
Here’s something else that’s nice: they want big prints.
Usually you have to fight with the organizers of group shows to get much wall space. Excited by the idea of showing something big, I made plans to get a 60×60 canvas print made of one of the Timescapes succulents.
I still have part of a roll of 60-inch canvas left over from the last big print I sold. I tried to talk my framer into gluing a 60×60-inch image onto a piece of Gatorboard and framing that, but they said they had a hard time getting Gatorboard over 48 inches wide. So we came up with an alternate plan: stretch it and frame it. Normally, framers want at least four extra inches along each side for stretching, which would mean the final image couldn’t be any bigger than 52×52, but my framer said they’d be comfortable with 1 1/4 inches all the way around, leaving the final image size 57 1/2 x 57 1/2.
Because a photographer’s favorite images are always the newest ones — and I sure hope that never stops for me — I decided to use one of the new succulent pictures. I picked this one:

What you’re looking at is 18 images, each one of which was a 45-minute Betterlight exposure, all put together. Each original image was 64000×6000 pixels, so the strung-together picture would be about a million by six thousand pixels if I didn’t change the aspect ratio of the picture. I squeezed the image down to 12000×6000 to produce the image above. I’ll rotate it by 90 degrees and crop it to square before I’m done, but I want to work on it in this form first.
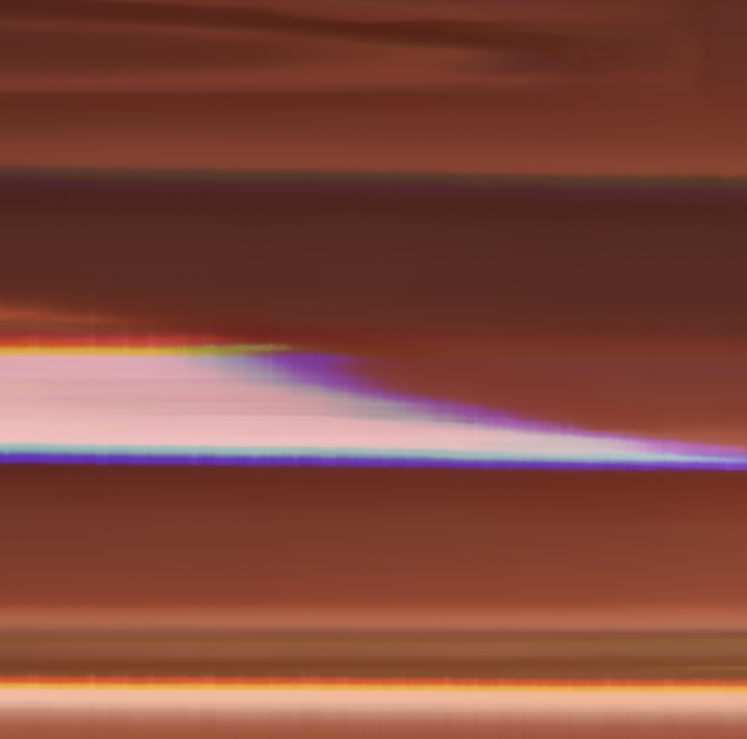
The first thing I worked on was fixing some shadows of birds flying overhead. Here’s an example:

You can see that these bird-driven eclipses of the sun come in two kinds: total (the dark line on the left) and partial (the grey line to the right of that, which actually looks like two birds flying in tight formation). In the days before Photoshop’s content-aware cloning tools these things might have been a problem to remove, but it’s pretty simple now; the hardest part is finding them all.
Next up is something that I call “fringing”:
I don’t know where these false colors come from. It may have something to do with the way the Betterlight R, G, and B detectors are offset from each other in one-pixel spacing. In any event, I once left these things in. I no longer do. After a little work with the clone tool on a layer with the blending mode set to “Color”, it looks like this:
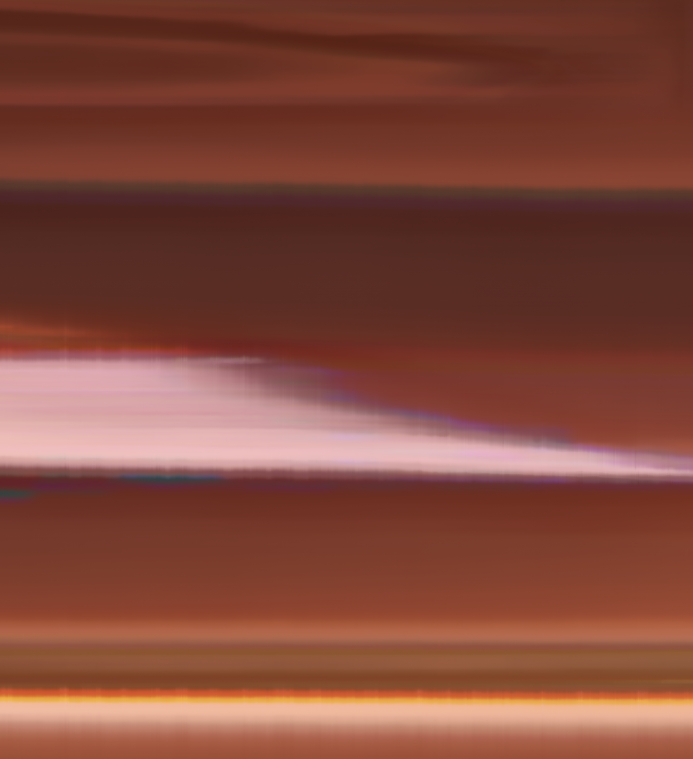
Oops! Left a little blue. I’ll go back and fix that.
Now for the colors. What you see above is pretty much the way the colors came out of the camera.
Here’s what the real plant looks like:

Note the grey-blue-green color on the sunlit leaves, which contrasts nicely with the redish color of the backlit ones and of the leaf edges. That color doesn’t appear in the Betterlight captures. I don’t know why. It may be that the IR-blocking filter that I used wasn’t up to the task.
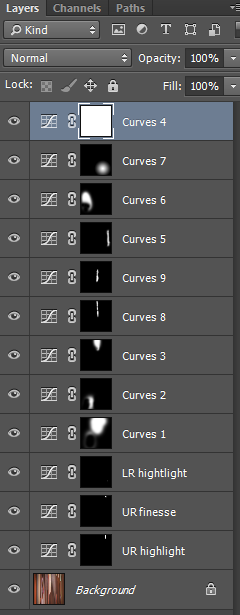
I decided to see what I could do to but that color into the highlights of the Betterlight image. I spent most of a day on the project, using luminance masks for hue/sat, color balance, and curves adjustment layers.
I failed completely.
Either the color corrections were too small, or they looked bilious, garish, and fake. I called up a friend who’s a Photoshop virtuoso, and spent an afternoon at his house learning tricks. Then I came home and gave it another try.
No dice.
I decided to live with the colors I had. I found a crop, rotated the image, and applied some local adjustments:
And voila:
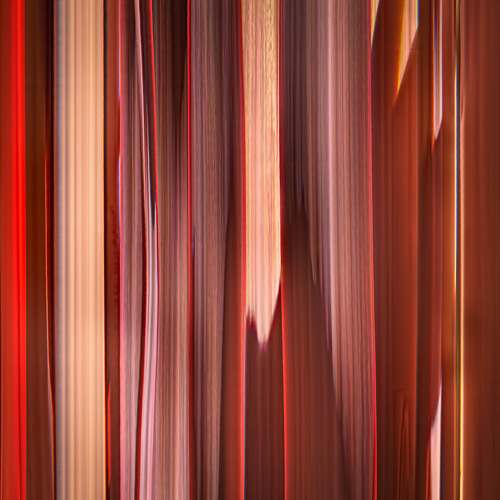
I proofed the image on 17×22 paper, and it looked fine, with no tweaks required. I uploaded the image to Dropbox and sent the printer a link.
Done!
Leave a Reply