This is the 23nd in a series of posts on the Fujifilm GFX-50S. The series starts here.
Yesterday, we looked at how the Hasselblad 50-100 mm f/3.5-4.5 zoom do when set to 80 mm. The answer was well in the center, and fair in the corners until stopped down quite a lot. Tooday we’ll look at the same lens at the extremes of its focal length range.
Shutter set to EFCS. Apertures from f/3.5 or f/4.5 to f/11 in whole stops except for the first step. I focused three times at each aperture, and picked the sharpest images. 2-second self-timer. Arca-Swiss C1 cube on RRS sticks. Focus was upper-center of the image. All images were refocused at each aperture. Daylight white balance selected in Lightroom.
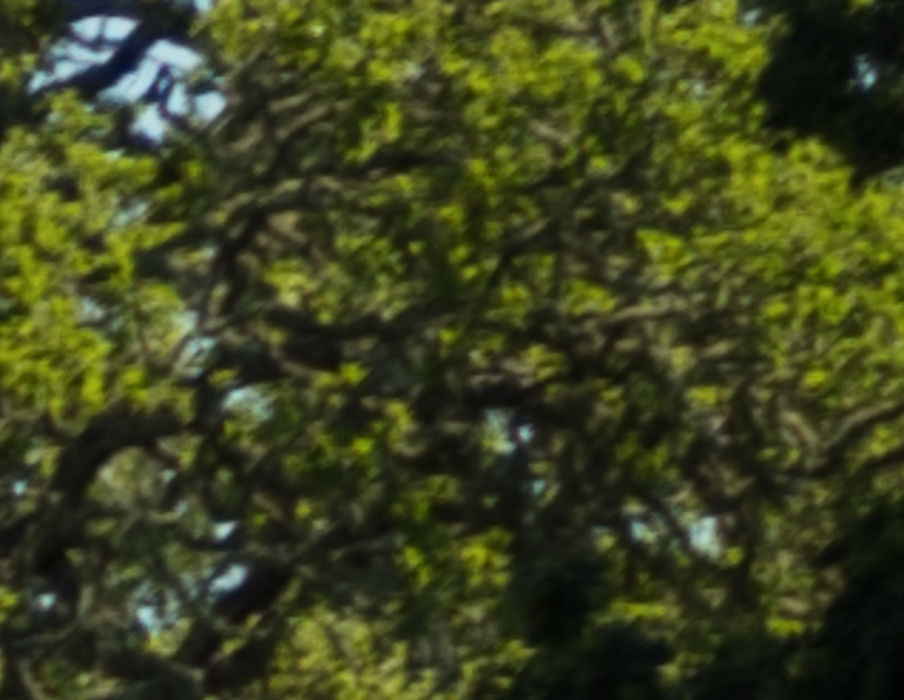
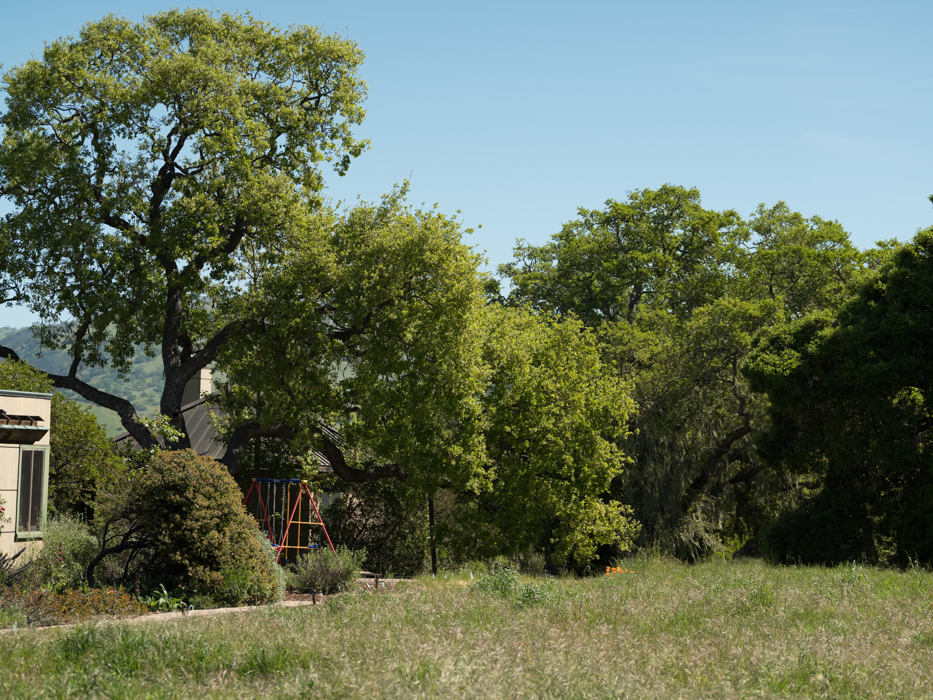
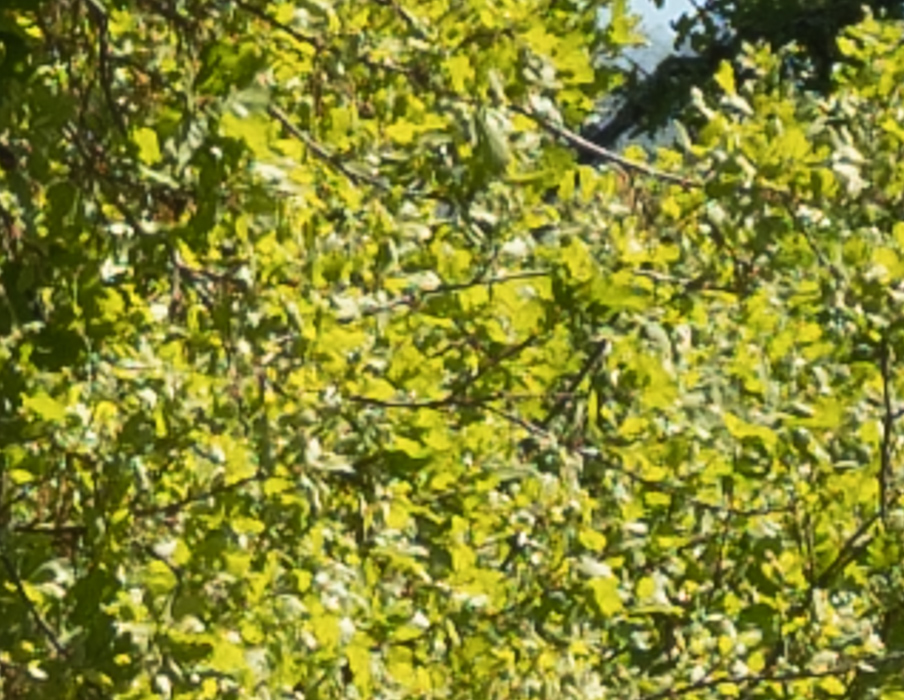
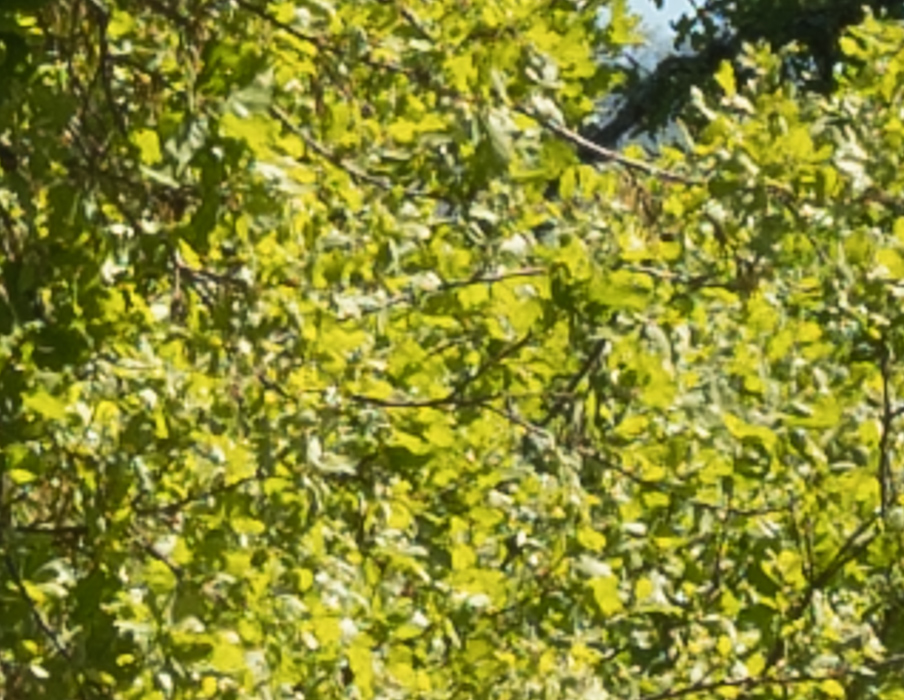
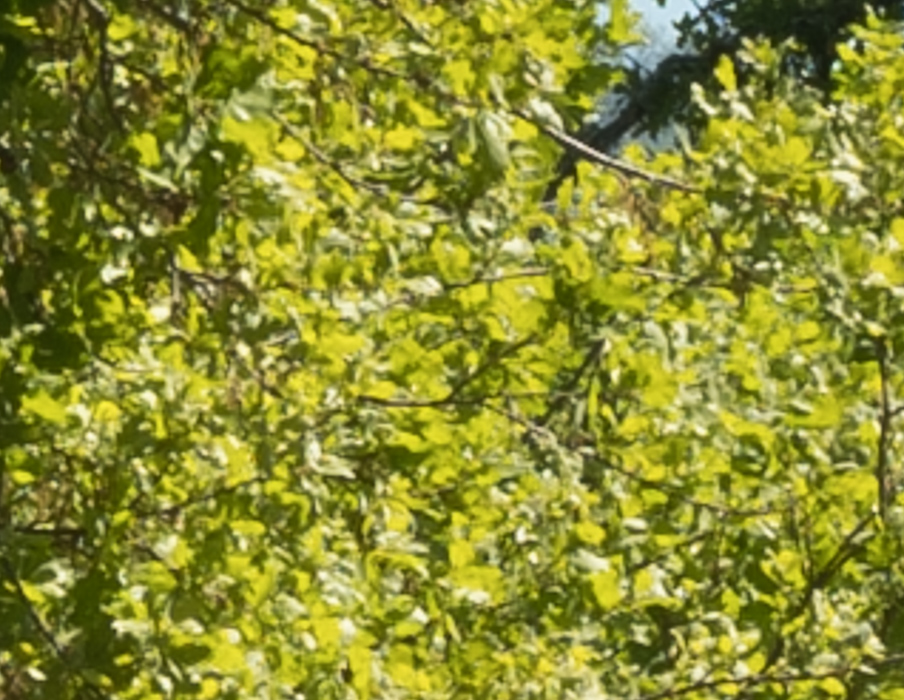
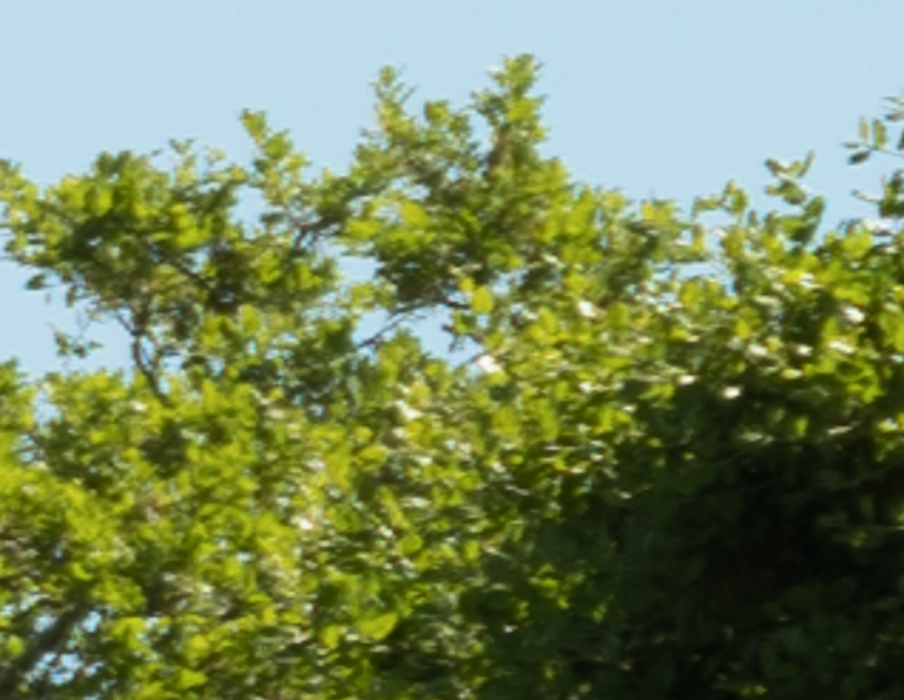
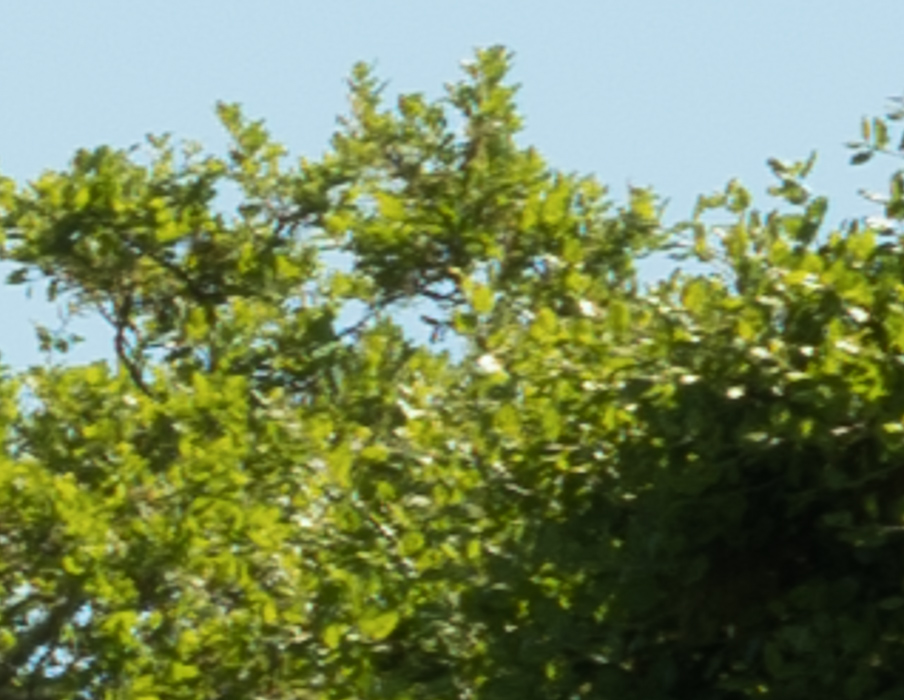
The scene, wide open at 50 mm:
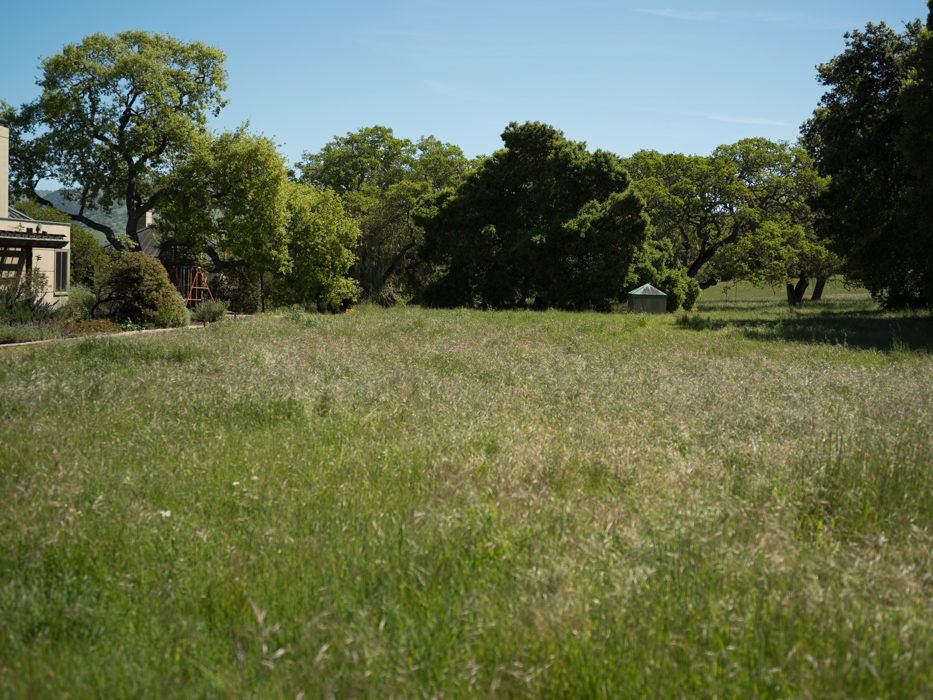
Focus was in the upper center.
Focal point crops at 253% magnification:
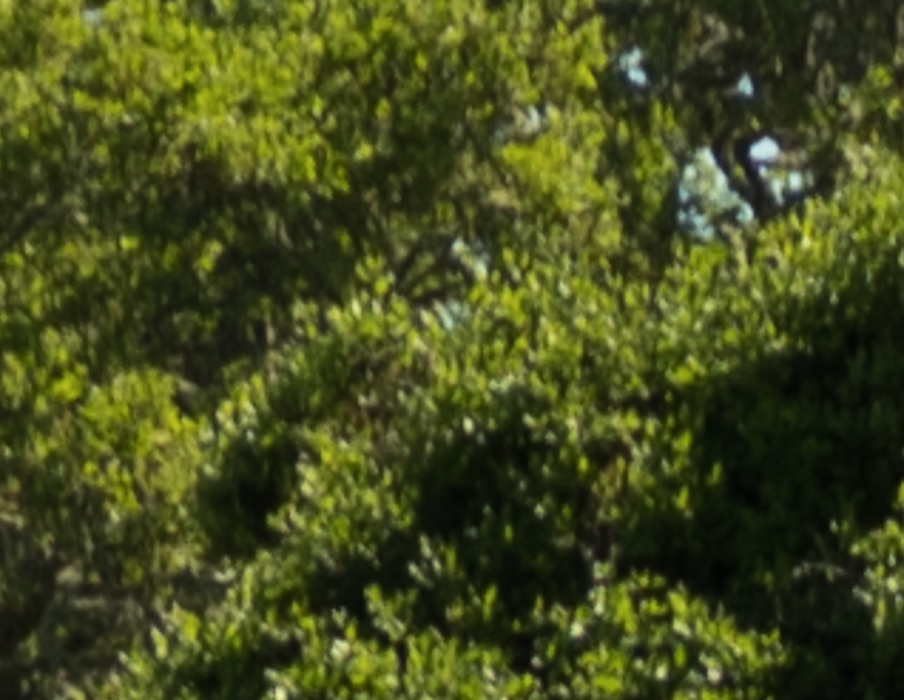
This is pretty darned good for a zoom.
Here’s how to use these highly-magnified crops. The dimensions of the GFX sensor are 8256×6192 pixels. If we make a full-frame print from the GFX on a printer with 360 pixels per inch native driver-level resolution, like the Epson inkjet printers, we’ll end up with a 23×17 inch (58×44 cm) print. The 318×246 pixel crop you’re looking at will end up 0.8333×0.6833 inches (2.12×1.74 cm). Let’s imagine that you or your viewers are critical, and will look at the 22×17 inch print from about 18 inches (conventional wisdom is that the distance would be a little greater than that, or 28 inches (the diagonal), but you did buy a high-resolution camera for a reason, didn’t you?).
The next step is dependent on your monitor pitch, which you may or may not know. Turns out, you don’t have to know it. Just take the 253% crops and view then at 1:1. How high are they? Get out your ruler and measure, or just guess. Let’s say they are 6 inches high. 6 inches is about 7 times 0.8333, so in order to view the crops the way they’d look from 18 inches on the print is to view them from 7 times as far away, or 10.5 feet.
Everything here scales proportionately. If the image on your screen is bigger than 6 inches, increase your viewing distance by the ratio of your image height to 6 inches. If you thin your viewers are going to almost get their nose to that print and look at it from six inches, divide that 10.5 feet by 3, and look at the image on the monitor from three and a half feet away.

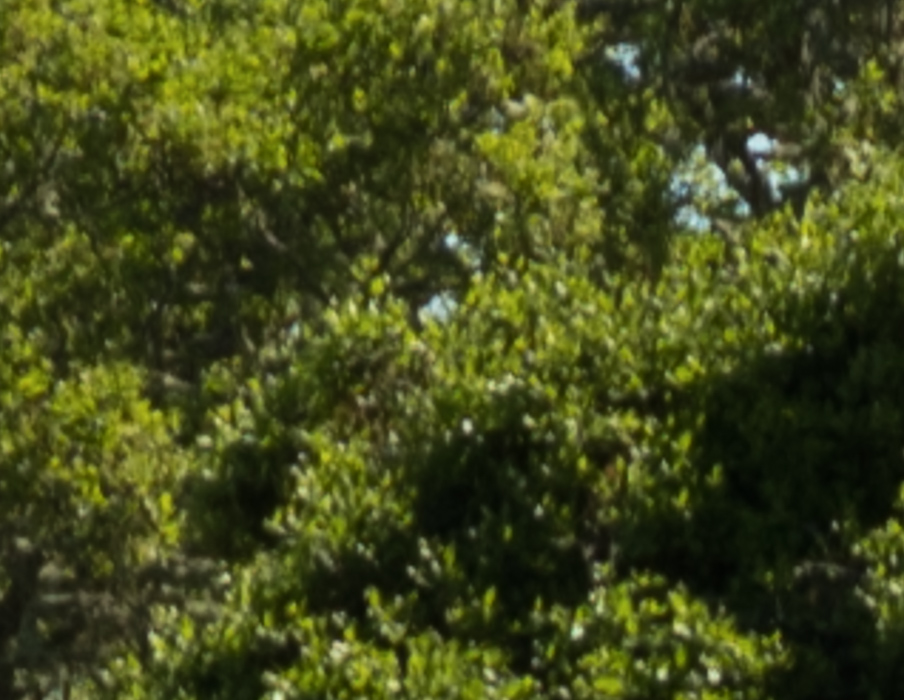
Stopping down improves matter a bit, but it was nice to begin with.
At the right-center edge, just before the dark tree that’s a bit closer than the other foliage:
Some softness is evident. Not bad for a zoom, though.
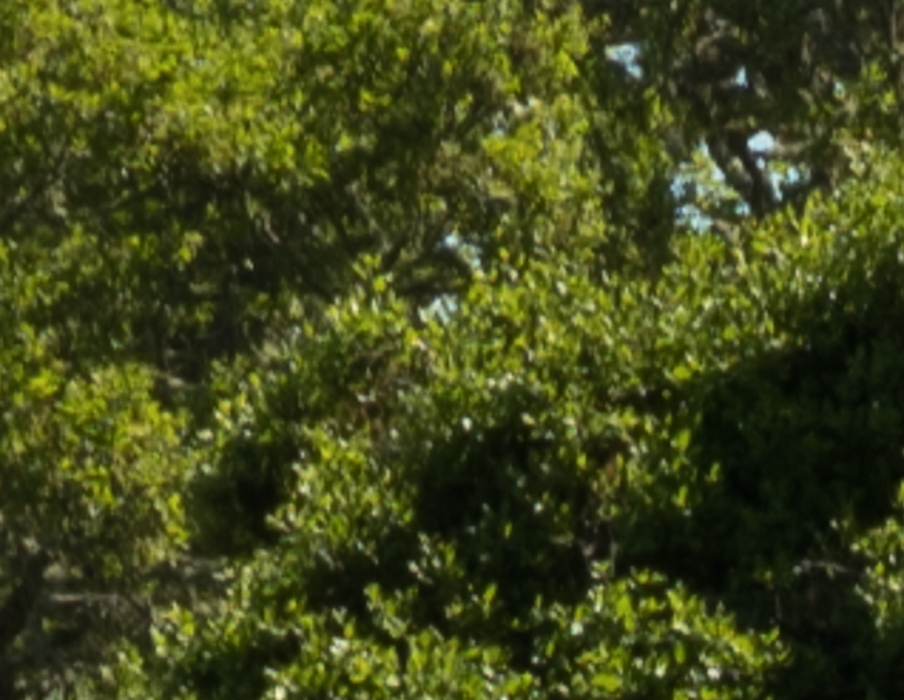
The didn’t help as much as I thought it would.
Still a bit soft.
No noticeable improvement.
At the upper-left corner:
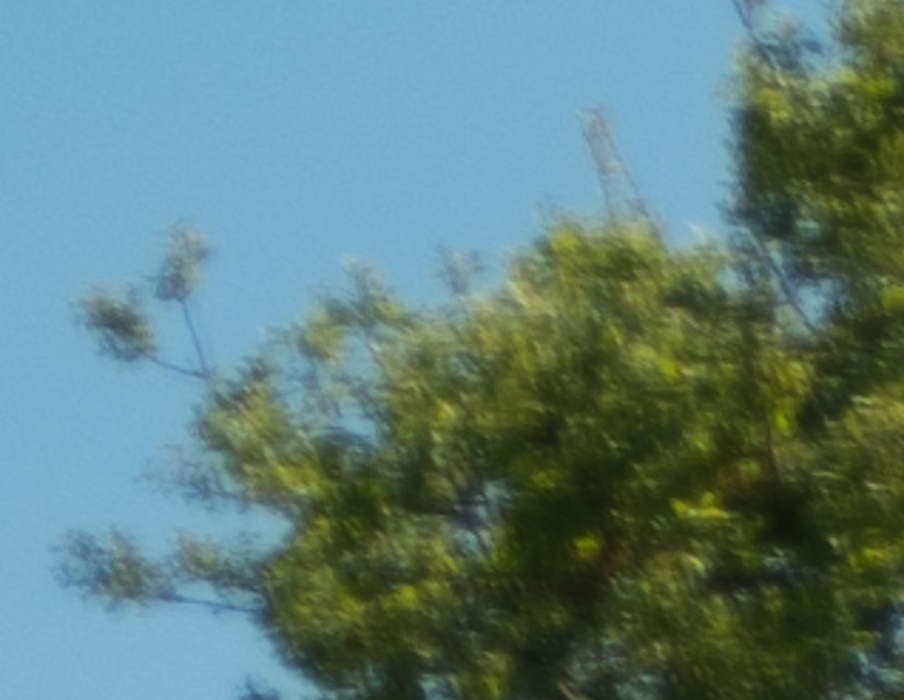
Smeared.
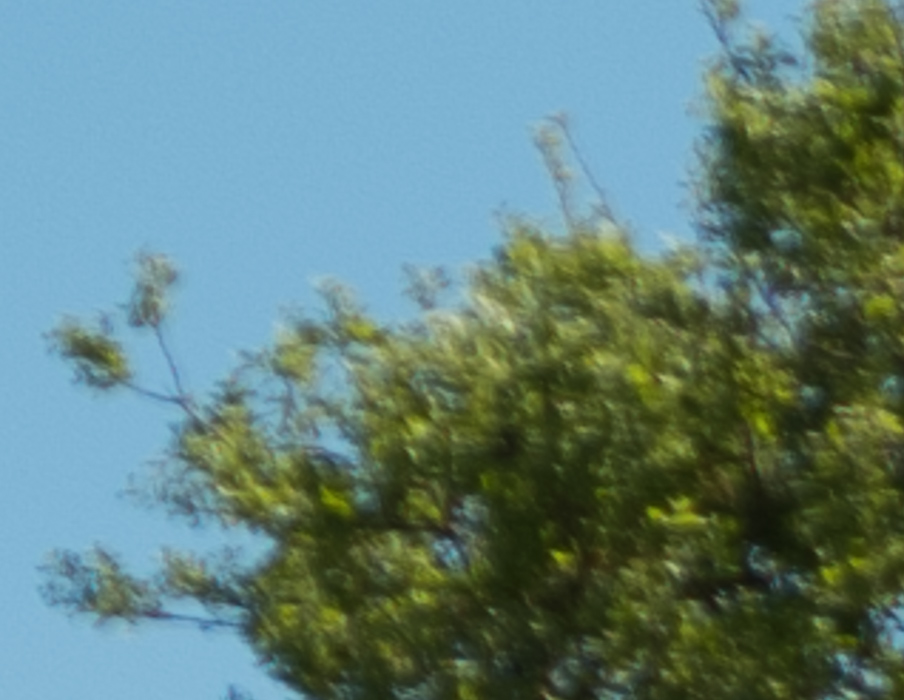
Much better, but there’s a ways to go.
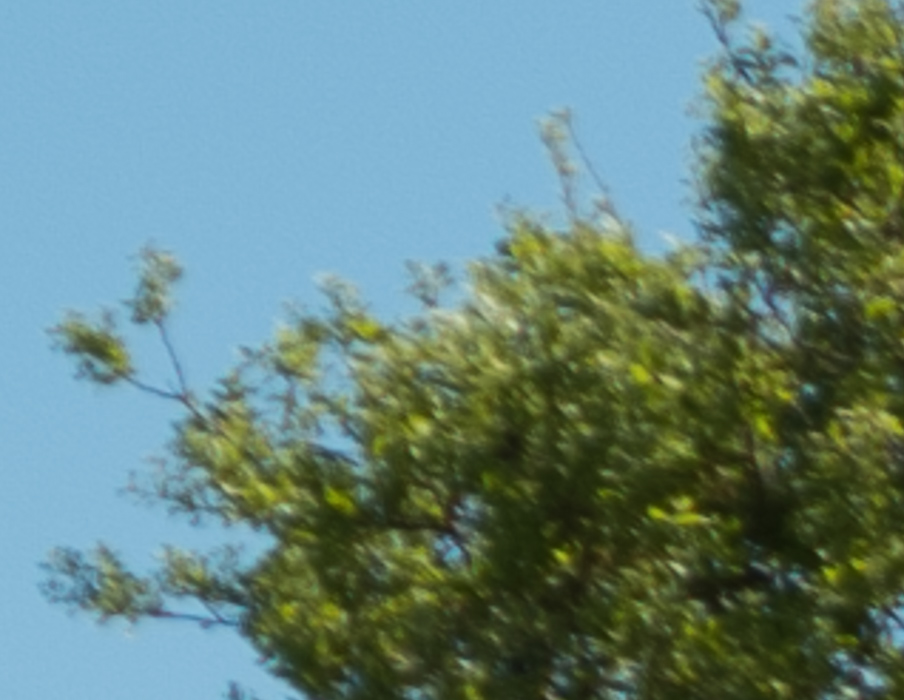
That’s not looking bad for a zoom.

That’s OK.
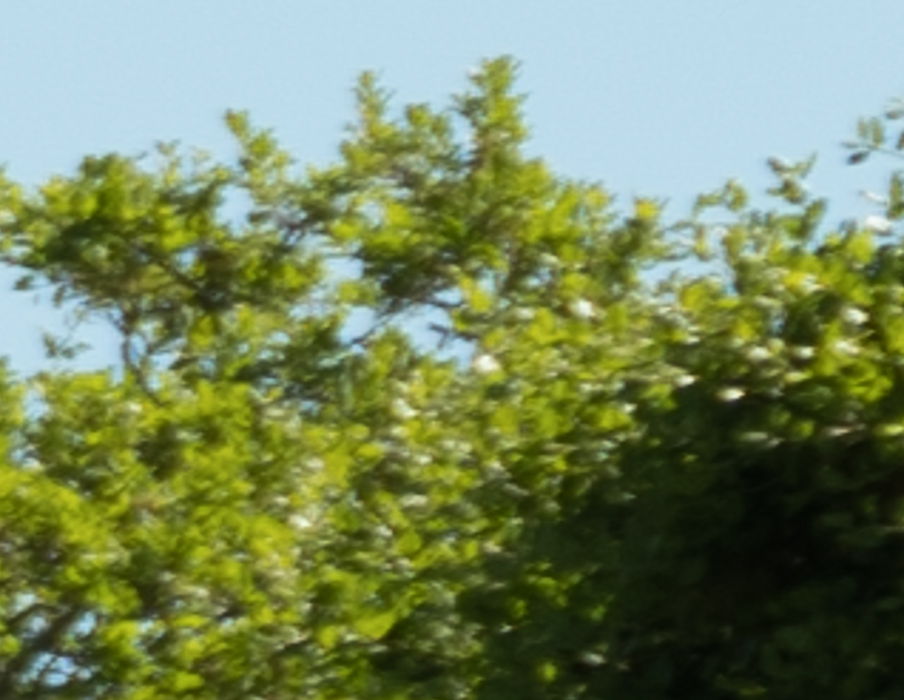
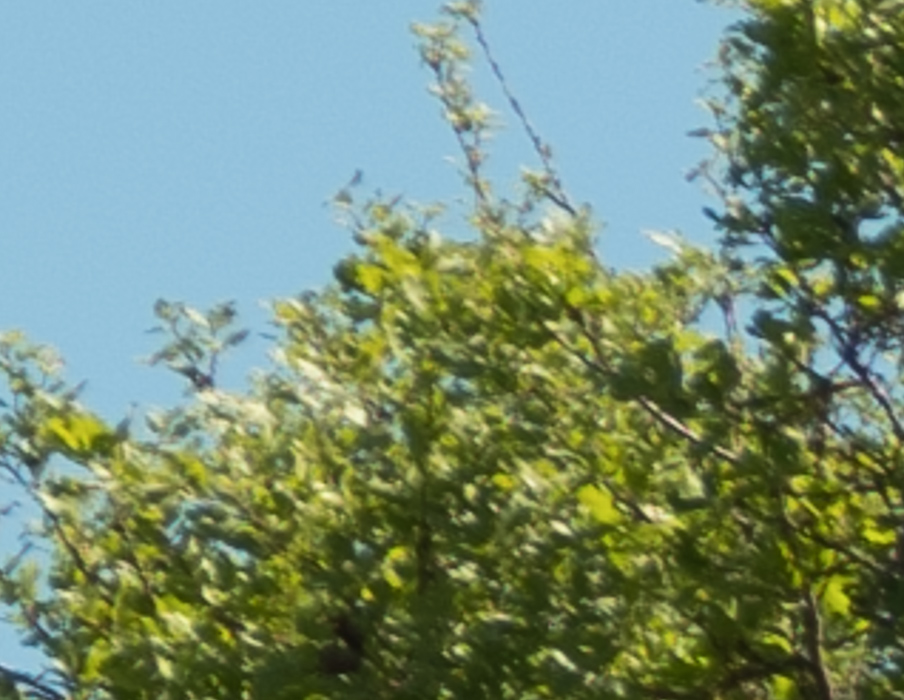
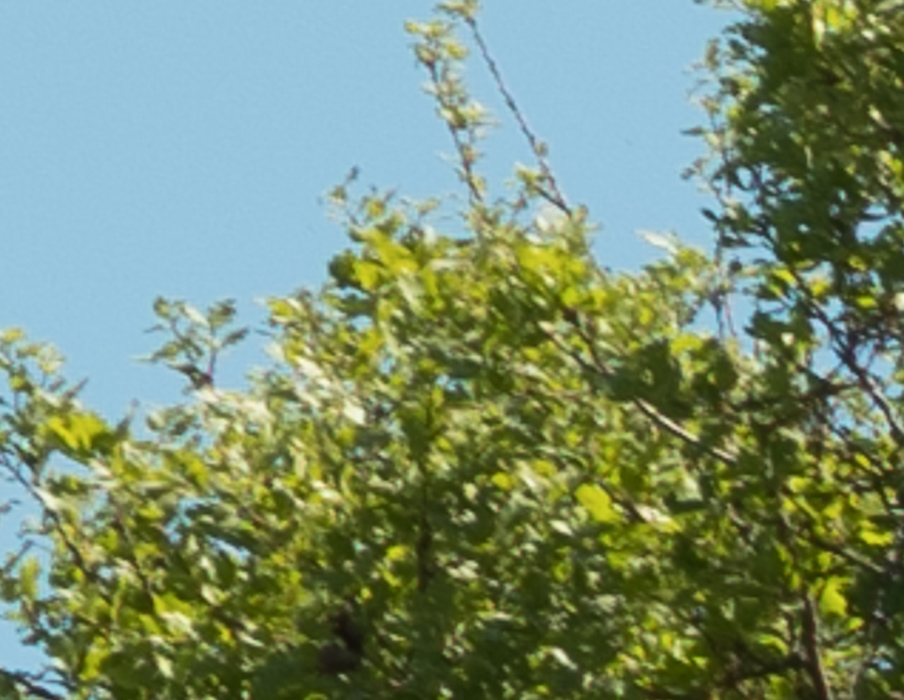
Now, at 110 mm:
In the center at the focal point 52 meters away (At Max’s suggestion, I now have a rangefinder, and will be reporting on subject distances):

Really good for a zoom.
This is impressive.
At the right-center edge:
A bit soft.

Improving.
Not bad.
Pretty good.
In the upper left corner:
Soft, but not bad for a zoom.
Crisping up nicely.
Fine.
Also fine.
So, from yesterday’s and today’s testing, we have a zoom that works better in the corners at the longer focal lengths.
The question that I have to deal with is: would i ever use a heavy, bulky, manual focus zoom like this on the GFX? I doubt it.
Leave a Reply