I have been using Cornerfix to correct NEX-7 images that have discolored edges and corners. It does the job, and it does it well. It supports batch processing, which is useful. Originally written to correct deficiencies in Leica M8 images, it works with any camera for which a Adobe DNG file can be generated.
Here’s how to use it. Make correction images of flat white or gray walls as described in the previous posts. Cornerfix suggests that you overexpose these images be two or three stops, but I’ve gotten equivalent results by making the correction images with Zone V centers, which I use for my quick and dirty Photoshop corrections, and using the Lightroom “exposure” control to move the histogram to the right so that it is barely in the no-blocked-highlights range. That way I can use the same correction images for both methods.
Once you’ve got the correction image, export it from Lightroom or your favorite raw converter as a DNG file. Fire up Cornerfix, open the correction image, and tell it to create a profile. Then open any image made with the same lens/camera combination, and apply the profile to get the corrected image.
As with my homegrown correction technique, I’ve found that I don’t want Cornerfix to remove all the corner darkening for any but stitched work. I have a great solution.
Lie to Cornerfix.
Here’s how. Before you save the correction image, apply a set of curves to it that lightens the corners through a circular gradient. That’s right, lightens. Cornerfix will think that the corners aren’t as dark as they are, and won’t lighten them so much. You will have nice controllable darkening towards the corners, instead of the sudden rapid falloff of most wide angle lenses. Any advantage of this technique is that you won’t have as much noise in the corners due to Cornerfix’s lightening the heck out of them.
A picture is worth a thousand words:
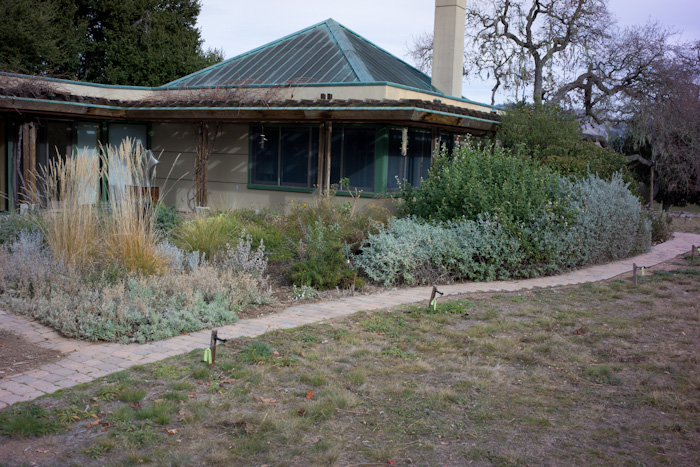
Uncorrected (all with the Leica 24mm Elmar, the worst lens for purple corners of all the ones I tested):
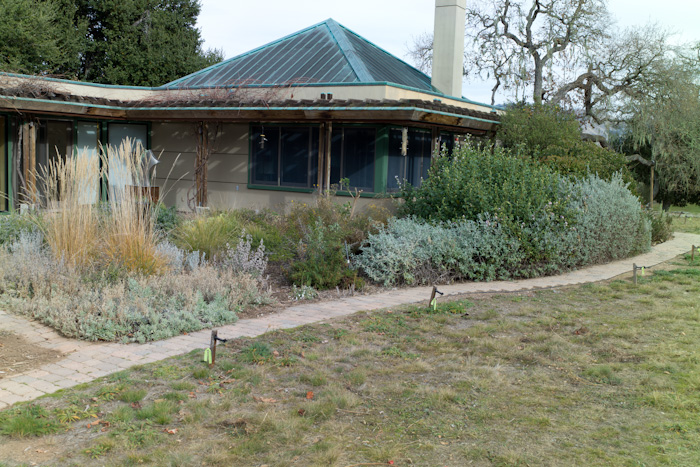
Corrected completely:
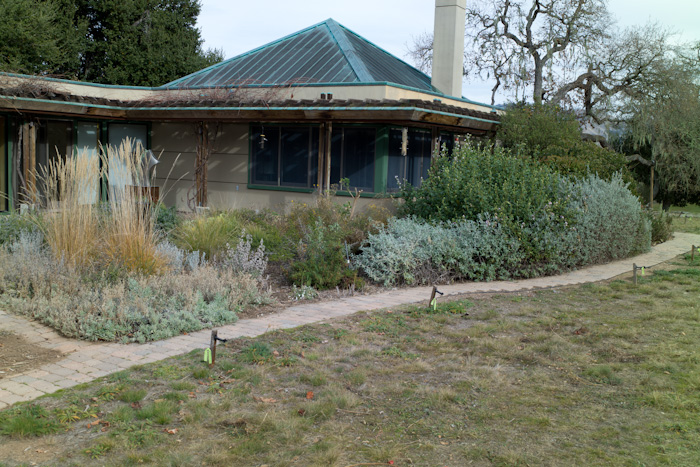
Modified correction:


Leave a Reply