• site home
  • blog home
  • galleries
  • contact
  • underwater
  • the bleeding edge

the last word

Photography meets digital computer technology. Photography wins -- most of the time.

You are here: Home / The Last Word / Nikon D810 push processing: ISO 2000 to 64

Nikon D810 push processing: ISO 2000 to 64

July 25, 2014 JimK Leave a Comment

Graphs are fine as far as they go, and, for some purposes, they’re better than pictures, since they avoid confirmation bias. But they’re not the be all and end all. In fact, in photography it’s better tho think of the graphs as supporting the conclusions reached from the images, rather than the other way ’round.

And, so, for testing just how “ISO-less: the D810 is, we turn once more to my bookcase, which has cheerfully and tirelessly participated in such studies for years, never complaining or whinging, no matter how often it is pressed into service.

The gear:

  • Nikon D810
  • Sigma 50mm f/1.4 DG lens
  • RRS L-plate (yes, the D800 L-plate fits the D810 just fine)
  •  Arca Swiss C1 head
  • Heavy RRS carbon fiber tripod
  • and, of course, the bookcase

The protocol:

  • Manual mode
  • Focus wide open with live view
  • ETTR for the highest ISO picture, except let the specular highlights blow out (more on the whys and wherefores of this in a later post)
  • Leave the exposure the same as the ISO is reduced
  • Self timer set to 2 seconds
  • EFCS on
  • Shutter delay set to 3 seconds
  • ISO’s 2000, 1000, 5000, 250, 125, and 64
  • Convert the images to DNG with Adobe DNG Cnoverter 8.6.0.250 beta ( the released versions of LR and ACR don’t yet support the D810).

In Lightroom 5.5:

Daylight balance all images, apply the following corrections with the Exposure control:

  • ISO 2000 plus 0 EV
  • ISO 1000 plus 1 EV
  • ISO 500 plus 2 EV
  • ISO 250 plus 3 EV
  • ISO 125 plus 4 EV
  • ISO 64 plus 5 EV

Here are the images:

ISO 2000
ISO 2000
ISO 1000
ISO 1000
ISO 500
ISO 500
ISO 250
ISO 250
ISO 125
ISO 125
ISO 64
ISO 64

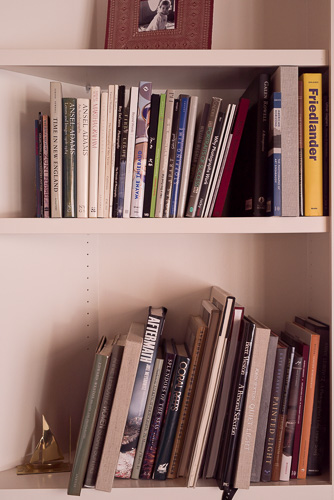
They look amazingly similar, don’t they? How about a closer look:


ISO 2000
ISO 2000
ISO 1000
ISO 1000
ISO 500
ISO 500
ISO 250
ISO 250
ISO 125
ISO 125
Iso 64
ISO 64

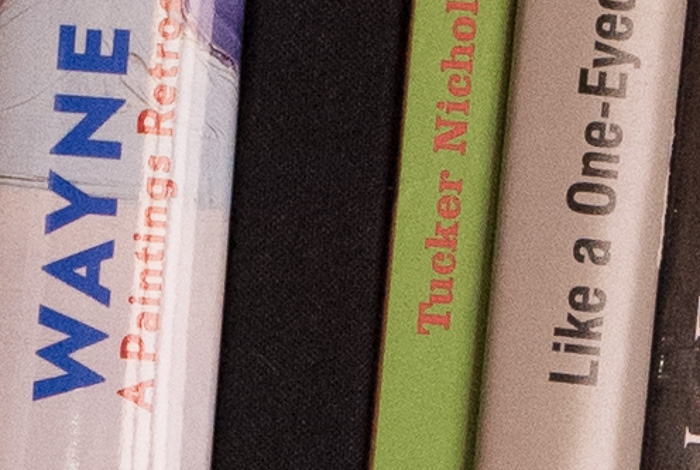
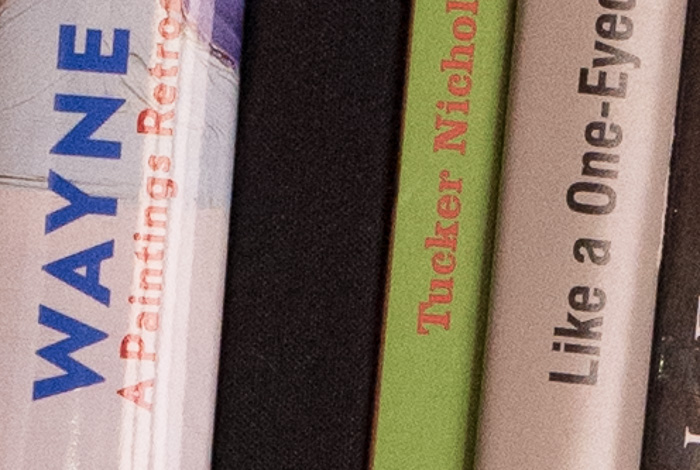
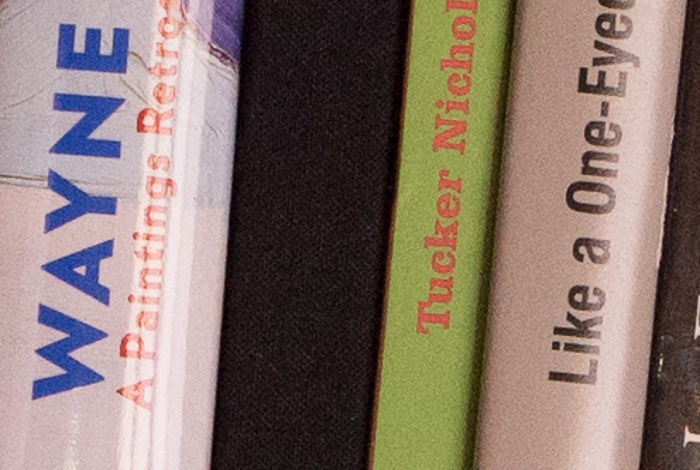
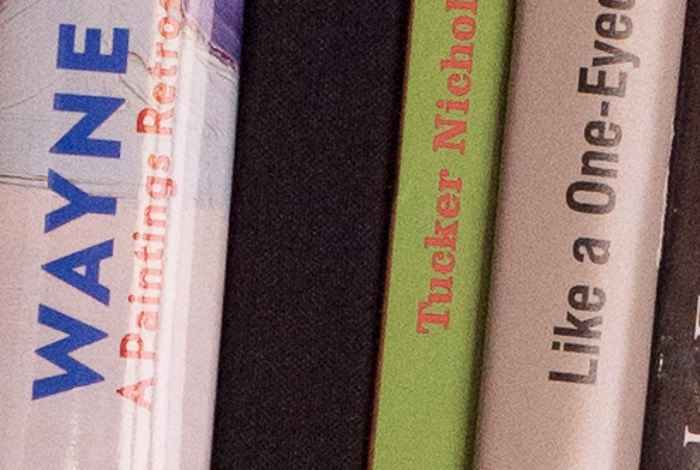
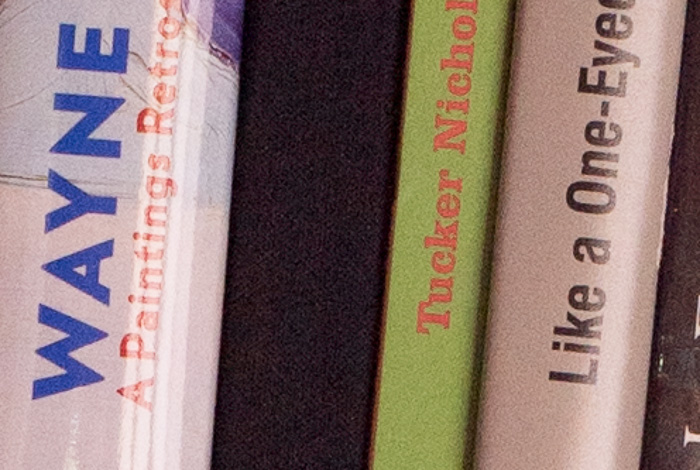
Looks pretty ISO-less, even when you look at the black spine.

The Last Word

← Is the D810 ISOless? Nikon D810 push processing: ISO 12800 to 400 →

Leave a Reply Cancel reply

Your email address will not be published. Required fields are marked *

May 2025
S M T W T F S
 123
45678910
11121314151617
18192021222324
25262728293031
« Apr    

Articles

  • About
    • Patents and papers about color
    • Who am I?
  • How to…
    • Backing up photographic images
    • How to change email providers
    • How to shoot slanted edge images for me
  • Lens screening testing
    • Equipment and Software
    • Examples
      • Bad and OK 200-600 at 600
      • Excellent 180-400 zoom
      • Fair 14-30mm zoom
      • Good 100-200 mm MF zoom
      • Good 100-400 zoom
      • Good 100mm lens on P1 P45+
      • Good 120mm MF lens
      • Good 18mm FF lens
      • Good 24-105 mm FF lens
      • Good 24-70 FF zoom
      • Good 35 mm FF lens
      • Good 35-70 MF lens
      • Good 60 mm lens on IQ3-100
      • Good 63 mm MF lens
      • Good 65 mm FF lens
      • Good 85 mm FF lens
      • Good and bad 25mm FF lenses
      • Good zoom at 24 mm
      • Marginal 18mm lens
      • Marginal 35mm FF lens
      • Mildly problematic 55 mm FF lens
      • OK 16-35mm zoom
      • OK 60mm lens on P1 P45+
      • OK Sony 600mm f/4
      • Pretty good 16-35 FF zoom
      • Pretty good 90mm FF lens
      • Problematic 400 mm FF lens
      • Tilted 20 mm f/1.8 FF lens
      • Tilted 30 mm MF lens
      • Tilted 50 mm FF lens
      • Two 15mm FF lenses
    • Found a problem – now what?
    • Goals for this test
    • Minimum target distances
      • MFT
      • APS-C
      • Full frame
      • Small medium format
    • Printable Siemens Star targets
    • Target size on sensor
      • MFT
      • APS-C
      • Full frame
      • Small medium format
    • Test instructions — postproduction
    • Test instructions — reading the images
    • Test instructions – capture
    • Theory of the test
    • What’s wrong with conventional lens screening?
  • Previsualization heresy
  • Privacy Policy
  • Recommended photographic web sites
  • Using in-camera histograms for ETTR
    • Acknowledgments
    • Why ETTR?
    • Normal in-camera histograms
    • Image processing for in-camera histograms
    • Making the in-camera histogram closely represent the raw histogram
    • Shortcuts to UniWB
    • Preparing for monitor-based UniWB
    • A one-step UniWB procedure
    • The math behind the one-step method
    • Iteration using Newton’s Method

Category List

Recent Comments

  • JimK on How Sensor Noise Scales with Exposure Time
  • Štěpán Kaňa on Calculating reach for wildlife photography
  • Štěpán Kaňa on How Sensor Noise Scales with Exposure Time
  • JimK on Calculating reach for wildlife photography
  • Geofrey on Calculating reach for wildlife photography
  • JimK on Calculating reach for wildlife photography
  • Geofrey on Calculating reach for wildlife photography
  • Javier Sanchez on The 16-Bit Fallacy: Why More Isn’t Always Better in Medium Format Cameras
  • Mike MacDonald on Your photograph looks like a painting?
  • Mike MacDonald on Your photograph looks like a painting?

Archives

Copyright © 2025 · Daily Dish Pro On Genesis Framework · WordPress · Log in

Unless otherwise noted, all images copyright Jim Kasson.