This is the sixteenth in a series of posts on the Fujifilm GFX-50S. The series starts here. You should be able to find all the posts about that camera in the Category List on the right sidebar, below the Articles widget. There’s a drop-down menu there that you can use to get to all the posts in this series; just look for “GFX 50S”.
A reader has been commenting that he is getting far better results with Otus lenses and his D810 than I’ve been getting with the a7RII, which I’ve been using as a reference camera for some of my GFX testing. This has gone on long enough that I am now motivated to get to the bottom of it, and intend to do so in this post.
But first, I’d like to talk about what I’ve been showing you for the last few days, and how to interpret it. I have been developing the raw files in Lightroom with nearly the default settings (and noting any departures from those settings). I have been exporting tight crops from the developed images as 700-pixel-high JPEGs, and posting them here. That means that the images are all heavily upsampled. The GFX images are 253% of their original size in both dimensions. The a7RII images are at 295%. And the D810 images come out at 317%. The different ratios are necessary to compensate for the variations in the height of the three sensors when measured in pixels.
If you just want a rough idea of the differences, just look at the images as displayed in-line in the posts. However, if you wish to compare these images in detail, you should view these images by clicking on them to see the source files, then setting your browser for 100% zooming. Even better, download them and make Photoshop stacks.
No matter what you do, these crops are all going to look horrible. I’m blowing them up so much so that they will represent the original file after JPEG’s discrete cosine transform has had its way with them. If you want to get a good idea of what the images would look like printed, get far away from your monitor. No, farther than that. Put a bunch of the images up on the screen and back up until the best one starts to look good. Then look at the others.
There’s another reason why these images won’t look like the best thing the camera/lens combination can deliver. They’re demosaiced with Lightroom. Lightroom is not awful, but for a particular image, there are usually better raw processors. I use Lr because it’s a de facto standard, because I know it well, and because it’s got good tools for dealing with groups of images.
The images were made with a Sony alpha 7R Mark II with the Zeiss Otus 55 mm f/1.4 DF.2 lens, and a Nikon D810 with the same lens. While it’s not central to the theme of this test, I will show images made with the Fujifilm GFX and the Zeiss Otus 85 mm f/1.4 ZF.2 lens as well.
Shutter set to EFCS for both cameras, which meant it really was EFCS at the narrower apertures for the GFX. The D810 has a similar EFCS defeat, but that did not come into play here. F-stops were f/2.8 through f/8 in whole stops. Normally I’d go to f/11, but that wouldn’t have affected the point of this exercise and would have raised the possibility of wind-induced subject motion blur, especially with the Nikon. Exposure compensation set to zero. Manual Focusing for all lenses. I focused three times at each aperture and picked the sharpest images. 2-second self-timer used in for the GFX and the a7RII; 3-second shutter delay used for the D810. Arca-Swiss C1 cube on RRS sticks. The focus was near the center of the image, and all images were refocused at each aperture. Tripod and head were not deliberately moved between series, though there appears to have been some shift during the camera and lens changes. Small exposure corrections in Lr. Daylight white balance selected in Lightroom.
The entire frame with each camera:

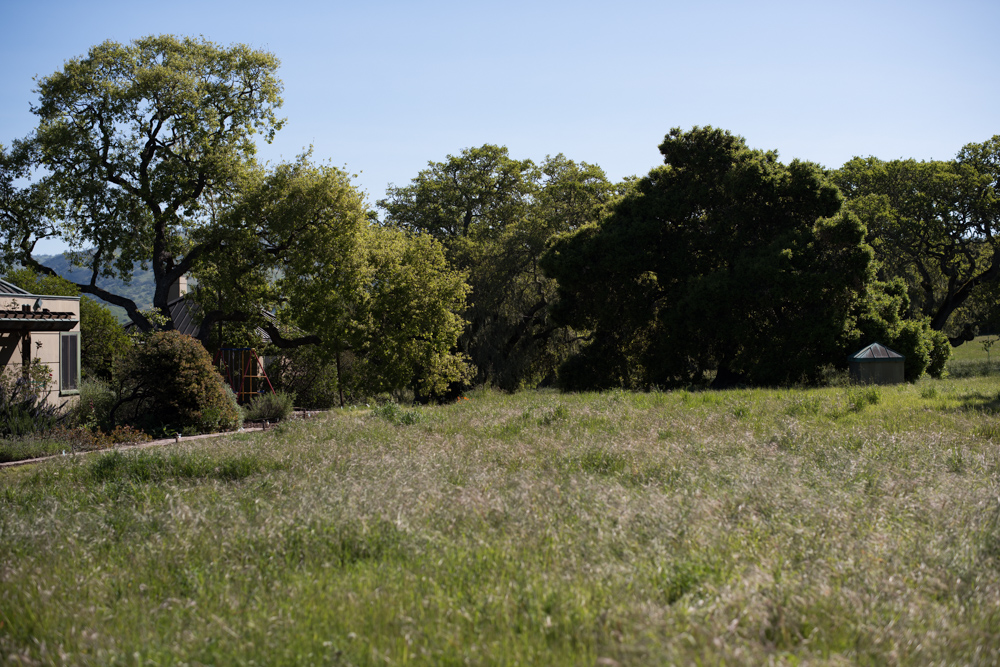
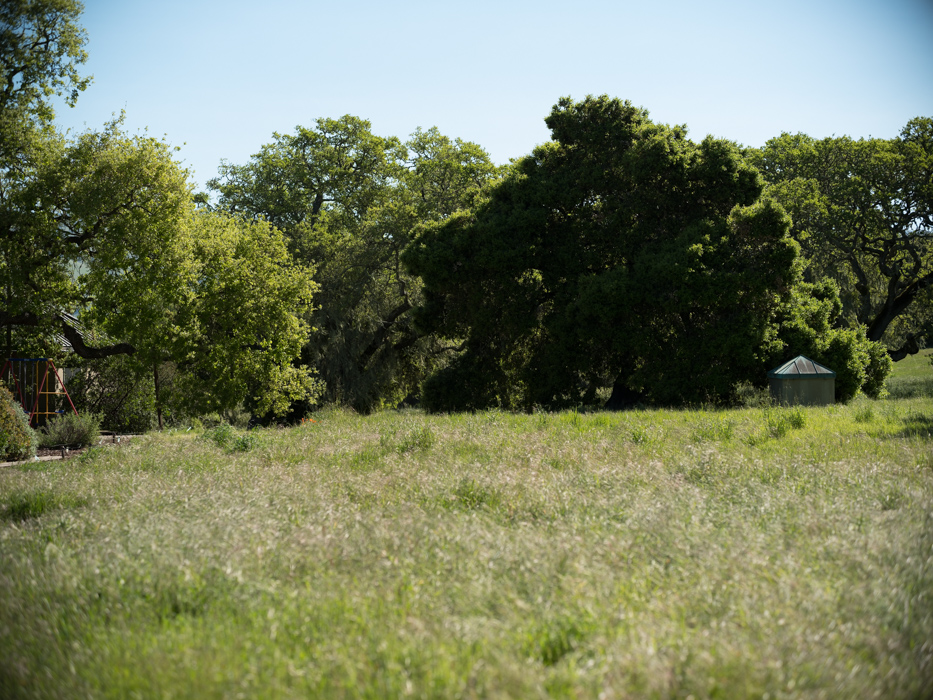
In the center, at roughly 250% magnification for the GFX, and the same vertical sensor extent for the lower-resolution a7RII. This would give the same vertical field of view if the lenses were vertically equivalent focal lengths. Details: the GFX crops are 357×277 pixels, and the Sony crops are 306×237 pixels, and the Nikon crops are 252×195 pixels. All are enlarged to 700 pixels high on export from Lightroom.
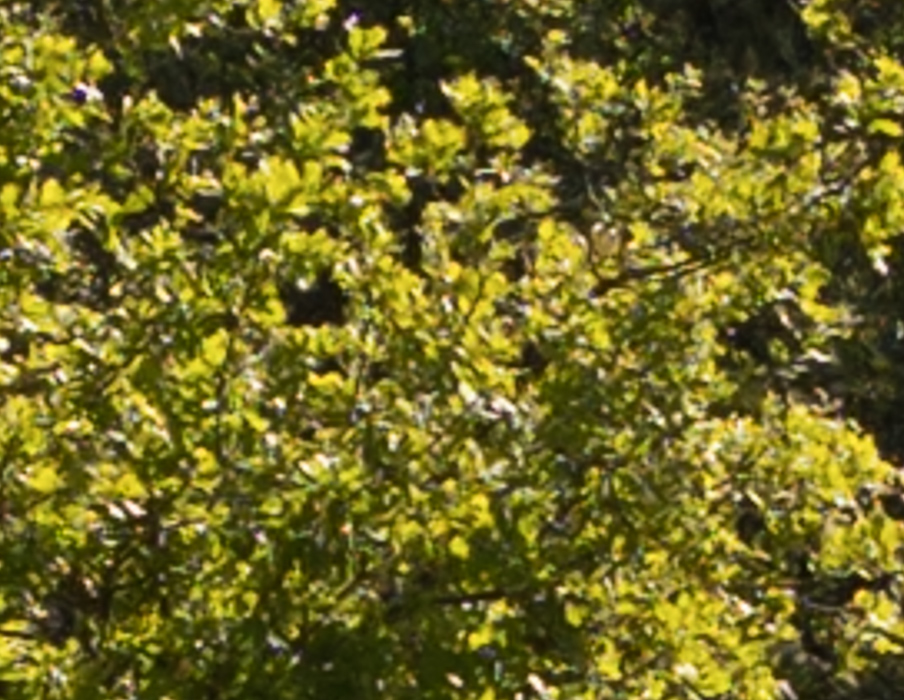
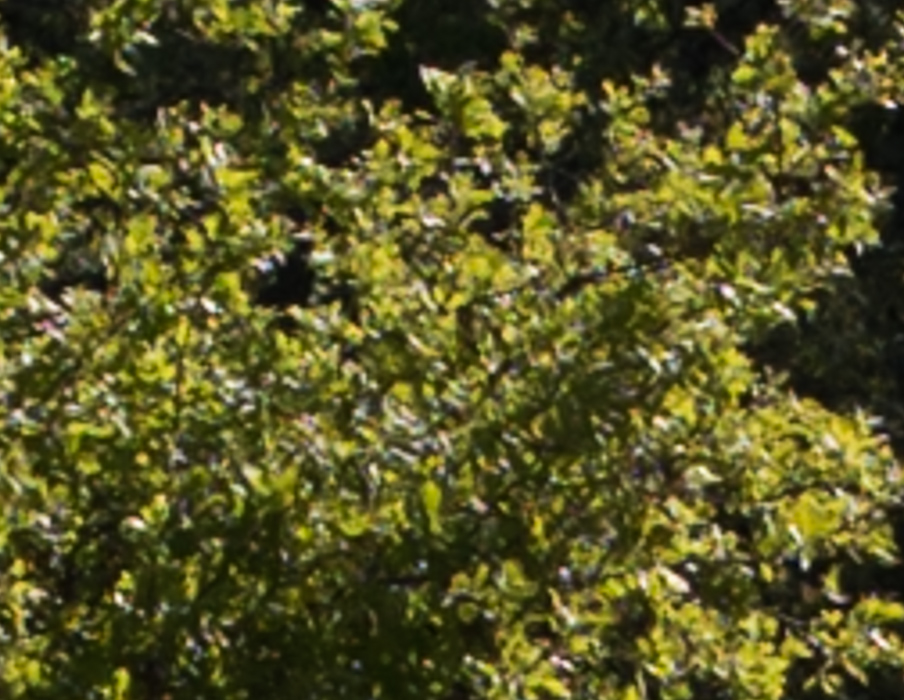
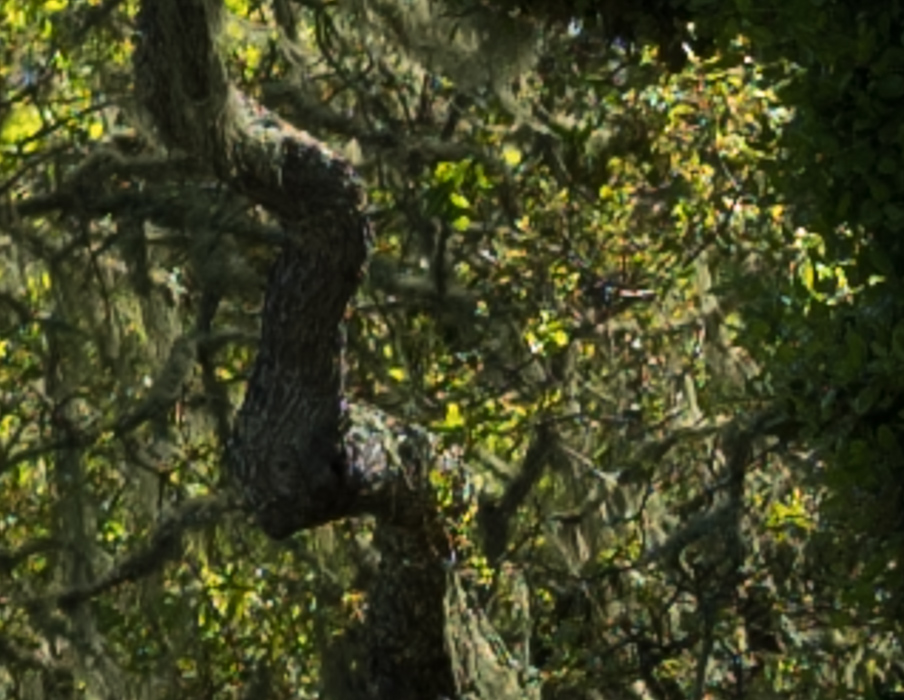
Here’s how to use these highly-magnified crops. The dimensions of the GFX sensor are 8256×6192 pixels. If we make a full-frame print from the GFX on a printer with 360 pixels per inch native driver-level resolution, like the Epson inkjet printers, we’ll end up with a 23×17 inch (58×44 cm) print. The 318×246 pixel crop you’re looking at will end up 0.8333×0.6833 inches (2.12×1.74 cm). Let’s imagine that you or your viewers are critical, and will look at the 22×17 inch print from about 18 inches (conventional wisdom is that the distance would be a little greater than that, or 28 inches (the diagonal), but you did buy a high-resolution camera for a reason, didn’t you?).
The next step is dependent on your monitor pitch, which you may or may not know. Turns out, you don’t have to know it. Just take the 253% crops and view then at 1:1. How high are they? Get out your ruler and measure, or just guess. Let’s say they are 6 inches high. 6 inches is about 7 times 0.8333, so in order to view the crops the way they’d look from 18 inches on the print is to view them from 7 times as far away, or 10.5 feet.
Everything here scales proportionately. If the image on your screen is bigger than 6 inches, increase your viewing distance by the ratio of your image height to 6 inches. If you thin your viewers are going to almost get their nose to that print and look at it from six inches, divide that 10.5 feet by 3, and look at the image on the monitor from three and a half feet away.
The images from the D810 and a7RII are scaled to the same print height of 17 inches. Because they have fewer pixels vertically, that require slightly greater magnification.
The Nikon and the Sony images are of the same part of the scene. Because of the lens field of vie differences, the GFX image is of a different part. Note that the chosen scaling leaves the subject size the same in both the a7RII image and the D810 image, even though the two cameras have different resolution.

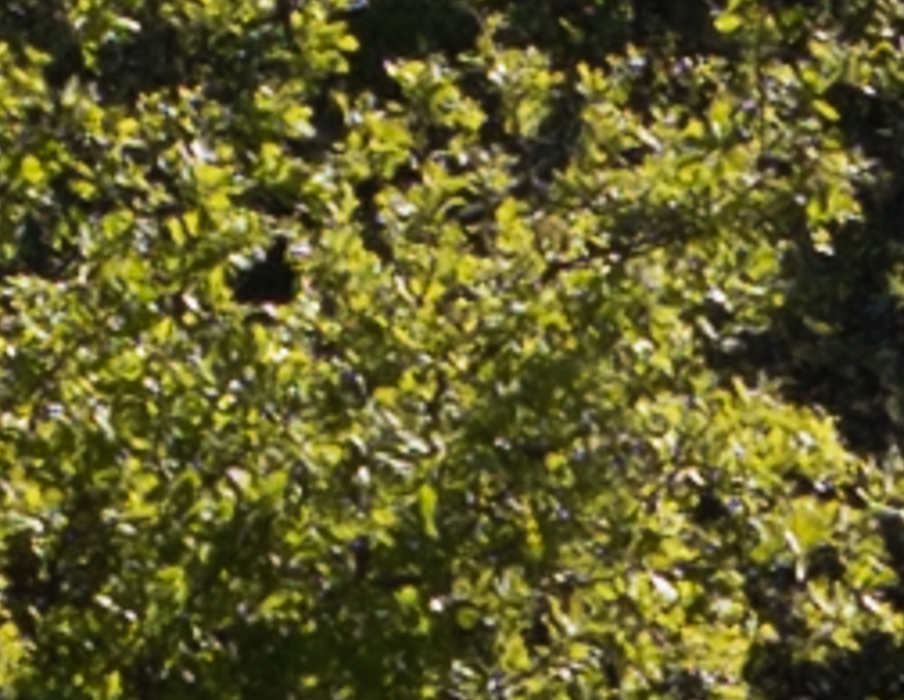
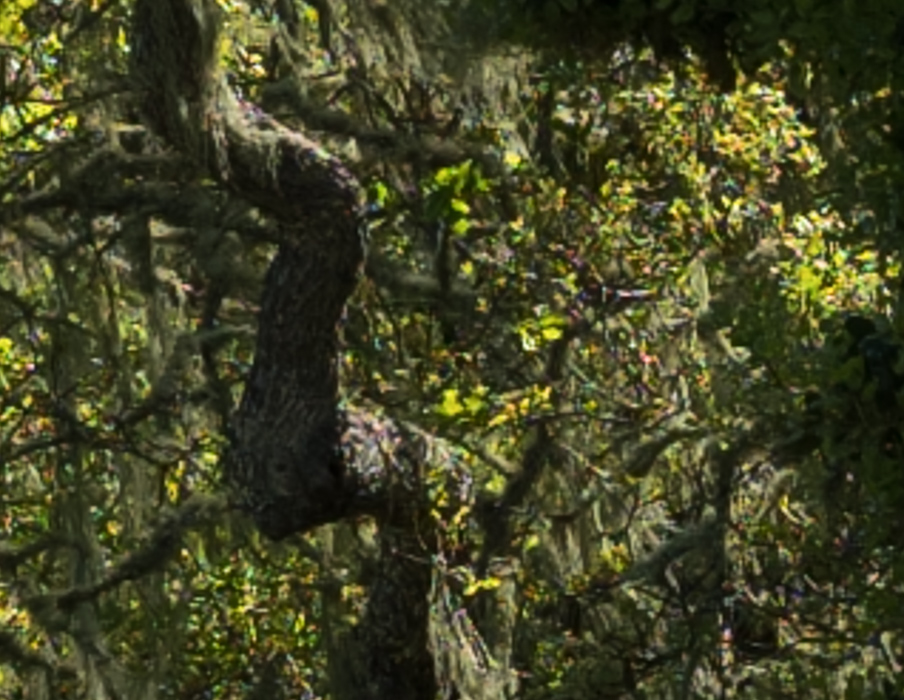
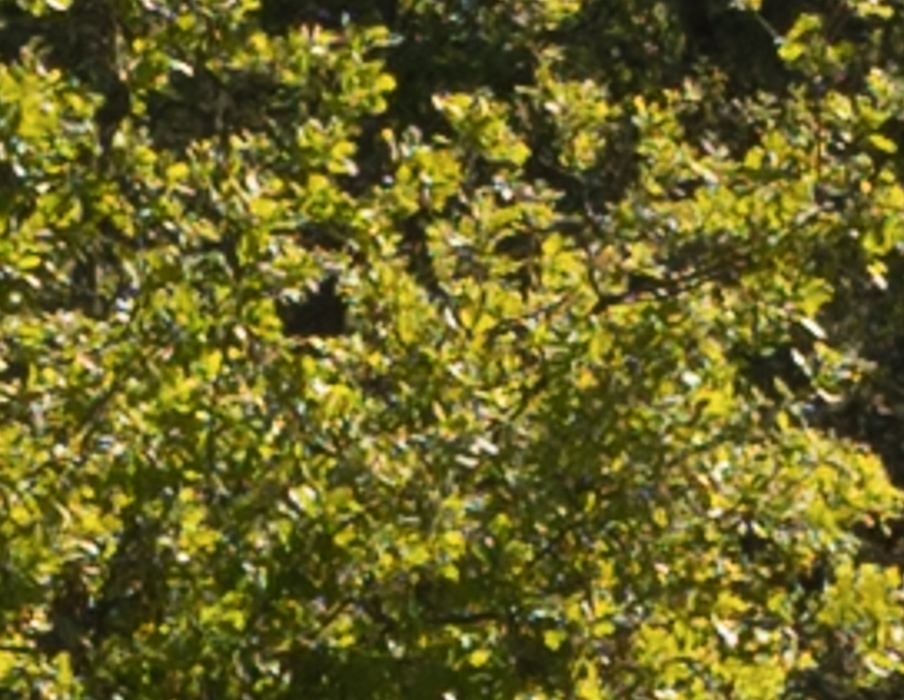
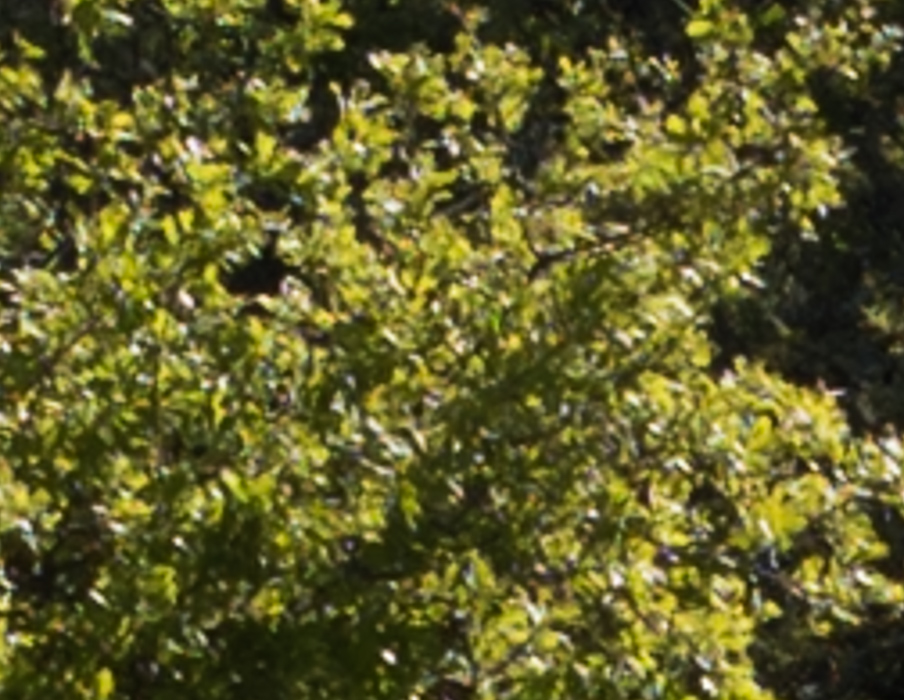
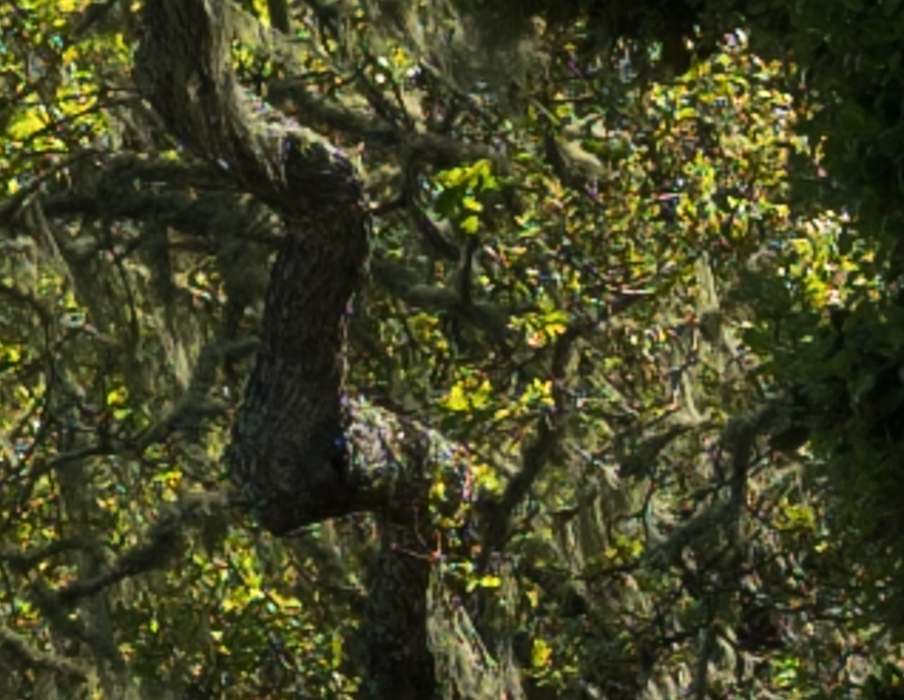
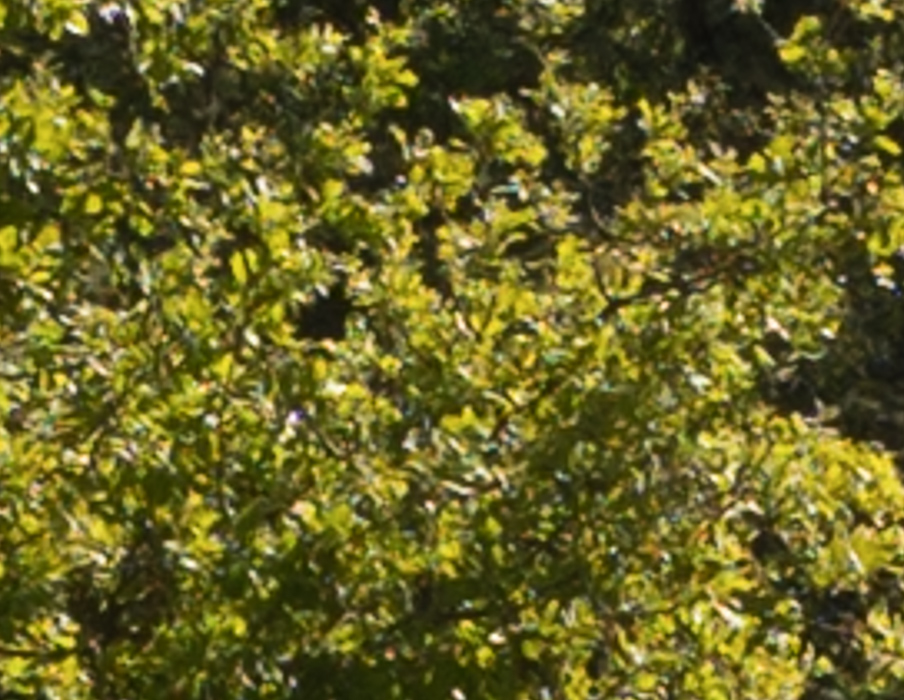

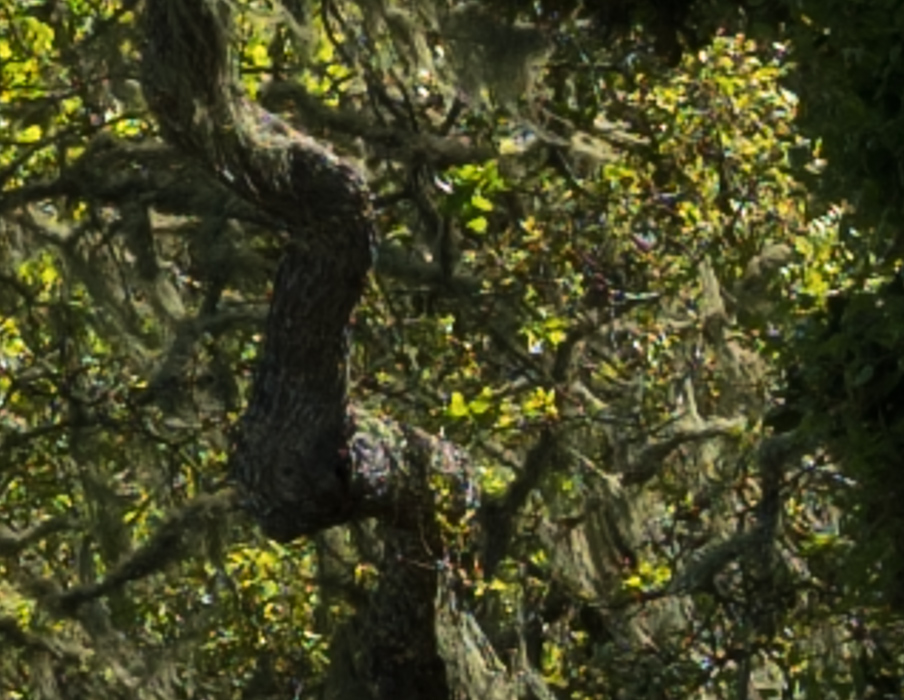
I could show you corner crops, but I think the center crops prove the point.
In most cases, the lens is plenty sharp enough for the sensor. The D810 images look a bit softer than the a7RII images. I put that down to the difference in resolution between the two cameras. It’s harder to see here because the cropped part of the scene is different in the GFX images, but the differences relative to the a7RII look about like they have in the other comparisons: the GFX is a bit sharper with the Otus lenses, because it is both higher resolution and lower pixel pitch.
Max says
Not sure what to say.
I’ve never been a fan of these these leaves look better than those leaves testing anyway. This is what drew me to Imatest in the first place. In this series the Fuji clearly looks better than the FFs. No debate there.
But when I go to take photos with an Otus and D810 – I get results more like the MF and less like the FF in this series. (and in other series better than both)
Did you use exposure preview with the Nikon ? (Just to be sure I am stating this correctly, this is where you would see and critical focus with the aperture reflecting the current f-stop through live view and thus avoid all focus shift. ) In this setting and especially at f/5.6 and less just a half of a degree turn of the Otus ring goes from clear to blur)
Can you provide the distance from tripod to target ? Even an approximation.
I appreciate you doing the test . Maybe we can insert an object in for scaling in the future.
JimK says
Exposure preview was used. You can tell it’s on because you can hear the lens stop down when you twist the aperture knob on the camera. You can also look at the diaphragm and watch it stop down.
I’ll go look and see if I can guess the distance.
Slanted edge testing with the razor blade and the motorized rail are coming up as soon as I finish these (much faster; it takes most of a day to do a LoCA/focus shift/MTF50 series with the razor blade) informal tests. The informal tests that show wide disparity are ways to screen out MTF tests that I would otherwise want to do.
JimK says
Max, I went out and eyeballed it, and it looks like about 100 meters.
Max says
100m with a 55mm equivalent – I wouldn’t expect much from any camera.
JimK says
You have to look it it in terms of the subject detail. There will always be subjects with fine detail at the sensor.