In several days of trying, I can’t focus the Nikon D810 accurately enough for the focus error standard deviations to be less than the repeated exposure standard deviations.
The first thing I tried was to change the target from a Siemens star to a combination of the star and a zone plate:
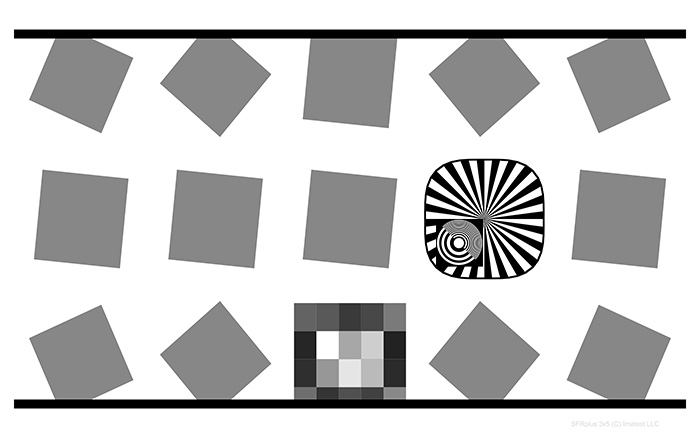
You can’t see the focusing target very well, so I’ll blow it up:
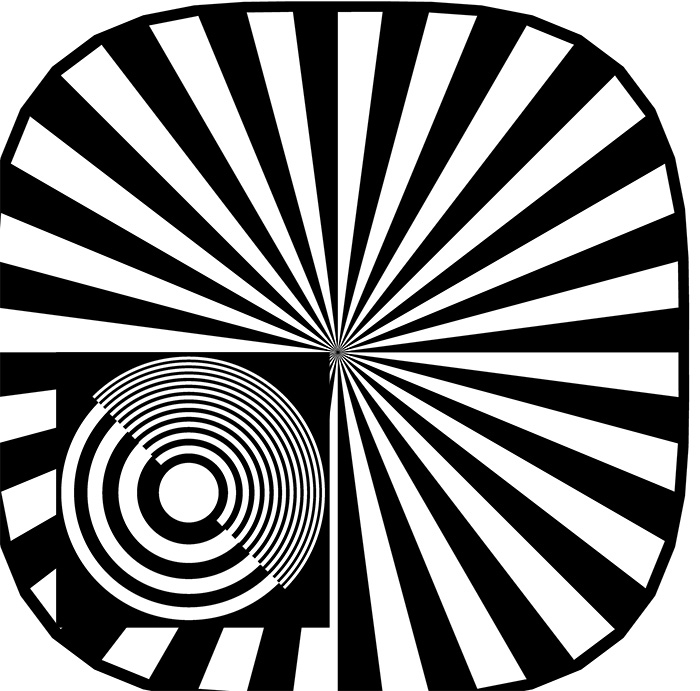
When the target is in focus, the zone plate is a riot of aliased signal, with magenta and green false color that varies with focus. It is certainly easier to focus on than the Siemens star, and it provides better consistency.
Is it as good as the focus peaking on the Sony a7R?
Sadly, no.
Is it at least good enough to have repeatability much better than the differences between cameras that we’re trying to spot?
Also, no.
I tried hooking the D810 up to an external monitor through the HDMI port. Unfortunately, the resolution on an attached monitor at full magnification is exactly the same as the resolution on the LCD display on the back of the camera. The image is bigger, but, since I was already using a loupe on the LCD screen, focusing is no more accurate.
I give up, at least for now.
All of this brings up the issue of achieving all of the resolution that lenses like the Otus and cameras like the a7R and the D810 can deliver in real-world photography. First off, if center sharpness is your goal, you can’t stop down any further than f/4. Second, the depth of field at that aperture with 36 MP is tiny. Third, much as we’d like to have our subjects walk around with little zone plates stuck to critical places about their persons (we could have artificial intelligence in our image editors to find the targets and eliminate them with content-aware fill), that’s probably not practical. Then there’s camera and subject motion, atmospherics for long lens work, etc.
For most photography, you’re just not going to get all the sharpness out of an Otus and a D810 that’s available.
So why bust a gut trying to measure it?
Good question. I’m torn.
So what needs to change in the camera, presuming the sharpness is in the OTUS 🙂 , to get it out?
Physics says f4 and that’s not changing soon, unless we hear from the Large Hadron Collider.
So setting aside atmospherics, again we have no control, we can give support pretty well leaving nailing focus and handling in camera generated vibration?
Without support in real world shooting we need stabilisation in camera.
Is there any reason, other than marketing, to go to 50MP in a “35mm” camera without fixing those two/three?
And finally, a question, presumably with say a Phase One IQ280 the f stop is slightly bigger, 5.2 pitch against 4.88, but it’s really close, so why, having spent that amount, don’t we get complaints about final sharpness and focus issues, or is the repeatability at the level you are measuring just as bad but no one looks?
I always find it difficult to perform critical focus on flat subjects and easier to focus on a 3d or tilted subject.
Perhaps you could try something like that?
Well, the target needs to be flat to have it all be in focus…
How about crafting your own target that has a separate drop in card for focusing that you can remove/cover after you are happy with focus. Lensalign MK II tool has something like that, a separate focus card that is dropped in after the “base” is used for alignment purposes. Or even a removable 3D part like the “tilted ruler” PDAF focus align tools use that is replaced after perfecting focus.
With the focus precision/consistency you are looking for and need here focusing on any flat focus target without peaking is gonna be really hard.
As for real world focus accuracy I find A7R with a smart-adapted Canon mount Zeiss APO 135/2 as good as it gets, even handheld. Focusing wide open with automatic stop down to selected aperture is really really powerful as in real world conditions it also provides max light (least noise) in addition to very thin focus peaking plane that is visible even magnified. I would imagine a ZE Otus is even better.
After finding the perfect focus you’ll see this aliasing in the recorded image anyway… so the Otus is to a camera of today what a set of wings was for Icarus? Daedelus on the other hand would shoot at f/8… on a Foveon.
I know you’ve not used kind words in the past when discussing the live view of the D800/800E. But I have found on the 800 that finding the extreme of the aliasing behavior also maximized the focus. It only required a change of what aspect of the view to pay attention to, in other words using the best available proxy.
What I find difficult is to maximize the focus of a nearly perfect telescope. Nothing visibly changes in that continuum. Solution: add some hyper exaggerated diffraction in the form of a Bahtinov mask to create a superb proxy that any engineer would love.
The slanted edge method is very, very sensitive if one wants to extract that last bit of precision out of it. Even after the fact, looking at images on a monitor at 200% I can usually not tell visually the capture that will result in the highest MTF50 in a blindly focus-bracketed set. I can narrow it down to the best couple or so but after that it’s random. I think the key parameters are focus (1/4 wavelength OPD is all it takes), target (backlit razor edges seem to be best, with a few hundred pixels per edge) and motion, as you suggest.
It would be interesting to do a systematic study, varying one variable out of the three at a time, to nail down best practices and the contribution of each.
Jack