I’ve been doing all my printer resampling testing by scanning actual printed output. I think that makes sense when you trying to evaluate the complete system. It allows you to see how the resampling interacts with the printer itself, and also allows you to see what differences in resampling more important for actual printing. However, it’s instructive to look at the resampled images before they are printed, especially if you’re trying to reverse engineer what the resampling program is actually doing or trying to decide if small differences are the results of real differences between the sampling algorithms, or just the way the printer printed the images.
In this post, I will show you what the images look like before they are printed. In order to make differences more obvious, and reduce the amount of extraneous image processing, I started with our 145 pixel per inch image and resampled it to 720 pixels per inch in all cases. The results are posted here as actual size, saved using JPEG compression with the maximum quality setting in all cases. In Lightroom, that quality setting is 100; in Photoshop, the maximum setting is 12. I’m not sure why the two parts of Adobe couldn’t get together on how to specify compression quality, but there it is.
When the resampling is performed in Photoshop, producing these test images is straightforward: perform the resampling, and save the file. In Lightroom, I used the ability of the print module to export files as JPEG images.
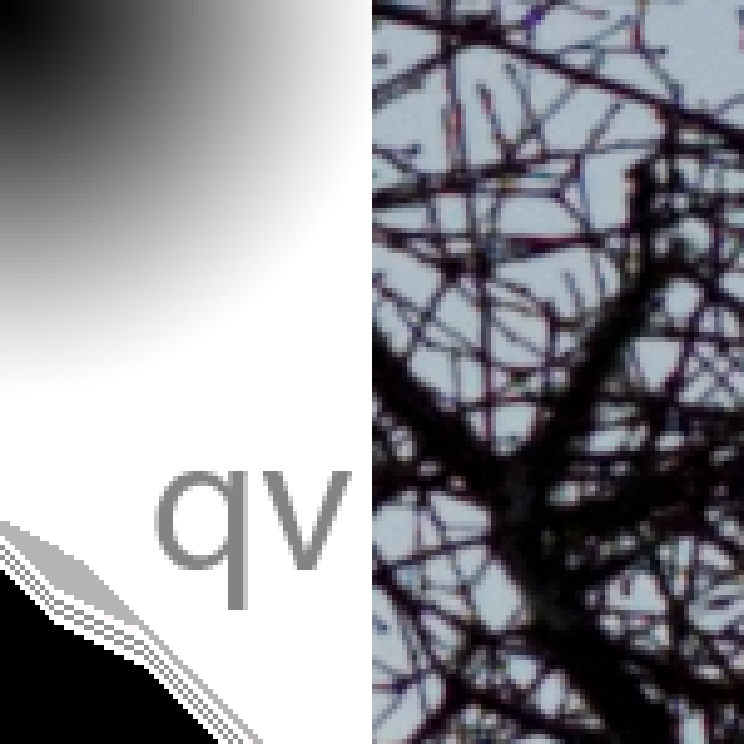
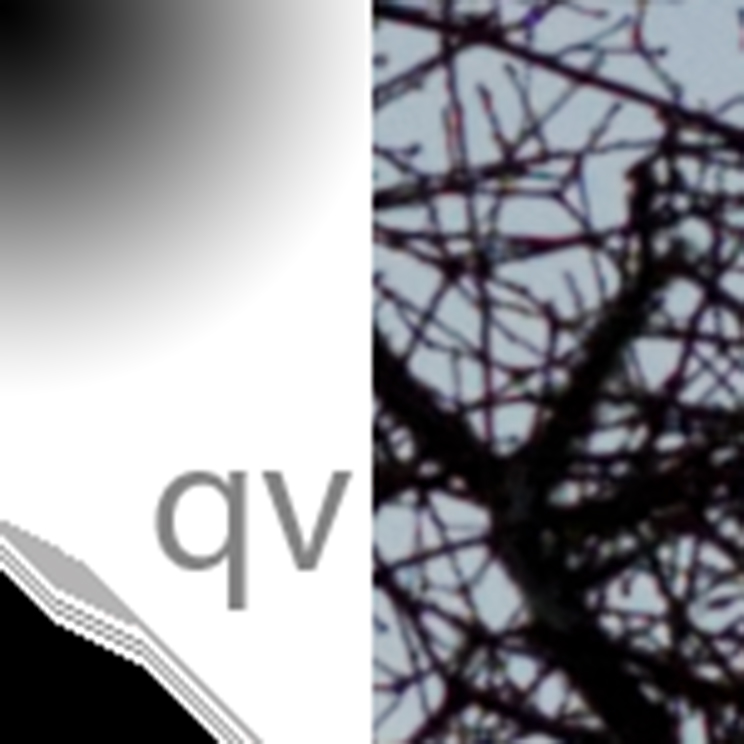
First, let’s look at the kind of resampling the Epson printer driver does – nearest neighbor:
Kind of blocky, huh? That’s probably not what you want your printed images to look like, and the reason why resampling for printing is so important: you just can’t leave it to the printer.
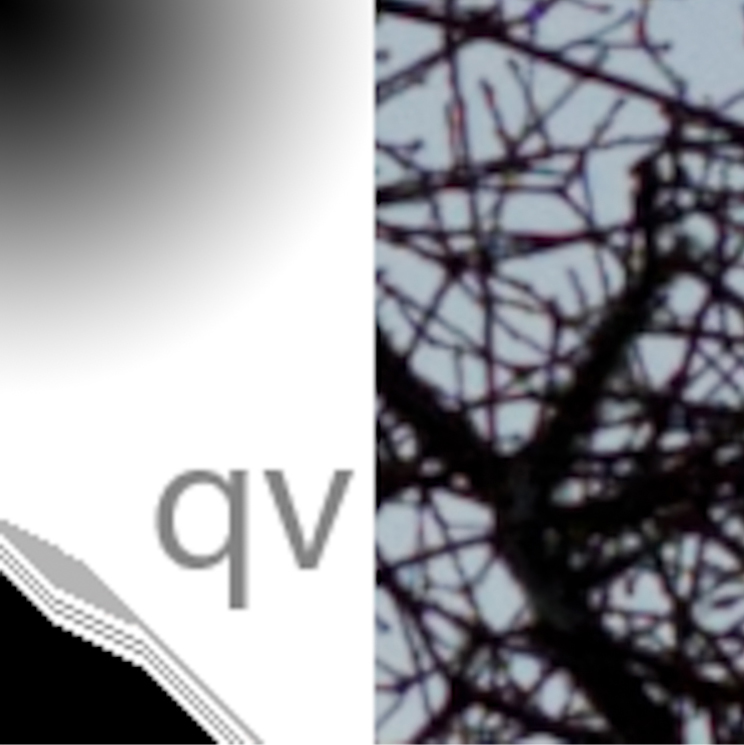
Next, Lightroom with no sharpening:
This is the “first do no harm” approach to resampling. There’s nothing wrong with it, but it’s certainly not for very crisp.
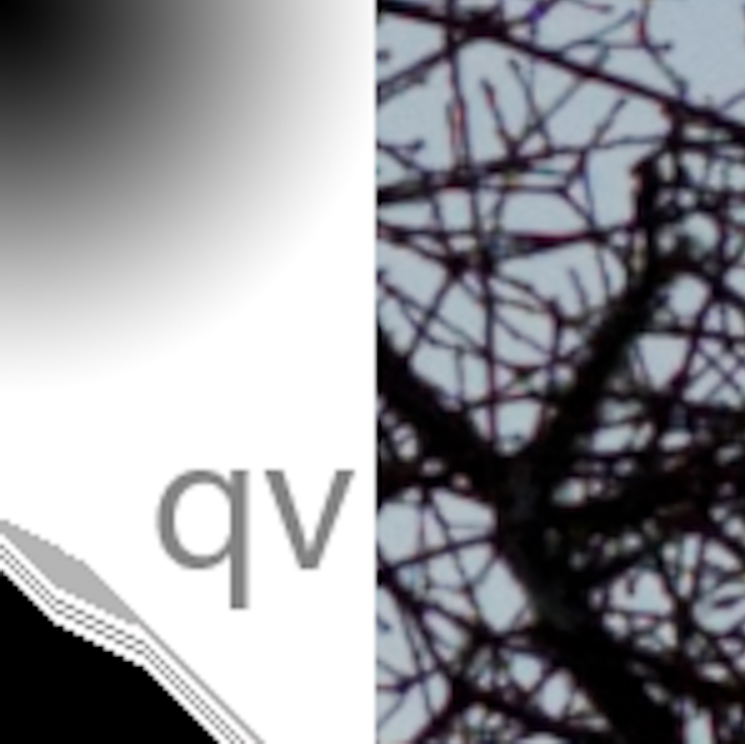
Next, Lightroom with standard sharpening:
My take away from this image is that you don’t have to be too worried about turning sharpening on in Lightroom. It’s probably not going to do any harm. This image doesn’t look too bad even without the softening that printing it would cause.
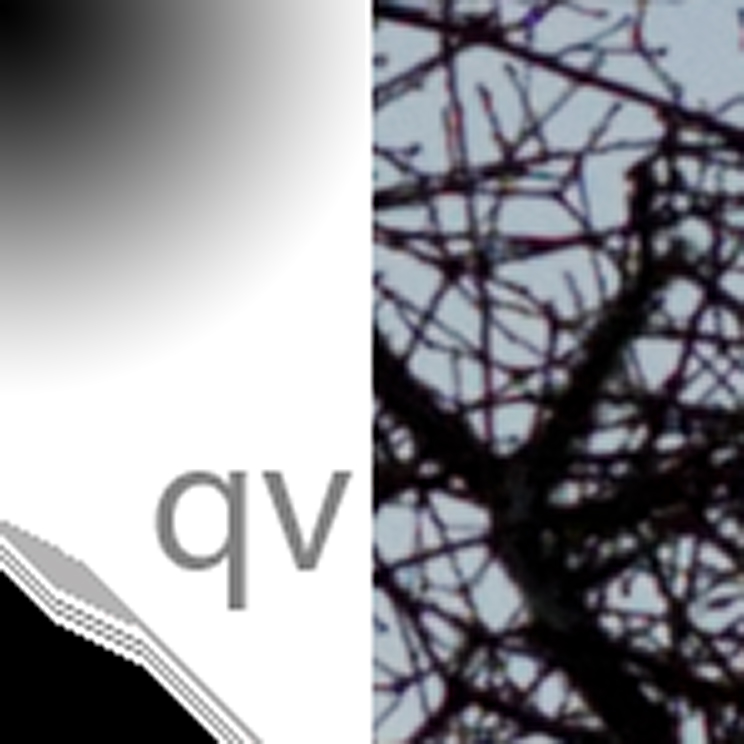
Next up is bicubic smoother, which is what Photoshop recommends for enlargement:
It’s not the same as Lightroom without sharpening, but there are no important differences.
Let’s see what happens with bicubic automatic:
This is essentially identical to bicubic smoother. My guess is that the automatic option for resampling tells the program to look and see whether the images being enlarged or reduced, and picking bicubic smoother if it’s being enlarged, and bicubic sharper if it’s been reduced.
For completeness, here’s bicubic sharper:
It’s not as good as bicubic smoother, but the artifacts are tiny. If you accidentally picked the wrong bicubic interpolation, it’s not going to ruin your print.
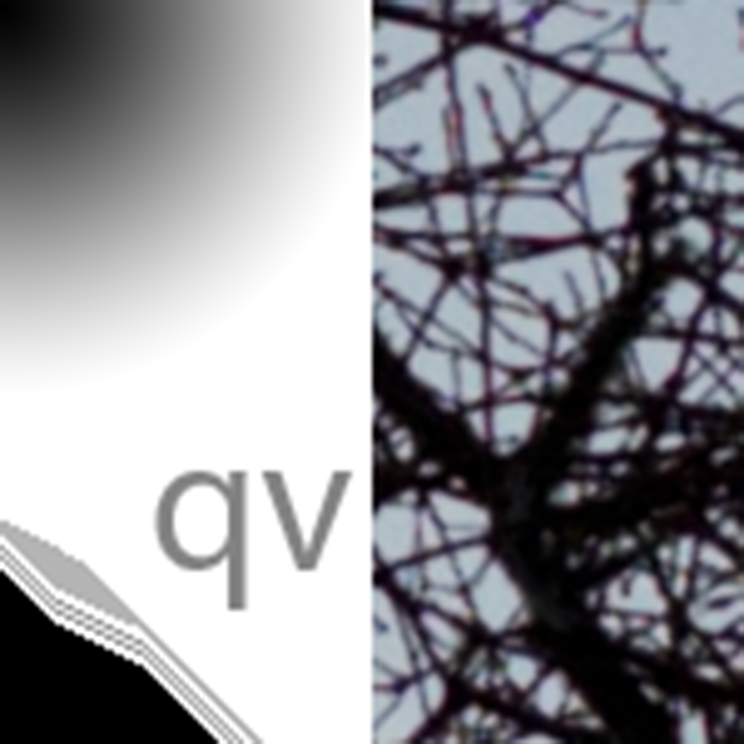
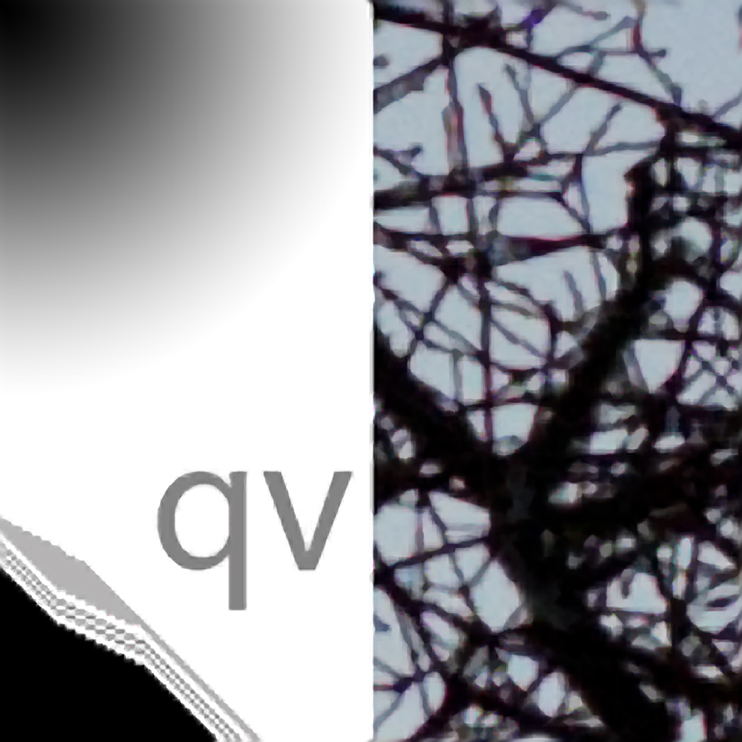
And last, here’s what happens when you use Perfect Resize with the defaults:
Pretty spectacular, isn’t it?
John says
Jim…
Why did Qimage drop out of the mix?
John
Jim says
John,
I don’t use QImage since it doesn’t fit my workflow. That said, it has always delivered results right up there with Perfect Resize in the past, and I see no reason why it shouldn’t continue to do so.
Both QI and PR offer many, many options and adjustments. Doing a complete comparison of the two would take more time than I’m willing to devote to the project. I figure introducing one to compare to the LR resampling shows what’s possible with a serious resampling program like QI or PR.
If QImage fits your workflow, and for many it is a more convenient way of operating than printing from Lightroom, I say go for it.
Jim
Dennis says
Jim,
I use Alien Skin Blow Up (current version) for resizing. I have not tested it in a manner such as you did but it appears to be better than Photoshop bicubic smoother. Do you know if the manufacturers of resizing software use similar technologies as I am impressed with your tests with Perfect Resize? Have you tried Blow Up? Thank you.
Jim says
Dennis, I doubt if the algorithms used by all the resamplers are similar, even though the results might be. QImage is the most open, giving you the choice of many standard algorithms — many more than Photoshop. But even QImage has its secret sauce, in the form of two algorithms that they’re not talking about: Hybrid and Fusion. They say that these algorithms usually produce better results than any standard algorithm, and, in my limited testing, they’re right.
I have not tried Blow Up (great name and great movie). If you want to see how Blow Up performs relative to the other algorithms, go to “Contact” in the top menu bar on this page, and send me an email. I’ll get the uncompressed target to you. You can then use Blow Up to resample it to 720 ppi, and send me the result.
Thanks,
Jim
Jim says
Dennis, here’s a list of the QImage algorithms, and the manufacturer’s description of all but the first:
Fusion – Latest, and claimed to be the greatest.
Hybrid – Very smooth, very detailed, minimal artifacts, and relatively fast, this is the #1 choice for most jobs.
Hybrid SE (only available in Studio Edition) – Same as Hybrid except a bit smoother and completely artifact free.
Vector – Offers very smooth edges, good sharpness, and low noise. As fast as Lanczos with less noise/artifacts and better edges.
Pyramid – Even smoother than vector interpolation. Pyramid does a great job with “big stretches”. Also the slowest method.
Lanczos – A little sharper than vector interpolation, but at the expense of more noise and more jagged edges.
Hermite – While faster than vector or Lanczos interpolation, Hermite is not as sharp and also has more noticeable jagged edges.
Mitchell – Good sharpness and detail, but not as capable of eliminating jaggies as some of the other interpolation schemes.
Bicubic Spline – Produces smooth edges but also produces results that look soft.
Triangle – Offers a good balance between calculation speed and quality, but leaves some jagged edges behind.
Bell – Relatively fast, but produces a soft image.
Pixel Resize – Simply stretches the image to the new size. This is the fastest option but has the least smoothing.