I took a Nikon D4, mounted the 105mm f/2.8 Nikon G ED lens, turned off VR, and mounted it on a RRS TVC-34L Versa Series 3 tripod and a RRS BH-55 ball head. I extended the top two leg sections, but not the bottom one. I left the column in the down position.
My first test was to compare autofocus accuracy to live view. I aimed the camera at the target so that it barely filled the frame, set the aperture to f/16, the shutter speed to 2 seconds, the ISO to 100. For the AF images, I set the mode to 11 segments, picked the center one, and set the camera to focus priority. I unfocussed the camera slightly after each shot so that I’d get a new focus. For the live view pictures, I set the magnification to maximum, and focused before eash exposure with a loupe. I set the shutter delay to 3 seconds.
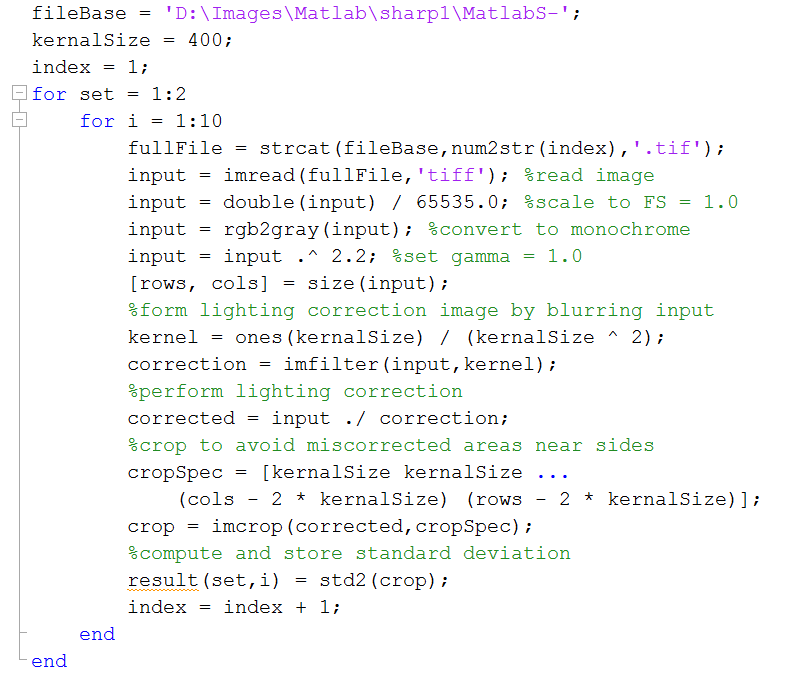
I made ten exposures of the target using each focusing mode. I brought them into Lightroom, set the white balance manually, converted the images to black and white, and exported them as TIFFs. Then I used the following Matlab code to analyze them.
I copied and pasted the results into Excel, and computed the mean and standard deviation of the exposures. I also computed the mean minus two standard deviations, which is an indication of the likely worst results obtained using each method, and I also recorded the actual best result.
Here’s the table:

I conclude that, while live view produced the best single result, it is less consistent and, on average, less accurate than autofocus, at least with this target.
I also compared the results of five ways to release the shutter.
I first set the camera to employ a three-second delay before releasing the shutter, and set the dial to Mirror-Up. Thus, for the first press of the shutter button, the mirror flips up. Upon the second press of the shutter button, the camera waits three seconds, opens and closes the curtains, and lowers the mirror.
I then set the camera to employ a three-second delay before releasing the shutter, and set the dial to “S”. Upon pressing the shutter button, the mirror rises. Then the camera waits three seconds, opens and closes the curtains, and lowers the mirror.
I set the camera to employ no delay before releasing the shutter, and set the dial to “Mirror-Up”. Upon first pressing the shutter button, the mirror rises. The second shutter button press immediately opens and closes the curtains, and lowers the mirror.
I set the camera to employ no delay before releasing the shutter, and set the dial to “S”. Upon the pressing the shutter button, the mirror rises, then the camera immediately opens and closes the curtains, and lowers the mirror.
The last shutter trip method was no shutter delay, but using a 2-second self-timer setting. Upon pressing the shutter button, the camera waits two seconds, then raises the mirror, opens and closes the shutter curtains, and lowers the mirror.
Here are the results:

Surprisingly, the best results are obtained using the self-timer and no shutter delay. This is not theoretically the lowest-vibration way to trip the shutter. One of the methods that has a delay after the mirror goes up and before the first curtain fires should be better. The differences are small, however.
Predictably, the two methods in which a depression of the shutter button immediately produced an exposure gave the worst results, although again, the differences are not large.
Then I made an aperture series, with the same effective exposure as above, but with apertures varying from f/32 (8 seconds) to f/4 (1/8 second). This is a hybrid test of the effect of shutter speed variation and diffraction. It is impossible for me to separate hem with this testing regime without having a precisely controllable light source. It is useful to me because the light levels I used here are about the same as I typically encounter in the firehouse.
Here are those results:

This shows f/4 producing the best results, with not too much drop off until f/22 and f/32.
I should note that the target, with its combination of high and medium spatial frequencies, doesn’t show large variations under these tests. However, the relevant measure is not the absolute variation, but rather the intra-series variation compared to the inter-series statistical variation.
I could make the intra-series variation larger by omitting the medium spatial frequencies, but that would make the target less generally useful, and also harder to focus on.
I wish the live view results were better and more consistent, and I’m disappointed at how soon diffraction starts to blur the image with the 105. Or maybe it’s not diffraction; maybe the vibration has more of an effect at the longer shutter speeds.
Leave a Reply