This is a continuation of this post:
If you got here without reading the previous post, you should go back and do so now.
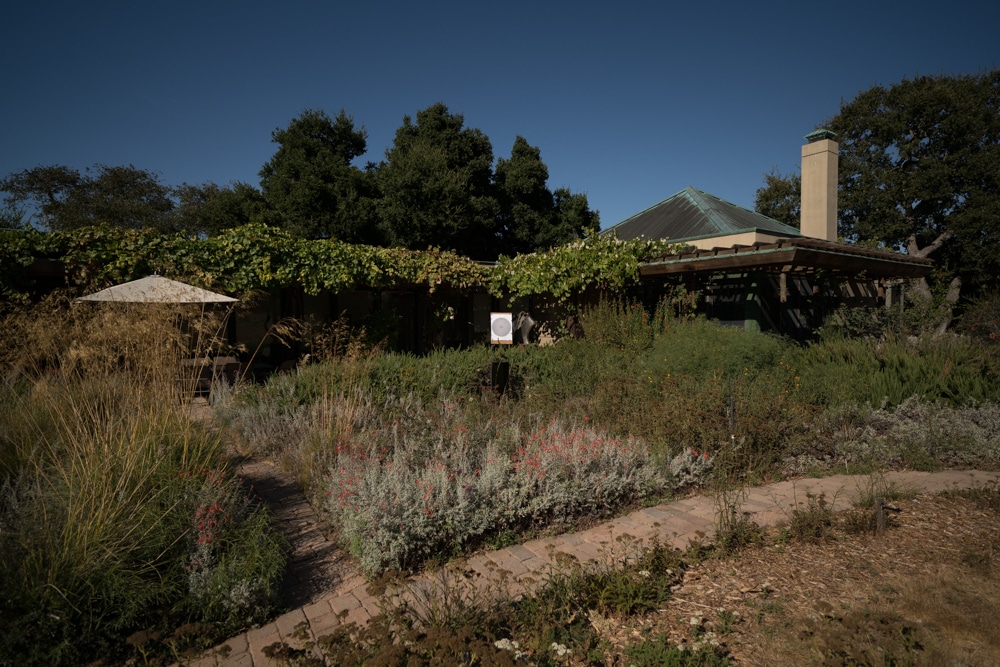
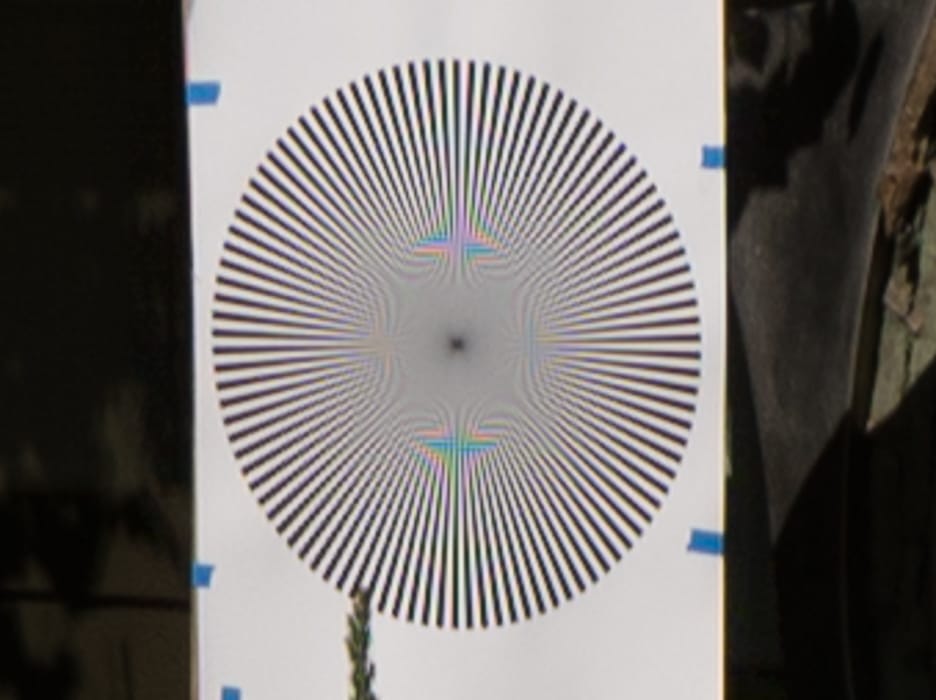
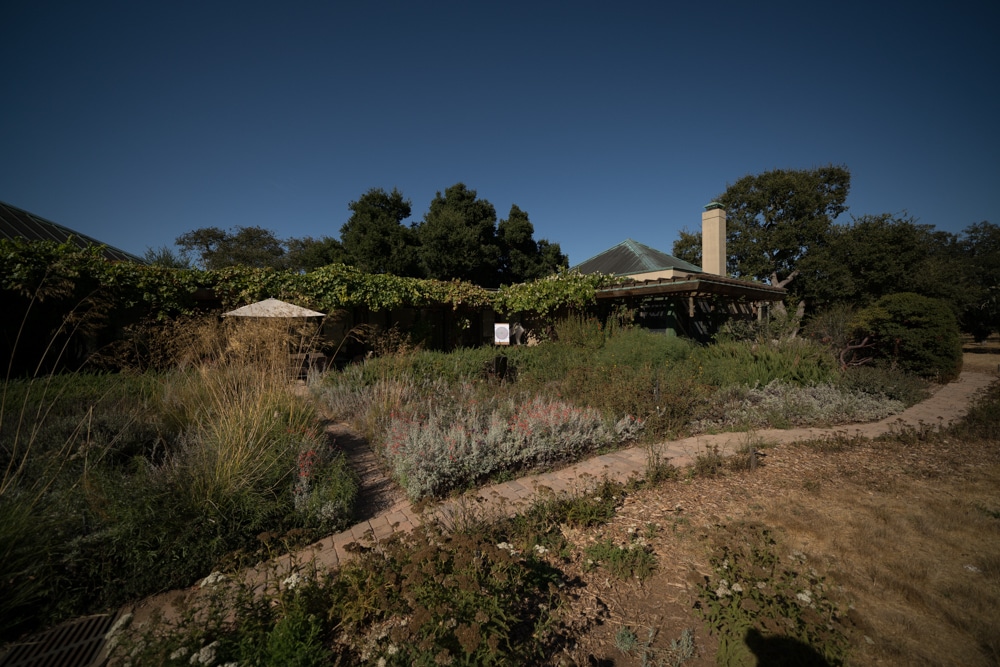
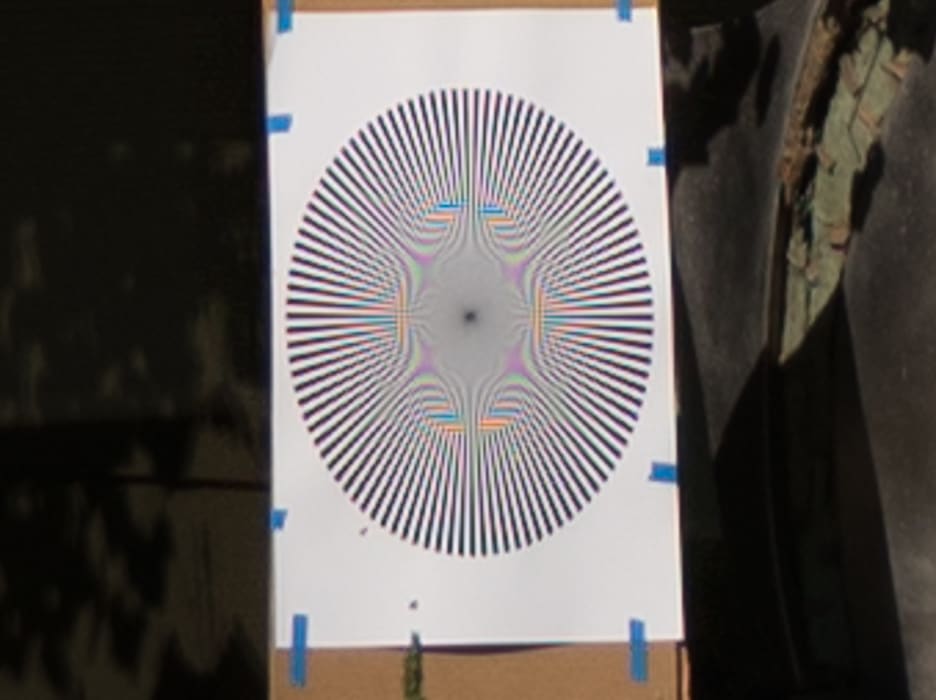
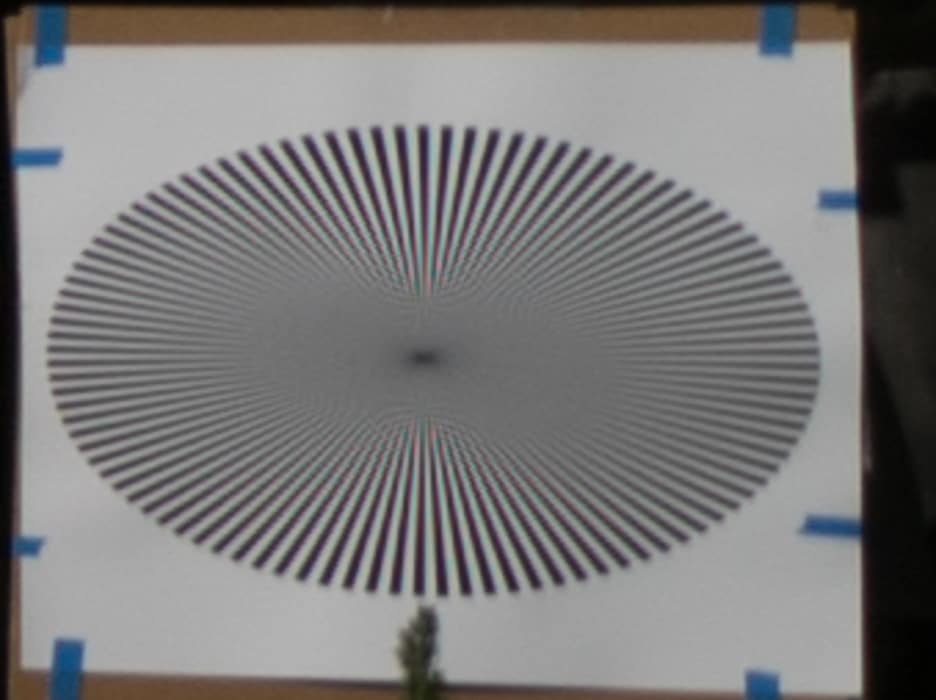
Here is the full frame at 18 mm:
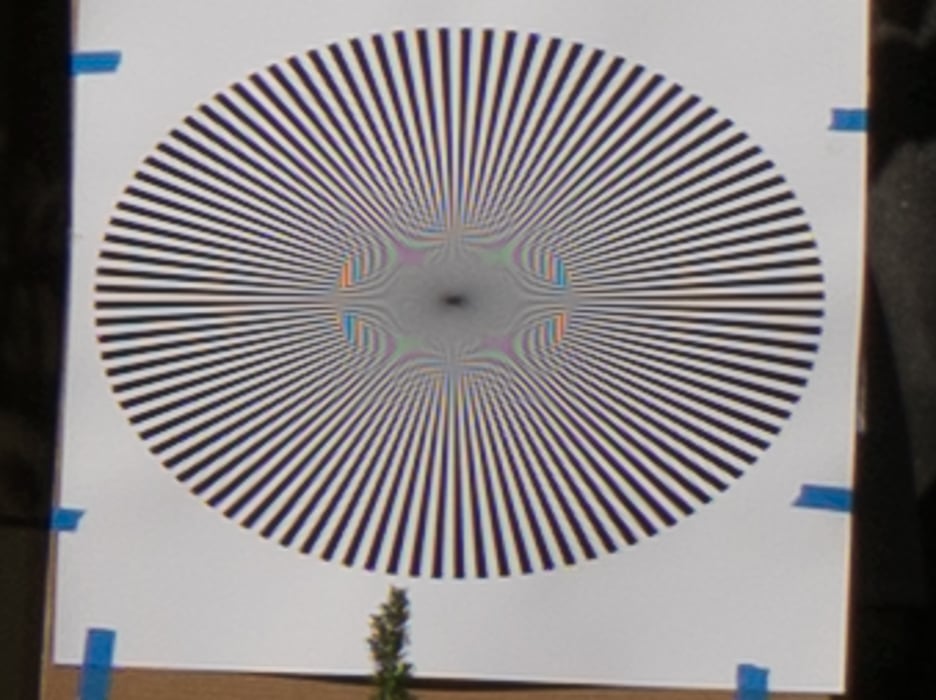
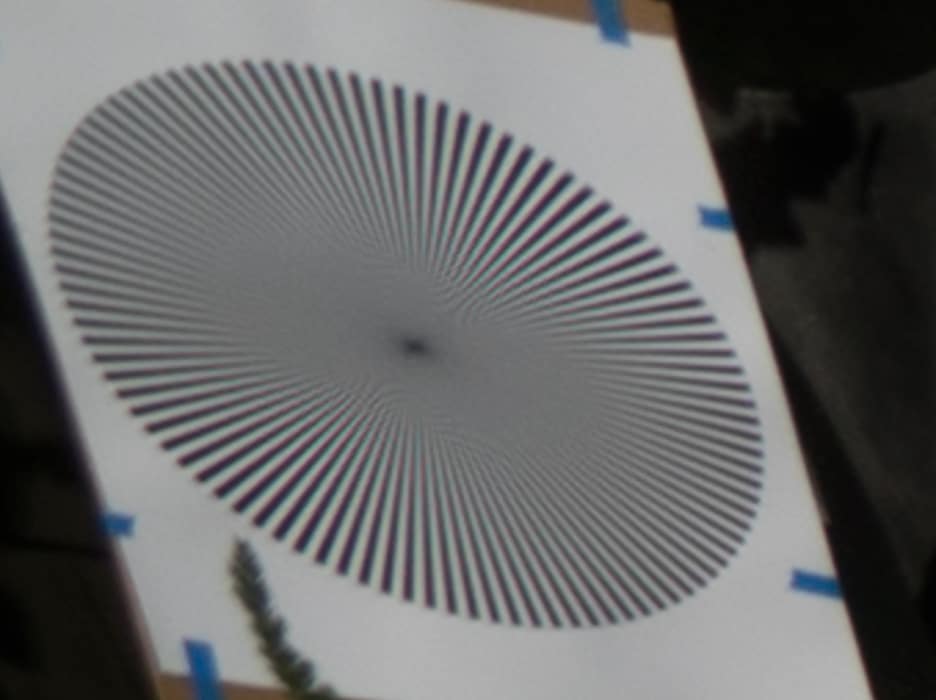
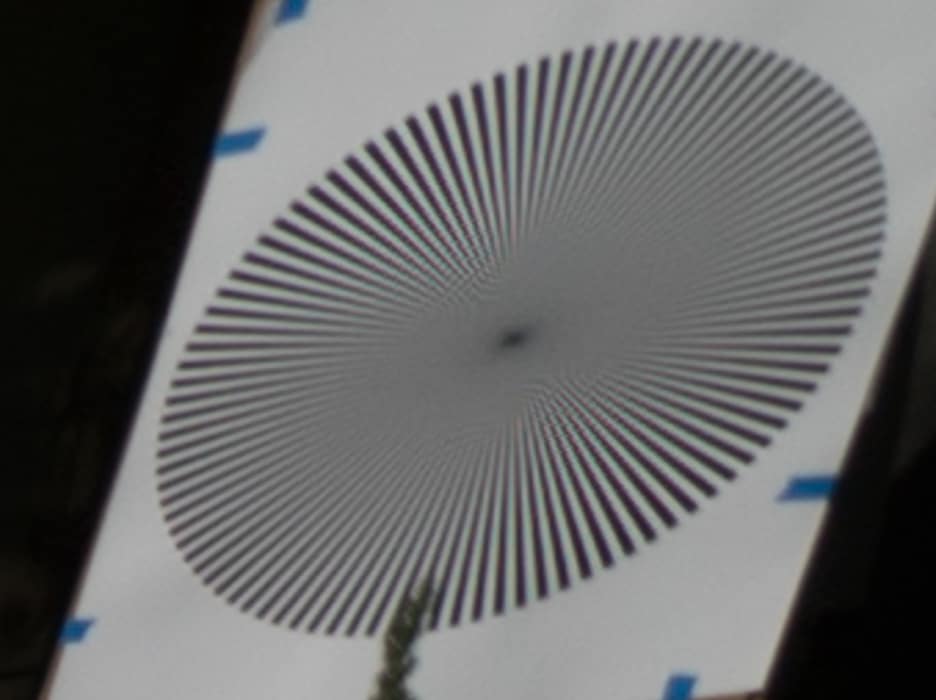
Here’s our magnified tight crop of the center, with the same pixel dimensions as before:
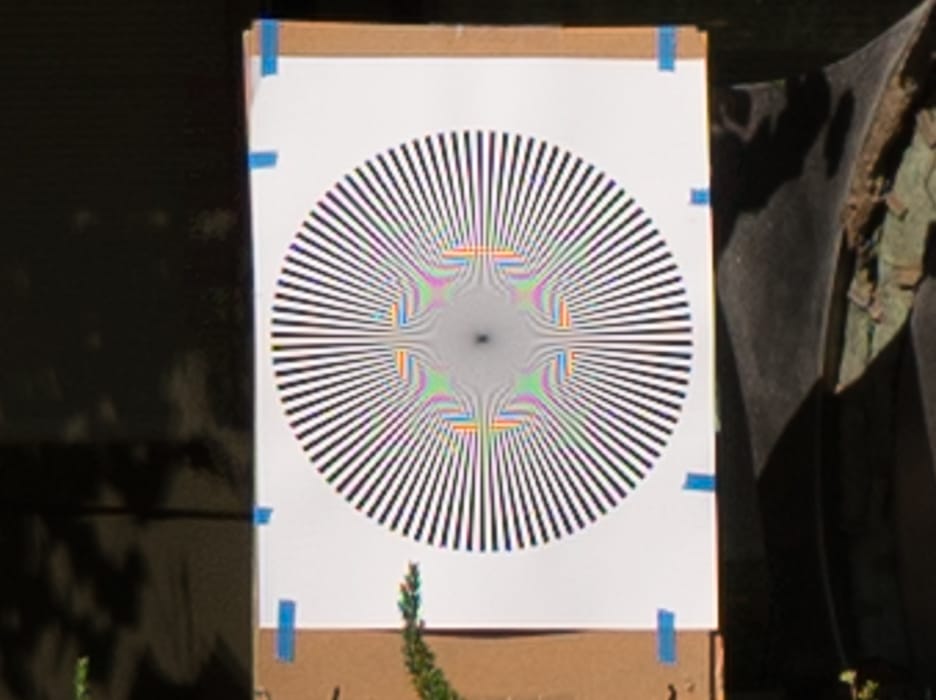
You can see that in the center the lens is sharper at 18 mm than at 24.
Instead of going clockwise around the periphery, we’ll look at pairs of opposing stars.
Top-left vs bottom-right:
A hair sharper in the upper left. Nothing to worry about, though.
Top and bottom center:
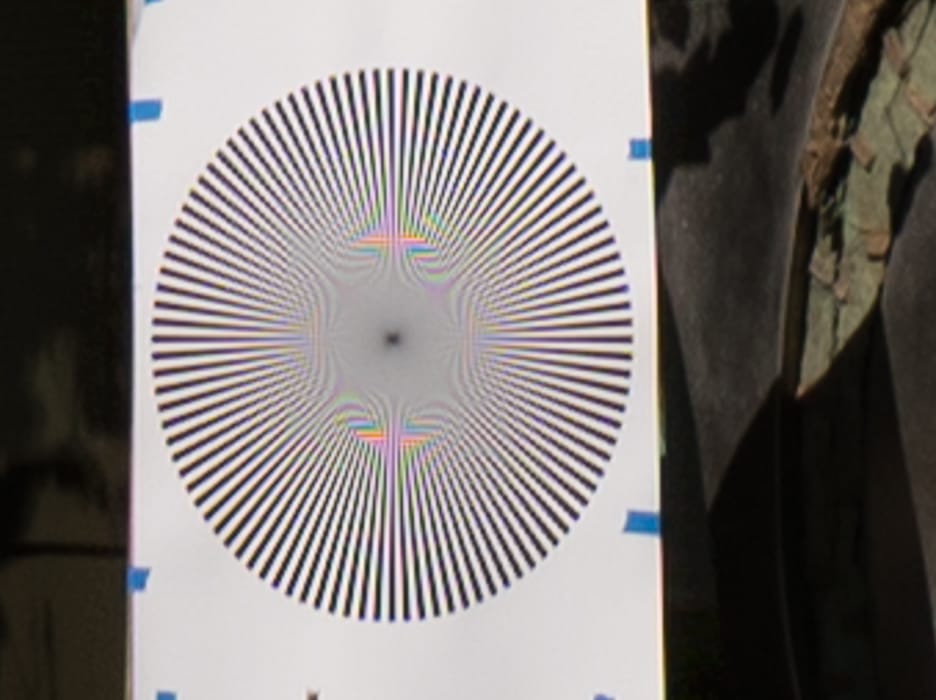
Maybe the lower side is a tiny bit sharper. That odd SW/NE sharpness anistropy the we saw at 24 mm is not apparent at this focal length.
Top right and bottom left:
The upper right is a hair sharper.
Center right and left:
A virtual tie.
At 18 mm, this lens appears to be assembled very well.
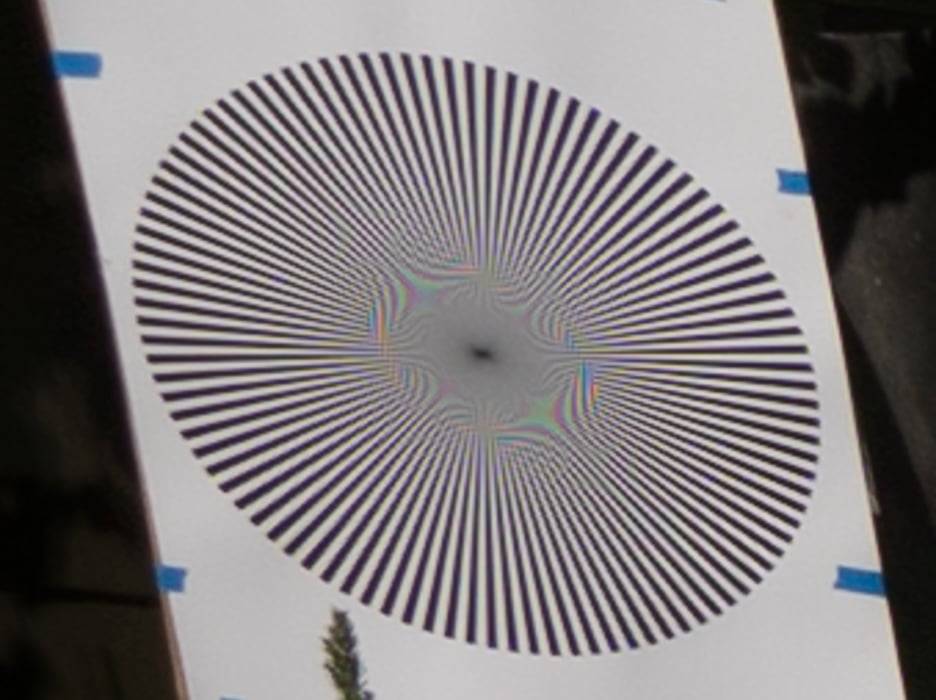
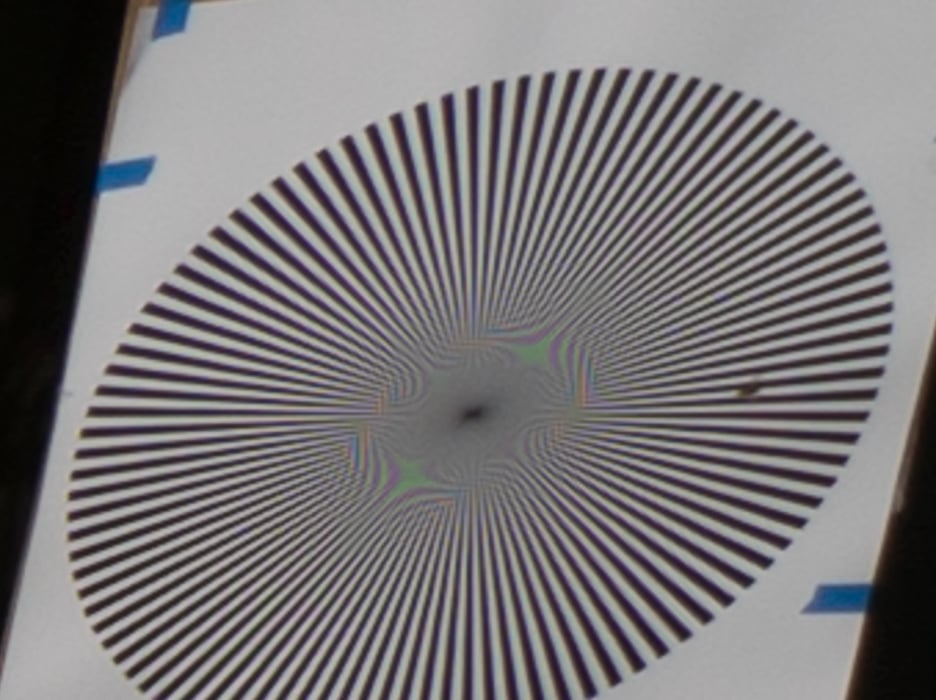
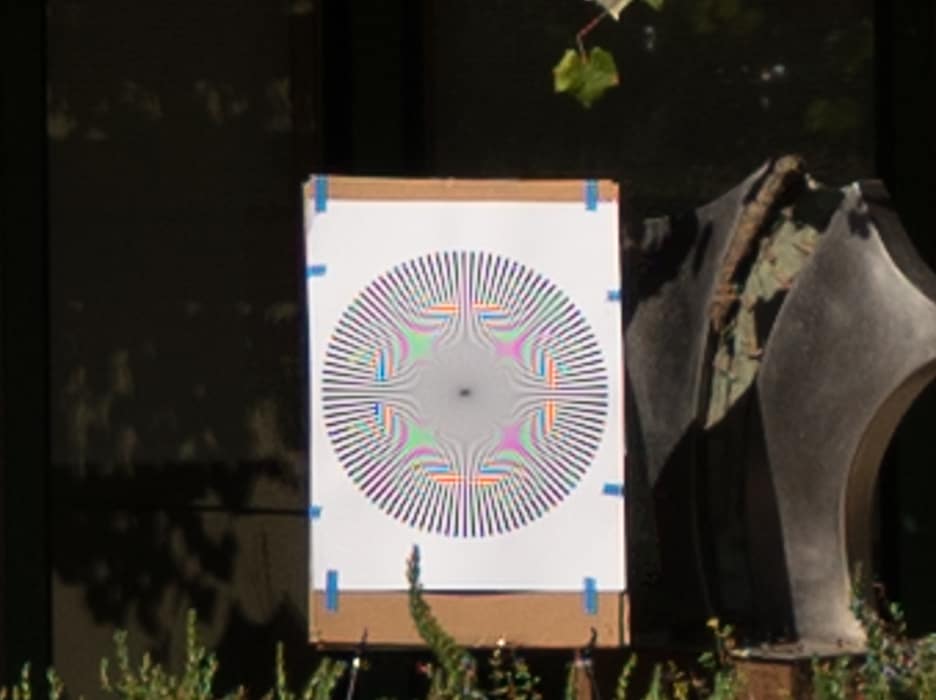
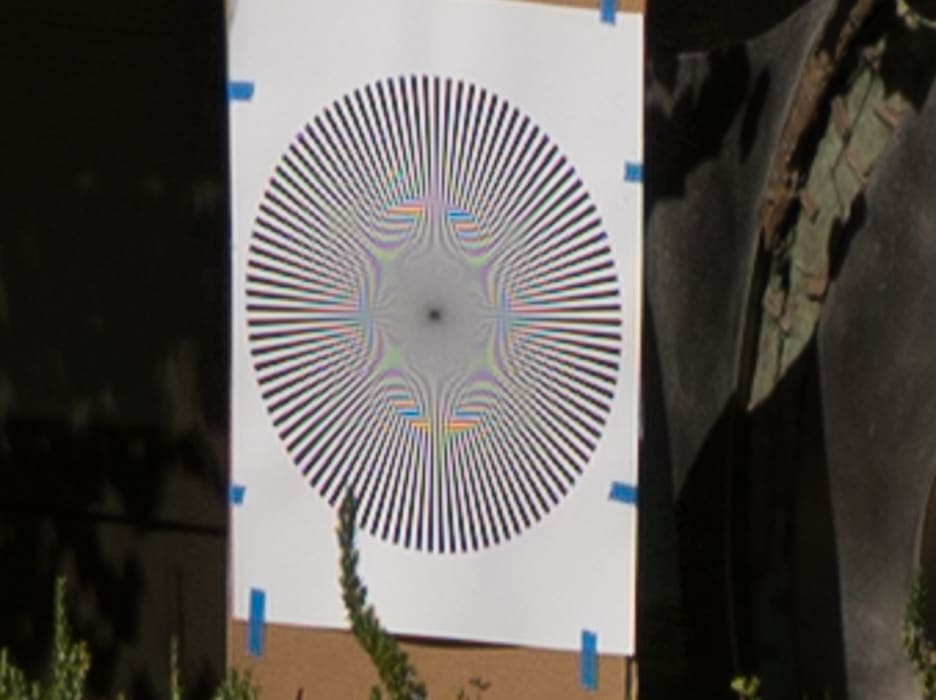
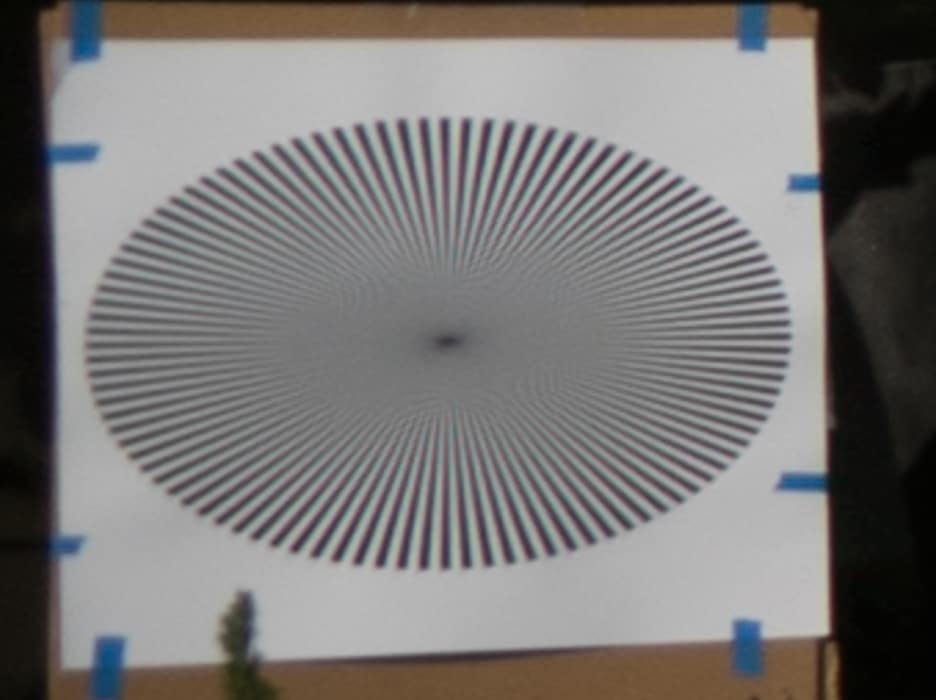
Now the view at 12 mm:
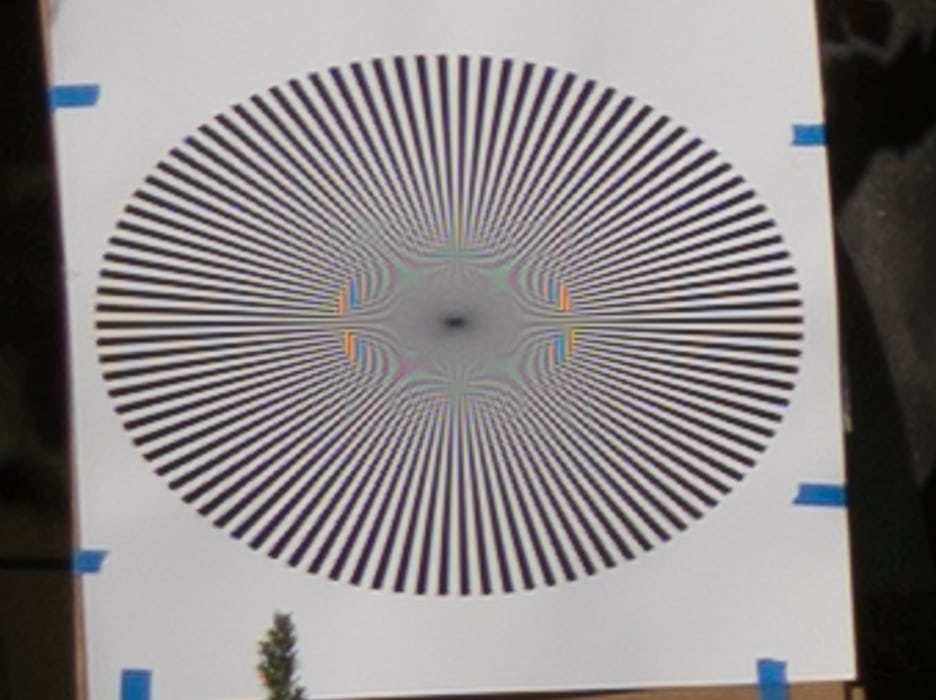
The target is getting a bit small, but we’ll see that it’s big enough:
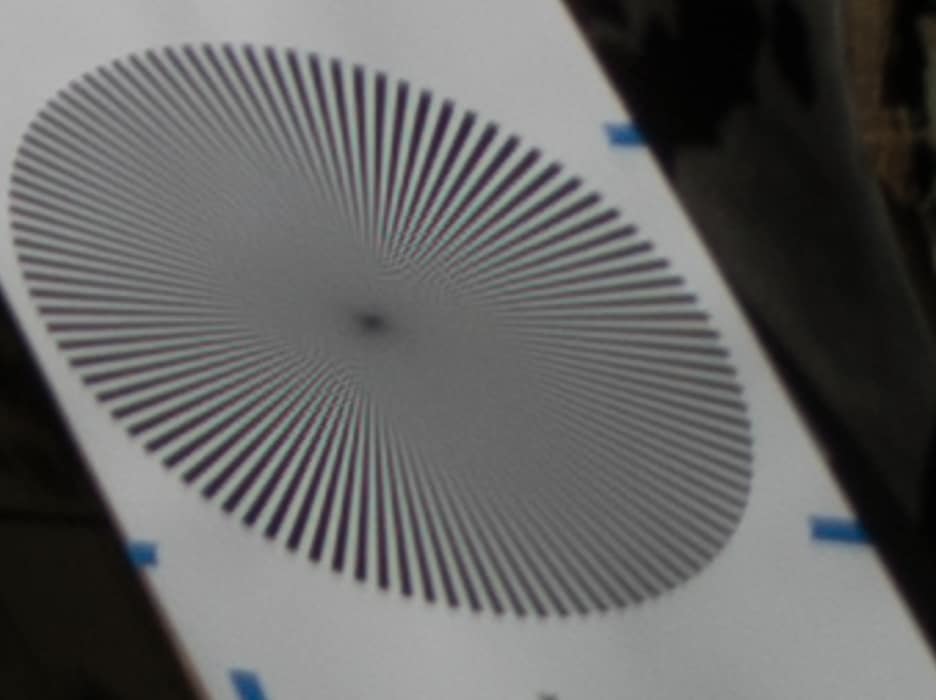
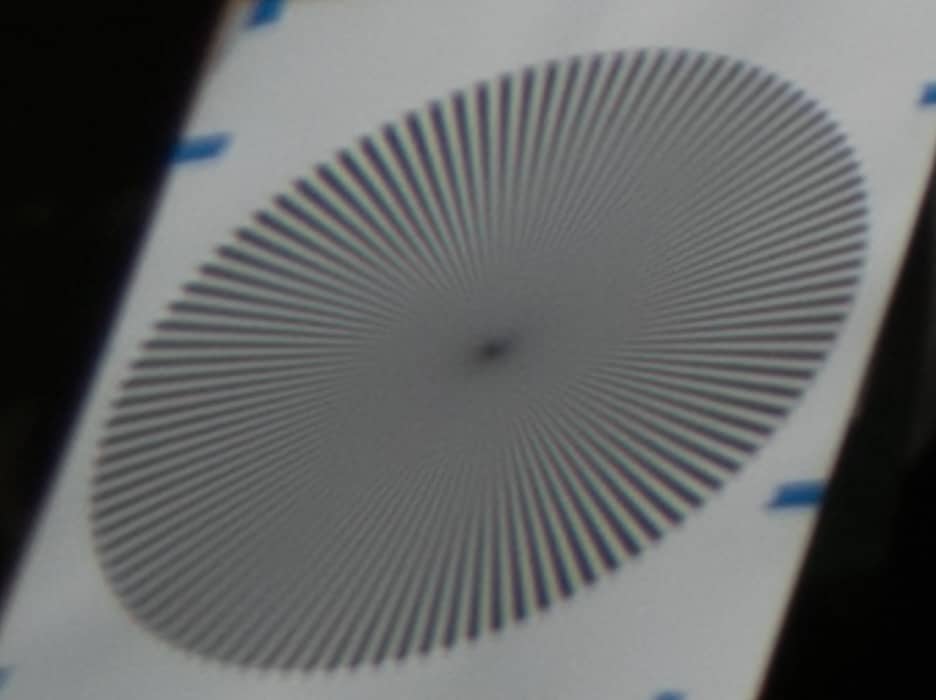
In the center:
You wouldn’t want the target any smaller at this distance. Of course, we’re way beyond the required 7 meters here because I chose to make all the images from the same distance regardless of focal length. This is wonderful resolution for a 12 mm zoom.
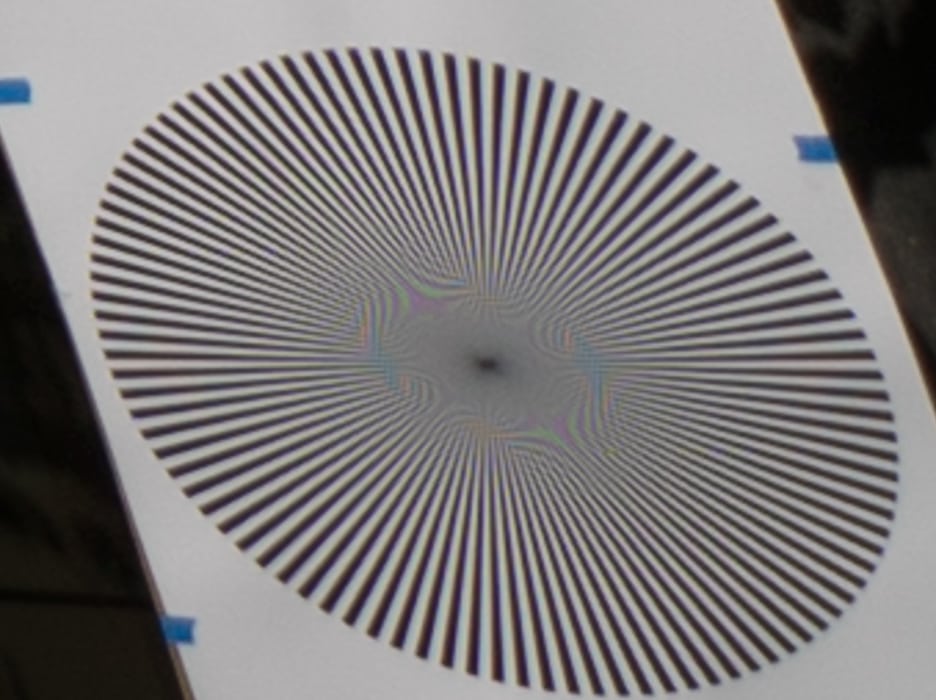
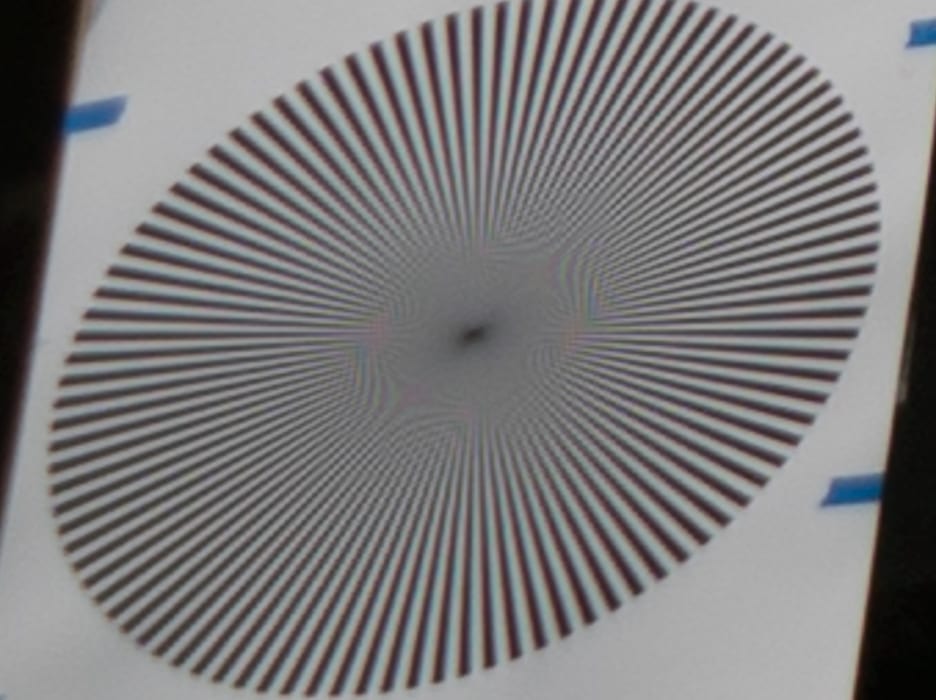
Top-left vs bottom-right:
We’re losing a fair amount of resolution in the corners, but this as a UWA zoom, so that’s to be expected. I think this is actually excellent performance, all things considered.
Top and bottom center:
Very nice.
Top right and lower left:
The lower image is softer.
Center right and left:
Again, the lens looks good here.
Leave a Reply